Procolored UV DTF-I608 User manual
*Due to occasional product upgrades, this manual is for reference only.
1
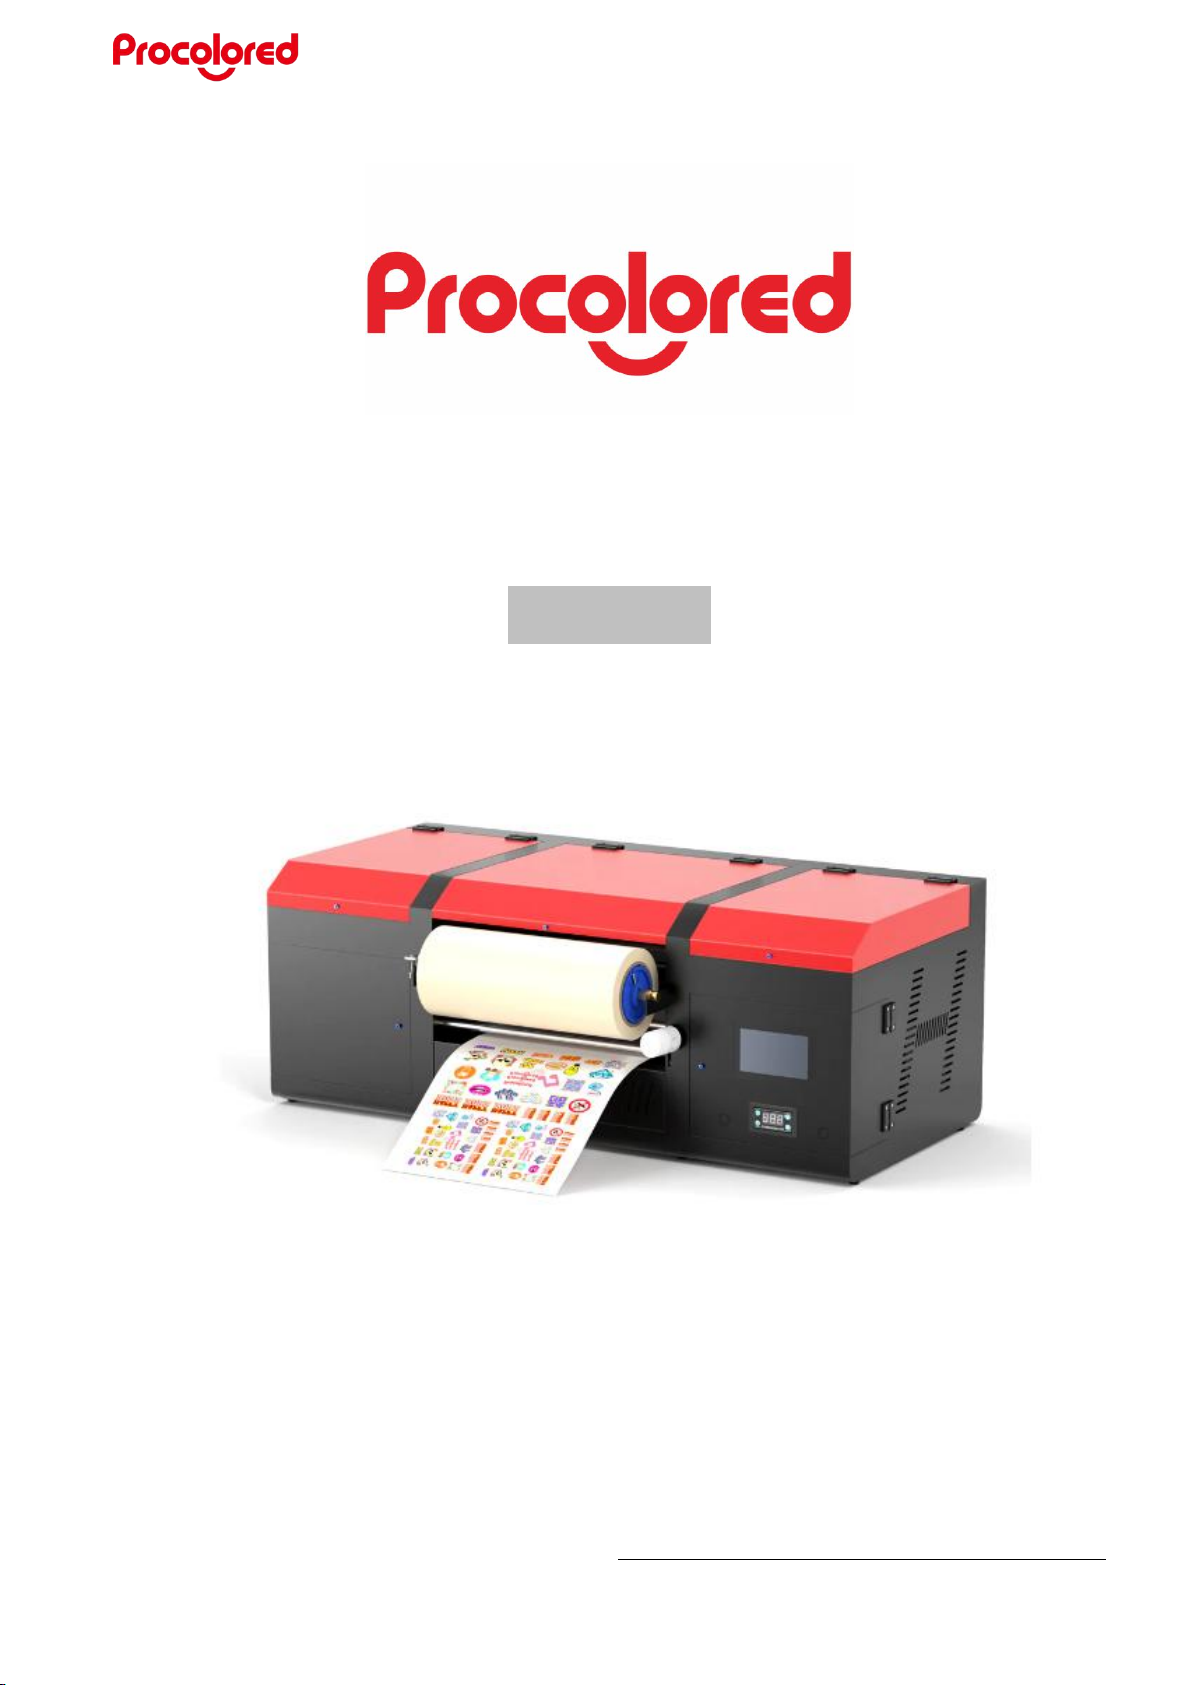
UV DTF-I608 Printer Manual
(AB Model)

*Due to occasional product upgrades, this manual is for reference only.
2
Content
Safety Instructions .......................................................................................................4
Machine Views .............................................................................................................5
Operations Instructions ...............................................................................................6
1. Connect the Printer ................................................................................................. 6
2. Install Software Driver ............................................................................................ 7
3. AB Film Installation and Machine Performance Test .........................................12
4. Add Ink ....................................................................................................................16
5. Print State Diagram (For testing the performance of print head) .................... 17
6. Printing Software Installation and Use ................................................................18
7. Printing Sticker ...................................................................................................... 22
8. Maintenance .......................................................................................................... 24
Notice ..........................................................................................................................31

*Due to occasional product upgrades, this manual is for reference only.
3
Operation Videos
Corresponding operation videos on YouTube for reference:
1.Connect the Printer: https://youtu.be/0Uf1ZHcwwao
2.Install Software Driver: https://youtu.be/wXC5tcqwBnk
3.AB Film Installation: https://youtu.be/yGXxoSaOR7M
4.How to Add Ink: https://youtu.be/AP5dDseqpPU
5.Print State Diagram: https://youtu.be/k-y1LbBbwZg
6.Printing Software Installation and Use: https://youtu.be/akykxO0o-Eg
7.Printing Sticker: https://youtu.be/X-VMxDLIfPY
8.Maintenance: https://youtu.be/Duu_odsZJzM

*Due to occasional product upgrades, this manual is for reference only.
4
Safety Instructions
1. Read all instructions.
2. Use the printer only for its intended use.
3. To reduce the risk of electric shock, do not immerse the printer in water or other
liquids.
4. Do not disassemble or attempt to repair the printer. Take it to a qualified service
person for examination and repair.
5. This equipment is not intended for use by persons (including children) with
reduced physical, sensory or mental capabilities, or lack of experience and
knowledge, unless they have been given supervision or instruction concerning use
of this equipment by a person responsible for their safety.
6. Close supervision is necessary for any printer being used by or near children.
Do not leave equipment unattended while connected.
7. The printer needs routine maintenance, please refer to the included manual.
*Due to occasional product upgrades, this manual is for reference only.
5
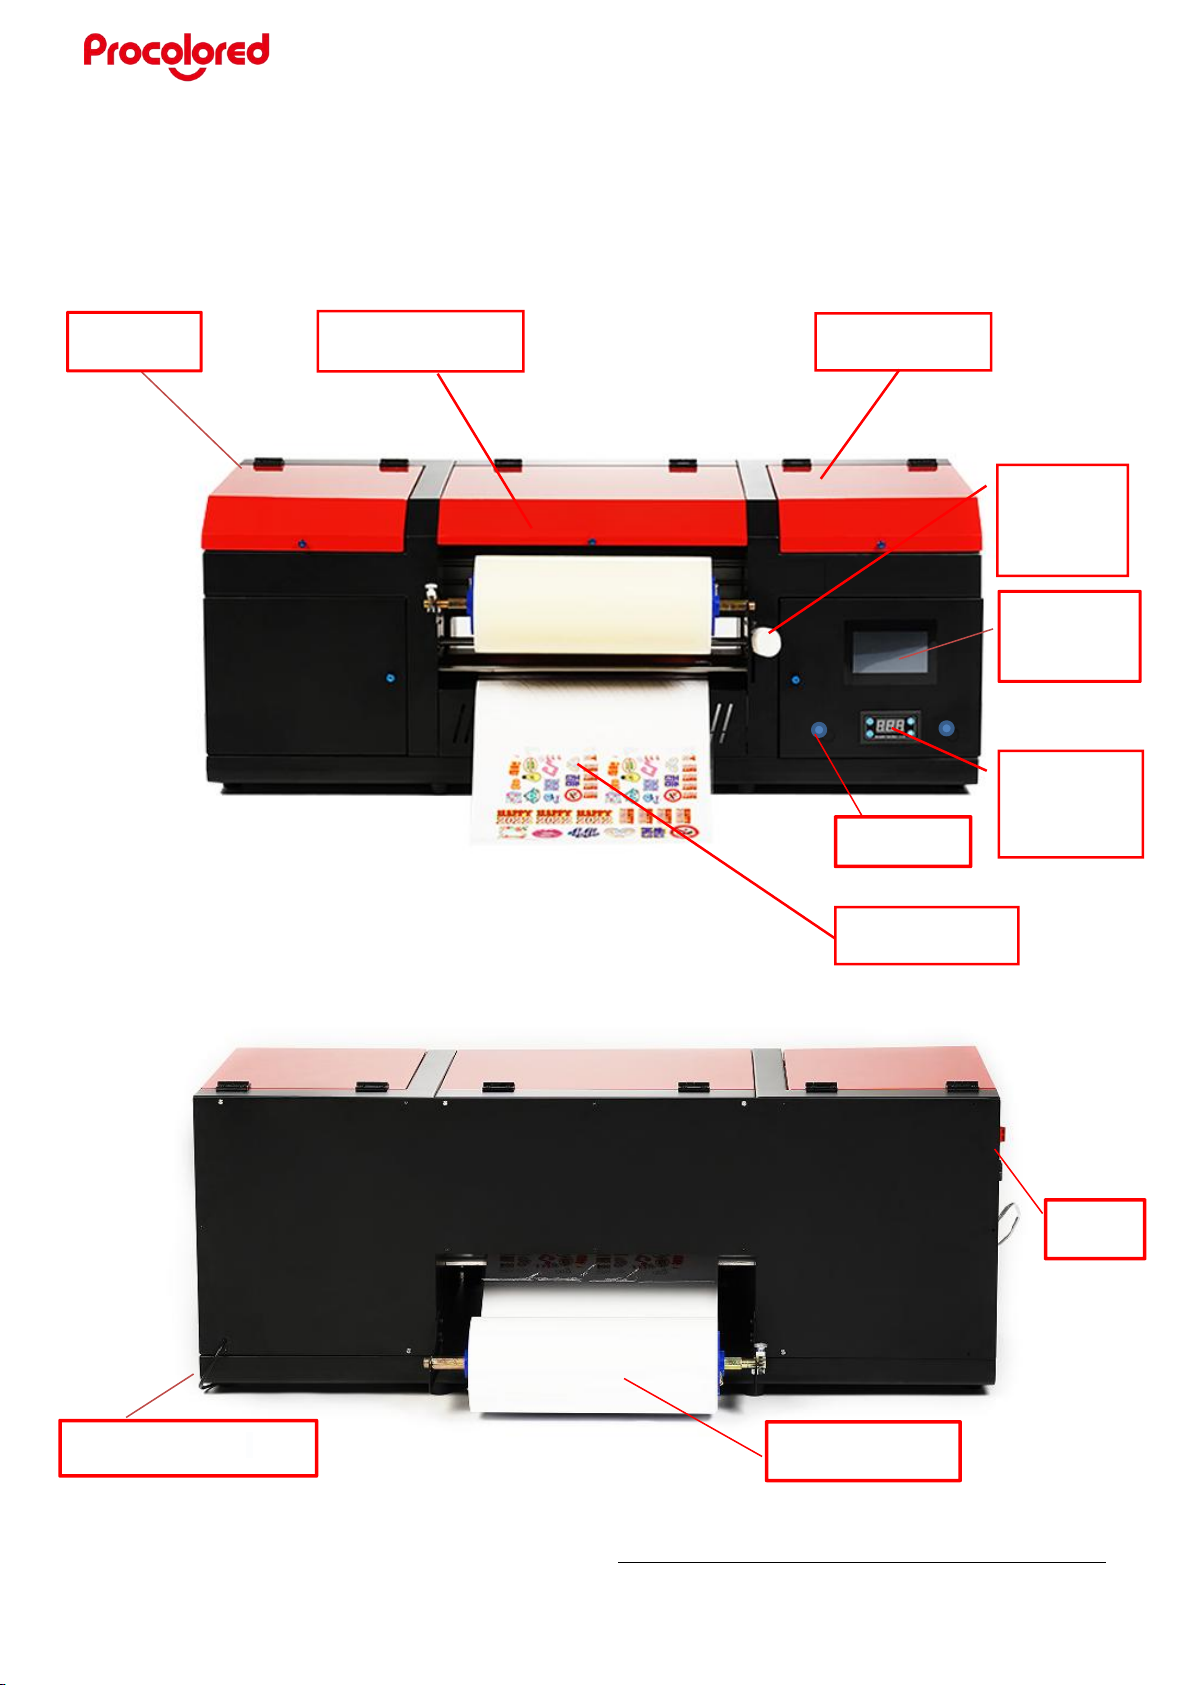
Machine Views
Ink bottles
B film position
Wheel
control
handle
Temperature
controller
and display
Film exit position
Ink bottles
Touch screen
buttons
A film position
Switch
Waste ink discharge tube
Suction button

*Due to occasional product upgrades, this manual is for reference only.
6
Operations Instructions
1. Connect the Printer
Refer to YouTube video:https://youtu.be/0Uf1ZHcwwao
1.1 Check the package and the whole
machine in case of damage
1.2 Cut off the white cable ties
1.3 Connect the cable and start the power
supply.
1.4 Connect the USB cable to computer
1.5 Look for a bottle to store waste ink

*Due to occasional product upgrades, this manual is for reference only.
8
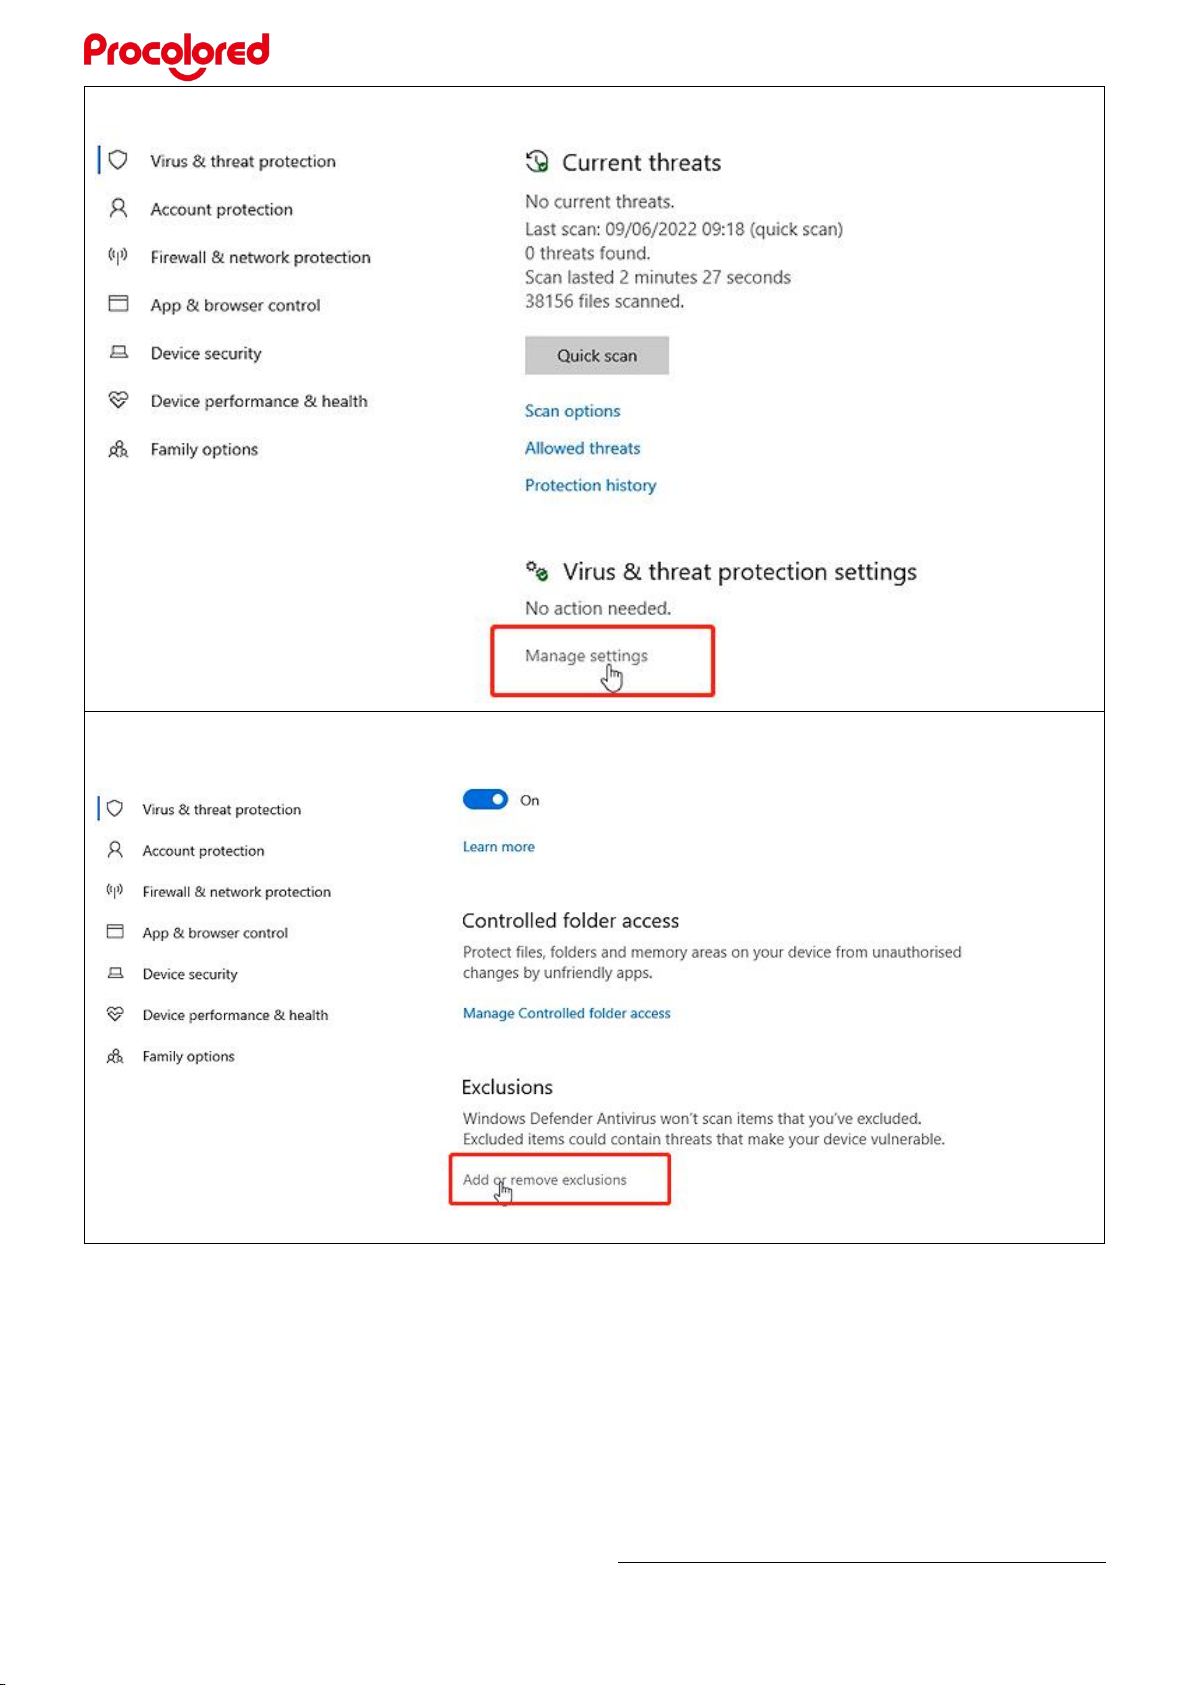
2.4 Click Manage Settings
2.5 Click add or remove exclusions

*Due to occasional product upgrades, this manual is for reference only.
9
2.6 Enter from the drop-down box “folder”, Select the folder “A3UV”
2.7 Back to Virus and Threat Protection, look for and click management ransomware
protection

*Due to occasional product upgrades, this manual is for reference only.
10
2.8 Open Controlled folder access, click protected folders
2.9 Click add a protected folder, add the folder A3UV created before.
Table of contents
Other Procolored Printer manuals


