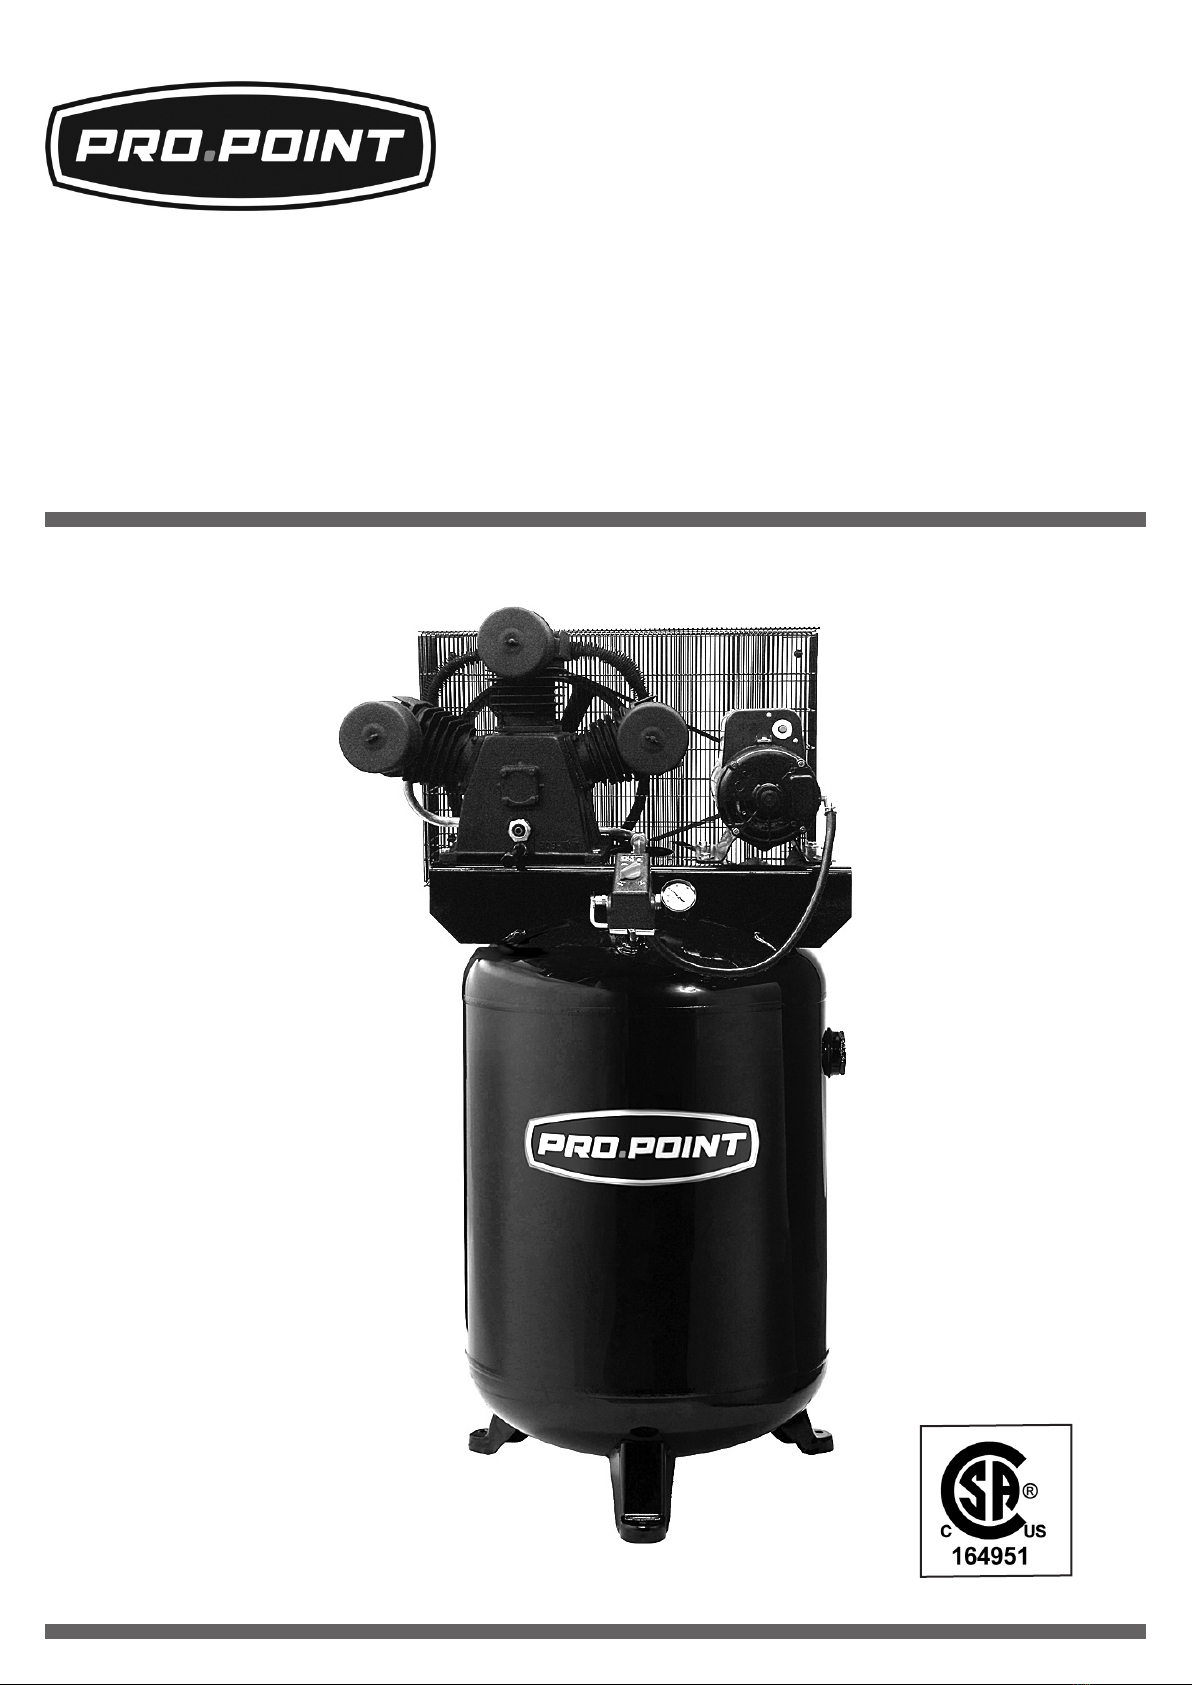
60 Gallon Single Stage Stationary Air Compressor
4For technical questions call 1-800-665-8685
8475006
V 1.6
SPECIFIC SAFETY PRECAUTIONS
1. Risk of Bursting
1.1 Serious injury or death may occur from an air tank explosion if the air tank is not
properly maintained or if modifications, alterations or repairs are attempted. Drain air
tank daily or after each use. Never drill into, weld, patch or modify the air tank. Replace
the tank immediately or replace the entire compressor, if a leakdevelops.
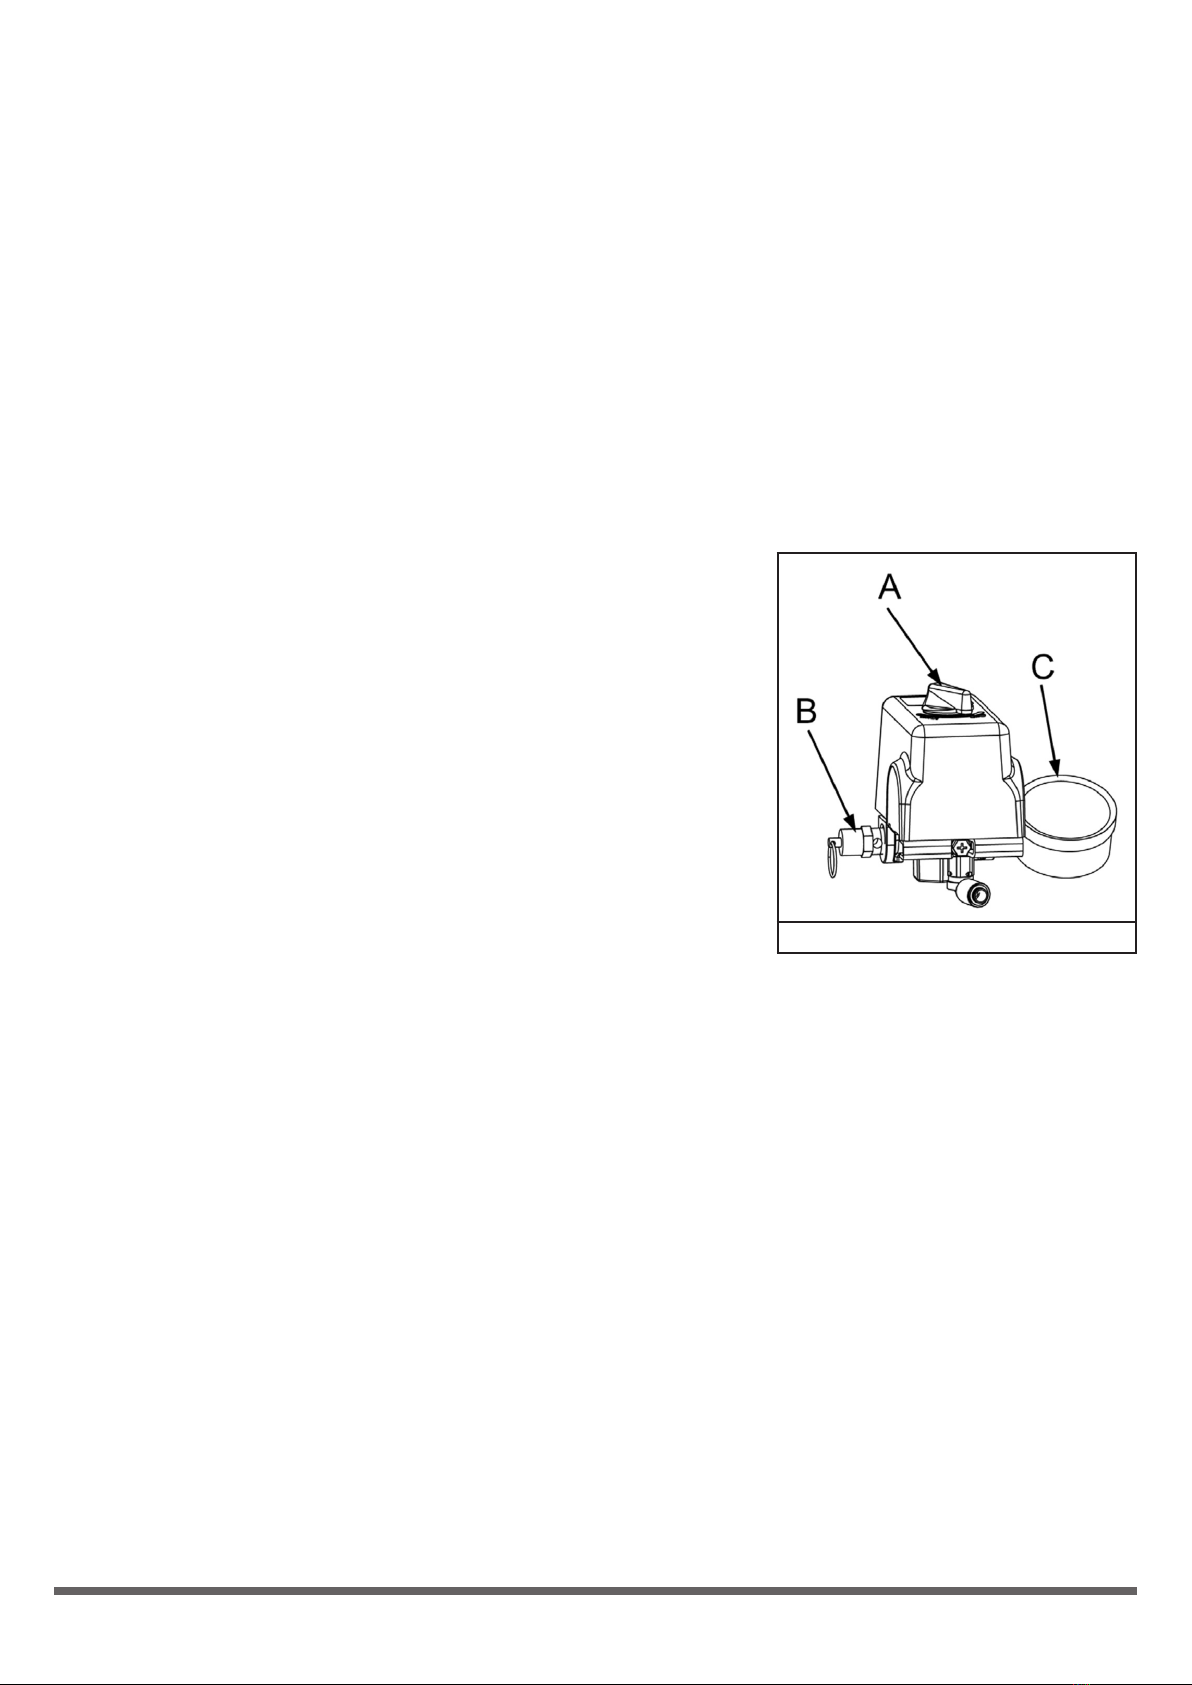
1.2 Serious injury or death may occur if modifications are made to the pressure switch,
safety relief valve or other components that control the tank pressure. Never make
adjustments to the components that control tank pressure. Do not make alterations to
the factory operating pressure settings. Check operation of the pressure relief valve on
a regular basis and never operate without a factory approved pressure relief valve.
1.3 Do not use plastic or pvc pipe for compressed air. Use only galvanized steel pipe and
fittings for compressed air distribution lines.
1.4 Check the manufacturer’s maximum pressure rating for air tools and accessories.
Compressor outlet pressure must be regulated so as to never exceed the maximum
pressure rating of the tool.
2. Risk of Explosion or Fire
Serious injury may occur if a fire is caused by overheating due to inadequate ventilation or
restrictions to any of the compressor’s ventilation openings. Never place objects against or
on top of an air compressor. Always operate air compressor at least 12 in. (30.5 cm) away
from any wall or obstruction. Always operate in a clean, dry and well-ventilatedarea.
3. Risk of Burn
Serious burn injuries could occur from touching exposed metal parts such as the compressor
head or motor during operation and even after the compressor is shut down for some time.
Never touch any of the exposed metal parts during operation and for an extended period of
time after the air compressor has shut down. Do not attempt maintenance on the unit until it
has been allowed to completely cool.
4. Risk from Moving Parts
4.1 Serious injury may occur from moving parts such as the flywheel or belts if they came
in contact with you or your clothing. Never operate the air compressor without the
protective cover installed. Replace a damaged protective cover immediately.
4.2 Serious injury may occur if repairs are attempted with damaged, missing or removed
protective guards, shrouds or missing covers. All repairs to the air compressor should
be made only by authorized or trained service personnel.
4.3 This unit starts automatically. Always shut o the compressor and bleed all pressure
from the system before servicing the compressor and when the compressor is not
in use.
5. Flying Objects
5.1 Serious injury may occur from loose debris being propelled at high speeds from the
compressed air stream. Always wear OSHA approved safety glasses to protect the eyes
during operation of the air compressor.
5.2 Never point the air stream or tools at any point of your body, other people or animals.
Debris and dust may be ejected without warning. Always turn o the air compressor
and drain tank pressure completely before attempting maintenance or attaching air
tools. Release pressure slowly from the system.
6. Risk of Damage to Air Compressor or Property
6.1 Failure to transport or operate the air compressor properly may result in major repair
expenses. Always run the compressor in a level, secure position that keeps it from
tipping or falling during use.
6.2 Do not operate without an air filter or in a corrosive environment.
6.3 Always transport in a level position and use protective mats to keep truck beds clean,
etc. Fasten the compressor down securely. Pressure must be released from the tank
before transporting.
6.4 In cold climates, drain the tank after each use to avoid ice build up.