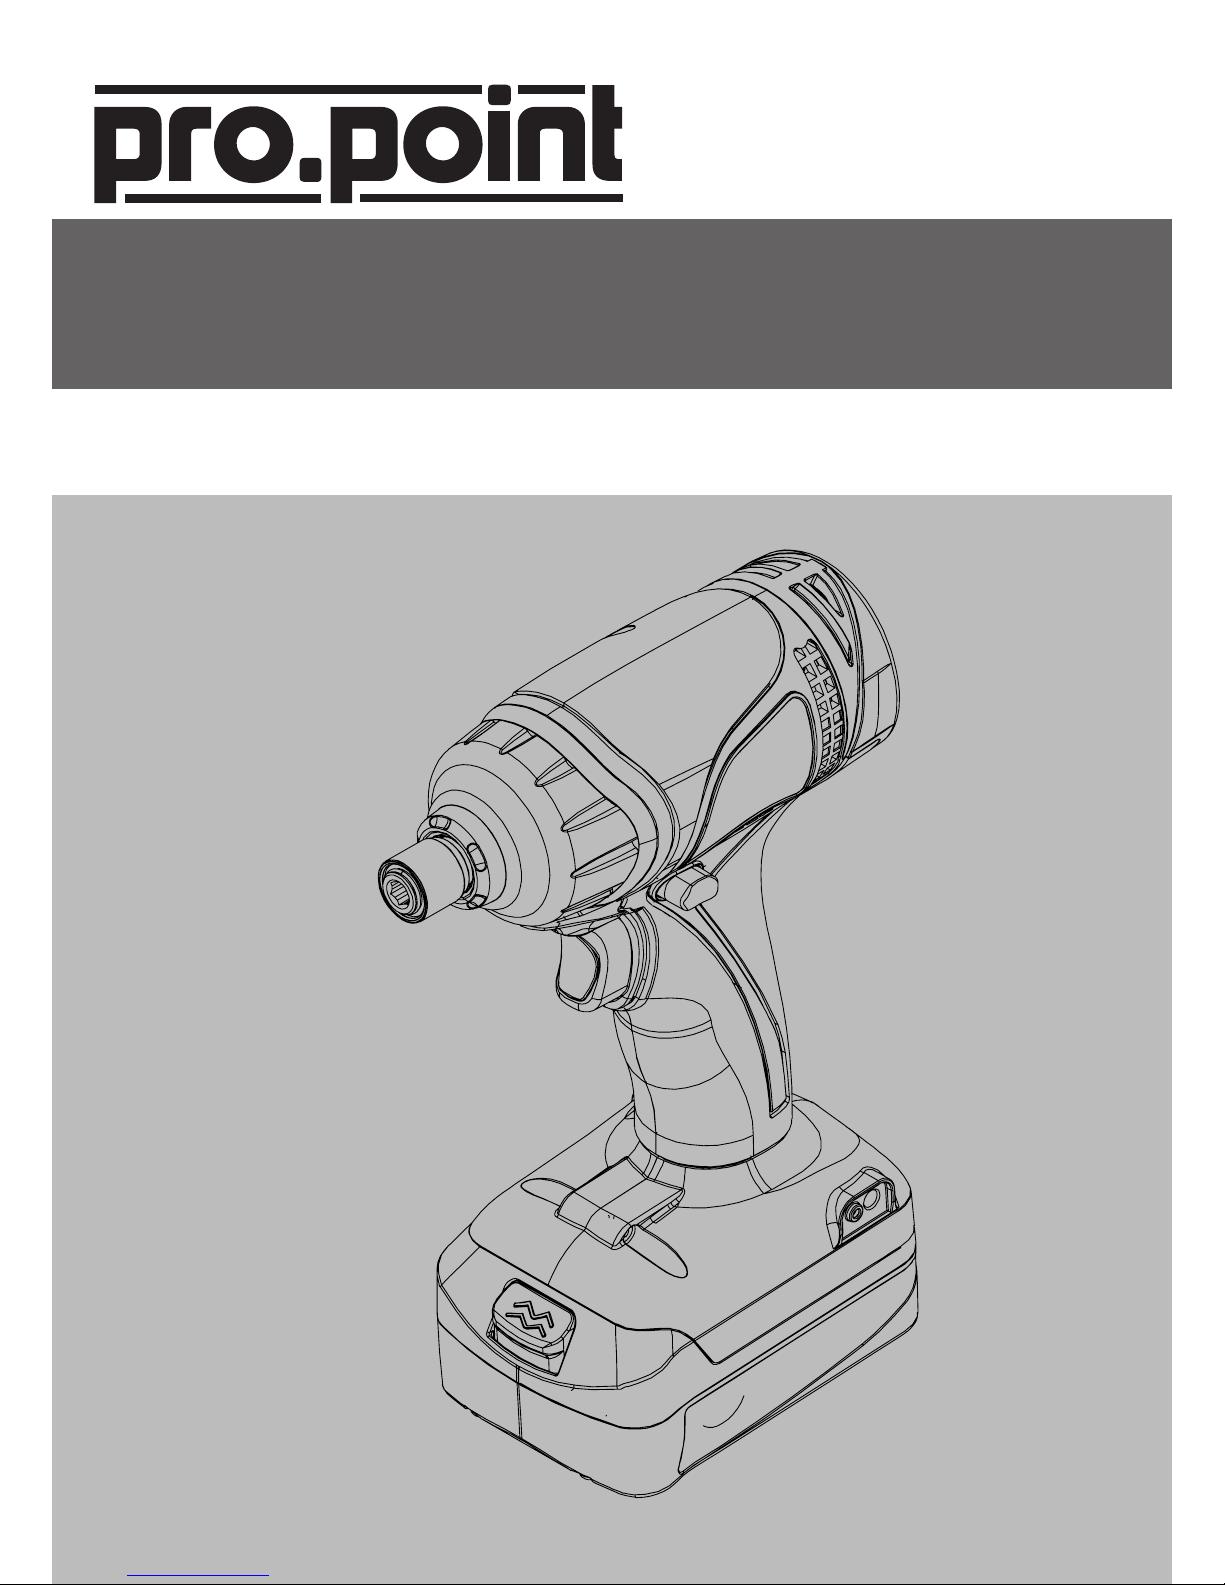
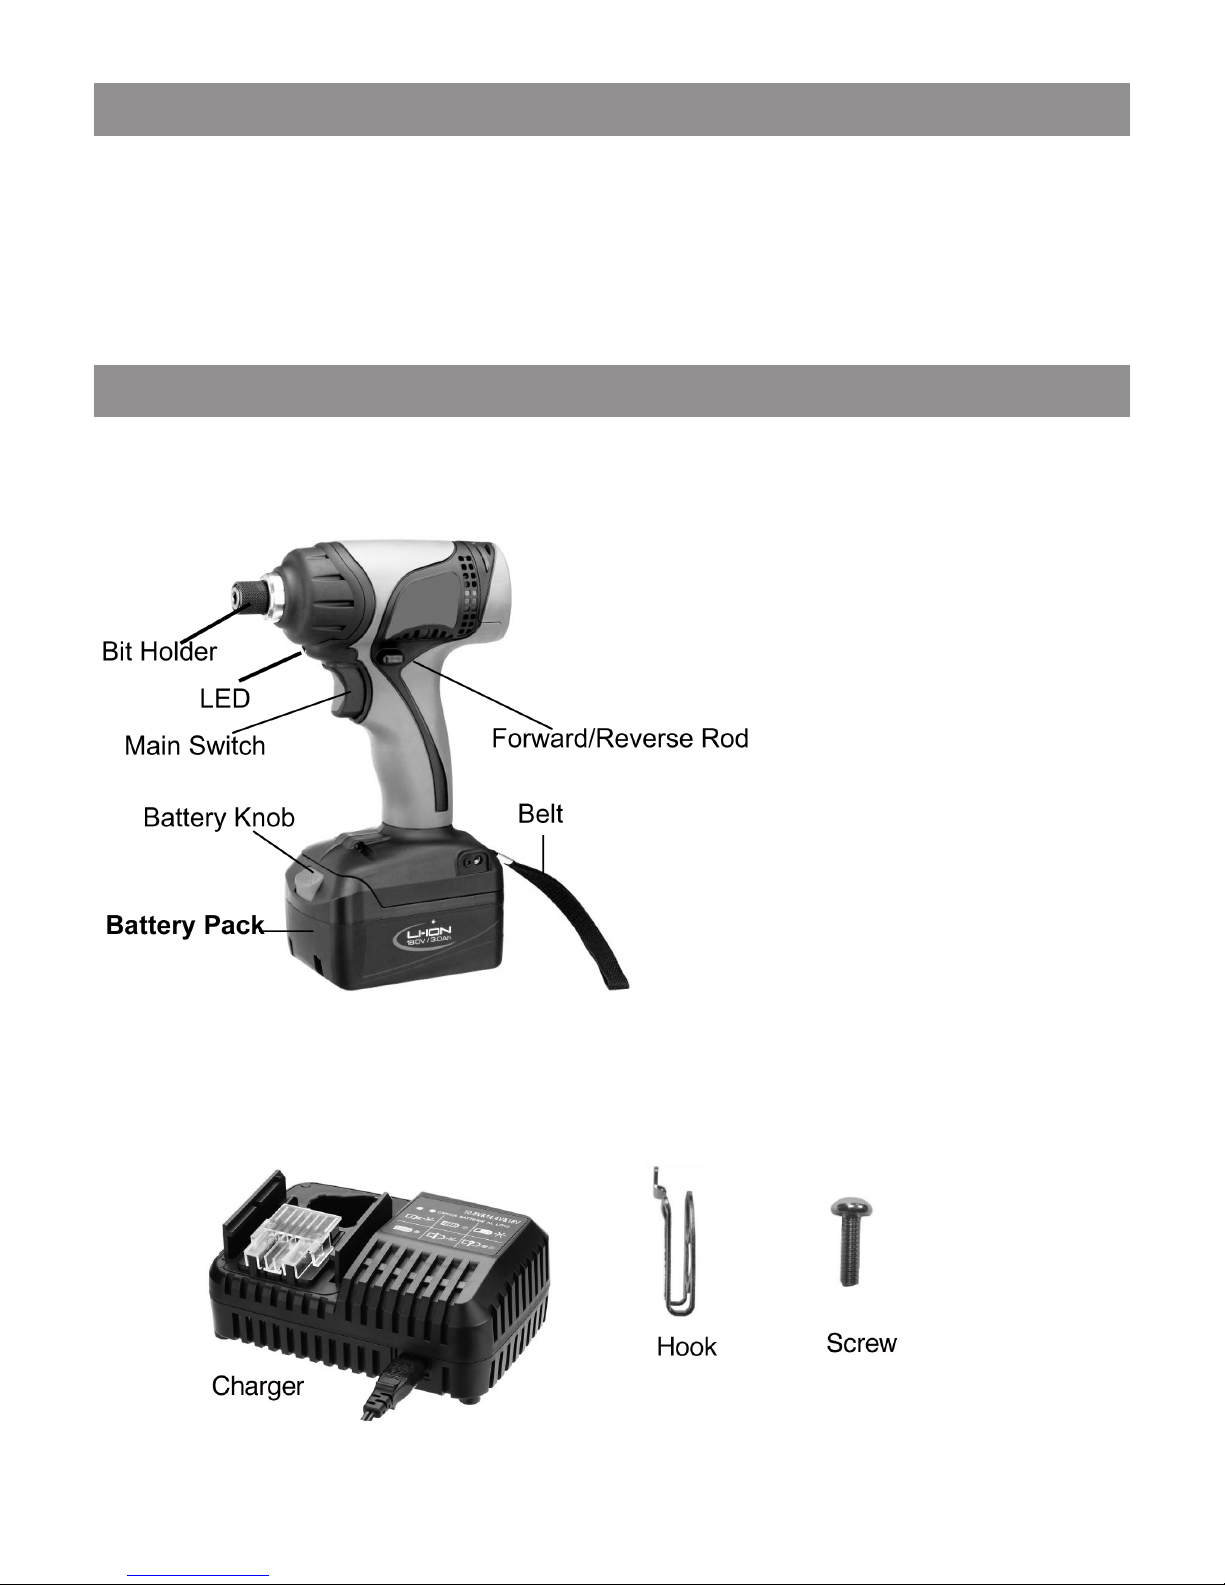
18V Cordless Impact Driver
6For technical questions call: 1-800-665-8685
8364945V 2.0
WARNING!
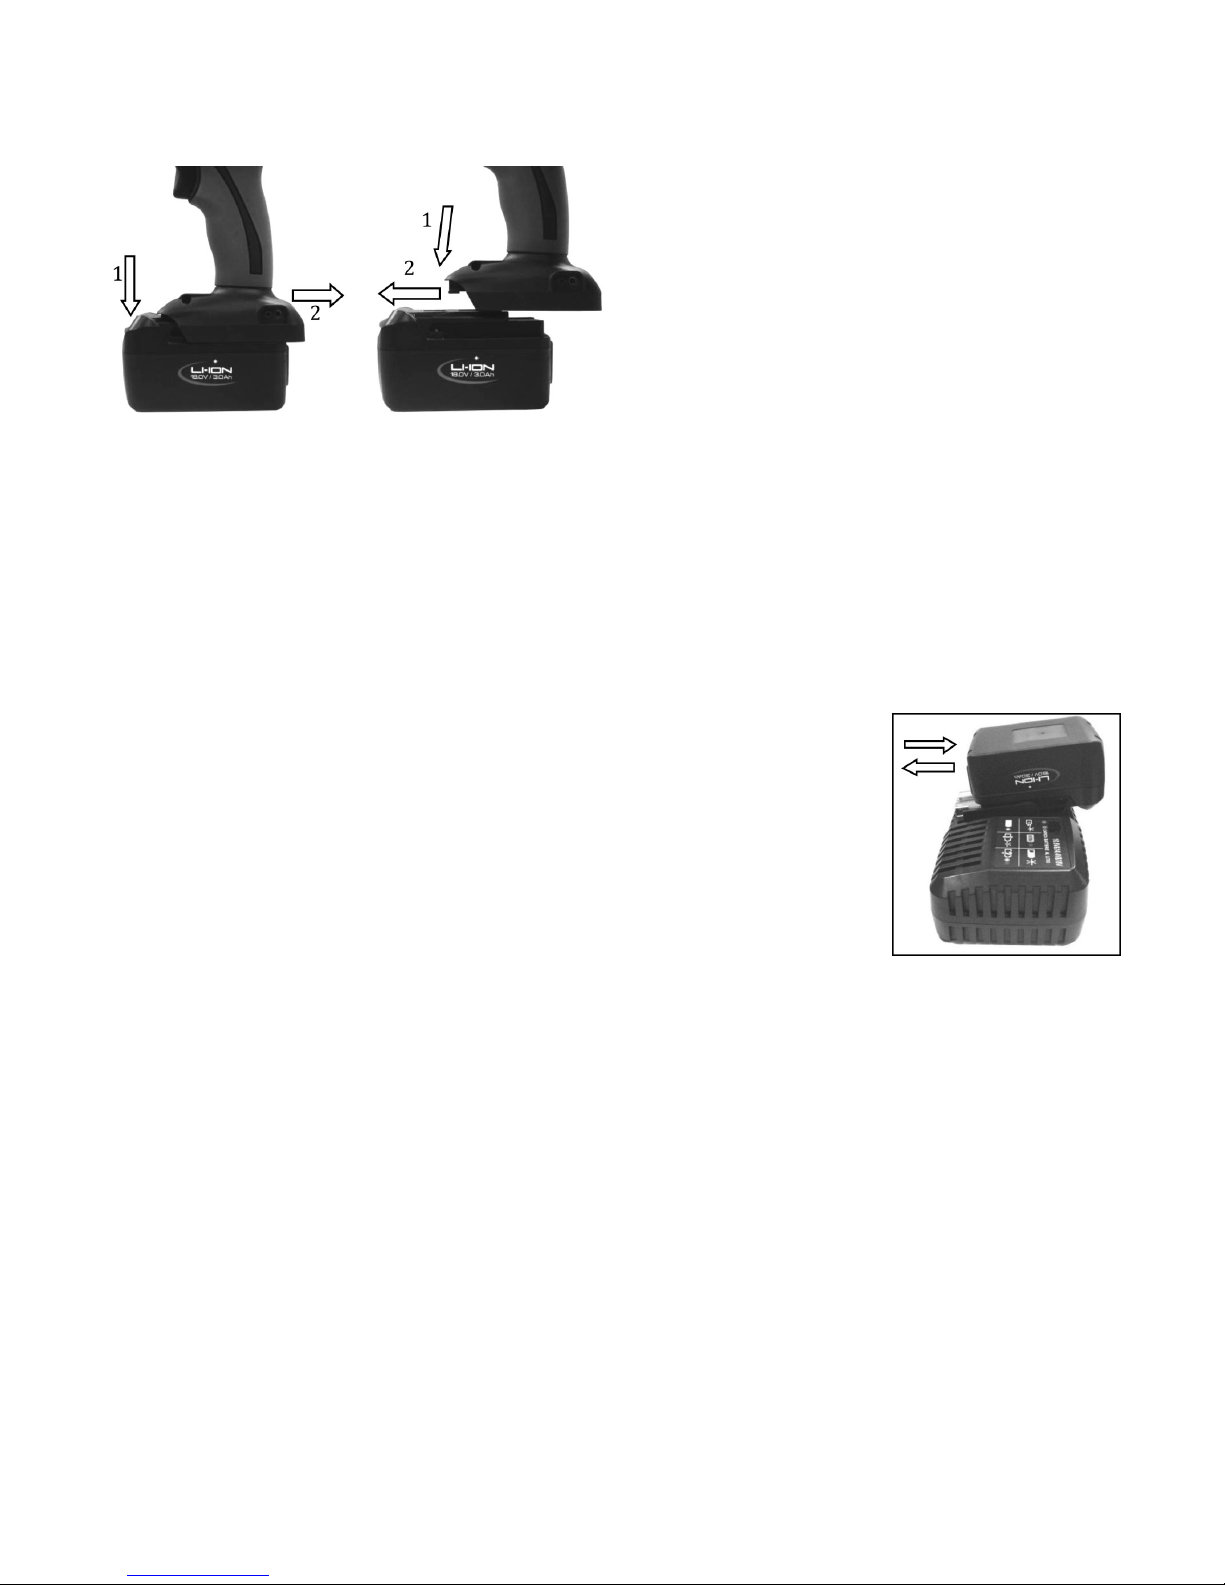
1. Make sure the charger is plugged into a 100-240V A/C outlet only.
2. If the battery pack is too hot or too cold, the charger will not fast charge the battery pack and the red Indicator
light is “blinking.” When the battery pack temperature returns to between 0°C (32°F) and 50°C (122°F),
the charger will automatically begin charging.
3. If both the red and the green indicator lights are “ON” the battery pack either does not comply or is defective.
Please contact your retailer.
4. Do not charge the battery pack in the rain, snow or a high temperature environment.
5. Do not charge battery pack when the environment temperature is bellow 0°C (32°F) or above 40°C (104°F)
6. If the battery pack has become cooler than 0°C, bring indoors and allow one hour for it to warm up before
starting the charge.
7. Remove the plug after finishing the charge.
8. Do not use a generator for charging the battery pack.
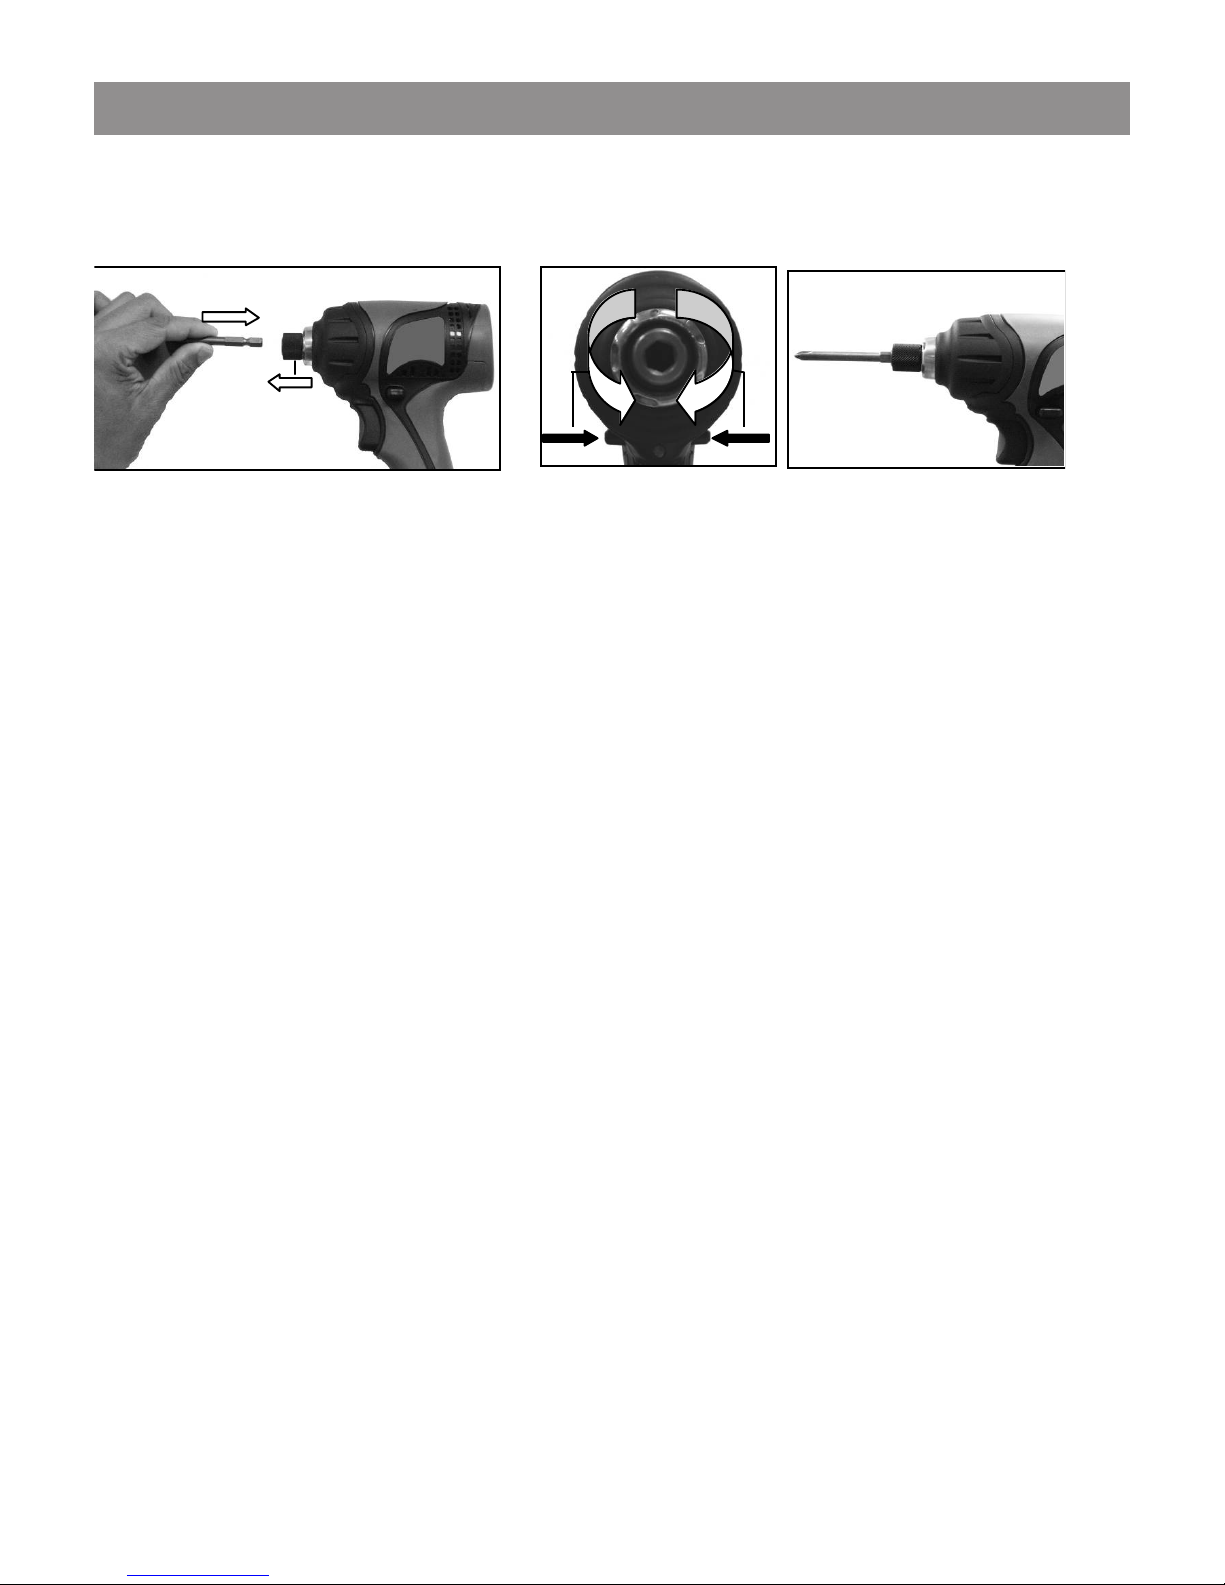
TOOL USE AND CARE
1. Use the right tool for the job. Do not attempt to force a small tool or attachment to do the work of a larger
industrial tool. The tool will perform better and more safely at the task for which it was intended. Do not modify
this tool or use for a purpose for which it was not designed.
2. Disconnect the battery pack form the tool and place the main switch in the locked or off position before making
any adjustments, changing accessories, or storing the tool. Such preventative safety measures reduce the risk of
starting the tool unintentionally.
3. Use only accessories that are recommended by the manufacturer for this tool. Accessories which may be
suitable for one tool may create a risk of injury when used in a different tool.
4. Maintain tools with care. Keep tools clean and in good condition for a better and safer performance. Follow
instructions for lubricating and changing accessories. Inspect tool fittings, alignment and cords periodically and,
if damaged, have them repaired by an authorized technician or replaced. The handles must be kept clean, dry
and free from oil and grease at all times. A properly maintained tool reduces the risk of binding and is easier to
control. Applying excessive force can lead to slips and damage to your work or personal injury.
5. Avoid unintentional starts. Be sure that the switch is in neutral or OFF position when not in use and before
connecting it to any power source. Do not carry the tool with fingers near or on the switch.
6. Only use the lubricants supplied with the tool or specified by the manufacturer. Other lubricants may not be
suitable and may damage the tool or even make the tool explode.
7. Do not wipe the plastic parts with solvents. Solvents such as gasoline, thinner, benzene, carbon tetrachloride,
alcohol, ammonia and oil containing chloric annex may damage and crack plastic parts. Do not wipe them
with such solvents.
Note: Wipe the plastic parts with a soft cloth lightly damped with soapy water
8. Maintain the label and name plate on the tool. These carry important information. If unreadable or missing,
contact Princess Auto for a replacement.
STORAGE
1. Avoid storing the battery pack in a container with other metal objects such as nails, coins, etc.
2. Do not store the machine and battery pack in locations where the temperature may reach or exceed
50°C (122°F)
3. Do not leave batteries unused for extended periods of time. Recharge the battery every 3 to 6 months and
bring the Li-Ion battery to 40 to 80% charge level before storing.
4. Li-Ion batteries are sensitve to high temperatures and should be kept in a cool, dry location, out of direct light
exposure. Ideal temperatures for operation and storage are bellow 25°C (77°F).