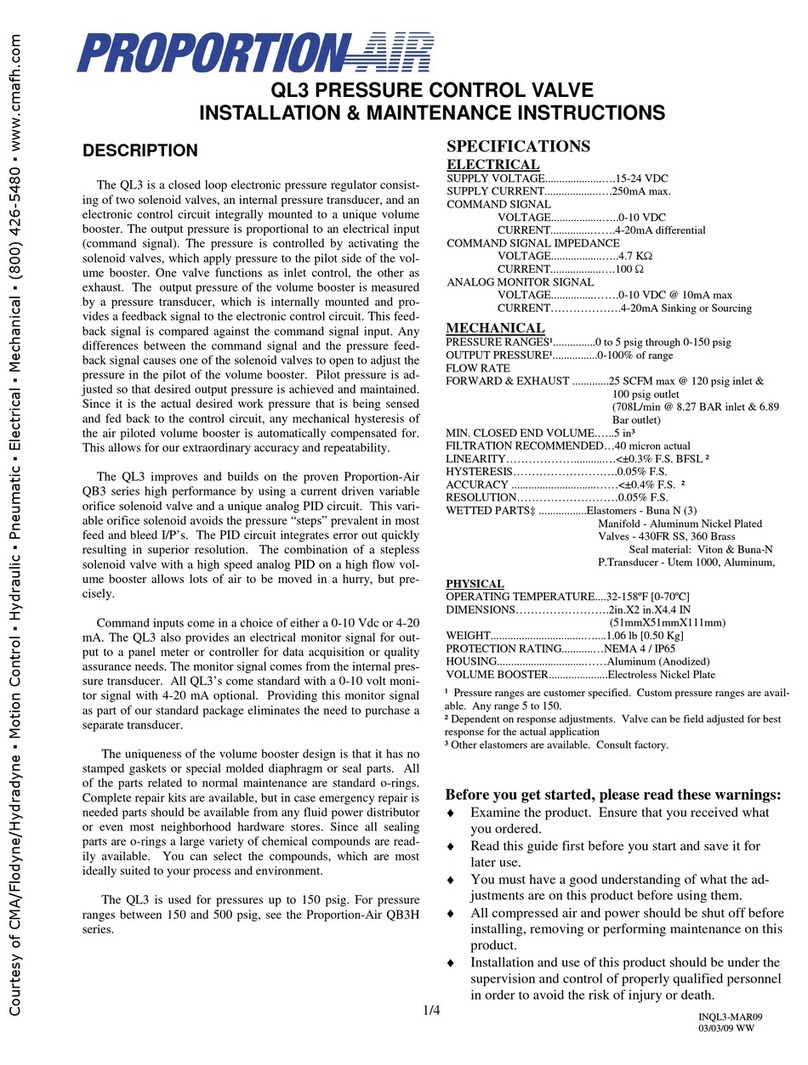
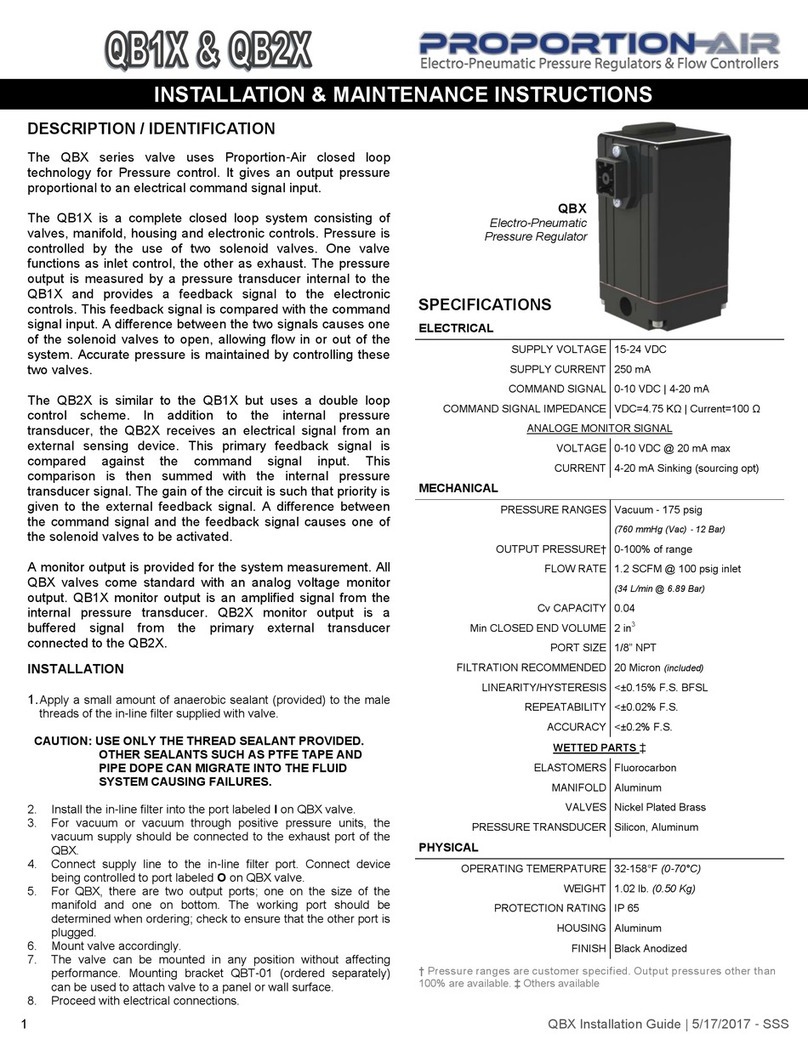
Proportion-Air QBS Series Installation and operating instructions

1QBS Installation Guide | 4/11/2016 - SSS
DESCRIPTION / IDENTIFICATION
The QBS stainless steel series valve uses Proportion- Air closed
loop technology for Pressure control. It gives an output pressure
proportional to an electrical command signal input.
The QB1 is a complete closed loop system consisting of valves,
manifold, housing and electronic controls. Pressure is controlled by
the use of two solenoid valves. One valve functions as inlet control,
the other as exhaust. The pressure output is measured by an
internal pressure transducer and provides a feedback signal to the
electronic controls. This feedback signal is compared with the
command signal input. A difference between the two signals causes
one of the solenoid valves to open, allowing flow in or out of the
system.
The QB2 is similar to the QB1 but uses a second feedback loop. In
addition to the internal pressure transducer, the QB2 receives an
electrical signal from an external sensing device. This primary
feedback signal is compared against the command signal input. This
comparison is then summed with the internal pressure transducer
signal. The gain of the circuit is such that priority is given to the
external feedback signal. A difference between the command signal
and the feedback signal causes one of the solenoid valves to be
activated.
A monitor output is provided for the system measurement. All QB
valves come standard with an analog voltage monitor output. QB1
monitor output is an amplified signal from the internal pressure
transducer. QB2 monitor output is a buffered signal from the primary
external transducer connected to the QB2.
INSTALLATION
1. Apply a small amount of anaerobic sealant (provided) to the
male threads of the in-line filter supplied with valve. CAUTION:
USE ONLY THE THREAD SEALANT PROVIDED. OTHER
SEALANTS SUCH AS PTFE TAPE AND PIPE DOPE CAN
MIGRATE INTO THE FLUID SYSTEM CAUSING FAILURES.
2. Install the in-line filter into the port labeled IN on QB valve.
3. For vacuum or vacuum through positive pressure units, the
vacuum supply should be connected to the exhaust port of the
QBX.
4. Connect supply line to the in-line filter port. Connect device
being controlled to port labeled OUT on QB valve.
5. Mount valve accordingly.
6. The valve can be mounted in any position without affecting
performance. Mounting bracket QBT-01 (ordered separately)
can be used to attach valve to a panel or wall surface.
7. Proceed with electrical connections.
INSTALLATION & MAINTENANCE INSTRUCTIONS
† Pressure ranges are customer specified. Output pressures other than
100% are available. ‡ Others available
ELECTRICAL
SUPPLY VOLTAGE 15-24 VDC
SUPPLY CURRENT 250 mA
COMMAND SIGNAL 0-10 VDC | 4-20 mA
COMMAND SIGNAL IMPEDANCE VDC=4.75 KΩ | Current=100 Ω
VOLTAGE MONITOR SIGNAL 0-10 VDC @ 20 mA
CURRENT MONITOR SIGNAL 4-20 mA Sinking (sourcing opt)
MECHANICAL
PRESSURE RANGES Full Vacuum - 500 psig
(760 mmHg (Vac) - 34 Bar)
OUTPUT PRESSURE† 0-100% of range
FLOW RATE 1.2 SCFM @ 100 psig inlet
(34 L/min @ 6.89 Bar)
Cv CAPACITY 0.04
Min CLOSED END VOLUME 1 in3
PORT SIZE 1/8“ NPT
FILTRATION RECOMMENDED 20 Micron (included)
LINEARITY/HYSTERESIS ±0.2% F.S. BFSL
REPEATABILITY ±0.05% F.S.
ACCURACY ±0.25% F.S.
WETTED PARTS ‡
ELASTOMERS Fluorocarbon
MANIFOLD Stainless Steel or Aluminum
VALVES Nickel Plated Brass
PRESSURE TRANSDUCER Stainless Steel
PHYSICAL
OPERATING TEMERPATURE 32-158°F (0-70°C)
WEIGHT 1.4 lb. (0.64 kg)
PROTECTION RATING NEMA 4
HOUSING Aluminum
FINISH Black Anodized
SPECIFICATIONS
QBS
with SS Manifold
Before you get started, please read these warnings
Examine the product. Ensure that you received what you ordered.
Read this guide first before you start and save it for later use.
You must have a good understanding of what the adjustments are on
this product before using them.
All compressed air and power should be shut off before installing,
removing or performing maintenance on this product.
Installation and use of this product should be under the supervision and
control of properly qualified personnel in order to avoid the risk of injury
or death.

2QBS Installation Guide | 4/11/2016 - SSS
-
+
PIN 6 {BLACK}
DC POWER (+)
PIN 5 {RED}
4-20mA MONITOR (-)
MA METER
PIN 6 {BLACK}
DC POWER (+)
PIN 1 {GREEN}
DC COMMON (-)
METER
-
+
PIN 5 {RED}
SIGNAL OUT
MA
ELECTRICAL CONNECTIONS
1. Turn off all power to valve.
2. Identify the valve’s command input and analog output
using the calibration card included in the package and the
ordering information section on the last page of this sheet.
3. Proceed to the appropriate section corresponding to the
type of valve being installed.
NOTE: ALL COLOR CODES RELATE TO THE FACTORY
WIRED QBT POWER CORD.
All voltage command QB's use common mode voltage,
meaning the DC Common pin (Pin 1) is the common
reference for both power and command. Pin 1 is used as both
the command signal common and power supply common.
The following diagram shows the proper connections.
PIN 4 {WHITE}
0-10 COMMAND (+)
PIN 1 {GREEN}
DC COMMON (-)
(POWER & COMMAND)
PIN 6 {BLACK}
DC POWER (+)
All current command QB's use a differential current loop
scheme (not isolated), meaning current flow is from Pin 4 to
Pin 2 on the QB valve. Some applications may require the
common of the power supply that provides loop power for the
4-20mA command to be tied to power supply common. The
following diagram shows the correct connection for
conventional current flow.
PIN 2 {BLUE}
4-20MA COMMAND (-)
PIN 4 {WHITE}
4-20MA COMMAND (+)
PIN 1 {GREEN}
DC COMMON (-)PIN 6 {BLACK}
DC POWER (+)
PIN 1 {GREEN}
DC COMMON (-)
(POWER & COMMAND) METER
-
+
PIN 5 {RED}
0-10V MONITOR (+)
V
CURRENT sinking Monitor (EC or IC)
Voltage Monitor (IE or EE)
CURRENT sourcing Monitor (ES or IS)CURRENT COMMAND VALVES (I)
VOLTAGE COMMAND VALVES (E)
COMMAND SIGNAL CONFIGURATIONS
MONITOR SIGNAL CONFIGURATIONS

3QBS Installation Guide | 4/11/2016 - SSS
All QB2 valves are designed to accept a 0-10 volt second
loop input signal, unless ordered with special option code
S230 (4-20 mA second loop input). Reference the following
wiring diagrams for details.
Standard QB2 valves
Second loop signal is wired into the main electrical connector.
PIN 3 {BROWN}
PIN 6 {BLACK}
3-wire
transducer
w/ 0-10 Vdc
output
PIN 1 {GREEN}
DC COMMON (-)
(POWER & COMMAND
QB2-C2 Option Valves
PIN 3 {BROWN}
2ND LOOP IN (-)
PIN 6 {BLACK}
DC POWER (+)
2-wire
transducer
w/ 4-20 mA
output
QB2-3D Option
Proportion-Air
DSY pressure
transducer
Red/White Signal In
Red/Black Power
Green Common
H23 COLOR CODE
RECEPTACLE
ELECTRICAL CONNECTIONS
1. Turn off all power to valve.
2. Identify the valve’s command input and analog output
using the calibration card included in the package and the
ordering information section on the last page of this sheet.
3. Proceed to the appropriate section corresponding to the
type of valve being installed.
NOTE: ALL COLOR CODES RELATE TO THE FACTORY
WIRED QBT POWER CORD.
All voltage command QB's use common mode voltage,
meaning the DC Common pin (Pin 1) is the common
reference for both power and command. Pin 1 is used as both
the command signal common and power supply common.
The following diagram shows the proper connections.
PIN 4 {WHITE}
0-10 COMMAND (+)
PIN 1 {GREEN}
DC COMMON (-)
(POWER & COMMAND)
PIN 6 {BLACK}
DC POWER (+)
All current command QB's use a differential current loop
scheme (not isolated), meaning current flow is from Pin 4 to
Pin 2 on the QB valve. Some applications may require the
common of the power supply that provides loop power for the
4-20mA command to be tied to power supply common. The
following diagram shows the correct connection for
conventional current flow.
PIN 2 {BLUE}
4-20MA COMMAND (-)
PIN 4 {WHITE}
4-20MA COMMAND (+)
PIN 1 {GREEN}
DC COMMON (-)PIN 6 {BLACK}
DC POWER (+)
QB2S with 3D Option
CURRENT COMMAND VALVES (I)
VOLTAGE COMMAND VALVES (E)
COMMAND SIGNAL CONFIGURATIONS
QB2S SECOND LOOP CONNECTIONS
Second loop signal is plugged into auxiliary receptacle on
opposite side.
QB2S with C2 Option (mA 2nd loop feedback)

4QBS Installation Guide | 4/11/2016 - SSS
RE-CALIBRATION PROCEDURE
All QBS control valves come calibrated from the factory by trained personnel using precision calibration equipment. The QBS valve is a
closed loop control valve using a precision electronic pressure sensor. Typical drift is less than 1% over the life of the product. If your
QBS valve appears to be out of calibration by more than 1%, it is not likely to be QBS. Check the system for plumbing leakage, wiring
and electronic signal levels. Verify the accuracy of your measuring equipment before re-calibrating. Consult factory if you have any
questions or require assistance. If the QBS valve needs re-calibration, use the procedure described below:
QB1 VALVES
1. Identify the inputs and outputs of the valve using the model number of the valve, calibration card included with the valve, and the
information provided in this sheet.
2. Connect a precision measuring gage or pressure transducer to the OUT port of the QBS.
NOTE: THERE MUST BE A CLOSED VOLUME OF AT LEAST 1 CU. IN. (17 CC) BETWEEN THE VALVE OUTLET AND THE
MEASURING DEVICE FOR THE VALVE TO BE STABLE.
3. Connect the correct supply source to the IN port of the QBS, making sure the pressure does not exceed the rating for the valve (See
Table 1).
4. Locate the plastic calibration access cap on top of the QBS valve and completely remove it. Located underneath are two adjustment
trimpots, Zero “Z” and Span “S”. See figure 1 for pots location.
5. NOTE: Only use this step if your device is totally out of calibration. If it is slightly out of calibration, omit this step and move on to
paragraph 6. Using a small screwdriver, turn both trimpots 15 turns clockwise. Then turn both trimpots 7 turns counterclockwise.
This will put the QBS roughly at mid-scale.
6. Make correct electrical connections as noted. Make sure there is a proper meter in place to measure the command input to the QBS.
7. Set the electrical command input to MAXIMUM value.
8. Adjust the SPAN pot until MAXIMUM desired pressure is reached (clockwise increases pressure).
9. Set the electrical command input to MINIMUM value.
10.Adjust the ZERO pot until MINIMUM desired pressure is reached (clockwise increases
pressure).
11. Repeat ZERO and SPAN adjustments, which interact slightly, until QB1 valve is
calibrated back to proper range. Step 6 - 9.
12. If at any time during the calibration procedure the QB control valve oscillates or
becomes unstable for more than one second, turn the HYSTERESIS potentiometer
(see Figure 1 for location) counter-clockwise until the oscillation stops, then turn it
one more complete turn (same direction).
13. Replace calibration access cap.
QB2 VALVES
This section assumes there is a properly scaled and calibrated transducer for
use as 2nd loop feedback signal. For information on re-calibrating Proportion-
Air DS series pressure transducers see DS Installation guide.
1. Follow, in order, steps 1-5 as noted in the section titled QB1 VALVES .
2. Make correct electrical connections as noted. Make sure there is a proper meter in place to measure the command input to the
QB2. Make sure the 2nd loop signal is connected.
3. Set the electrical command input to MAXIMUM value.
4. Adjust the SPAN pot until MAXIMUM desired pressure is reached (clockwise increases pressure).
5. Set the electrical command input to MINIMUM value.
6. Adjust the ZERO pot until MINIMUM desired pressure is reached (clockwise increases pressure).
7. Repeat ZERO and SPAN adjustments, which interact slightly, until QB2 valve is calibrated back to proper range. Steps 3 - 6.
8. If at any time during the calibration procedure the QB control valve oscillates or becomes unstable for more than one second, turn
the HYSTERESIS potentiometer (see Figure 1 for location) counter-clockwise until the oscillation stops, then turn it one more
complete turn (same direction).
9. Replace calibration access cap.
RATED INLET PRESSURE FOR STANDARD QBS VALVES
TABLE 1
MAX. calibrated pressure Max. inlet pressure
Vacuum up to 10 psig (0.69 bar) Consult Factory
10.1 up to 30 psig (0.70 up to 2 bar) 35 psig (2.4 bar)
31 up to 100 psi (2.1 up to 7 bar) 110 psig (7.6 bar)
101 up to 175 psig (7 up to 12 bar) 190 psig (13 bar)
176 up to 300 psig (12.1 up to 20.7 bar) 330 psig (22.8 bar)
301 up to 500 psig (20.8 up to 34.5 bar) 550 psig (37.9 bar)
ZERO
SPAN
HYSTERESIS
Figure 1

5QBS Installation Guide | 4/11/2016 - SSS
DIMENSIONS
QBTS-02

6QBS Installation Guide | 4/11/2016 - SSS
Safety Precauons
Please read all of the following Safety Precauons before installing or
operang any Proporon-Air, Inc. equipment or accessories. To conrm safety,
be sure to observe ‘ISO 4414: Pneumac Fluid Power - General rules relang to
systems’ and other safety pracces.
Improper operaon could result in serious injury to persons or loss of life!
1. PRODUCT COMPATIBILITY
Proporon-Air, Inc. products and accessories are for use in industrial pneumac
applicaons with compressed air media. The compability of the equipment is the
responsibility of the end user. Product performance and safety are the responsibility of
the person who determined the compability of the system. Also, this person is
responsible for connuously reviewing the suitability of the products specied for the
system, referencing the latest catalog, installaon manual, Safety Precauons and all
materials related to the product.
2. EMERGENCY SHUTOFF
Proporon-Air, Inc. products cannot be used as an emergency shuto. A redundant safety
system should be installed in the system to prevent serious injury or loss of life.
3. EXPLOSIVE ATMOSPHERES
Products and equipment should not be used where harmful, corrosive or explosive
materials or gases are present. Unless cered, Proporon-Air, Inc. products cannot be
used with ammable gases or in hazardous environments.
4. AIR QUALITY
Clean, dry air is not required for Proporon-Air, Inc. products. However, a 40 micron
parculate lter is recommended to prevent solid contaminaon from entering the
product.
5. TEMPERATURE
Products should be used with a media and ambient environment inside of the specied
temperature range of 32°F to 158°F. Consult factory for expanded temperature ranges.
6. OPERATION
Only trained and cered personnel should operate electronic and pneumac machinery
and equipment. Electronics and pneumacs are very dangerous when handled
incorrectly. All industry standard safety guidelines should be observed.
7. SERVICE AND MAINTENANCE
Service and maintenance of machinery and equipment should only be handled by trained
and experienced operators. Inspecon should only be performed aer safety has been
conrmed. Ensure all supply pressure has been exhausted and residual energy
(compressed gas, springs, gravity, etc.) has been released in the enre system prior to
removing equipment for service or maintenance.
Warning
Improper operaon could result in serious injury to persons or damages to equipment!
1. PNEUMATIC CONNECTION
All pipes, pneumac hose and tubing should be free of all contaminaon, debris and chips
prior to installaon. Flush pipes with compressed air to remove any loose parcles.
2. THREAD SEALANT
To prevent product contaminaon, thread tape is not recommended. Instead, a non-
migrang thread sealant is recommended for installaon. Apply sealant a couple threads
from the end of the pipe thread to prevent contaminaon.
3. ELECTRICAL CONNECTION
To prevent electronic damage, all electrical specicaons should be reviewed and all
electrical connecons should be veried prior to operaon.
Exempon from Liability
1. Proporon-Air, Inc. is exempted from any damages resulng from any operaons not
contained within the catalogs and/or instrucon manuals and operaons outside the
range of its product specicaons.
2. Proporon-Air, Inc. is exempted from any damage or loss whatsoever caused by
malfuncons of its products when combined with other devices or soware.
3. Proporon-Air, Inc. and its employees shall be exempted from any damage or loss
resulng from earthquakes, re, third person acons, accidents, intenonal or
unintenonal operator error, product misapplicaon or irregular operang condions.
4. Proporon-Air, Inc. and its employees shall be exempted from any damage or loss,
either direct or indirect, including consequenal damage or loss, claims, proceedings,
demands, costs, expenses, judgments, awards, loss of prots or loss of chance and any
other liability whatsoever including legal expenses and costs, which may be suered or
incurred, whether in tort (including negligence), contract, breach of statutory duty, equity
or otherwise.
Warranty
Proporon-Air, Inc. products are warranted to the original purchaser only against defects in
material or workmanship for one (1) year from the date of manufacture. The extent of
Proporon-Air’s liability under this warranty is limited to repair or replacement of the defecve
unit at Proporon-Air’s opon. Proporon-Air shall have no liability under this warranty where
improper installaon or ltraon occurred.
Cauon
This manual suits for next models
2
Table of contents
Other Proportion-Air Control Unit manuals
