PRORECK CLUB 8000 User manual
www.proreck.com
sales-1@proreck.com
Introduction
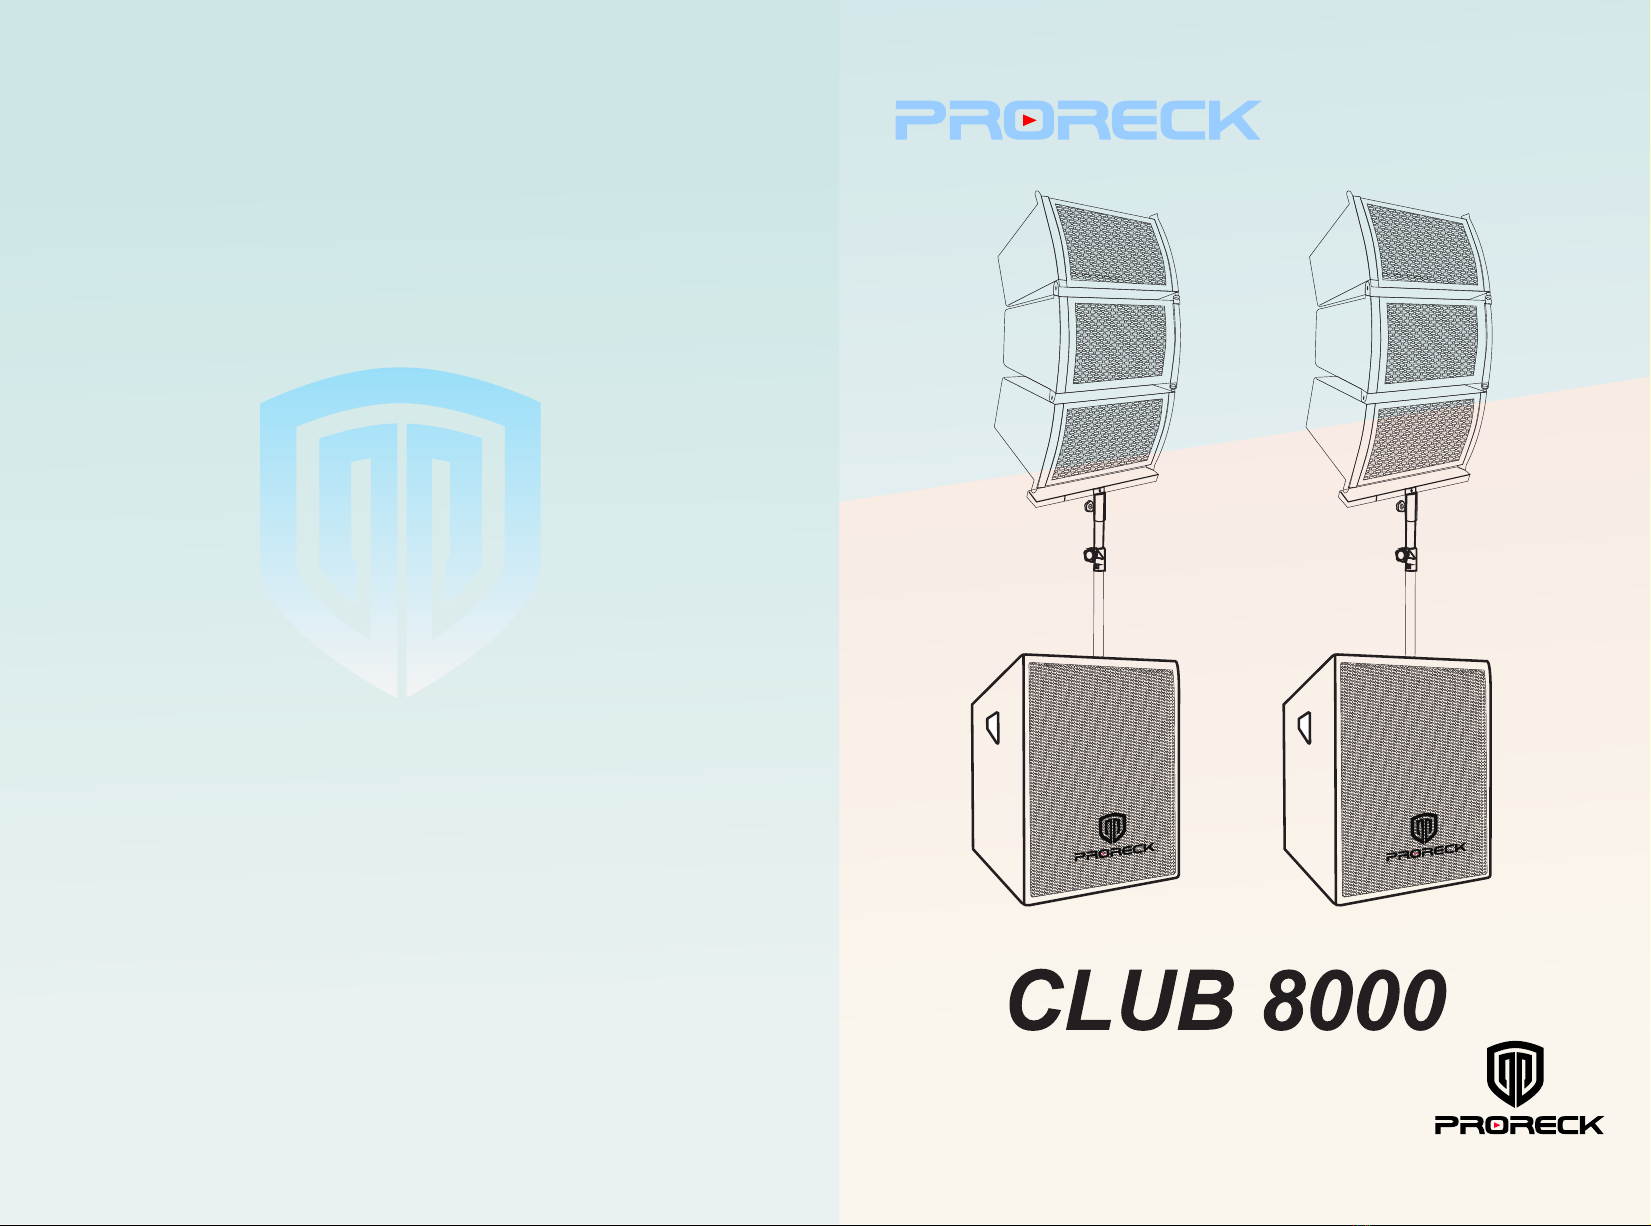
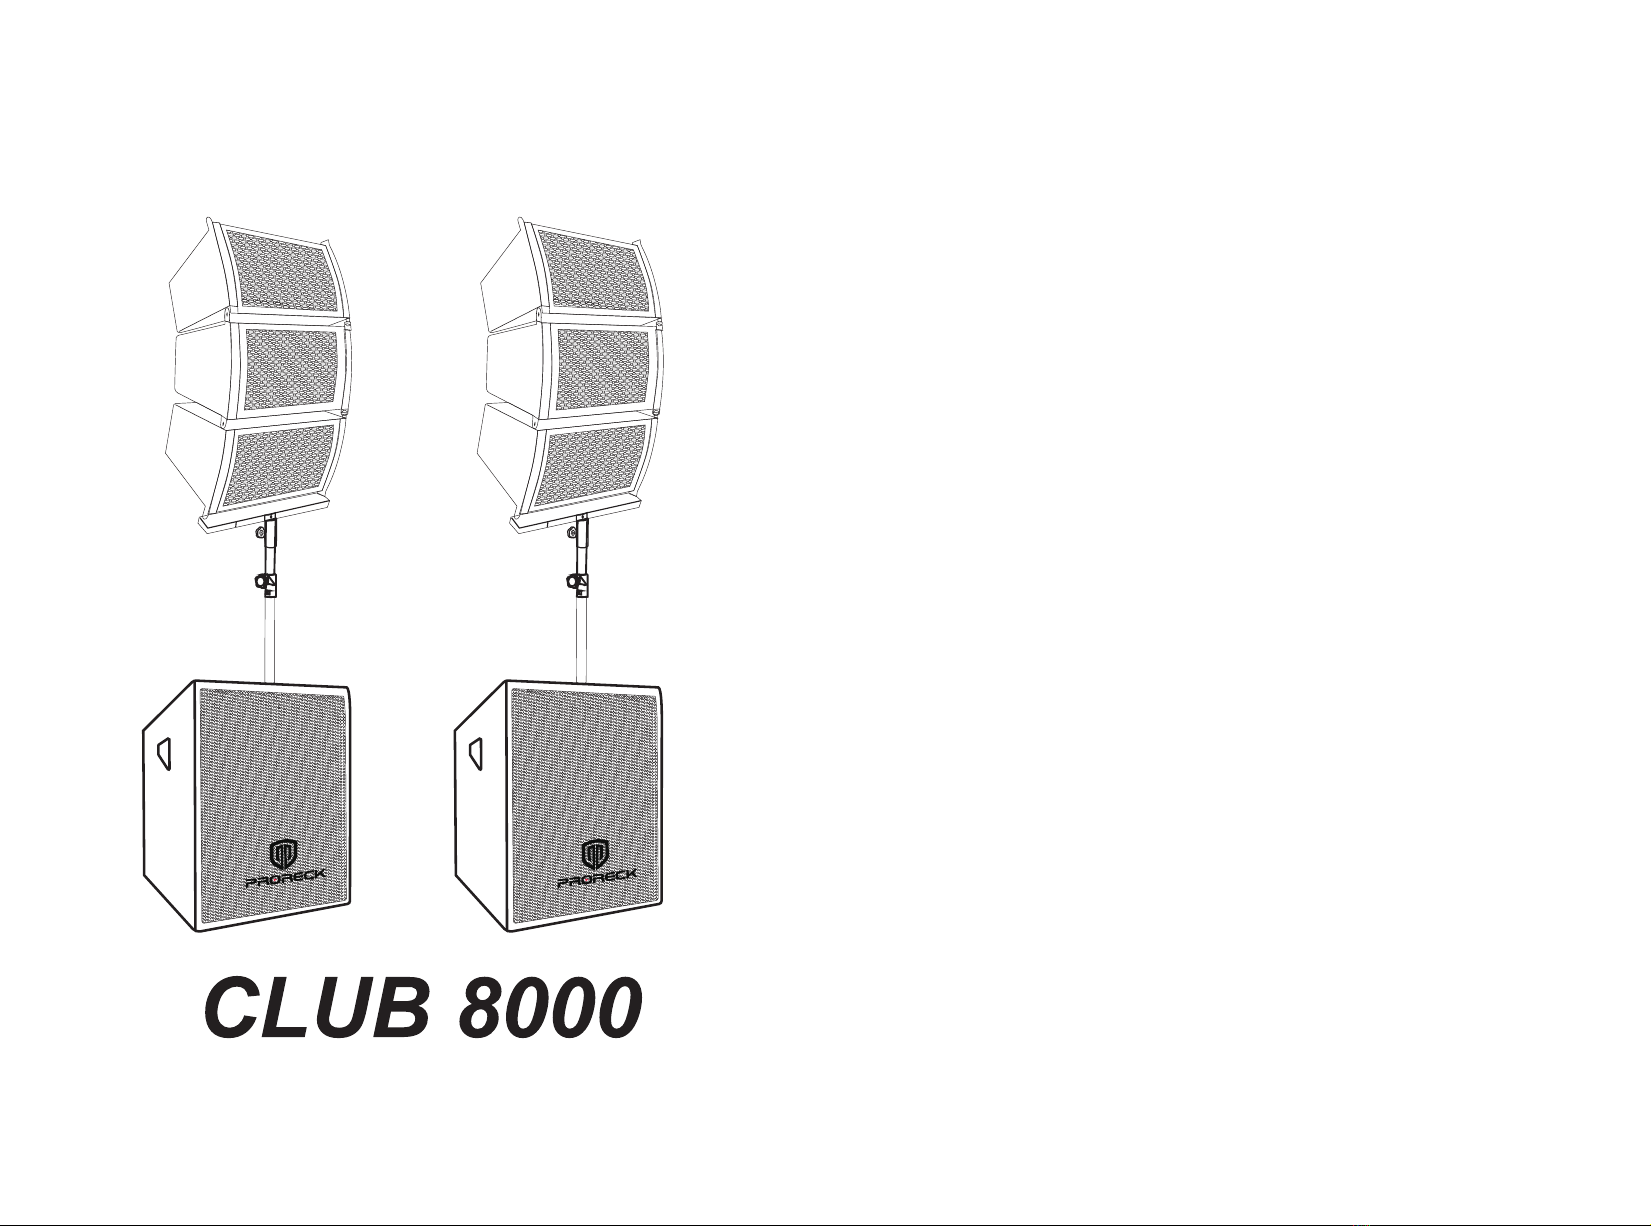
The portable CLUB 8000 speaker system consists of two 3X6-inch array speakers,
two 18-inch subwoofers with a built-in 8000 watts amplifier. The amplifier features 5-channel inputs,
as well as a digital media player with USB/SD, Bluetooth functions.
1
www.proreck.com
sales-1@proreck.com
Visit our website for pdf manual or other issues :www.proreck.com
Feel free to contact us via sales-1@proreck.com
Contact Us

Dimensions and Specifications
72
Getting Started
The following steps will help you set up the CLUB 8000 quickly.
1.Read instructions carefully and check all components are included in the package.
2.Turn down all volume knobs (SUB VOLUME,MP3/BT VOLUME,MASTER VOLUME,MIC VOLUME).
3.Plug in and turn on the speaker.
4.Connect your devices.
5.Slowly adjust the volume knobs of the corresponding channel to a comfortable listening level.
MIC INSTRUCTIONS
2.Turn the MIC volume, SUB volume and MASTER volume to the MIN level.
3.Connect the microphone to mic input with a 6.35mm or XLR cable.
1.Plug in and turn on the power.
4.Turn the MIC volume, SUB volume and MASTER volume to a suitable level.
OUTPUT INSTRUCTIONS
1
3.Connect additional powered speakers or amplifier through the XLR cable.
1.Plug in and turn on the power.
4.Turn the MASTER volume to a suitable level.
2.Turn the MASTER volume to the MIN level.
2
Power Output
Subwoofer Size
Input Connections
Output Connections
8000 watts
18-inch
USB/SD (for MP3 media) & Bluetooth
RCA & AUX in
Combo line input (XLR/TS)
Mic input (XLR/TS)
Balanced XLR
34
3.Connect a music device through the RCA or AUX or Combo line input (XLR/TS) cable.
4.Turn the SUB volume and MASTER volume to a suitable level.
1.Plug in and turn on the power.
2.Turn the SUB volume and MASTER volume to the MIN level.
LINE IN INSTRUCTIONS
45
3
12
R
L
POWER
L
R
14
23MICVOLUME
MIN MAX
MIN MAX
SUB
VOLUME MASTER
VOLUME
MIN MAX
POWER
POWER MASTERVOLUME
MIN MAX
MASTERVOLUME
MIN MAX
RISK OF ELECTRIC SHOCK! DO NOT OPEN.
CAUTION: TO REDUCE THE RISK OF ELECTRIC SHOCK,
DO NOT REMOVE COVER (OR BACK).
1.Read the instructions carefully before use and keep the manual for further use.
2.Follow all instructions. Improper use may cause damage to the unit.
3.Do not expose the unit to rain or moisture.
4.Do not block any ventilation opening. Install in accordance with the manufacturer’s instructions.
5.Do not install near any heat sources, such as radiators, heat sources, stoves,
or other units that produce heat.
6.Clean only with a dry cloth.
7.Unplug the unit during lighting storms or when unused for long periods of time
8.Refer all servicing to qualified service personnel. Servicing is required when the unit has been
damaged in any way, such as power supply cord or plug is damaged, liquid has been spilled or
objects have fallen into the unit, the unit has been exposed to rain or moisture, operate abnormally.
9.This unit shall not be exposed to dripping pr splashing.
10.Do not place objects filled with liquids, such as vases or beer glasses, on the unit.
11.Do not overload wall outlets and extension cords as this can result in a risk of fire or electric shock.
Important Safety Instructions
MIN MAX
SUB
VOLUME MASTER
VOLUME
MIN MAX
MIN MAX
SUB
VOLUME MASTER
VOLUME
MIN MAX
R
L
MICVOLUME
MIN MAX
MIN MAX
SUB
VOLUME MASTER
VOLUME
MIN MAX
54
Remote Control Function(It's only available with media player)
ECHO LEVEL CONTROL
Use this knob to increase or reduce the micro
phones' echo effect.
11
MIC1 & MIC2 VOLUME CONTROL
Use this knob to control the volume of the
microphones.
12
MICROPHONE INPUT
Use these microphone combo input(XLR/TS)
connectors to connect the microphone to the
CLUB 8000 system.
13
14
17 115/230V AC SELECTOR
The CLUB 8000 system can operate in a 115V or
230V environment. Before connecting the CLUB
8000 system to a power source, simply slide the
selector switch to the required power input setting.
15 MAIN POWER SWITCH
This switch controls the AC power going to the
CLUB 8000 system. We suggest keeping the switch
in the OFF position when the system is not being
used for an extended period of time.
16 AC POWER WITH BUILT-IN FUSE
This AC line connector is fused to protect the
amplifier from unwanted power surges. Be sure to
use the proper fuse rating (T5AL 250V)when
replacing the existing fuse. To access the fuse
compartment, simply unplug the power cable from
the subwoofer, place a flat-head screwdriver in the
small notch and pry it open.
XLR OUTPUT
Use these XLR connectors to link CLUB 8000
system to the additional powered speakers or
amplifier.
18 Mp3 PLAYER
Please refer to the next page for details of this
digital media player.
MODE
EQ
--
---
MODE
EQ
VOL+
VOL-
---
123
456
789
0
-- ---
9
9
-
0
VOL+ VOL-
SUB VOLUME CONTROL
Use this knob to adjust the volume of the
subwoofer and any auxiliary sub.
6
9AUXILIARY INPUT
Use this 3.5mm input to connect the CLUB
8000 system to a computer,mobile device,etc.
10 BALANCED INPUT
Use these XLR and 1/4" TRS combo jack to
connect an audio interface or mixer to
CLUB 8000 system.
3POWER LED
This LED indicator reflects the main power status of
the amplifier. The LED will light up only when the
sub is connected to a power source and its main
power switch is in the ON position.
4PHASE SWITCH
This 0°(out)/ 180°(in) phase switch allows user to
synchronize the subwoofer to obtain better and
more precise bass response.
5LIMIT
This red LED indicator will light and flash when the
amplifier senses distortion on the sub. Simply reduce
the input's volume when this LED lights up.
7MASTER VOLUME CONTROL
Use this knob to control the volume of the entire
CLUB 8000 system (subwoofers and array
speakers).
8RCA INPUT
Use this RCA input to connect the CLUB 8000
system to a computer, mobile device, etc.
1MP3/BT VOLUME CONTROL
Use this knob to adjust the volume for the input
when using USB/SD or Bluetooth mode.
2SUB FREQUENCY CONTROL
Use this 40Hz-160Hz knob to set the subwoofer's
cut off frequency. Signals above the set crossover
frequency will be gradually rolled off to prevent them
from interfering with the array speakers.
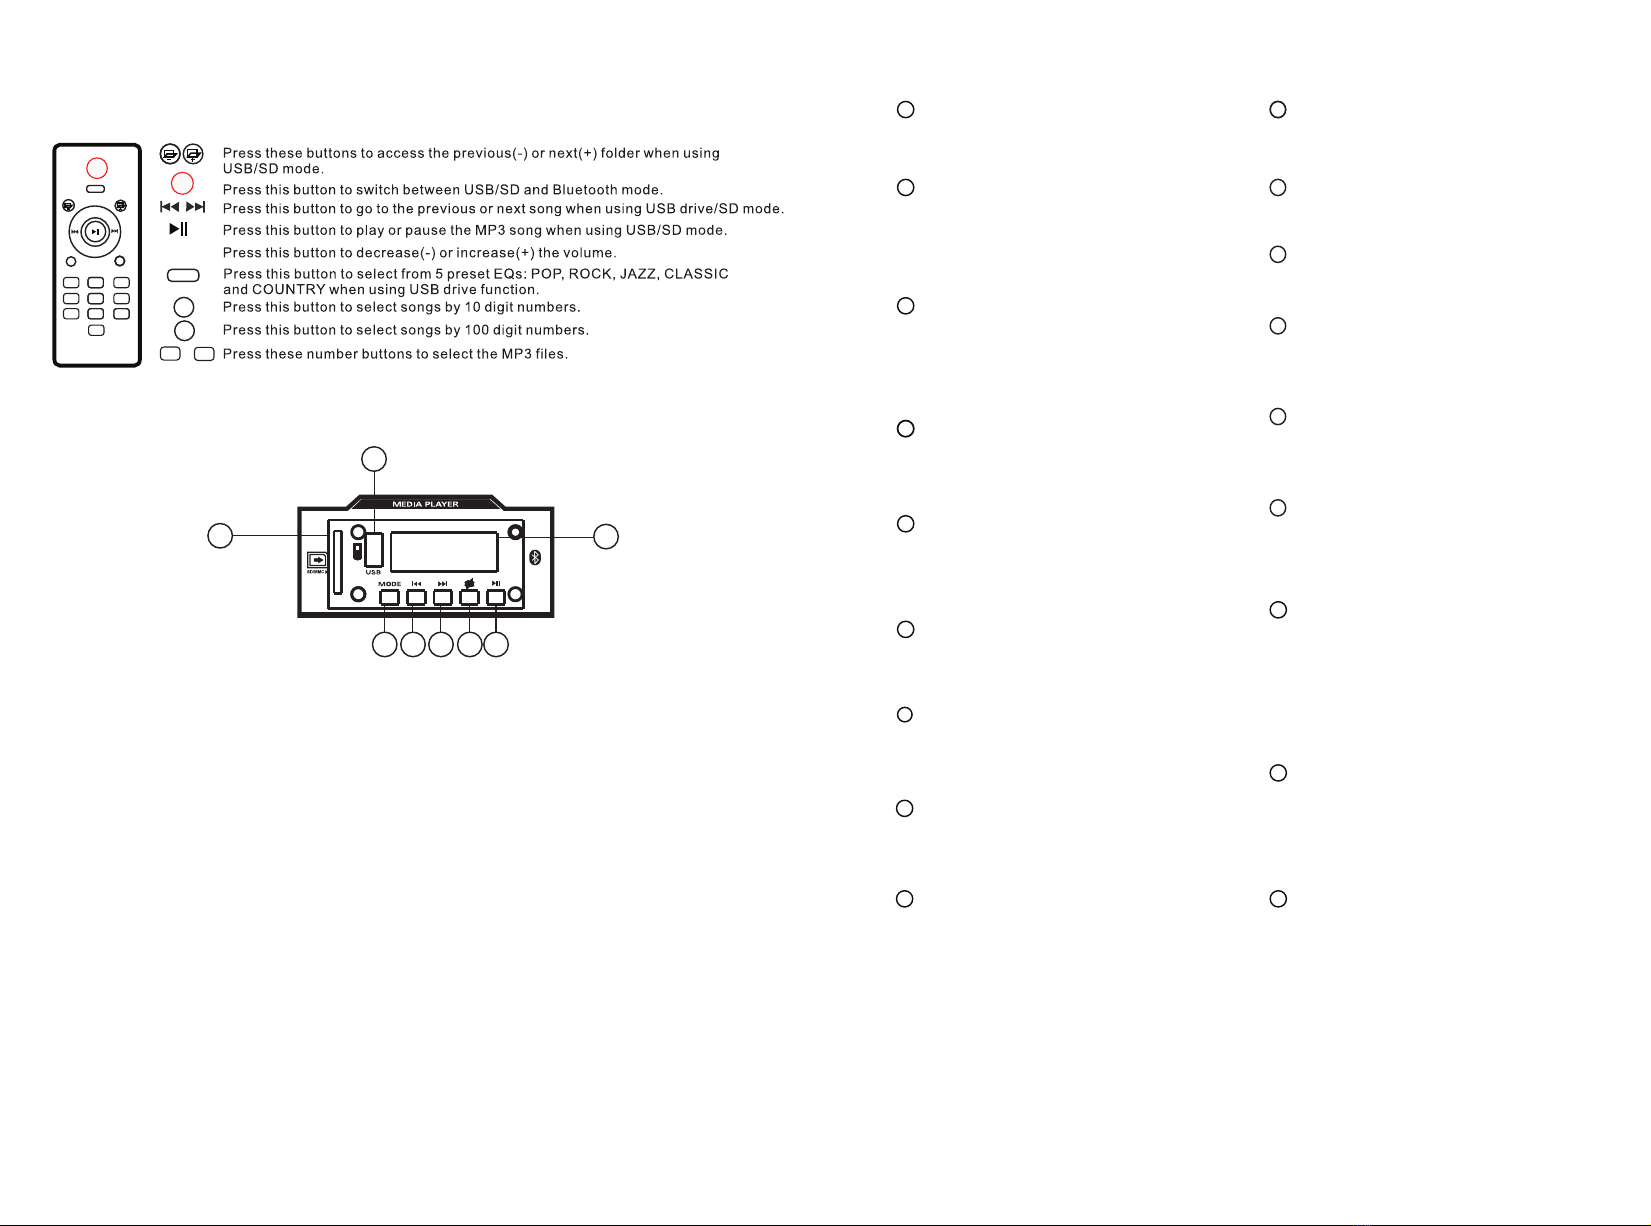
Mp3 Player Overview
Use it to insert a SD card with MP3 files.
b: USB PORT
c : LCD SCREEN
This screen will help you navigate between the modes and folders.
Press this button to play or pause the MP3 song when using USB/SD/Bluetooth mode.
e: REPEAT BUTTON
When using USB/SD mode. press to select repeat mode. We provide 4 modes: Repeat all/ Repeat one/
Random/Folder Repeat all.
a: SD PORT
Use it to insert a USB memory storage device with MP3 files.
d: PLAY/PAUSE BUTTON
Press and hold to enter folder mode,the screen will show “FLOD”. Then previous button or next button to select your
favourite folder.
f: NEXT BUTTON
Press this button to switch between USB/SD and Bluetooth modes.
When using USB/SD/Bluetooth mode, press this button to go to the next song. Press and hold to increase the volume.
g: PREVIOUS BUTTON
h: MODE BUTTON
ONE:Means repeating the current song.
ALL: Means playing all songs in sequence.
RAN:Means playing all songs randomly.
FOLD:Means repeating all songs in the current folder.
When using USB/SD/Bluetooth mode, press this button to go back to the previous song. Press and hold to decrease
the volume.
a
b
c
d
e
f
g
h

6
3
NOTE: After connecting to bluetooth, please turn up the volume of your device.
5.Turn the MP3/BT volume ,SUB volume and MASTER volume to a suitable level.
4.Search and connect to a Bluetooth named “proreck”. When your device shows that it has been connected
successfully and "BLUE" on the LCD display stops flashing, it means that your device has been connected.
3.Press the MODE button to find “BLUE” on the LCD display.
2.Turn the MP3/BT volume ,SUB volume and MASTER volume to the MIN level.
1.Plug in and turn on the power.
BLUETOOTH INSTRUCTIONS
3.Insert a SD card or USB memory storage device to the SD port or USB port.
NOTE:MP3, cellphone, ipad and PC can not be read by USB. You may connect them by BLUETOOTH or
LINE IN function.
1.Plug in and turn on the power.
2.Turn the MP3/BT volume ,SUB volume and MASTER volume to the MIN level.
4.Turn the MP3/BT volume ,SUB volume and MASTER volume to a suitable level.
SD/USB INSTRUCTIONS
Amplifier Overview
2 3 4 5 61 7
8
9
10
11
12
13
14
16 15
18
17
USB
1
POWER
23
OR
6
3
4
1POWER
5
2
Applications
MP3/BTVOLUME
MIN MAX
MIN MAX
SUB
VOLUME MASTER
VOLUME
MIN MAX
MP3/BTVOLUME
MIN MAX
MIN MAX
SUB
VOLUME MASTER
VOLUME
MIN MAX
MP3/BTVOLUME
MIN MAX
MIN MAX
SUB
VOLUME MASTER
VOLUME
MIN MAX
Table of contents
Other PRORECK Speakers System manuals


