●Lea y siga las instrucciones de montaje. Asegúrese
de que el andamio esté ensamblado correctamente.
●Revise siempre el andamio antes de usarlo. No lo use si
está dañado o le faltan piezas
●No use este equipo si no está bien de salud, está
tomando medicamentos, fármacos o ha consumido alcohol
o drogas, puesto que podría afectar su capacidad de
trabajar de manera segura en este producto.
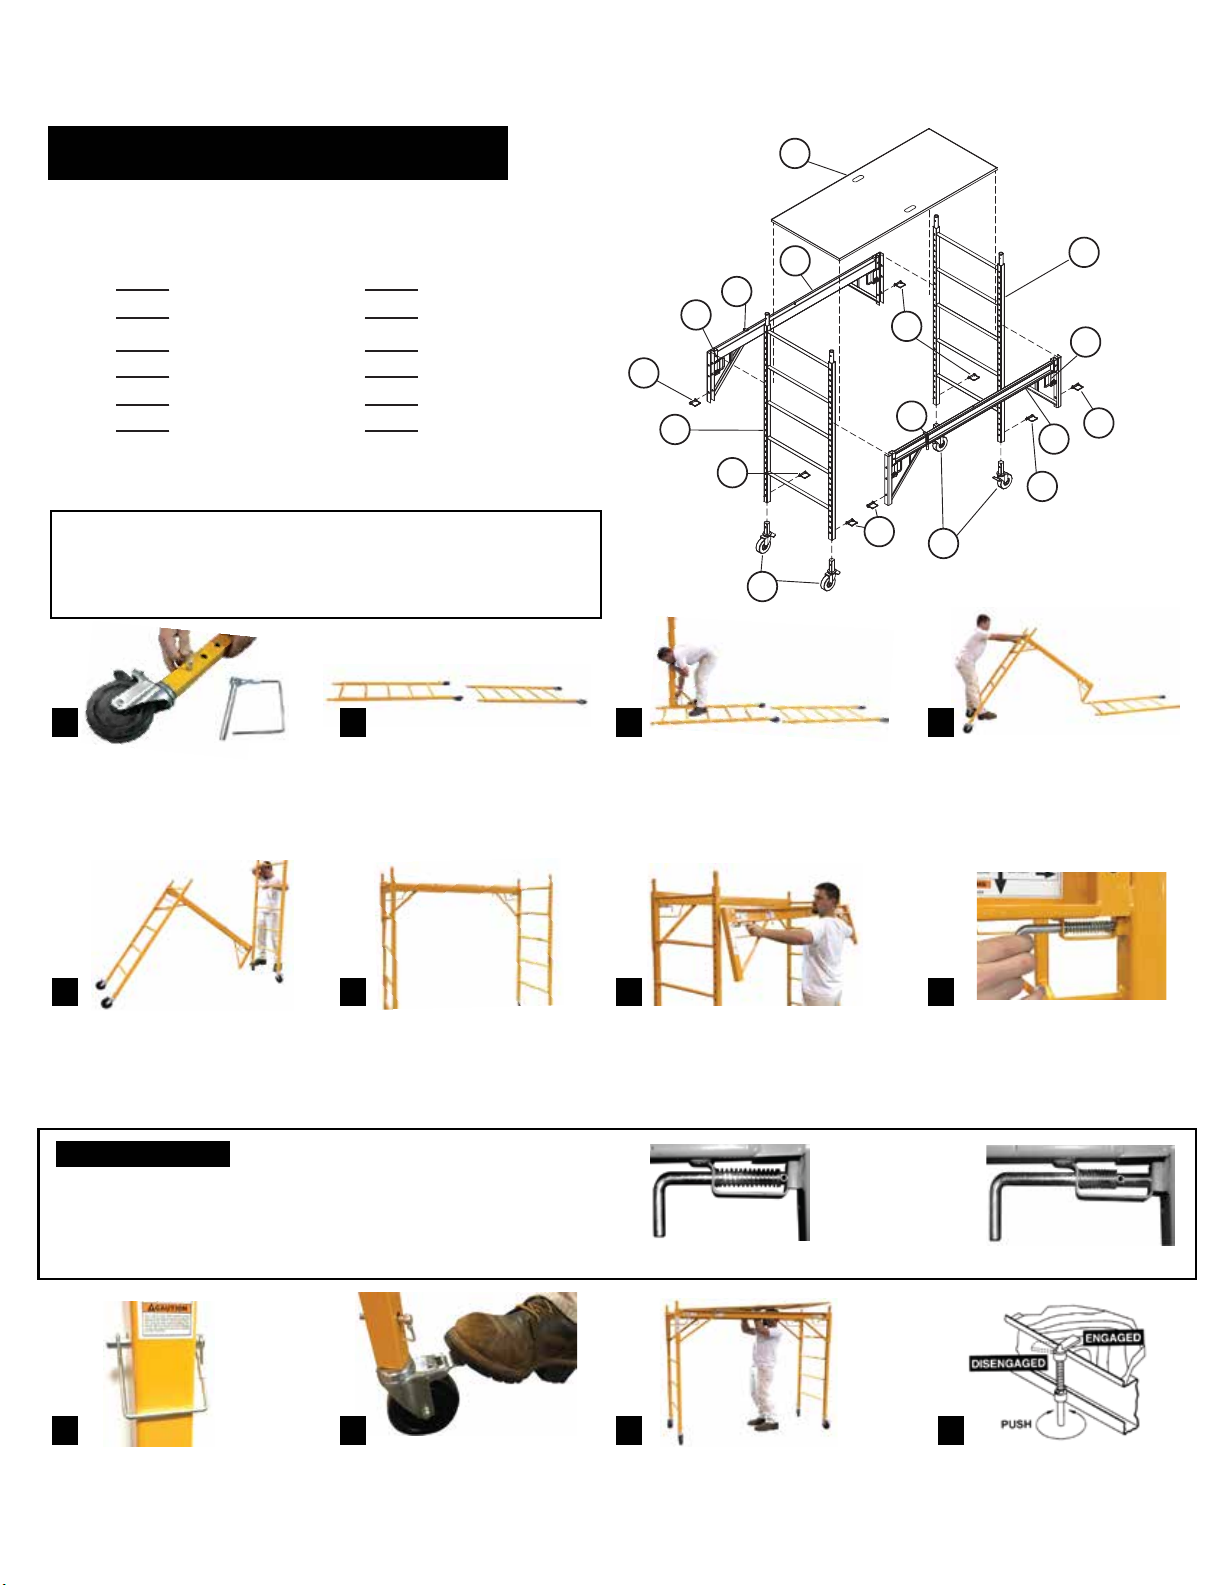
●Cuando se esté usando, las ruedas deben estar
trabadas, con los pines de traba insertados.
●Trabe las ruedas, los soportes y la plataforma antes de
cada uso. La plataforma debe estar completamente
instalada dentro de los soportes del andamio y trabada con
los pestillos de seguridad antes de cada uso.
●Revise la plataforma de madera antes de usarlo. Debe
revisar que no haya componentes del marco de acero de la
plataforma sueltos o faltantes, que no haya agujeros
grandes o áreas desgastadas en el contrachapado.
Sustituya de inmediato una plataforma desgastada o
dañada.
●Debe revisar el andamio y los soportes para garantizar
que los mecanismos de trabado estén funcionando
correctamente. No se debe usar ningún soporte que tenga
dispositivos de trabado dañados.
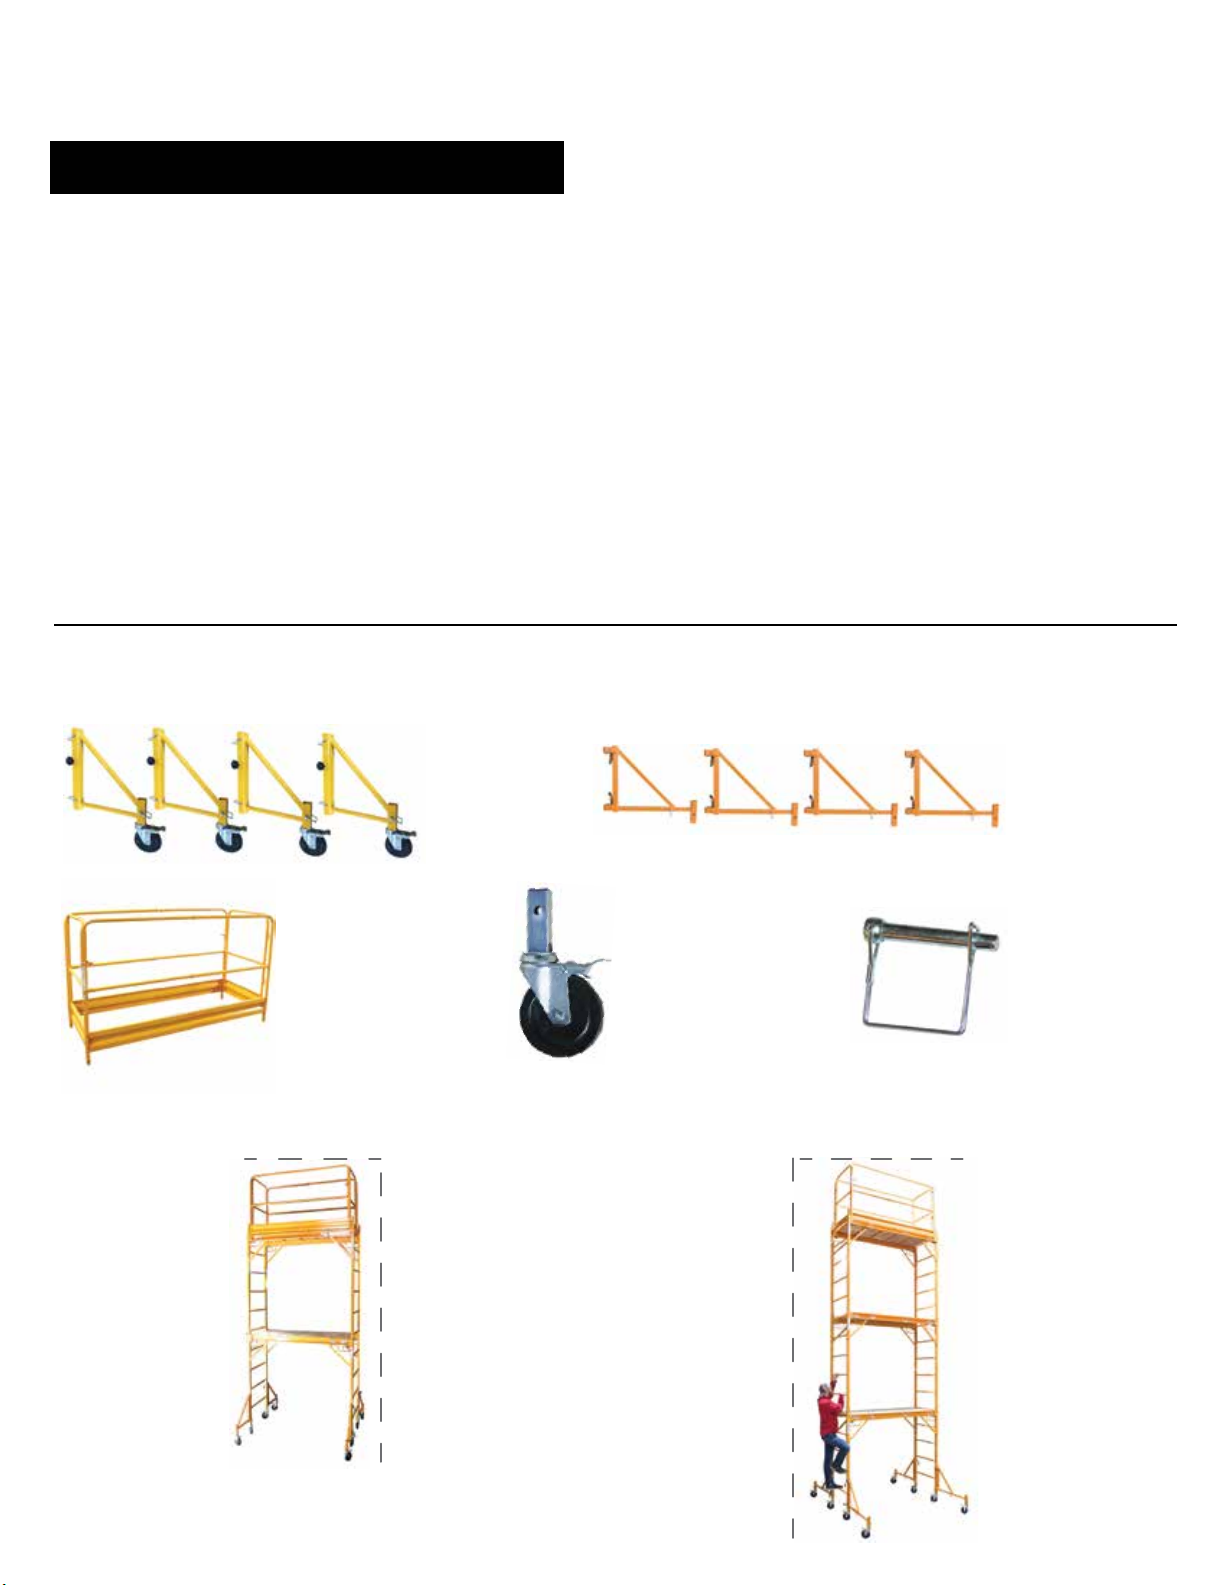
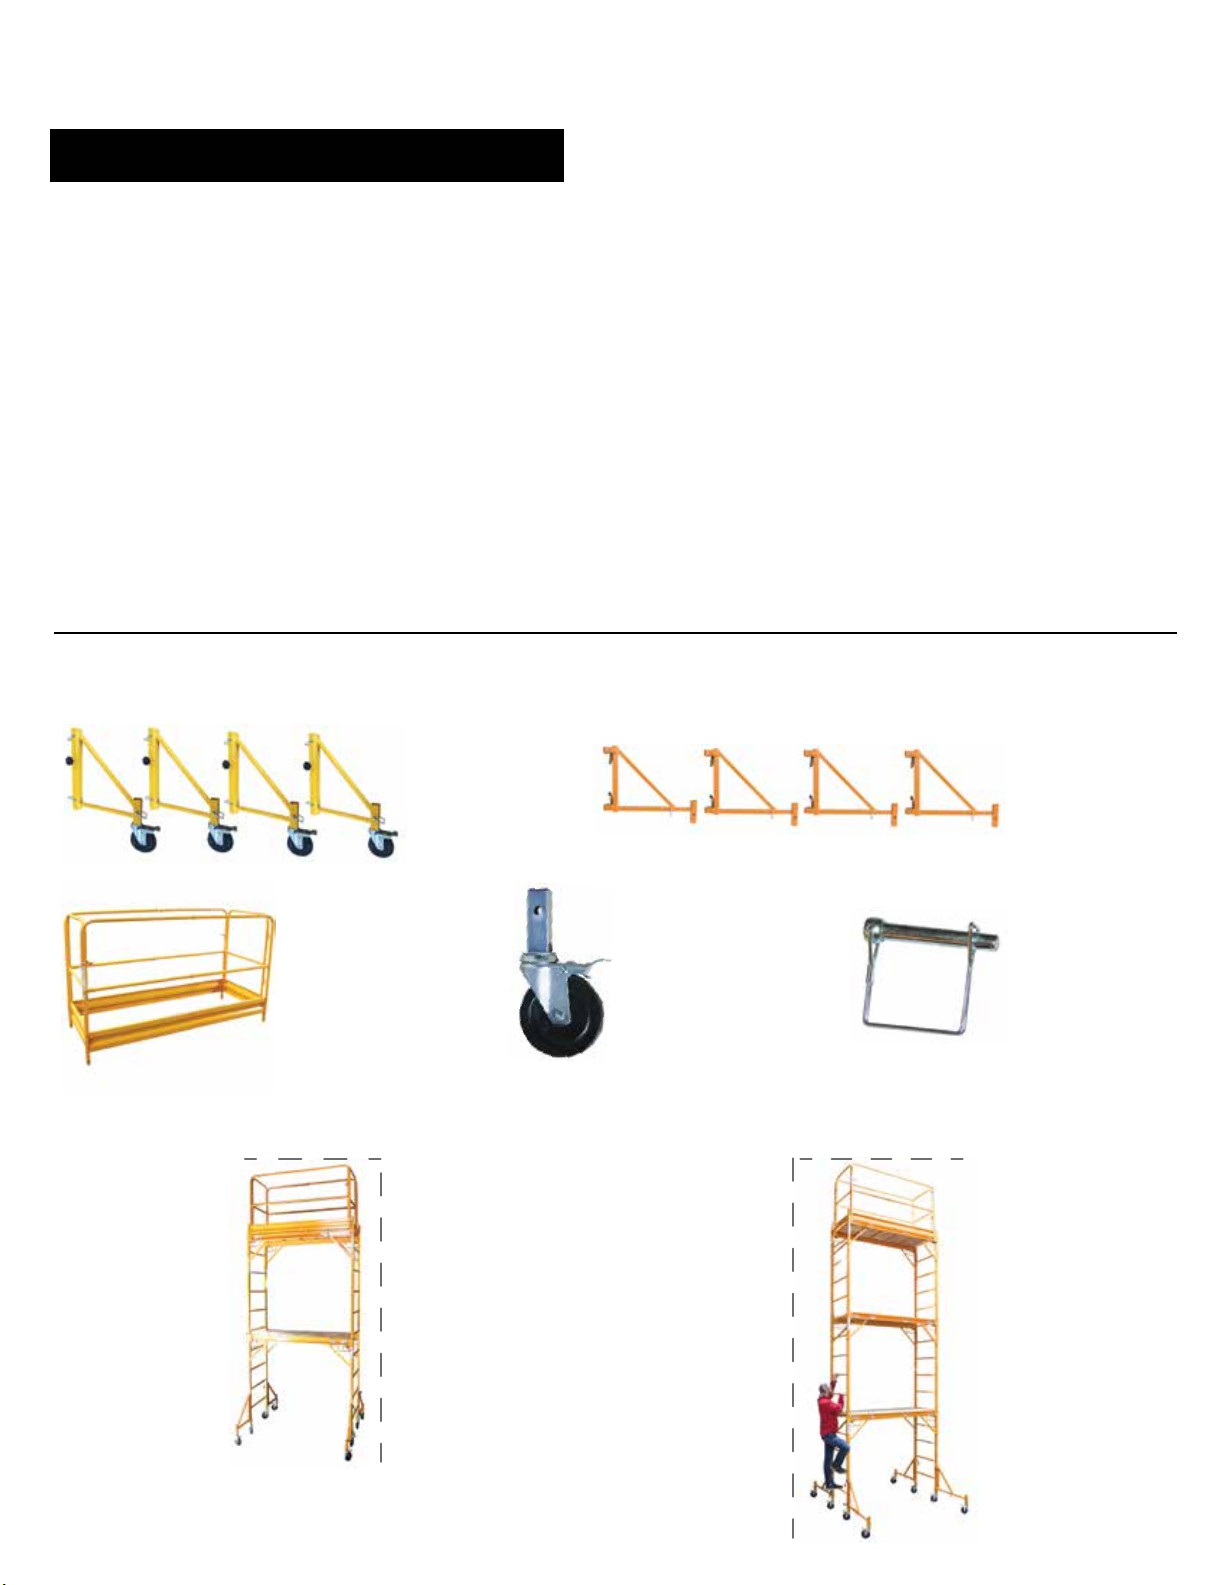
● Use siempre refuerzos o barandillas al apilar las
unidades. Las barandillas se deben instalar en todos los
lados abiertos de una plataforma de trabajo al apilar una o
más unidades.
● No se suba a menos que las ruedas estén trabadas.
Retire las ruedas cuando use este andamio sobre
escaleras.
● No modifique el andamio ni ninguno de sus
componentes.
● Mantenga siempre tres puntos de contacto con la
escalera. Suba o baje siempre de los marcos laterales del
andamio de frente para la escalera. Mantenga siempre el
cuerpo centrado entre los soportes del marco lateral.
● Al subir desde el exterior, siempre suba a la escalera
para acceder a la plataforma. Mantenga siempre el cuerpo
cerca de la escalera.
● Este andamio se debe usar sobre una superficie firme,
sin agujeros, escombros ni obstrucciones. Nunca coloque
nada debajo ni acople nada a este andamio para aumentar
la altura o ajustar superficies desniveladas.
● Los ácidos son corrosivos y pueden afectar seriamente la
resistencia. No exponga este andamio a sustancias
corrosivas.
● Guarde y use el andamio en un área seca para evitar
daños a la plataforma de madera.
● Mantenga su cuerpo cerca del andamio conforme sube.
No se extralimite. Mantenga siempre el cuerpo centrado
dentro de la estructura del andamio.
● Retire o fije todas las herramientas, materiales o equipos
antes de hacer cualquier movimiento. Tenga mucho
cuidado al moverse para evitar tropiezos.
● Nunca trate de mover este andamio cuando esté sobre él.
● No lo use si la superficie no es firme y nivelada. No lo use
con mal tiempo o vientos fuertes. Sosténgase firmemente
al subir.
● No use este andamio como pasarela.
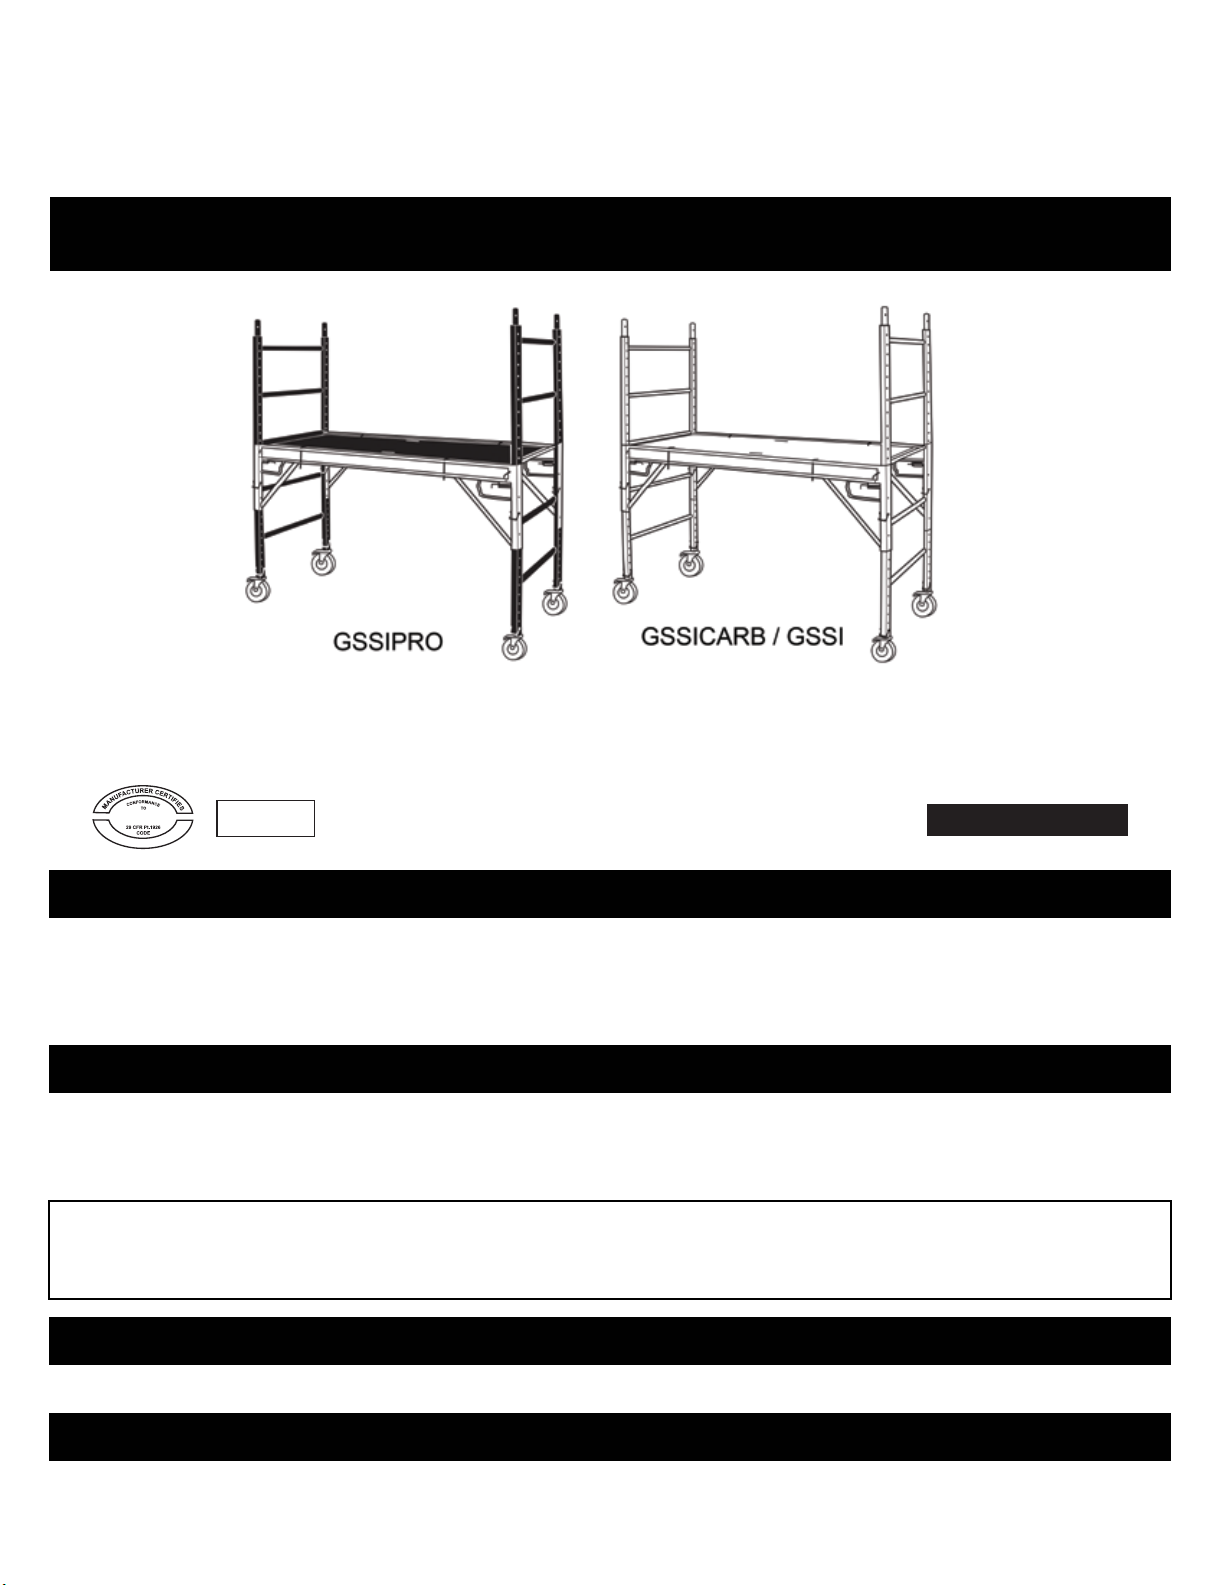
ARTÍCULO N° GSSI - ANDAMIO MULTIUSOS ESTILO BAKER DE 6 PIES (1,82 m) PARA INTERIORES/EXTERIORES
PÁGINA 2
INSTRUCCIONES DE SEGURIDAD
¿PREGUNTAS? ¿PROBLEMAS? LLAME A ATENCIÓN AL CLIENTE AL 1-636-532-9888
Si necesita instrucciones sobre cómo usar este artículo adecuadamente, experimenta un problema, o necesita
piezas, llame a nuestro departamento de atención al cliente de lunes a viernes, de 8 a. m. a 4 p. m. (hora del centro).
Se requiere una copia de la factura de venta.
ADVERTENCIA: NO EXCEDA LA CAPACIDAD DE PESO MÁXIMA
NOTA: Este andamio se puede usar en interiores o exteriores, sobre una superficie plana y nivelada.
No mantenga el andamio en exteriores porque la plataforma de madera no es resistente al agua. Este
artículo no es compatible con conectores de vástago.
1000 LB/453,6 KG
CAPACIDAD DE PESO MÁX
EMPLEADOS Y MATERIALES
La capacidad de carga máxima se reduce cuando las unidades están apiladas: Altura de una
unidad = 1000 lb/453,6 kg, Altura de dos unidades con barandillas = 938 lb/425,4 kg, Altura
de tres unidades con barandillas = 831 lb/376,9 kg.