Protocol 92747 User manual

92747
CAUTION: To reduce risk of injury, user must read and understand this product manual. SAVE THIS MANUALFORFUTURE REFERENCE
1
PRODUCT MANUAL
TM
5" SPEED JAW™BENCH VISE

2
GENERAL SAFETY INFORMATION
For your safety, please read these instructions carefully before use and keep them in the area where your tools will be used. Failure to follow all instructions listed
below may result in electric shock, fire, and/or serious personal injury.
WORK AREA SAFETY
• Always work in a clean and well lit area.
• Avoid distractions by keeping bystanders, children, and visitors away while operating a tool.
• Keep floors dry and free of slippery materials that may invite accidents.
• Do not operate power tools in explosive atmospheres, such as in the presence of flammable liquids, gases, or dust. Tools create sparks which may ignite the dust
or fumes.
PERSONAL SAFETY
• Stay alert, watch what you are doing and use common sense when operating near power tools. Do not use tools while tired or under the influence of drugs,
alcohol, or medications. A moment of inattention while operating power tools may result in serious personal injury.
• Dress properly. Do not wear loose clothing or jewelry.
• Contain long hair. Keep your hair, clothing, and gloves away from moving parts. Loose clothes, jewelry, or long hair can be caught in moving parts.
• Avoid accidental starting. Be sure switch is OFF before plugging in. Carrying tools with your finger on the switch or plugging in tools that have the switch ON
invites accidents.
• Always use safety equipment and wear eye protection.
• Dust masks, non-skid safety shoes, hard hats, or hearing protection should be used for appropriate conditions.
TOOL USE AND CARE
• Disconnect electrical plugs from the power source before making any tool adjustments to reduce the risk of inadvertent tool starts.
• Store idle tools out of the reach of children and other untrained persons. Tools are dangerous in the hands of untrained users.
• Always inspect tools for conditions that may affect operation. Many accidents are caused by poorly maintained tools.
• Keep tool handles clean, dry and free from oil or grease to allow for better control of the tool.
• Grounded tools must be plugged into an outlet, properly installed and grounded in accordance with all codes and ordinances. Never remove the grounding prong or modify the plug
in any way. Do not use any adapter plugs. Check with a qualified electrician if you are in doubt as to whether the outlet is properly grounded. If the tool should electrically
malfunction or break down, grounding provides a low resistance path to carry electricity away from the user.

SAVE THIS MANUAL
You will need the manual for the safety warnings and precautions, operating and maintenance procedures, parts list and diagram. Keep your invoice with this manual. Write the invoice number
on the inside of the front cover. Keep the manual and invoice in a safe and dry place for future reference.
PARTS LIST
3
CAUTION: TO REDUCE THE RISK OF INJURY, YOU MUST READ AND UNDERSTAND THE PRODUCT MANUAL. SAVE
THESE INSTRUCTIONS FOR FUTURE REFERENCE.
WARNING: BE SURE TO READ AND UNDERSTAND ALL SAFETY INSTRUCTIONS IN THIS MANUAL, BE SURE TO READ
AND UNDERSTAND ALL SAFETY INSTRUCTIONS IN THIS MANUAL, INCLUDING ALL SAFETY ALERT SYMBOLS SUCH
AS "DANGER'', "WARNING", AND "CAUTION", BEFORE USING THIS POWER TOOL. FAILURE TO FOLLOW ALL
INSTRUCTIONS LISTED BELOW MAY RESULT IN ELECTRICAL SHOCK, FIRE AND/OR SERIOUS PERSONAL INJURY.
RATCHETING HANDLE
SELECTOR SWITCH
PRECISION MACHINED SWIVEL BASE PLATE
FOR EASY MOVEMENT
REMOVABLE JAWS
5-INCH
TOOL STEEL SERRATED JAWS
FOR STRENGTH
SWIVEL BASE
POSITIVE - LOCKING, 360 DEGREE
OPEN & CLOSE FEATURE
QUICK & ADJUSTABLE

1. Unlatch the Swivel Base and remove the Base Plate. See Fig. 2.
2. Place the Base Plate onto your intended mounting surface. See Fig. 3
3. With a marker trace the inside of the machined holes.
4. Remove the Base Plate and pre drill holes for mounting hardware.
5. Align bolt mounting holes with pre drilled holes.
6. Attach Base Plate to surface using attaching hardware (included) being sure not to over tighten.
7. Mount the Swivel Base portion of the vise over the Mounting Plate and latch the base closed. See Fig. 4.
4
MOUNTING THE VISE
1. Align the vise, ratcheting gear, handle and box head screw (included). See Fig. 1.
2. Tighten screw with appropriately-sized hex key (not included).
HANDLE ASSEMBLY
1. Rotate the vise to the desired position.
2. Depress the Open/Close feature to rapidly clamp on to your work object. See Fig. 5.
3. Use the selector switch to begin tightening with the Ratcheting Handle. At no point should you use an extended pole and or tube to increase the
amount of force applied to the adjustable screw as it will damage the vise. See Fig. 6.
4. To loosen your grip, flip the selector in the Ratcheting Handle and use normally. At no point should you use an extended pole and or tube to
increase the amount of force applied to the adjustable screw as it will damage the vise.
OPERATION
Avoid using solvents when cleaning.
Most items are susceptible to damage from various types of commercial solvents.
Use a clean cloth to remove dirt, dust, oil, grease, etc.
Lubricate regularly.
MAINTENANCE

LIFETIME LIMITED
WARRANTY
This PROTOCOL™Speed Jaw™Bench Vise carries a Limited Lifetime Warranty. This product is warranted to be free of defects in material and workmanship. Any
item found to have defects in materials or workmanship during the first 1 year of customer ownership with proof of purchase. Proof of purchase must be either
original or clear copy of your store receipt. Simply return item to store for replacement or call 1-800-255-7011 for a return authorization number. This warranty
gives you specific legal rights and you may also have other rights which may vary from state to state.
Please call toll free 1-800-255-7011, Monday through Friday between the hours of 9AM to 5PM (Pacific Standard Time). Replacement Parts request can also be
submitted via the web, 24 hours daily at [email protected]. In all correspondence, please include model #, part #, part description and quantity
required. Customer's Name, Shipping Address and Day Time Telephone number, including area code, are required to process your parts shipment request.
For questions/comments, warranty registration, technical assistance or repair parts, please call (900) 255-7011 (Monday-Friday, 8AM-5PM CST) or visit www.protocolequipment.com.
SAVE YOUR PURCHASE RECEIPTS, THIS WARRANTY IS VOID WITHOUT THEM.
FOR REPAIR OR REPLACEMENT PARTS
JS PRODUCTS | 6445 MONTESSOURI STREET | LAS VEGAS, NV 89113
800.255.7011 | FAX: 775.898.8773 | FOR MORE PRODUCTS AND ACCESSORIES GO TO WWW.PROTOCOLEQUIPMENT.COM
6
Table of contents
Popular Tools manuals by other brands
TE Connectivity
TE Connectivity ERGOCRIMP 6-1579014-1 instruction sheet
Cooper Hand Tools
Cooper Hand Tools Wire Wrap 14R3 operating instructions

Alice's Garden
Alice's Garden EXWH30RT manual
CST/BERGER
CST/BERGER SAL20N instruction manual
Klein Tools
Klein Tools VDV427-821 user manual
BGS technic
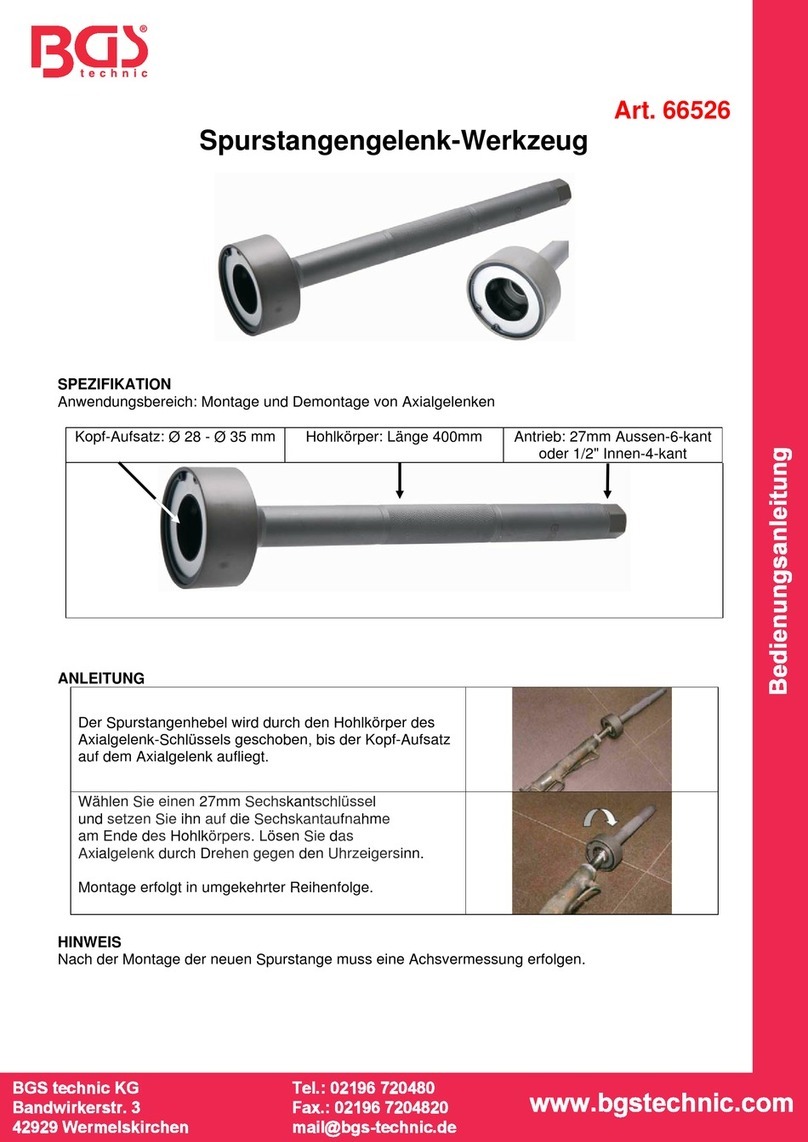
BGS technic 66526 instructions
