Pure Fun 9006KM User manual

36” KIDS MINI TRAMPOLINE WITH HANDRAIL
FOR AGES:
3-7
WEIGHT LIMIT:
75Lbs
35 Kgs
ADULT(S) NEEDED:
TOOLS NEEDED:
Customerservice@gqbrands.com
1-866-498-5269
GQBrands.com
WARNING/ADVERTENCIA CUSTOMER SERVICE
4401 Samuell Blvd, Ste 150
Mesquite, TX 75149
MODEL# 9006KM
PRODUCT MANUAL VERSION 01.18.04
• Consult a physician before beginning any
exercise program or strenuous activity.
• Do not allow more than one person on this
product at any time.
• Children must be supervised by an adult
at all times.
• Not recommended for children under 3
years of age.
• The contents of this package are not
suitable for children under 3 years of age.
Contains small parts which may cause
choking.
• ADULT ASSEMBLY REQUIRED.

2CustomerService@GQBrands.comGQBrands.com 1-866-498-5269
CUSTOMER SERVICE INFORMATION
YOUR NAME:
YOUR MAILING ADDRESS:
YOUR EMAIL ADDRESS:
PRODUCT NAME:
PRODUCT MODEL #:
PART # (Located In Manual)
RETAILER WHERE YOU PURCHASED PRODUCT:
DATE OF PURCHASE:
ORDER # (If Available)
SERIAL#:
QUANTITY NEEDED:
PICTURE OF DAMAGED PART(s) SUBMIT VIA Email, Fax, or Mail
At Global Quality Brands®, we want all of our customers to be
completely satisfied with their purchase. Please take time to review
the contents of the product you have just received to make sure that
all of the parts are included. If you find that any parts are missing or
damaged, we will happily provide replacement parts at no charge
within 30 days of purchase.
Please keep in mind that for select damaged part replacement
requests, we will require a photo for submission.
If you request replacement parts, please be sure to include the
following information in your correspondence:
To order these parts, or if you have any other questions or concerns
about this GQ Brands product, please contact us at
PureFun.net
Global Quality Brands®
Phone: 1-866-498-5269
Email: customerservic[email protected]
4401 Samuell Blvd, Ste 150
Mesquite, TX 75149
Sincerely,
Customer Service
Thank you for purchasing:
36” KIDS MINI TRAMPOLINE WITH HANDRAIL
MODEL# 9006KM

3
MODEL# 9006KM
LIMITED WARRANTY
Global Quality Brands® warrants this product to be free from defects
in workmanship and materials under normal use and conditions
for a period of 90 DAYS FROM THE DATE OF ORIGINAL PURCHASE.
This Limited Warranty is not transferable and is available only for the
original purchaser of the Product. The Company’s obligation under
this warranty is limited to replacing or repairing the Product, at the
discretion of the company.
All warranty coverage extends only to the original retail purchaser
from the date of purchase, GQ Brands obligation under this warranty
is limited to replacing or repairing, at Global Quality Brands® option.
All products for which a warranty claim is made must be received
by Global Quality Brands® and accompanied by sufficient proof of
purchase (photocopy of the original store receipt, indicating the date
of purchase). All freight and handling fees are the responsibility of
the consumer to pay, both to and from Global Quality Brands®. All
warranty claims must be preauthorized by Global Quality Brands®
pre-authorization can be obtained by calling 866-498-5269.
This warranty does not cover ordinary wear and tear, weathering,
failure to follow directions, improper installation, improper
maintenance, or acts of nature, (such as damage caused by wind,
lightning, snow, water, or ice) weather damage, damage caused by
unauthorized repair work or damage caused by improper use of the
products are not covered by the product warranty. No other warranty
beyond that specifically set forth above is authorized by GQBrands®.
GLOBAL QUALITY BRANDS® IS NOT RESPONSIBLE OR LIABLE FOR
INDIRECT, SPECIAL OR CONSEQUENTIAL DAMAGES ARISING OUT
OF OR IN CONNECTION WITH THE USE OR PERFORMANCE OF THE
PRODUCT OR OTHER DAMAGES WITH RESPECT TO ANY ECONOMIC
LOSS, LOSS OF PROPERTY, LOSS OF REVENUE OR PROFITS, LOSS
OF ENJOYMENT OR USE, COST OF REMOVAL, INSTALLATION
OR OTHER CONSEQUENTIAL DAMAGES. SOME STATES DO NOT
ALLOW THE EXCLUSION OR LIMITATION OF INCIDENTAL OR
CONSEQUENTIAL DAMAGES. ACCORDINGLY, THE ABOVE LIMITATION
MAY NOT APPLY TO YOU. THE WARRANTY EXTENDED HEREUNDER
IS IN LIEU OF ALL OTHER WARRANTIES AND GLOBAL QUALITY
BRANDS®, SPECIFICALLY DISCLAIMS ANY IMPLIED WARRANTY
OF MERCHANTABILITY OR FITNESS FOR A PARTICULAR PURPOSE
IS LIMITED IN ITS SCOPE AND DURATION TO THE TERMS SET
FORTH HEREIN. SOME STATES DO NOT ALLOW LIMITATION ON HOW
LONG AN IMPLIED WARRANTY LASTS. ACCORDINGLY, THE ABOVE
LIMITATION MAY NO APPLY TO YOU. THIS WARRANTY GIVES YOU
SPECIFIC LEGAL RIGHTS. YOU MAY ALSO HAVE OTHER RIGHTS,
WHICH VARY FROM STATE TO STATE.
WHILE EVERY ATTEMPT IS MADE TO ENSURE THE HIGHEST DEGREE
OF PROTECTION IN ALL EQUIPMENT, WE CANNOT GUARANTEE
FREEDOM OF INJURY. THE USER ASSUMES ALL RISK OF INJURY DUE
TO USE. ALL MERCHANDISE IS SOLD ON THIS CONDITION, WHICH NO
REPRESENTATIVE OF GQ BRANDS® CAN WAIVE OR CHANGE.

4CustomerService@GQBrands.comGQBrands.com 1-866-498-5269
WARNINGS
IMPORTANT MESSAGE
WARNING - PLEASE READ
ADULT ASSEMBLY REQUIRED
CHOKING HAZARD - Small Parts
NOT for children under 3 years of age.
WARNING:
While every attempt is made to ensure the highest degree of protection in all
equipment, we cannot guarantee freedom from injury. The user assumes all
risks of injury due to use. All merchandise is sold on this condition, which no
representative of the company can waive or change.

5
MODEL# 9006KM
WARNINGS
Please read these warnings and the information in this manual in its entirety.
Failure to comply with the following instructions may increase the risk of serious injury and/or death:
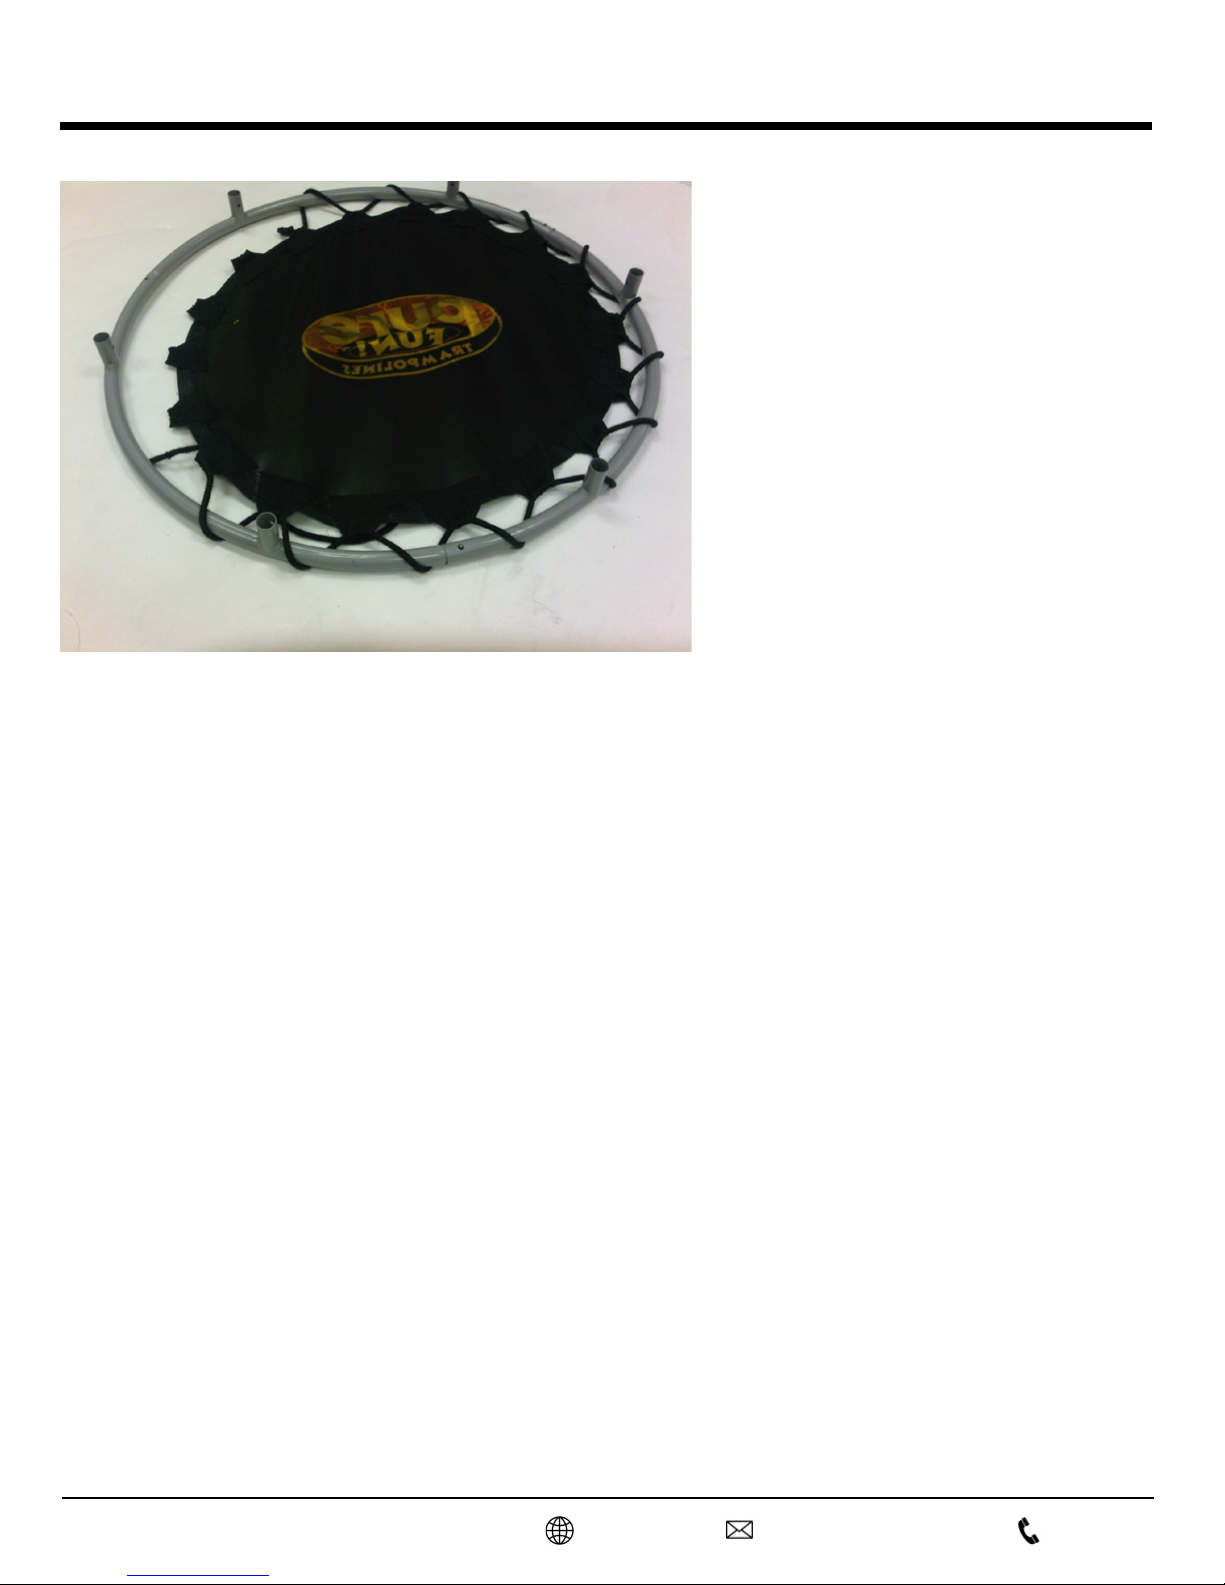
• This unit must be assembled and
disassembled by ADULTS ONLY.
• Children must be supervised at all times
when using this equipment. DO NOT leave
children unattended at any time.
• Children MUST NEVER use the trampoline
unless supervised by a responsible adult
with knowledge of trampoline use.
• This trampoline is SUITABLE for use by
most children 3 TO 7 YEARS OF AGE.
• DO NOT exceed the MAXIMUM WEIGHT
limit of 75Ibs (35kgs) regardless of age.
• This trampoline is NOT for adult use.
• This trampoline is only designed for
normal residential indoor use. It is NOT
intended for commercial applications and/
or in public areas such as schools, parks,
nurseries, day schools, day cares, etc.
• For INDOOR USE ONLY: Your trampoline
should be placed at a safe distance from
any obstructions, stairways, windows,
furniture, appliances, etc.
• DO NOT allow more than one person on
the trampoline at a time.
• DO NOT wear glasses or helmets when
using the trampoline.
• DO NOT fall or bounce on your knees —
this can cause serious injury.
• DO NOT somersault - this can cause
serious injury resulting in paralysis or
death.
• DO NOT allow other persons to go under,
sit, stand or lie on or near the frame pads
or mat while the trampoline is in use.
• Mount and dismount the trampoline with
care as injury may result.
• DO NOT use or allow use of the
trampoline under the influence of any
substance or medication which may impair
the supervisor’s or jumper’s judgment
and/or coordination.
• ALWAYS remove jewelry, belt buckles, or
any other sharp objects before using the
trampoline.
• ALWAYS jump in the middle of the
trampoline bed.
• ALWAYS secure the trampoline against
unauthorized and unsupervised use.
• ALWAYS wear socks when using the
trampoline.
• NEVER wear footwear (e.g. shoes) when
using the trampoline.
• Before using this product, inspect and
replace any worn, defective or missing
parts. Although the cord, pad, foam and
mat are made to take a lot of wear, over
time these parts may need to be replaced.
It is important to check the trampoline
periodically to ensure the frame is steady
and all parts are in good condition.
• If any part of the trampoline requires
cleaning, simply wipe with a damp cloth.
(Do not jump on the trampoline after
cleaning until completely dry)
• If the paint is chipped, we recommend you
lightly rub the damaged area and cover
using a non-toxic enamel paint.
• IMPORTANT: While no regular
maintenance is required, you must inspect
the trampoline before each use and
replace any worn, defective, or missing
parts. ALWAYS supervise your children
while they are playing on or around the
trampoline.
• The unit is NEVER to be used by more than
one child at a time.
• The trampoline is designed so the child
can bounce and balance on the mat.
Successfully meeting this challenge builds
children’s confidence as well as helping
muscular development and coordination.
Confidence depends on success - so it is
important to allow your children to learn at
their own pace, giving them a helping hand
when necessary.
• NEVER allow your child to attempt
somersaults or flips on this trampoline as
it is not designed for such play features.
• The trampoline should NOT be used in
conjunction with, or attached to any other
play equipment.
• The trampoline handle is only intended
to assist your child with controlling their
bounce and maintaining their balance on
the mat. NEVER use the handle for any
other purpose or as climbing feature.
• This trampoline is NOT intended to be
used by adults.
• Children are NOT to stand or sit on the
edge of the trampoline.
• Children are NOT to perform knee or drop
bounces on the trampoline.
• The following conditions could represent
potential hazards: Missing, improperly
positioned, or insecurely attached frame
padding; punctures, frays, tears, or
holes worn in the bed or frame padding;
deterioration in the stitching or fabric
of the bed or frame padding; frayed or
damaged bungee cord; a bent or broken
frame; a sagging jump mat, or sharp
protrusions on the frame or suspension
system. Cease using trampoline
immediately and secure it against
unauthorized use if any of these conditions
are present.

6CustomerService@GQBrands.comGQBrands.com 1-866-498-5269
• Please read and refer to other warnings and use information in the
trampoline instructions before use.
• Please read and refer to other warnings and use information in the
Safe Play Tips before use.
• The trampoline handle is only intended to assist your child with
controlling their bounce and maintaining their balance on the mat.
The handle should NOT be used for any other purpose or as climbing
feature.
• Dispose of all packaging materials safely and per local ordinance.
• Ensure you have all of the parts listed in the Parts List. If any are
missing please contact customer service.
• Take a few minutes to familiarize yourself with the contents and
instructions before attempting assembly.
• When you are ready to start, make sure that you have adequate space
for assembly.
• ADULT ASSEMBLY REQUIRED
• TWO ADULTS ARE REQUIRED TO ASSEMBLE
ASSEMBLY WARNINGS

7
MODEL# 9006KM
PARTS LIST
Part # Description QTY Part# Description QTY
1 Top Rail Frame x3 6 Trampoline Pad x1
2 Legs x6 7 Trampoline Mat x1
3 Left Handle Base x1 8 Bungee Cord Ball x1
4 Right Handle Base x1 9 Bungee Cord x1
5 Center Handle Bar x1 - - -

8CustomerService@GQBrands.comGQBrands.com 1-866-498-5269
ASSEMBLY INSTRUCTIONS
STEP 1:
A. Connect 3X (Part 1) Top Rail Frame
pieces to make the trampoline frame.
Make sure that the metal push tabs are
secure in each connection on the frame
before proceeding.
B. To connect the third and final section of
the top rail frame, push down on the last
joint until the metal tab is fully inserted
and snaps into place.
Step 1.
A. Connect 3x (Part 1) Top Rail Frame pieces to make the trampoline frame. Make sure that the
metal push tabs are secure in each connection on the frame before proceeding.
B. To connect the 3rd and final section of the Top Rail Frame, push down on the last joint
until the metal tab is fully inserted and snaps into place. See Diagram below for
clarification.
9
A
B

9
MODEL# 9006KM
Step 2.
Diagram 1 Diagram 2
Thread the end of the Bungee Cord through the pre-made loop (pictured in Diagram 1), as shown in
Diagram 2.
Step 3.
Diagram 3 Diagram 4
A. Center the Trampoline Mat within the completed frame (Diagram 3). *
*TO ASSIST IN CENTERING THE TRAMPOLINE MAT, THERE ARE 4 ZIP TIES INCLUDED.
To use, thread 1 zip tie at each “compass point” (N,S,E,W) through the fabric loops. Make
sure when attaching these ties that you do not pull them too tight, so that the mat stays
centered within the frame!
B. Begin to thread the Bungee Cord through the pre-sewn fabric loops, wrapping the cord
once around the trampoline frame after each fabric loop (Diagram 4).
C. Do not pull the cord too tightly when beginning this process, as you want to keep the
mat as centered as possible while threading the Bungee Cord. The cord should be snug,
but not pulled taut around the trampoline frame.
Step 4.
10
ASSEMBLY INSTRUCTIONS
A B STEP 2:
Thread at the end of the bungee cord
through the pre-made loop.
STEP 3:
A. Center the trampoline mat within the
completed frame (diagram 3).
NOTE:
To assist in centering the trampoline mat,
there are four sip ties included. To use,
thread 1 zip tie at each “Compass point”
(N, S, E, W) through the fabric loops. Make
sure when attaching these ties that you
do not pull them too tight, so that the Matt
stays centered within the frame.
B. Begin to thread the bungee cord through
the pre-sewn fabric loops, wrapping the
cord once around the trampoline frame
after each fabric loop.
C. Do not pull the cord to tightly when
beginning this process, as you want to
keep the mat as centered as possible
will threading the bungee cord. The
court should be snug, but not pulled taut
around the trampoline frame.
Step 2.
Diagram 1 Diagram 2
Thread the end of the Bungee Cord through the pre-made loop (pictured in Diagram 1), as shown in
Diagram 2.
Step 3.
Diagram 3 Diagram 4
A. Center the Trampoline Mat within the completed frame (Diagram 3). *
*TO ASSIST IN CENTERING THE TRAMPOLINE MAT, THERE ARE 4 ZIP TIES INCLUDED.
To use, thread 1 zip tie at each “compass point” (N,S,E,W) through the fabric loops. Make
sure when attaching these ties that you do not pull them too tight, so that the mat stays
centered within the frame!
B. Begin to thread the Bungee Cord through the pre-sewn fabric loops, wrapping the cord
once around the trampoline frame after each fabric loop (Diagram 4).
C. Do not pull the cord too tightly when beginning this process, as you want to keep the
mat as centered as possible while threading the Bungee Cord. The cord should be snug,
but not pulled taut around the trampoline frame.
Step 4.
10

10 CustomerService@GQBrands.comGQBrands.com 1-866-498-5269
A. Continue to thread the Bungee Cord through the fabric loops, wrapping it once around the Top
Rail Frame sections after each fabric loop as you work your way around the trampoline frame.
B. Keep the Trampoline Mat centered within the frame. Periodically check to make sure that it is
not pulling too much to one side (especially where you first started threading the cord.)
C. Leave a small amount of slack, and do not pull the cord too tightly as you progress to the Bungee
Cord’s end.
D. As shown in the picture above, you will reach the end of the cord with 3 or 4 fabric loops
remaining. This is normal, as significant tension must be applied to the cord to achieve the proper
bounce when complete.
**It is strongly recommended that you enlist the help of another adult before proceeding
to the next two steps, as you will need to apply significant force to the bungee cord in order
to join the two ends.**
Step 5.
11
ASSEMBLY INSTRUCTIONS
STEP 4:
A. Continue to thread the Bungee Cord
through the fabric loops, wrapping it
once around the Top Rail Frame sections
after each fabric loop as you work your
way around the trampoline frame.
B. Keep the Trampoline Mat centered within
the frame. Periodically check to make
sure that it is not pulling too much to one
side (especially where you first started
threading the cord.)
C. Leave a small amount of slack, and
do not pull the cord too tightly as you
progress to the Bungee Cord’s end.
D. As shown in the picture, you will reach
the end of the cord with 3 or 4 fabric
loops remaining. This is normal, as
significant tension must be applied to the
cord to achieve the proper bounce when
complete.
NOTE:
It is strongly recommended that you enlist
the help of another adult before proceeding
to the next two steps, as you will need to
apply significant force to the bungee cord
in order to join the two ends.

11
MODEL# 9006KM
BE CAREFUL OF PINCH POINTS AT THE
AREAS WHERE THE CORD CONTACTS
THE FRAME WHEN PERFORMING THIS STEP.
A. In order to join the two ends of the Bungee Cord while keeping the mat centered, you
should create the necessary slack in the cord by pulling it as taut as possible from the
last
4 or 5 wraps
you made around the trampoline frame
first
, and then from the pre-made
loop end of the cord
last
.
B. If you notice that the Trampoline Mat is touching the frame on one side or another, and
there is no slack in those corresponding cord wraps around the trampoline frame, you
should carefully work some cord slack in that direction until you are able to re-center the
Trampoline Mat.
C. When you are complete, it should look like the picture above.
PINCH POINTS
12
ASSEMBLY INSTRUCTIONS
STEP 4:
NOTE:
Be careful of pinch points at the areas
where the cord contacts the frame when
performing this step.
A. In order to join the two ends of the
Bungee Cord while keeping the mat
centered, you should create the
necessary slack in the cord by pulling it
as taut as possible from the last 4 or 5
wraps you made around the trampoline
frame first, and then from the pre-made
loop end of the cord last.
B. If you notice that the Trampoline Mat
is touching the frame on one side or
another, and there is no slack in those
corresponding cord wraps around the
trampoline frame, you should carefully
work some cord slack in that direction
until you are able to re-center the
Trampoline Mat.
C. When you are complete, it should look
like the picture above.

12 CustomerService@GQBrands.comGQBrands.com 1-866-498-5269
Step 6.
Diagram 1 Diagram 2
A. Slide the Bungee Cord Ball into the Bungee Cord (Diagram 1).
B. Pull on the cord and hold the tension so that you can tie off a knot on the end to prevent the
ball from slipping, as shown in Diagram 2. Make sure the knot is secure.
C. Creating slack on the pre-made loop end of the cord, open the loop enough to fit the ball
through the loop.
D. Make sure the loop is snug against the ball, so it will not slip during use. There should be
significant tension on the cord to achieve the proper bounce. If the cord is too loose, you should
tie off a second knot below the first on the ball end of the cord for proper tension.
13
ASSEMBLY INSTRUCTIONS
STEP 6:
A. Slide the Bungee Cord Ball into the
Bungee Cord (Diagram 1).
B. Pull on the cord and hold the tension so
that you can tie off a knot on the end to
prevent the ball from slipping, as shown
in Diagram 2. Make sure the knot is
secure.
C. Creating slack on the pre-made loop end
of the cord, open the loop enough to fit
the ball through the loop.
D. Make sure the loop is snug against the
ball, so it will not slip during use. There
should be significant tension on the cord
to achieve the proper bounce. If the cord
is too loose, you should tie off a second
knot below the first on the ball end of the
cord for proper tension.
A
C
B
D

13
MODEL# 9006KM
ASSEMBLY INSTRUCTIONS
Your completed mat, cord and frame assembly should look like the picture below.
Step 7.
As shown in the pictures above, attach the Trampoline Pad by fitting the precut holes in the
pad over the Leg Housings.
Step 8.
14
Your completed mat, cord and frame assembly should look like the picture below.
Step 7.
As shown in the pictures above, attach the Trampoline Pad by fitting the precut holes in the
pad over the Leg Housings.
Step 8.
14
B
STEP 7:
A. Your completed mat, cord and frame
assembly should look like the picture
below.
B. As shown in the pictures below, attach
the Trampoline Pad by fitting the precut
holes in the pad over the Leg Housings.
Your completed mat, cord and frame assembly should look like the picture below.
Step 7.
As shown in the pictures above, attach the Trampoline Pad by fitting the precut holes in the
pad over the Leg Housings.
Step 8.
14
A
B
Your completed mat, cord and frame assembly should look like the picture below.
Step 7.
As shown in the pictures above, attach the Trampoline Pad by fitting the precut holes in the
pad over the Leg Housings.
Step 8.
14

14 CustomerService@GQBrands.comGQBrands.com 1-866-498-5269
Diagram 1 Diagram 2
A. Following the pattern shown in Diagram 2, insert 4x Legs into the Leg Housings, making
sure the metal push buttons snap securely into the holes into each Leg Housing.
Diagram 3 Diagram 4
B. As shown in diagram 3, take the remaining 2x Legs, and place 1x Handle Base over
each Leg.
C. Take the Leg/Handle Base assembly, and place it onto the Leg Housing.
D. First, secure the Leg’s push button into the Leg Housing, then secure the push button
through the hole in the Handle Base. You may have to rotate the Handle Base slightly to fit
the push button through its hole.
Note: Make sure the Handle Base “ends” are pointing directly towards each other (see
picture on next page) before proceeding. If they are not, switch the Legs that the Handle
Bases are on.
Step 9.
NO LEG
NO LEG
15
ASSEMBLY INSTRUCTIONS
STEP 8:
A. Following the pattern shown in Diagram
2, insert 4x Legs into the Leg Housings,
making sure the metal push buttons
snap securely into the holes into each
Leg Housing.
B. As shown in diagram 3, take the
remaining 2x Legs, and place 1x Handle
Base over each Leg.
C. Take the Leg/Handle Base assembly, and
place it onto the Leg Housing.
D. First, secure the Leg’s push button into
the Leg Housing, then secure the push
button through the hole in the Handle
Base. You may have to rotate the Handle
Base slightly to fit the push button
through its hole.
Note:
Make sure the Handle Base “ends” are
pointing directly towards each other (see
picture on next page) before proceeding.
If they are not, switch the Legs that the
Handle Bases are on.

15
MODEL# 9006KM
ASSEMBLY INSTRUCTIONS
STEP 9:
A. Attach the Center Handle bar to one
Handle Base, securing it with the push
button on the Handle base.
B. Slide the other end of the Center Handle
Bar onto the remaining Handle Base
until it snaps securely into place. Peel
the foam back slightly on the Center
Handle Bar once it is in place to make
sure the push buttons are correctly
aligned through the holes.
(5)

16 CustomerService@GQBrands.comGQBrands.com 1-866-498-5269
FREQUENTLY ASKED QUESTIONS
• Question: “The bungee cord has snapped/
become frayed, why did this happen?”
Answer: Make sure that the mat was
installed properly and is centered within
the frame an incorrectly installed Mat will
put Excess tension on the certain areas
of the bungee cord. Also make sure that
you are following the 75lb. Weight limit on
this trampoline, specifically making sure
that only one child is on the trampoline
at a time.
If you are still within your warranty period
(90 Days from Initial Purchase) You
should contact customer service.
• Question: “The foam padding or mat is
damaged, what should I do?”
Answer: If you are still within your
warranty period (90-Days from Initial
purchase) You should contact customer
service.
You can also purchase select
replacement mini-trampoline parts at:
www.PureFun.Net
Other manuals for 9006KM
1
Table of contents
Other Pure Fun Accessories manuals