2
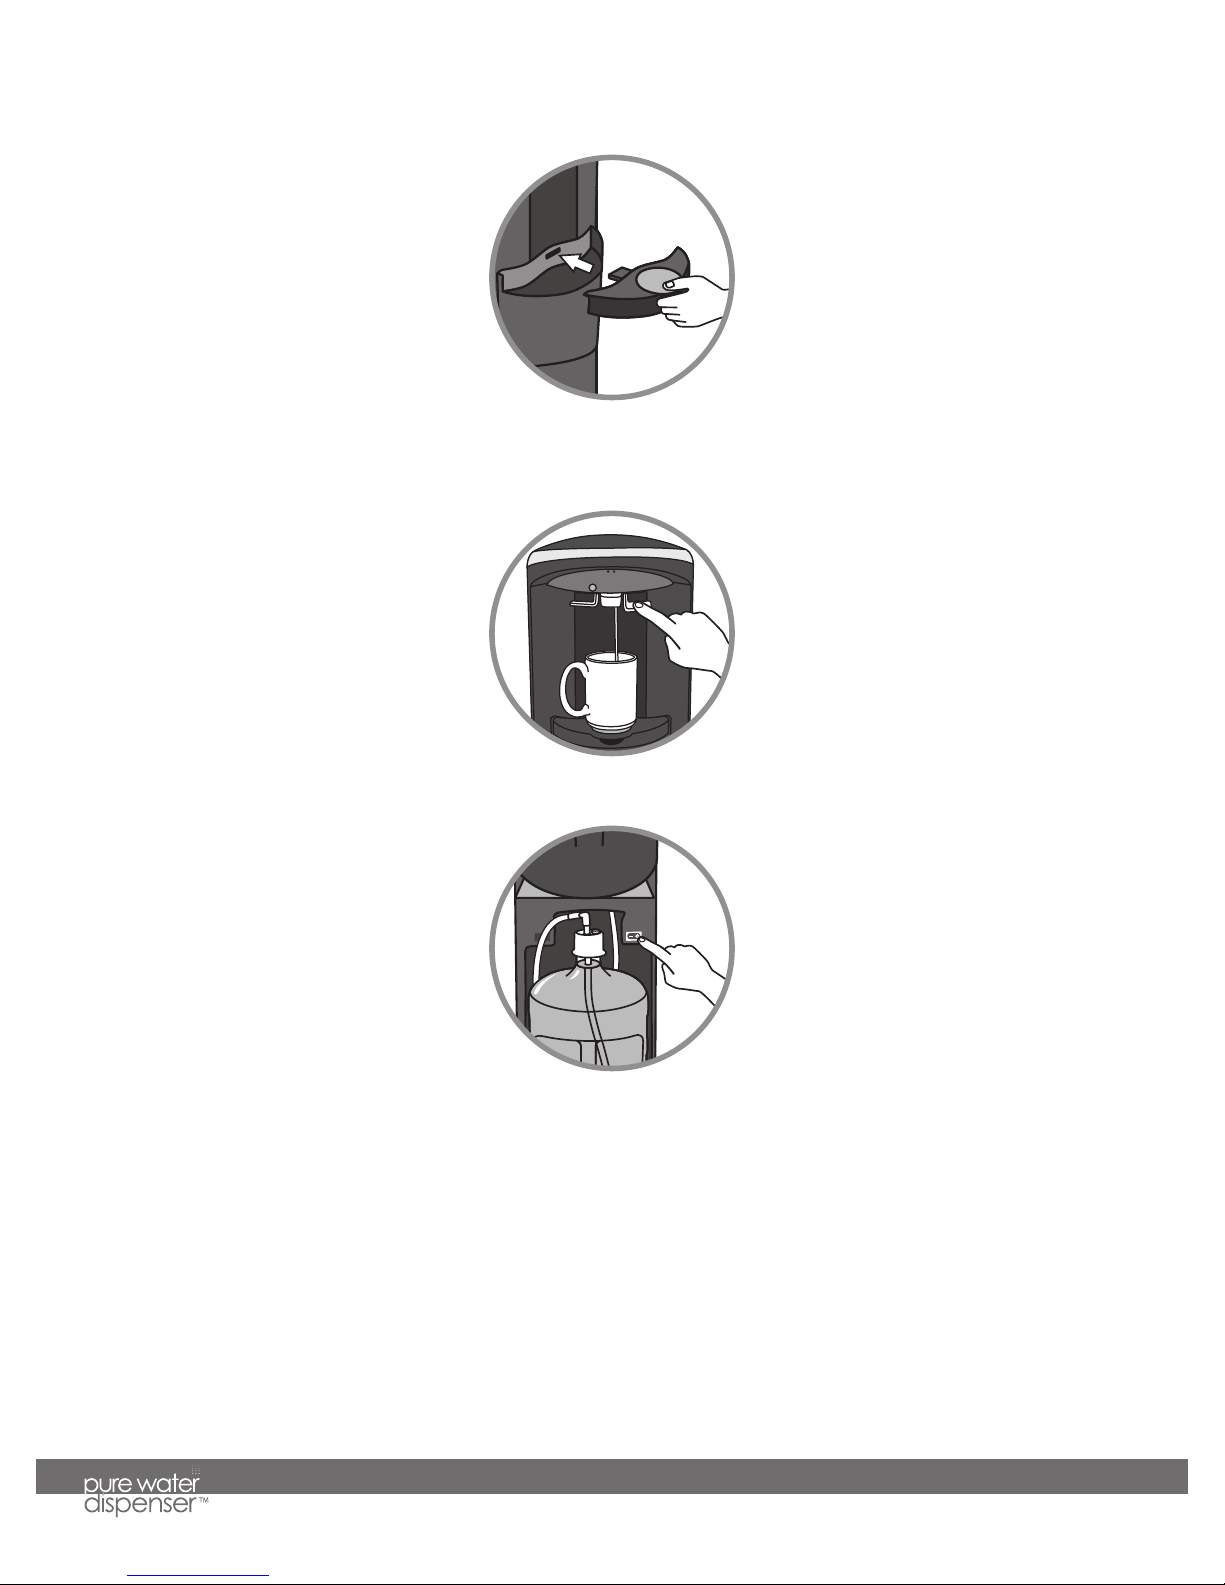
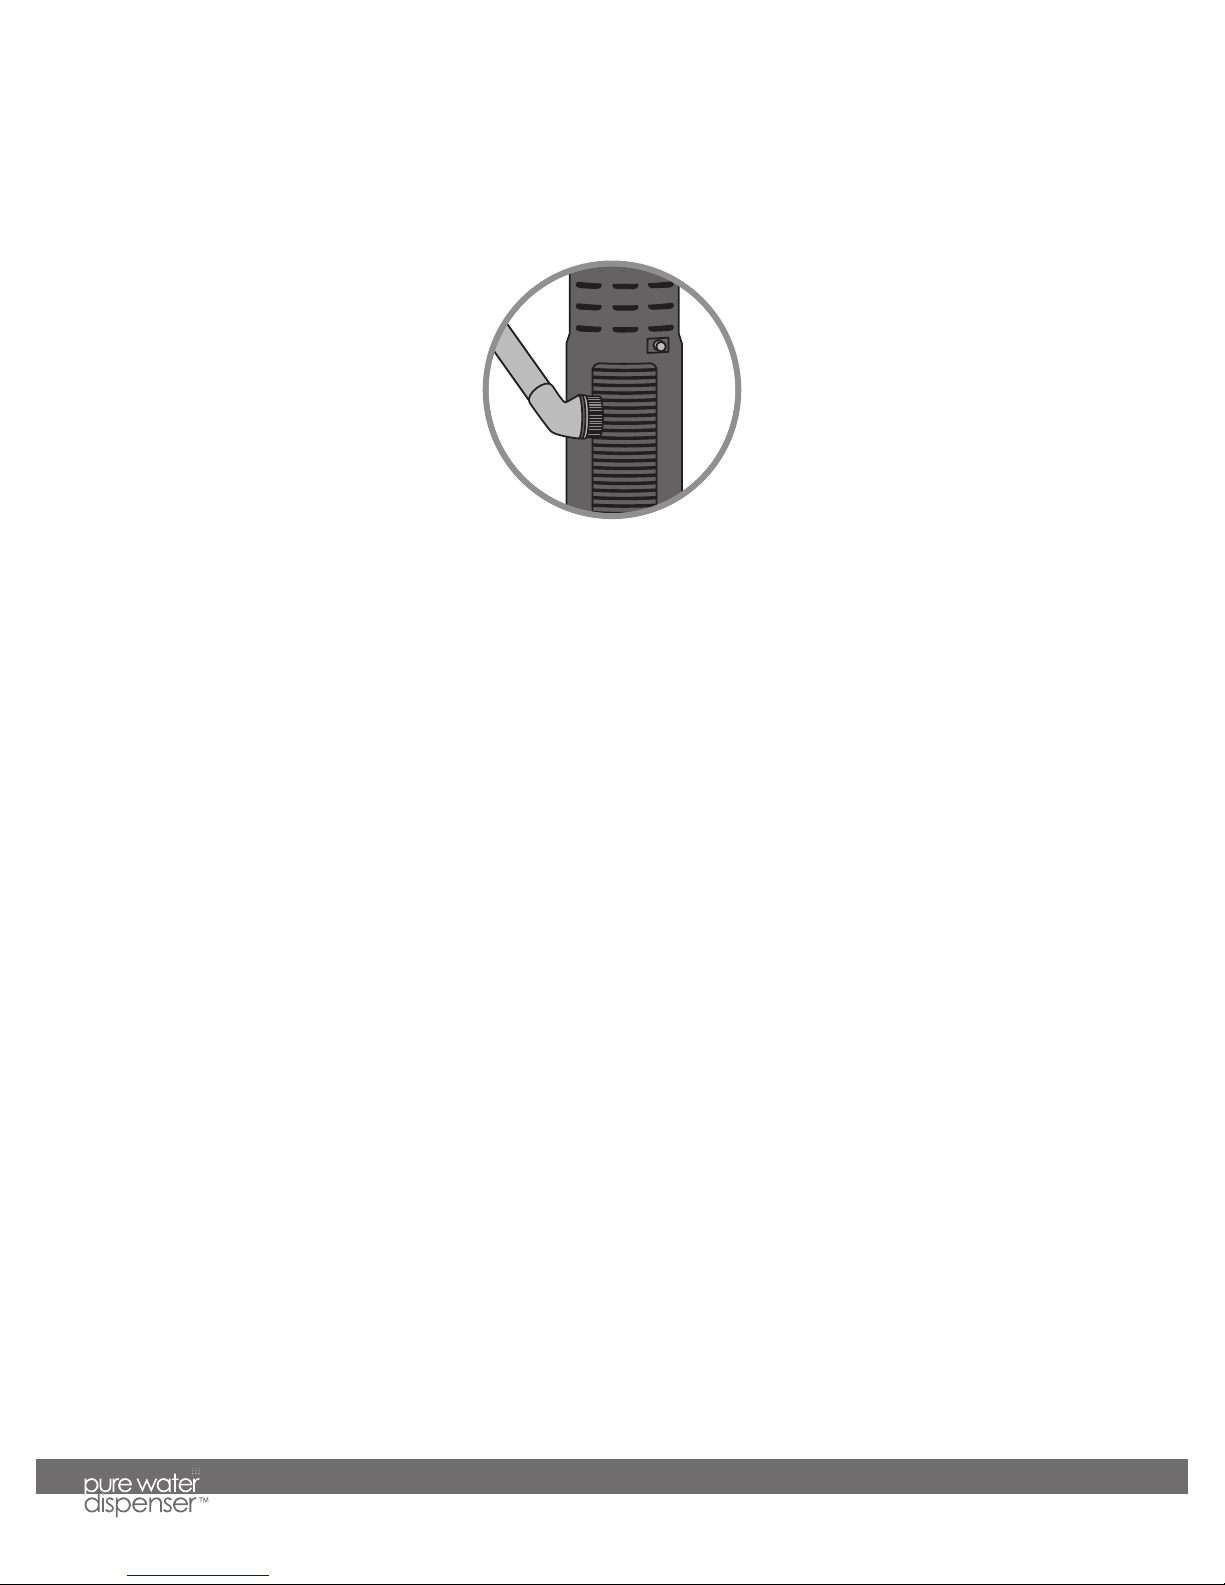
THEN plug
in dispenser.
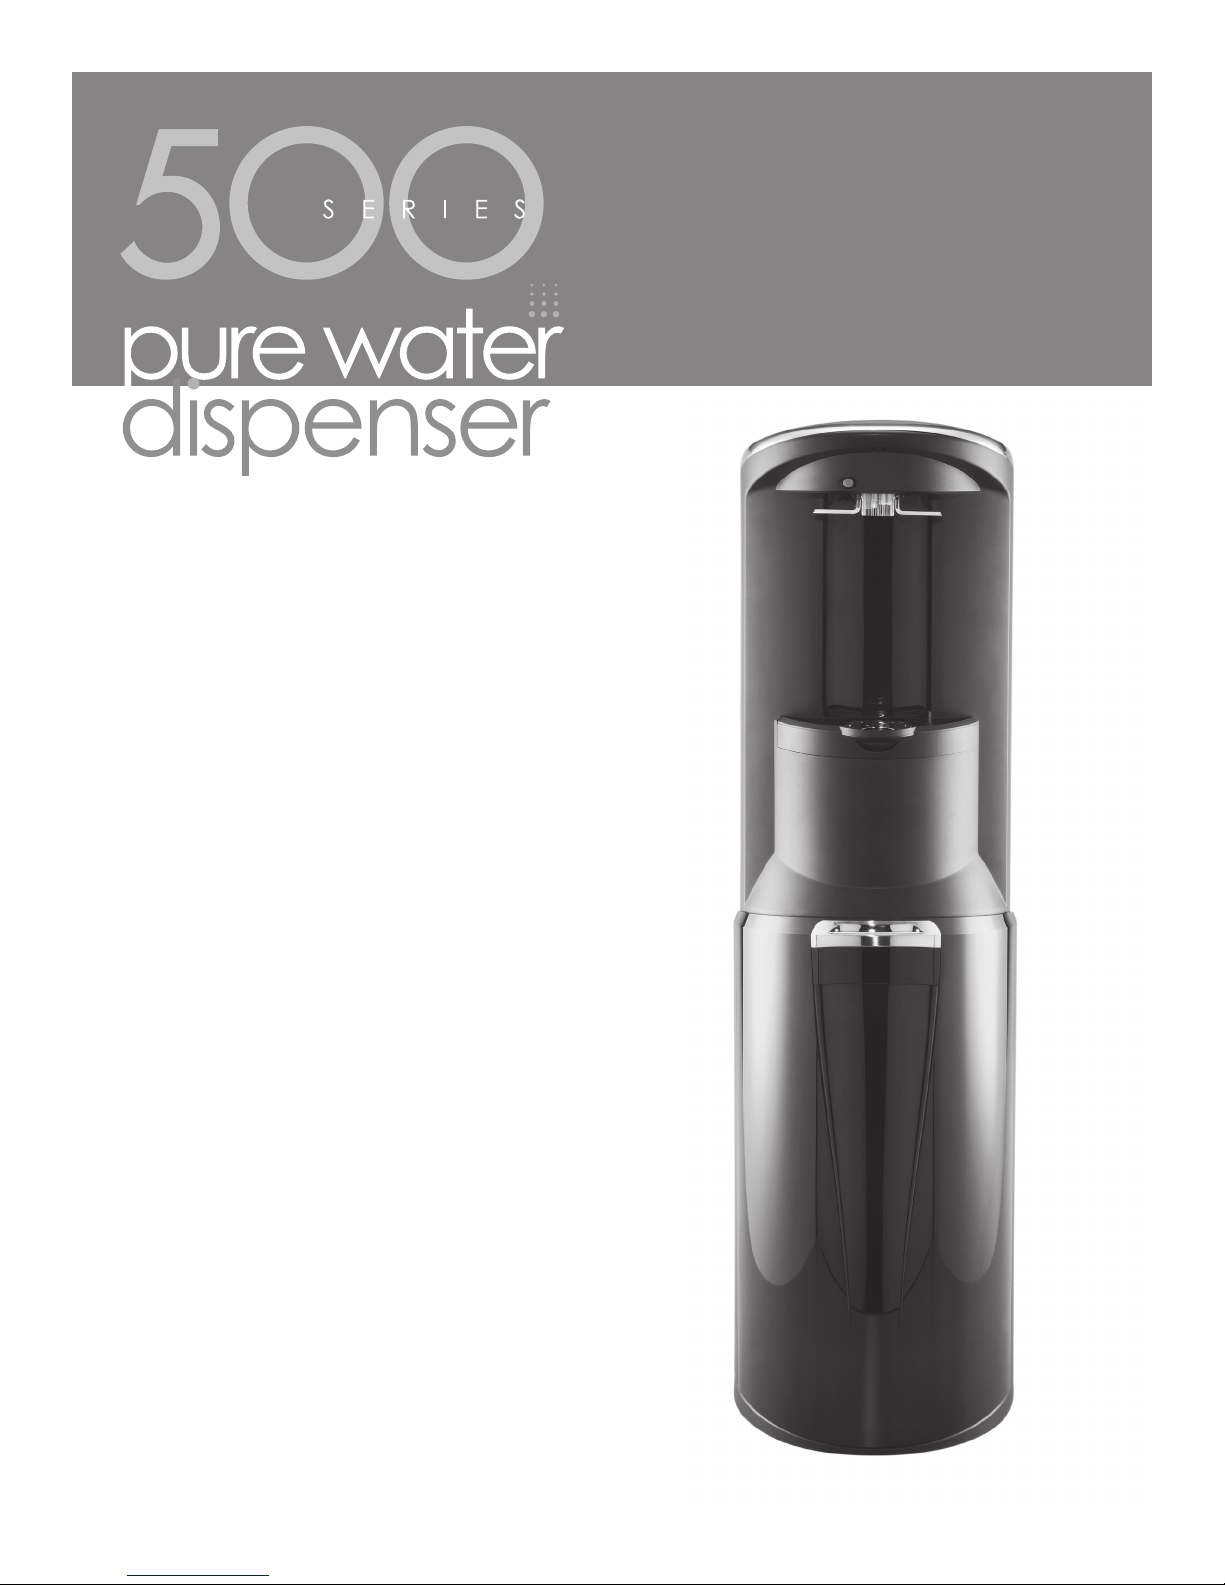
Lift dispenser
door.
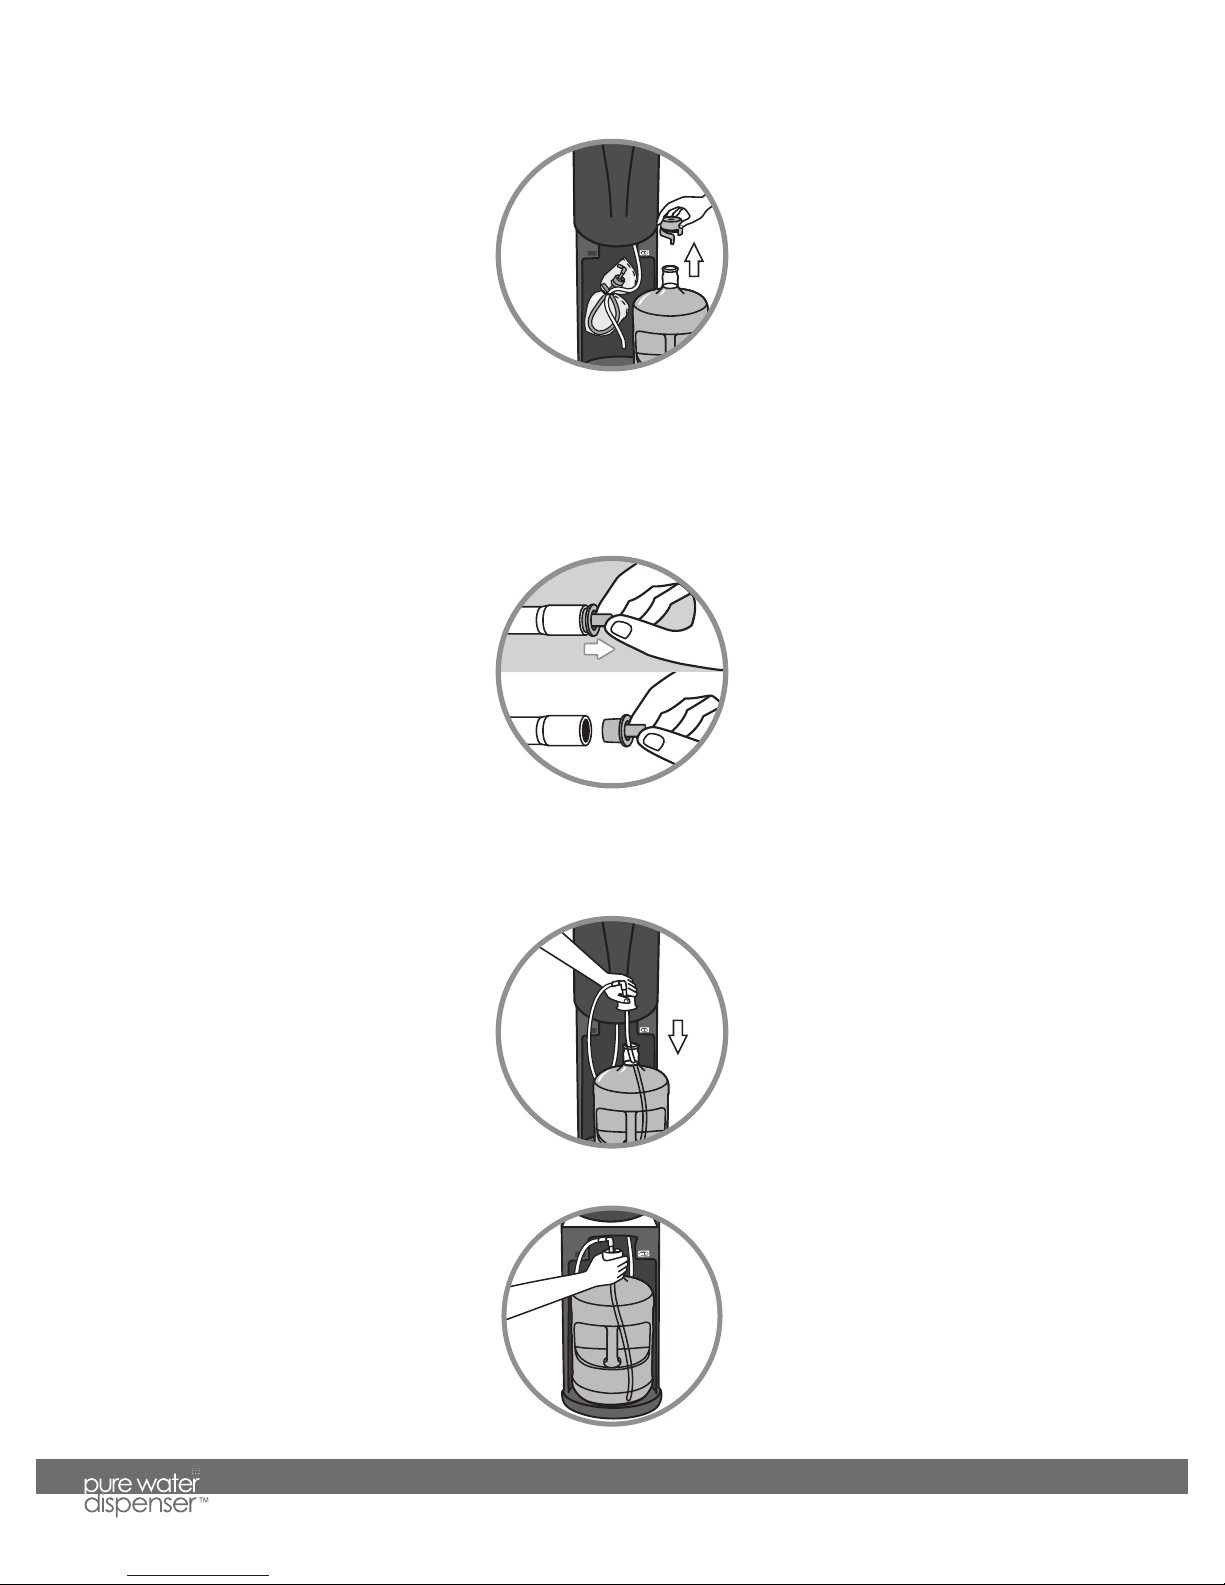
Load water
bottle.
1
2
3
STOP & READ DIRECTIONS
before plugging in dispenser.
Read complete HOW TO INSTALL instruction sequence before
plugging in and turning on dispenser. Failure to follow proper
installation instructions may cause damage to water dispenser.
SAFETY PRECAUTIONS
Basic safety precautions should be followed when using electrical appliances, including:
• Only plug in dispenser in the sequence the manual indicates (see HOW TO INSTALL AND USE).
• In accordance with these instructions, the dispenser must be properly located and installed before use
(see HOW TO INSTALL AND USE).
• Use only bottled water in the dispenser.
• Do not use with water that is microbiologically unsafe or of unknown quality.
• Keep all gasoline or other flammable vapors and liquids away from this and other appliances.
• Dispenser must be unplugged before cleaning, sanitizing or repairing (see CLEANING AND SANITIZING).
• Wipe up any water spills immediately after loading or unloading water bottles.
• The dispenser heats water to a temperature above 190ºF (90ºC). Water temperatures above 125ºF (52ºC) can cause severe
burns or death from scalding. Most at risk of being scalded are children, the disabled and the elderly.
• Ensure the dispenser stands upright for 2 hours before loading water bottle, plugging in and turning unit on.
• Always lift dispenser by handle located on rear of unit. Lifting dispenser by faucet or faucet levers will damage the unit.
• Follow proper grounding safety precautions and instructions prior to plugging in the unit (see GROUNDING SAFETY
PRECAUTIONS AND INSTRUCTIONS).
• Do not use an extension cord.
• Supervise children when using the dispenser (see CHILD SAFETY).
GROUNDING SAFETY PRECAUTIONS AND INSTRUCTIONS
WARNING: The dispenser must be grounded – if the appliance is improperly grounded, the result could
be electric shock. Do not immerse cord, plug or any other part of the dispenser in water or other liquids.
Ensure that the available power supply matches the dispenser’s voltage specifications indicated on the nameplate label
(located at the rear). Please ensure that dispenser is set up so access to the power outlet and plug is unobstructed.
IMPORTANT:To provide additional protection from the risk of shock, the dispenser MUST be connected to
a ground fault circuit interrupter (GFCI) outlet at all times. Use of an extension cord will void any warranties.
If the supply cord is damaged, it must be replaced by a special cord or assembly available from the manufacturer or its
service agent.
Always grasp plug and pull straight out from outlet. Never unplug by pulling on power cord.