Model:
Product number:
Serial number/ date:
Date of purchase:
KEEP THE RECEIPT
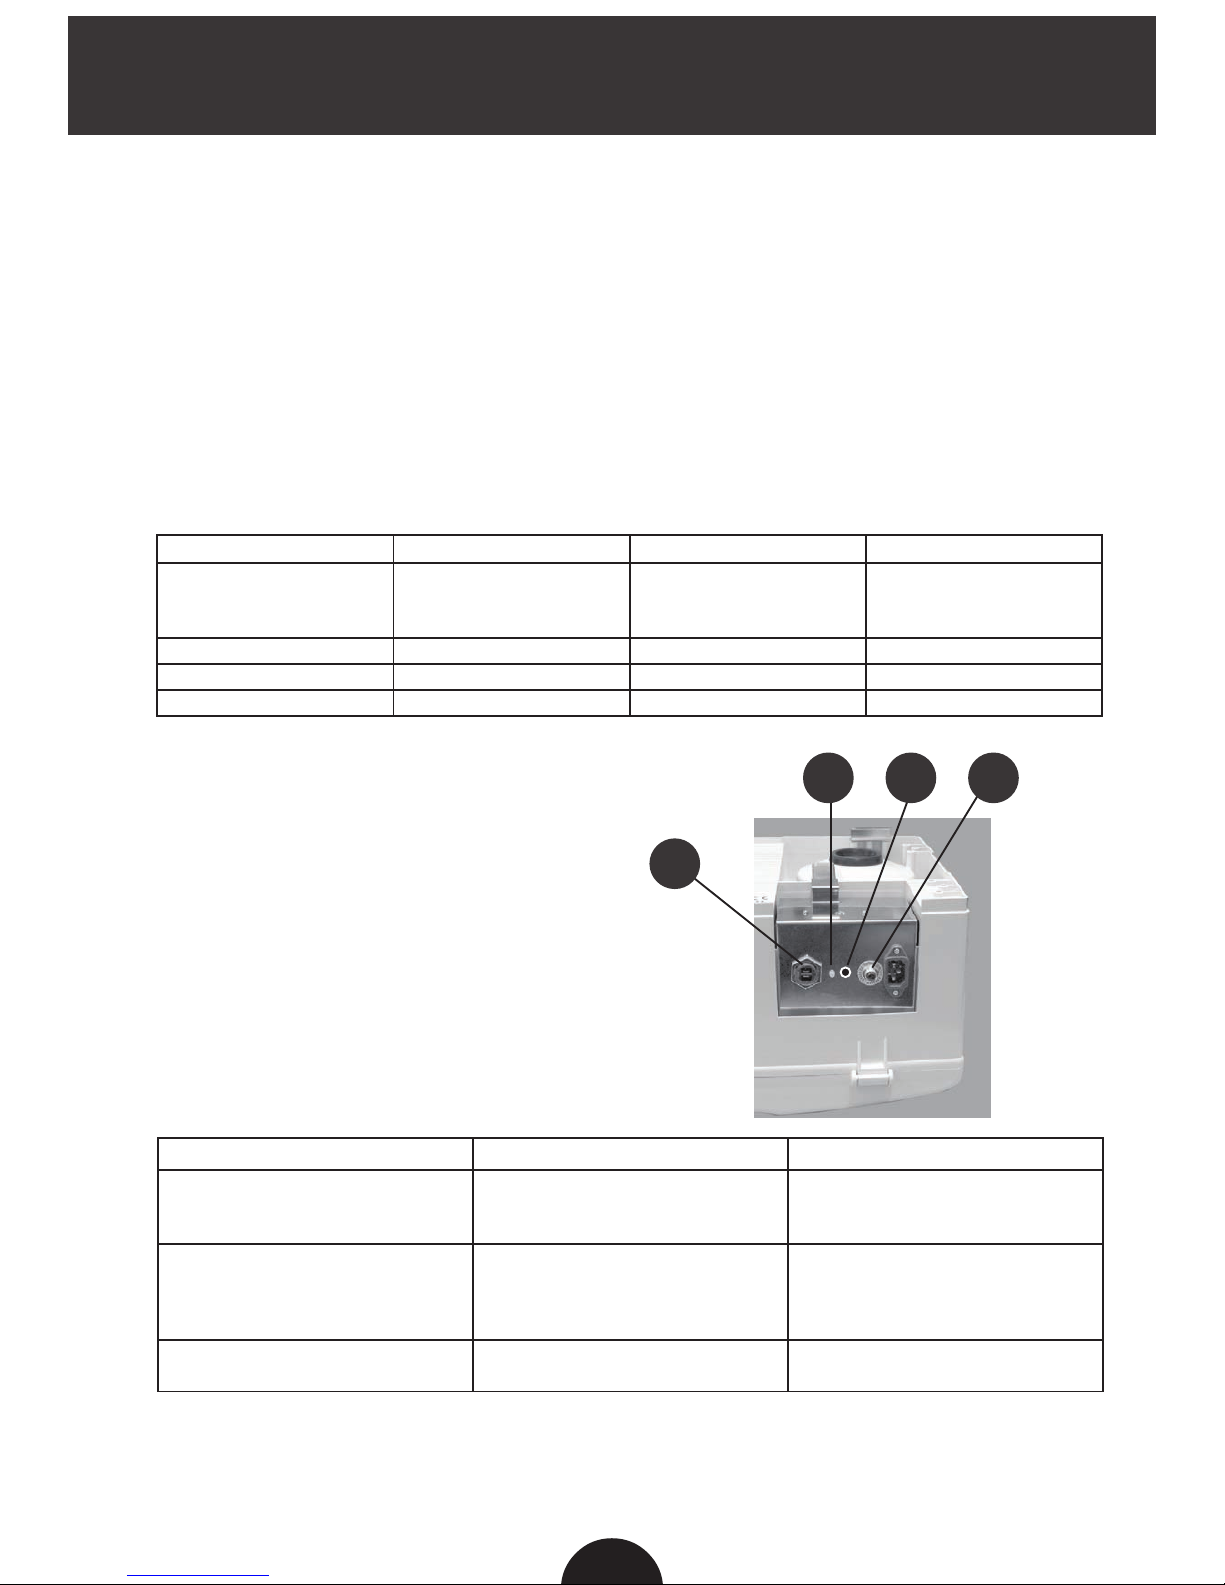
TROUBLESHOOTING
THE VACUUM CLEANER DOES NOT START
- Is the central unit connected to the mains?
- Is the wall socket supplied with electricity?
- Is the low voltage cable connected to the lter unit of
the central vacuum cleaner?
- Have you got the right hose? Original hoses have the
right contactors
- Does the vacuum cleaner start, if you try another suc-
tion outlet? If the vacuum cleaner starts, the fault is in
the electrical connections of the suction outlet. Detach
the outlet and check the wiring connections.
- If you have installed additional suction outlets, does
the vacuum cleaner start when you try from another
suction outlet? If the vacuum cleaner starts, the fault
is in the electrical connections of the suction outlet.
Detach the outlet and check the wiring connections.
- The vacuum cleaner is equipped with a overheat pro-
tection function which may have tripped. Wait for ten
minutes until the vacuum cleaner cools down.
If the protection function comes on again, contact an
authorized service company.
-Hastheautomaticfuseofthevacuumcleanertripped?
Press it and restart.
The main fuse shall be of 10A
NOTE:
230 V ELECTRICAL WORK CAN ONLY BE CARRIED OUT
BYA PROFESSIONAL WHO IS AWARE OF ALL THE SAFETY REGULATIONS.
LOW SUCTION
- Are all the suction outlets properly tted?
- Has something got stuck in the suction outlet?
- Is the dust bag full?
- Is the cover properly placed?
- Are the suction pipes blocked?
- Is the hose blocked?
- Is there a leak in the pipework?
- Are the O rings of the suction outlet in their place?
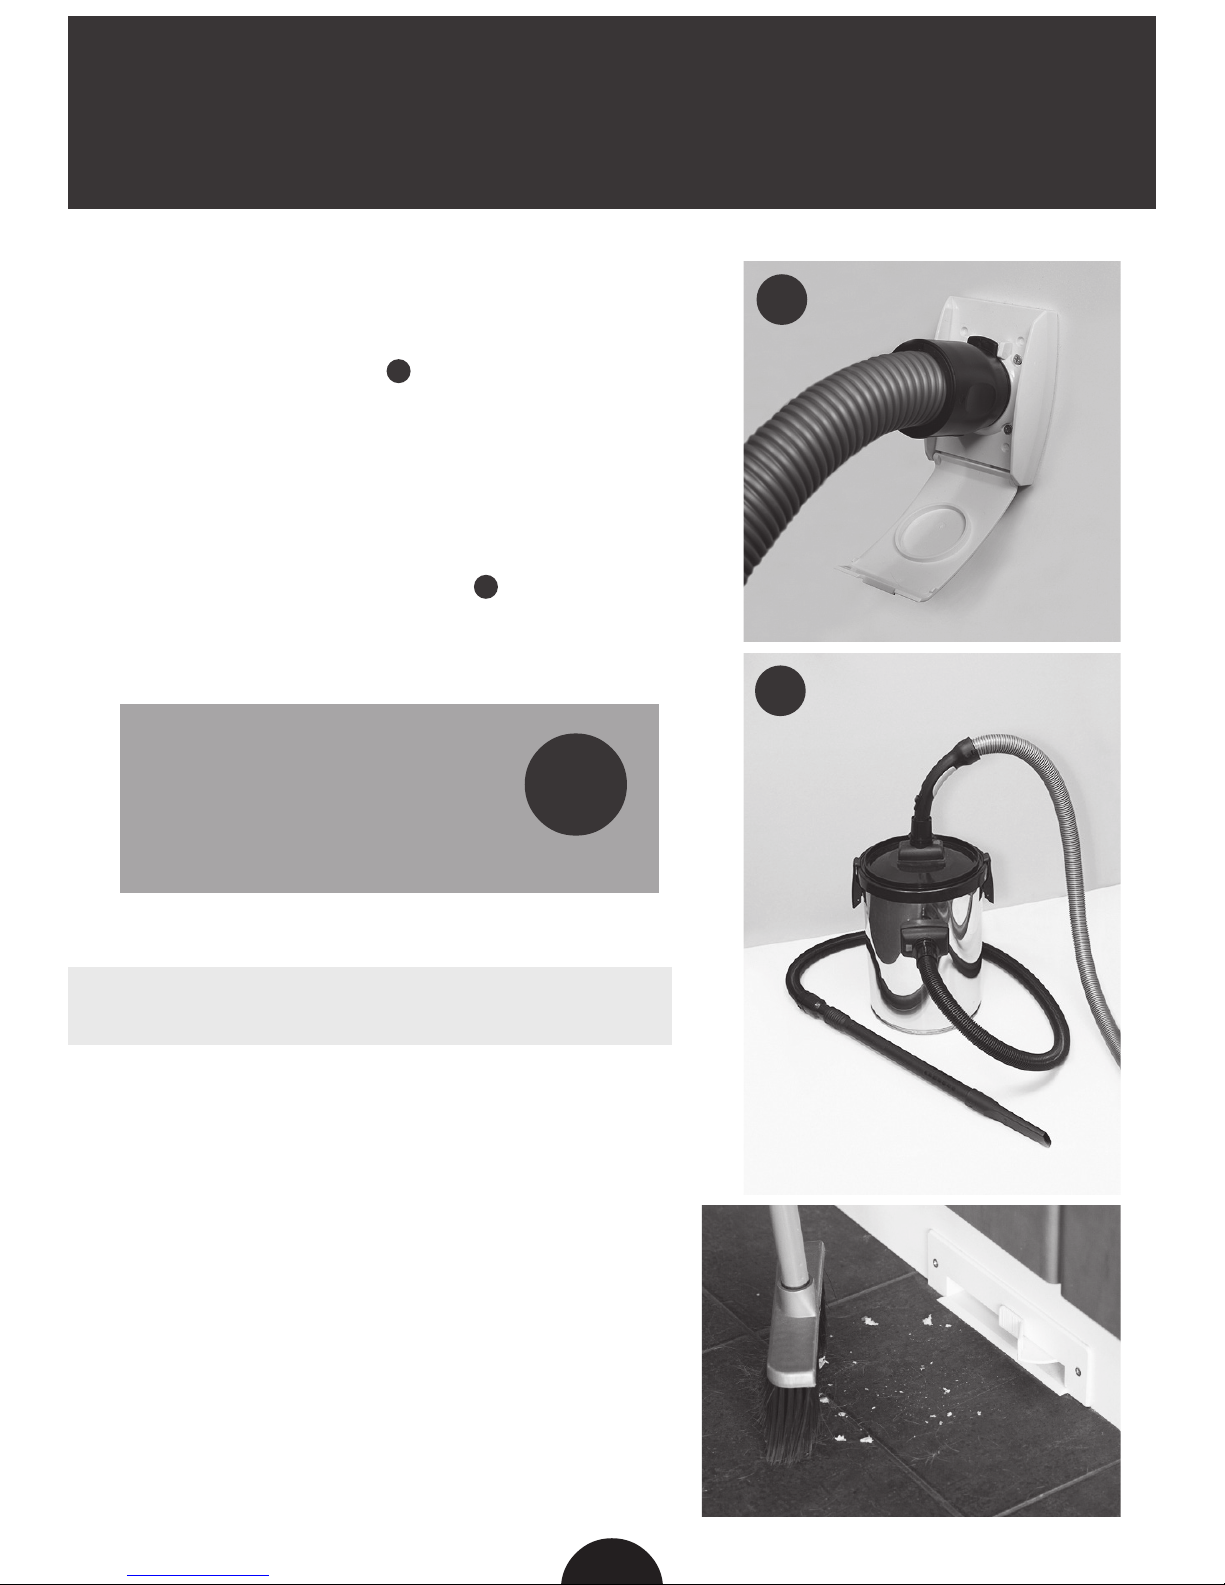
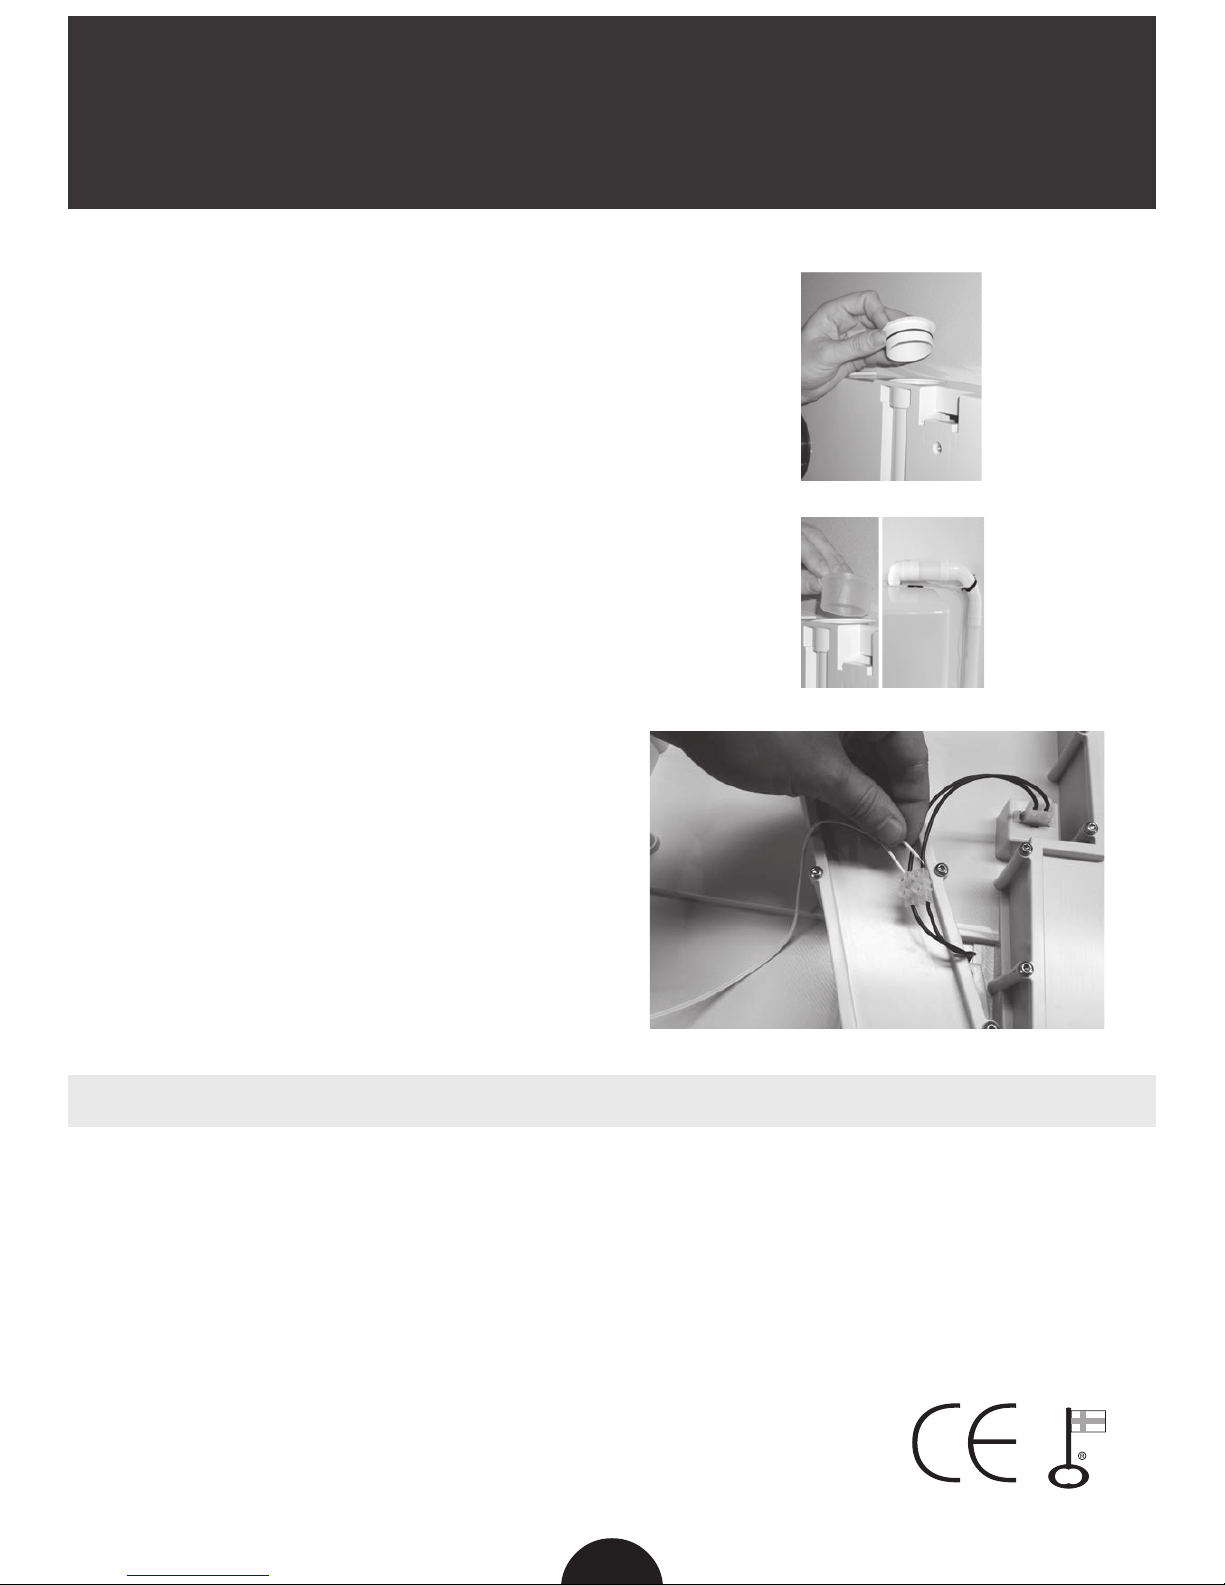
SERVICE AND SPARE PARTS
If your vacuum cleaner needs servicing or
spare parts, please mention the technical
data on the type shield. The shield is locat-
ed inside the machine by the dust bag. Write
down the information below. That way they
are always within reach.
The guarantee of the central unit is 5 years.
The symbol marked to the
product or package indicates
that this product must not
be handled as household
waste. Instead, the product
shall be submitted to a suitable recycling
point that takes care of the recycling of
electrical and electronic equipment. The
appropriate disposal of this product helps
to prevent any harmful effects on the
environment and health, which may be
caused by the inappropriate handling of
this product. More exact information on
the recycling of this product can be found
in the local municipal ofce, household
waste service or the place where you
have purchased the product.
7