Step 1
Step 2
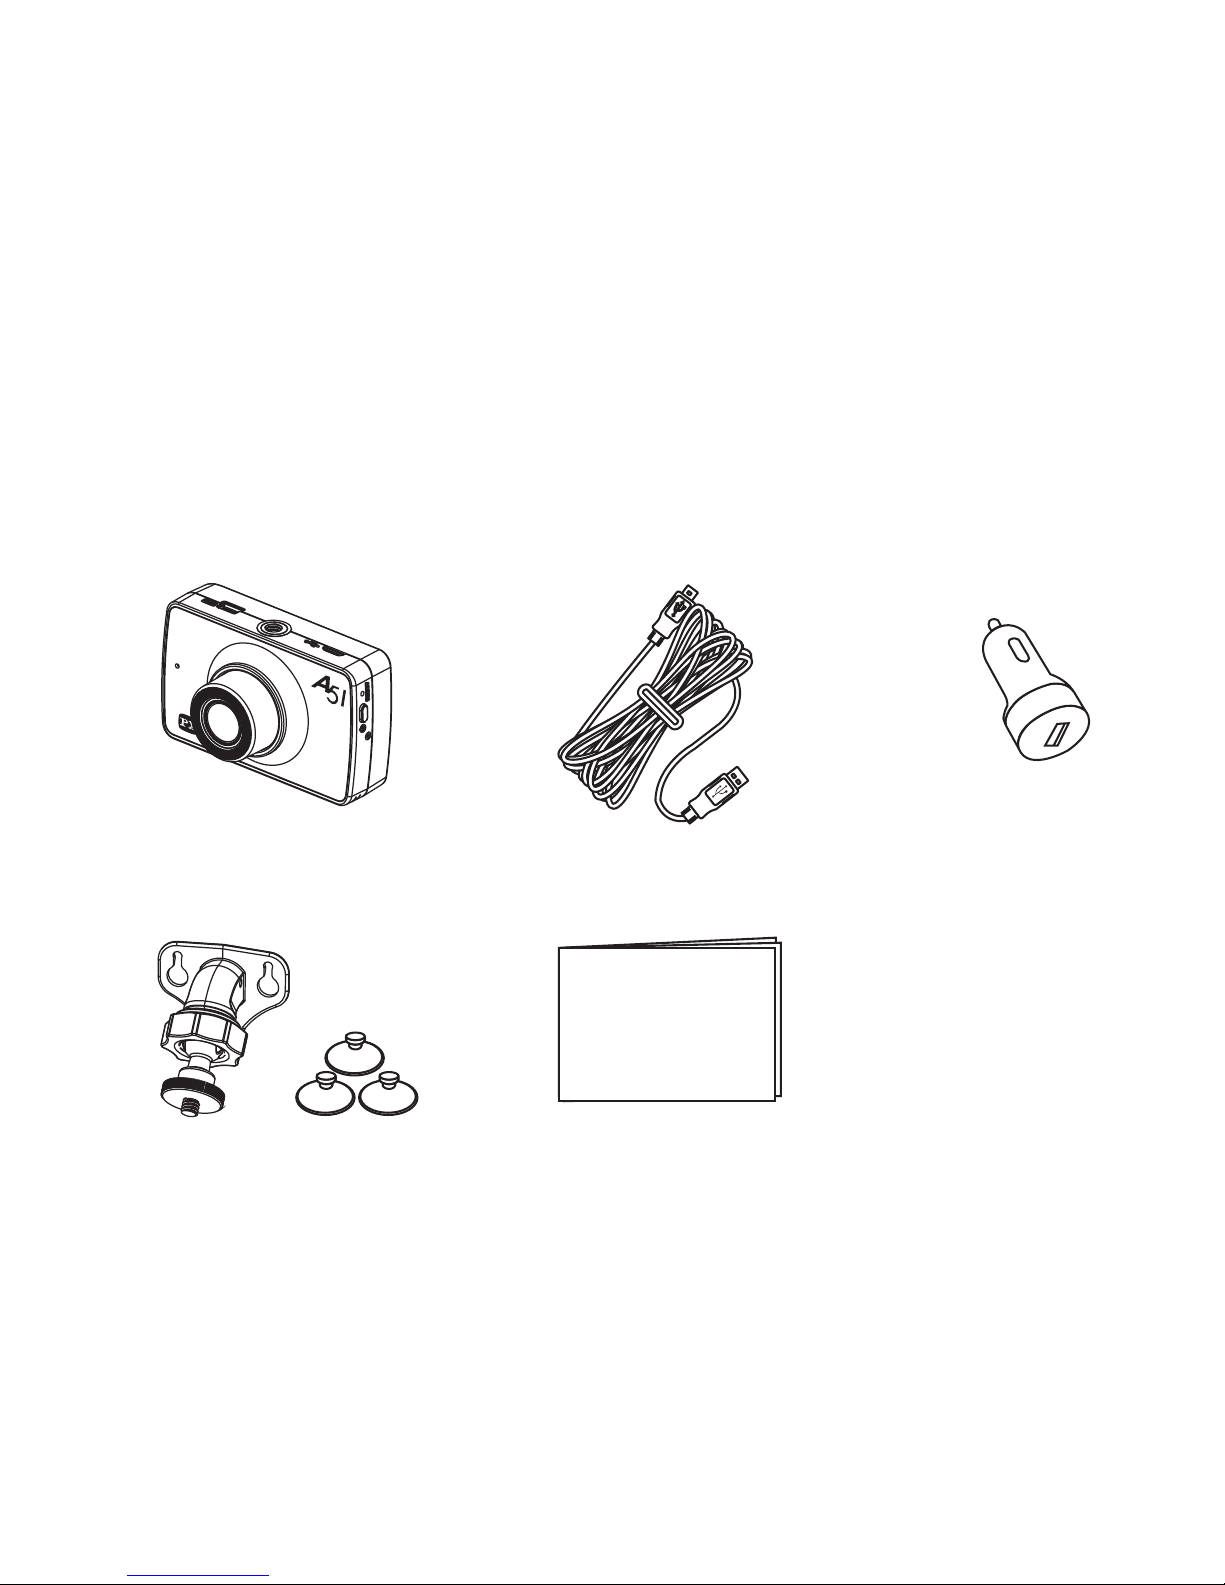
2、Quick Installation Guide
2
●
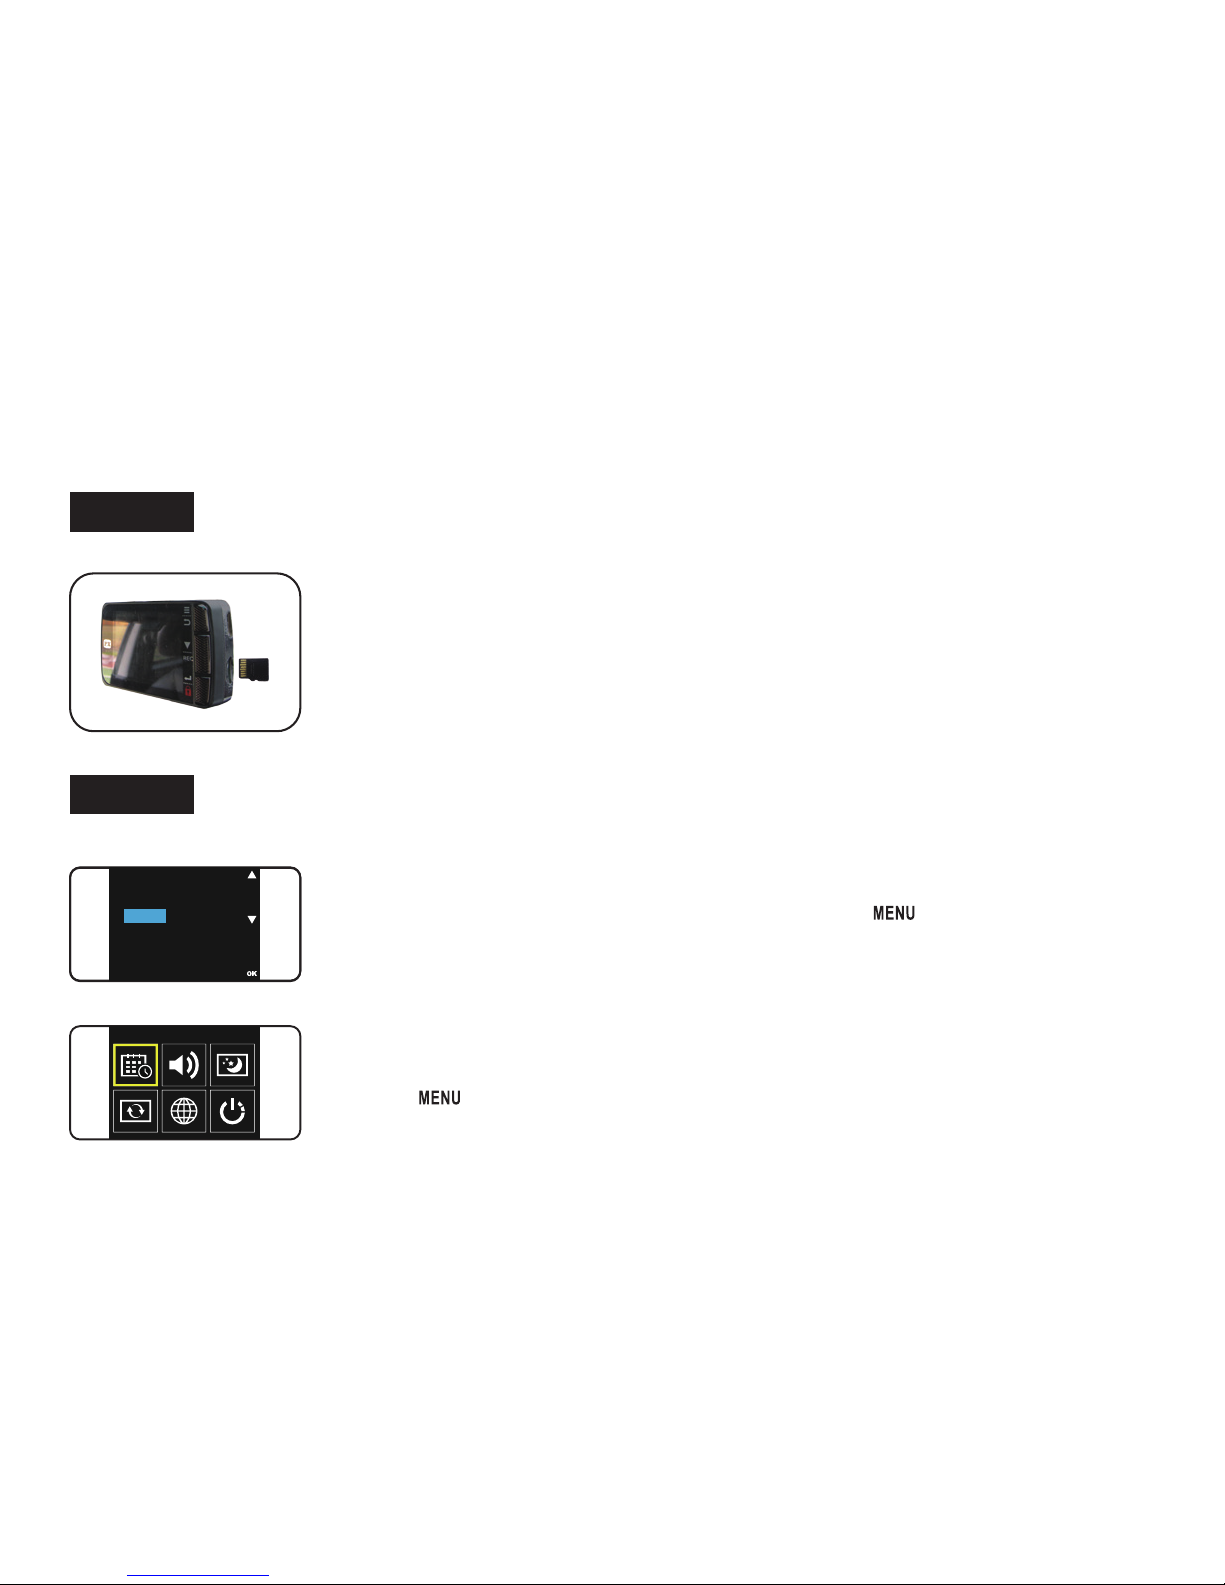
Insert the Micro SD card horizontally into the
Dashcam’s memory card slot.
※Insert memory card with wrong direction may cause damage to
the card slot and the memory card itself.
※When the SD card could not be read, please remove it first then
reinsert it again or replace it with aanother one.
Micro SD card Installation(support up to 32G)
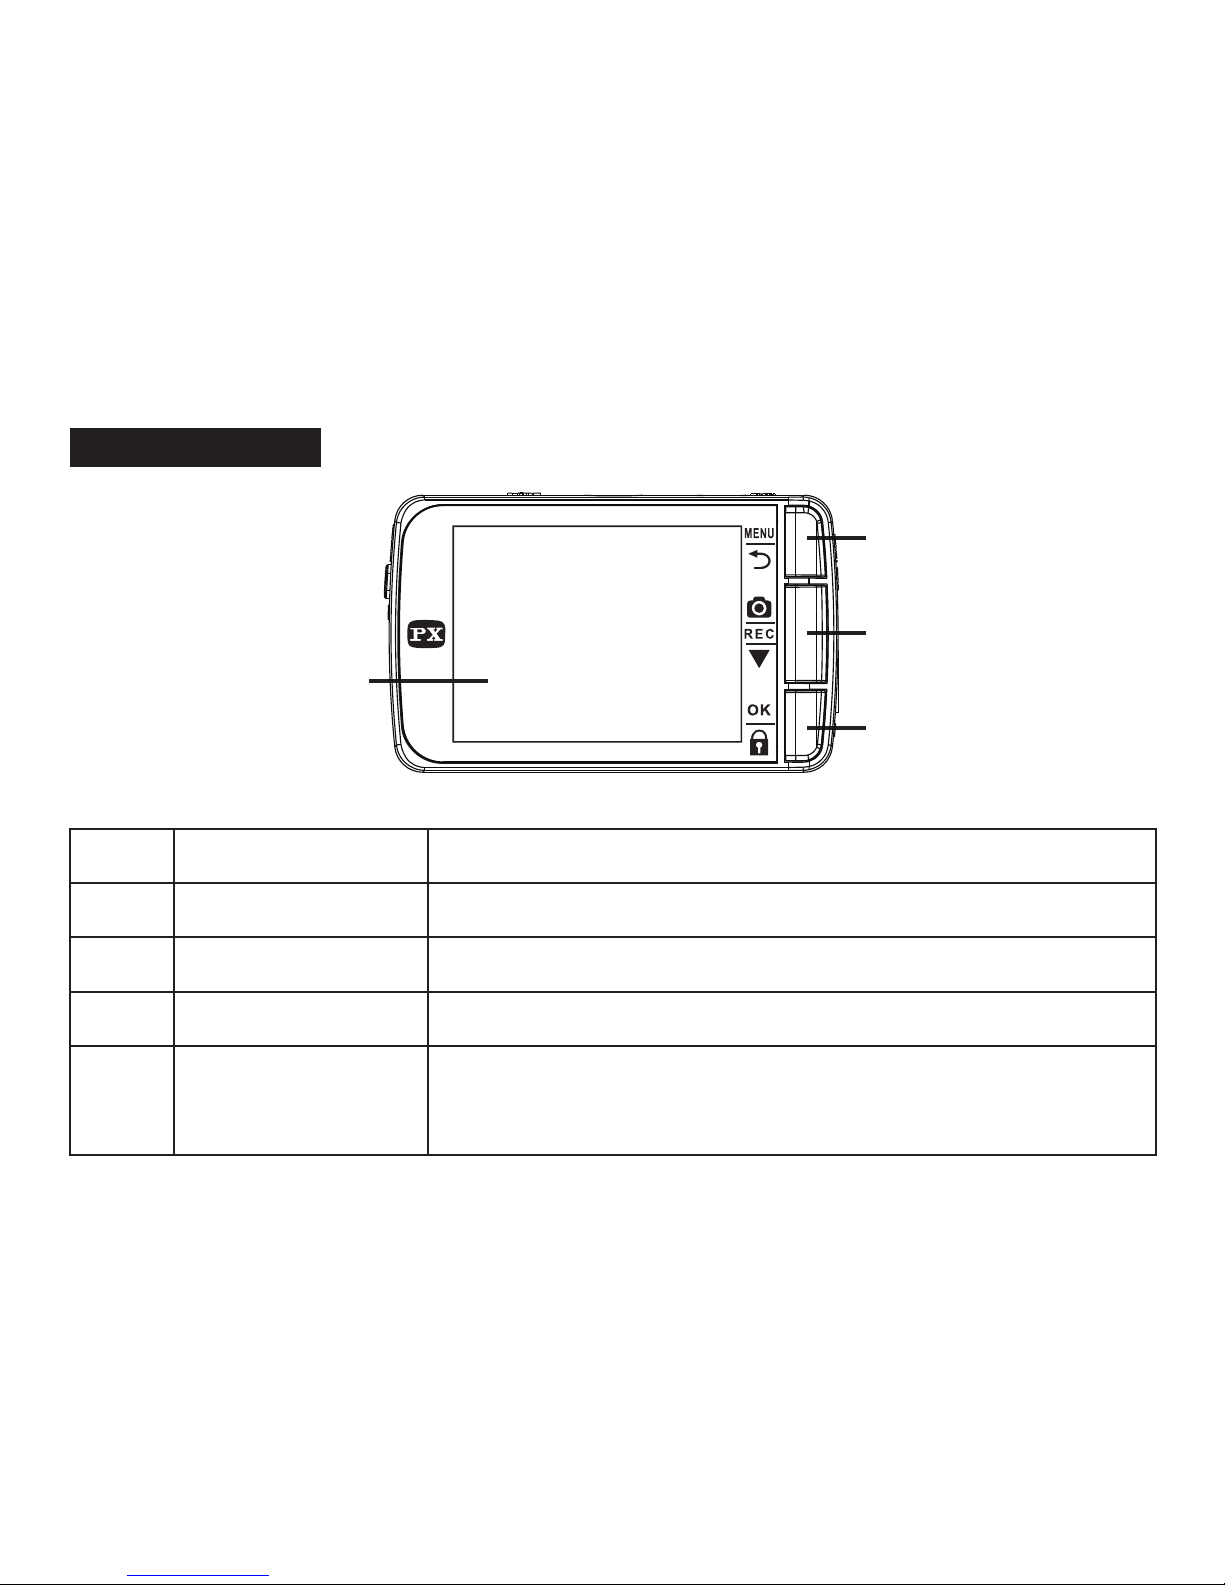
※
If there is no「Date & Time」screen being displayed after the initial boot up,
press 「」key 3 times to enter the「System Setup」menu and then select
「Date & Time」Setup function
.
Setup Date/Time
● After the initial power on, the system will display the
Date & Time setup screen,please use 「」&「▼」key
to setup number and display format. Press 「OK」key to
confirm your settings
.
System Setup
Date & Time
系統設定 > 日期 & 時間
系統設定 > 日期&時間
2016 / 11 / 03
14 : 49