manuals.online logo
Brands
  1. Home
  2. •
  3. Brands
  4. •
  5. Pyle Pro
  6. •
  7. Amplifier
  8. •
  9. Pyle Pro PQA3100 User manual

Pyle Pro PQA3100 User manual

This manual suits for next models

2

Other Pyle Pro Amplifier manuals

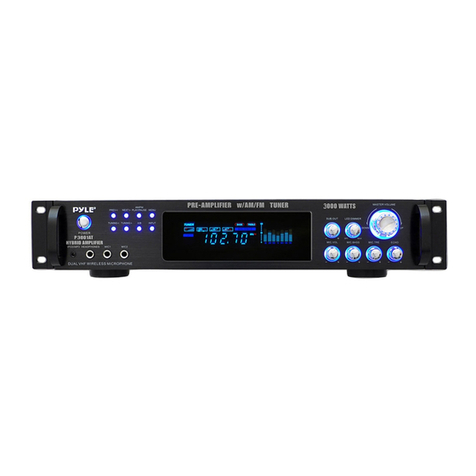
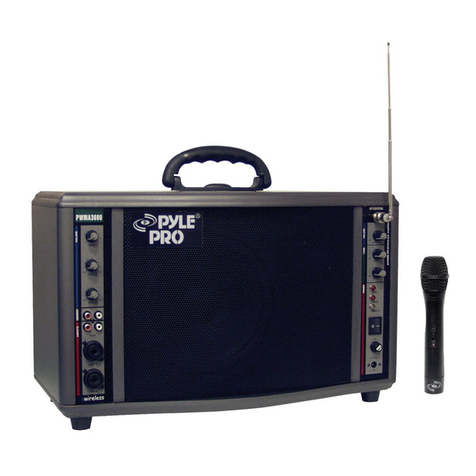
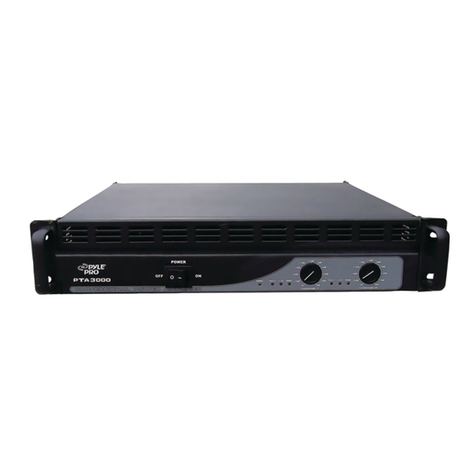
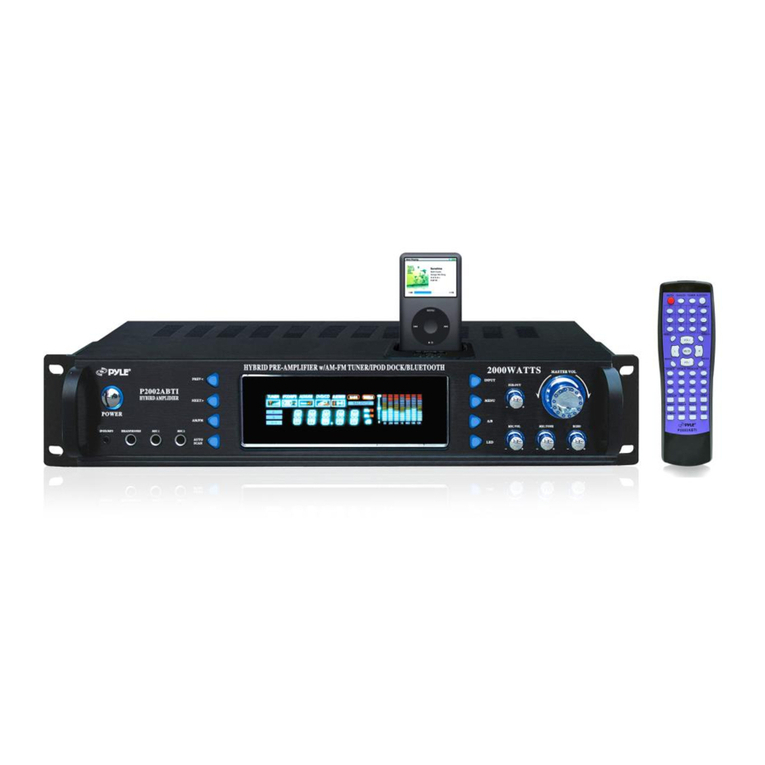
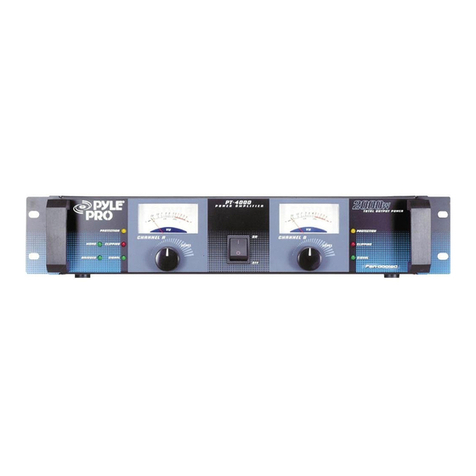
Pyle Pro PT-2400 User manual

Pyle Pro

Pyle Pro PT-2400 User manual

Pyle Pro PT610 User manual

Pyle Pro

Pyle Pro PT610 User manual

Pyle Pro PHA80 User manual

Pyle Pro

Pyle Pro PHA80 User manual

Pyle Pro PYLE PRO amplifier PT-1100/PT3300 User manual

Pyle Pro

Pyle Pro PYLE PRO amplifier PT-1100/PT3300 User manual

Pyle Pro PWMA600 User manual

Pyle Pro

Pyle Pro PWMA600 User manual

Pyle Pro PDG2000 User manual

Pyle Pro

Pyle Pro PDG2000 User manual

Pyle Pro PT-600A User manual

Pyle Pro

Pyle Pro PT-600A User manual

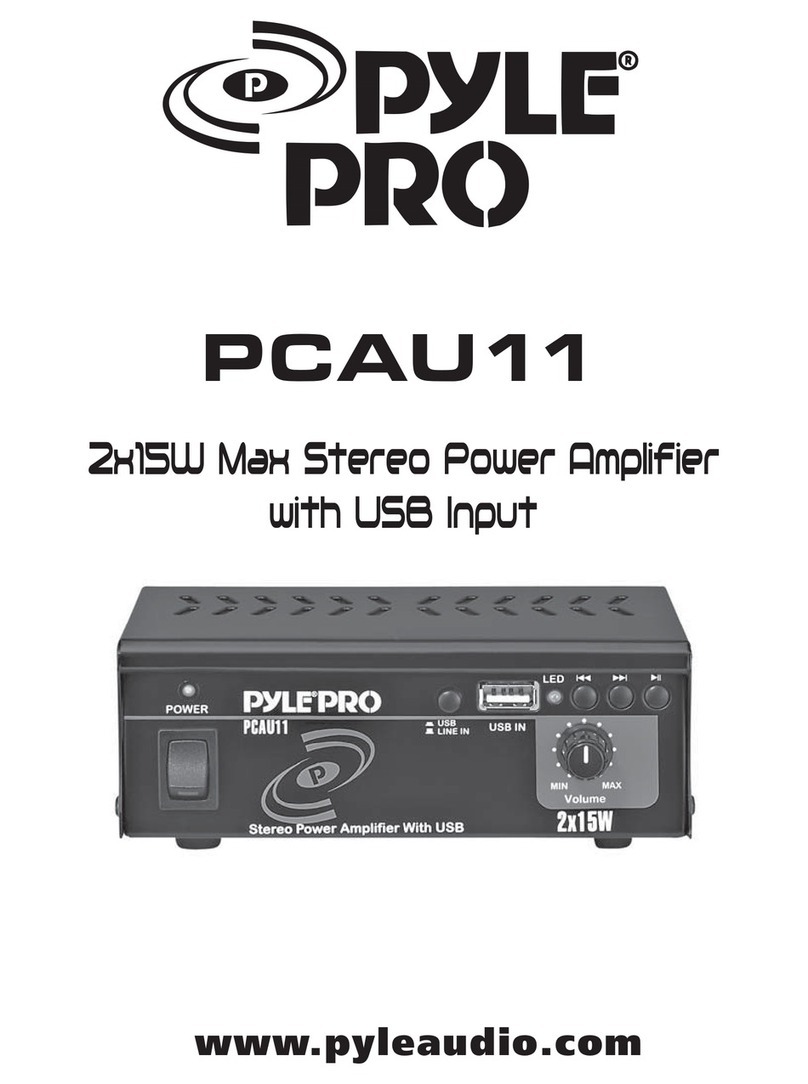
Pyle Pro PCAU11 User manual

Pyle Pro

Pyle Pro PCAU11 User manual

Pyle Pro P1501ATU User manual

Pyle Pro

Pyle Pro P1501ATU User manual

Pyle Pro PD950A User manual

Pyle Pro

Pyle Pro PD950A User manual

Pyle Pro PYLE PRO PCA1 User manual

Pyle Pro

Pyle Pro PYLE PRO PCA1 User manual

Pyle Pro Waistband Amplifier PWMA20 User manual

Pyle Pro

Pyle Pro Waistband Amplifier PWMA20 User manual

Pyle Pro PWMA600 User manual

Pyle Pro

Pyle Pro PWMA600 User manual

Pyle Pro PCA4 User manual

Pyle Pro

Pyle Pro PCA4 User manual

Pyle Pro P-1001AT User manual

Pyle Pro

Pyle Pro P-1001AT User manual

Pyle Pro PZR1000 User manual

Pyle Pro

Pyle Pro PZR1000 User manual

Pyle Pro PYLE PRO P1001AT User manual

Pyle Pro

Pyle Pro PYLE PRO P1001AT User manual

Pyle Pro PPA200 User manual

Pyle Pro

Pyle Pro PPA200 User manual

Pyle Pro PT8000CH User manual

Pyle Pro

Pyle Pro PT8000CH User manual

Pyle Pro PCAU33 User manual

Pyle Pro

Pyle Pro PCAU33 User manual

Pyle Pro PT-910 User manual

Pyle Pro

Pyle Pro PT-910 User manual

Pyle Pro PMX804 User manual

Pyle Pro

Pyle Pro PMX804 User manual

Pyle Pro AZR6XA User manual

Pyle Pro

Pyle Pro AZR6XA User manual

Pyle Pro PTAU34 User manual

Pyle Pro

Pyle Pro PTAU34 User manual

Popular Amplifier manuals by other brands

Magnat Audio EDITION FOUR Owner's manual/warranty document

Magnat Audio

Magnat Audio EDITION FOUR Owner's manual/warranty document

Inter-m PA-2000A Operation manual

Inter-m

Inter-m PA-2000A Operation manual

Yamaha TX6n owner's manual

Yamaha

Yamaha TX6n owner's manual

Peavey TNT 150 user guide

Peavey

Peavey TNT 150 user guide

Bosch LBB 1903/10 Installation and user instructions

Bosch

Bosch LBB 1903/10 Installation and user instructions

Avocent Emerge DA1200D Installer/user guide

Avocent

Avocent Emerge DA1200D Installer/user guide

Redgum RGi35 operating instructions

Redgum

Redgum RGi35 operating instructions

Cambridge Audio AXA25 user manual

Cambridge Audio

Cambridge Audio AXA25 user manual

Alpine MRP-M200 owner's manual

Alpine

Alpine MRP-M200 owner's manual

Technical Pro H1502UrBT user manual

Technical Pro

Technical Pro H1502UrBT user manual

FMS EMGZ307 operating manual

FMS

FMS EMGZ307 operating manual

Racal Instruments 5601 user manual

Racal Instruments

Racal Instruments 5601 user manual

Valcom V-1094A Technical specifications

Valcom

Valcom V-1094A Technical specifications

Cambridge Audio 851D user manual

Cambridge Audio

Cambridge Audio 851D user manual

QSC 3800 Specifications

QSC

QSC 3800 Specifications

NAD C300 owner's manual

NAD

NAD C300 owner's manual

Rotel RMB-1077 owner's manual

Rotel

Rotel RMB-1077 owner's manual

Peavey Monitor 300 Series operating guide

Peavey

Peavey Monitor 300 Series operating guide

manuals.online logo
manuals.online logoBrands
  • About & Mission
  • Contact us
  • Privacy Policy
  • Terms and Conditions

Copyright 2025 Manuals.Online. All Rights Reserved.

Professional Power Amplifier
PQA3100
PQA4100
PQA5100
www.
py
leaudio.com
+ 0:
0+:
:
8>90dB >90dB
>70dB
>250 >250 >250
30 30 30
<0W <00W <00W
482x314x88mm
9.5kg 10.5kg 12kg
。
。
。
。QA
。
。
Installation guidelines
DO NOT use these amplifiers in damp or high humidity environments.
Do not use outdoors or anywhere where liquids could fall or splash onto the amplifier.
Ensure the amp is adequately ventilated, with free airflow to the front and rear panels.
Keep away from other heat sources. If the amps are mounted in a rack with other amps,
ensure there is adequate cool air flow front and rear. Note that air is drawn in through the
back panel, and exhausted through the front panel.
NEVER cover the amplifiers, as they may overheat.
P power amplifiers are designed to fit standard 19” racks, with a 2U height
and 17 depth. We recommend the use of rear rack supports, especially if the rack is to
be mobile. Use shake proof washers or thread lock adhesive to prevent mounting bolts
becoming loose in transit.
Ensure that the AC power supply is correct for your amplifier. The required AC supply
is stated on the rear panel next to the AC power input.
Ensure that you use the correct type of mains lead for your equipment and country.
This must be free from damage and easily accessible during use.
00+00:
00+00:
:
+:
+:
:
Overview
It is well-known The PQA series professional
MODEL PQA 3100 PQA 4100 PQA 5100
PQA PQA
ability.
PQA series amplifiers has full-prote
t.
To raise reliability of the amplifier, PQA series
professional amplifiers have beenins
Bridge They all have adopted mature and reliable circuit with SMT technology
AC 110 /
PQA
PQA
8
8. Bridge mode
As the work is in bridge mode, CH A output + connector is the Bridge
connector +; while CH B + connector is the Bridge connector -.
SERIES
Page5
Service
All the products are thoroughly examined and tested
before leaving the factory, and if used correctly will give you
many years of excellent service. However,
if a problem arises, proceed as follows:
(A) contact the retailer from whom the unit was purchased and
describe the symtoms of the fault.
(B) if the retailer connot help, return the equipment to the
national distributor for your country. Use the original packaging
to protect the product from damage. Include a note with the
equipment stating your name and address, details of the
problems, date code and date and place of purchase.
FAULT PROBLEM SOLUTIONS
No sound
(power
LED off)
AC supply not connected or
switched off
Blown fuse
Check AC connections and switches
Check and replace fuses at plug and IEC
socket. USE ONLY SAME TYPE AND RATING!
NO sound
(Power
LED on)
No input,
or input too low
Level controls set too low
Speakers faulty or
not connected
Check input is connected, and LED
Increase level controls
Check speakers and speaker connections
Hum or
buzz is
audible
Noise from AC supply is being
picked up in the signal path
There is an earth problem
Use good quality, shielded signal cables and
ensure they are kept away from AC power cables
and other AC powered equipment
Use a mains tester to ensure the AC outlet
has a good earth. Power connected equipment(e.g mixer
and amp) from the same AC outlet where possible.
Distortion
is audible
Excessive signal level
somewhere in signal chain.
Damaged or poor quality
cables
Sound cuts
out or is I
ntermittent
Damaged or poor quality
cables or connectors,
connectors not properly
inserted, amp overheating
Use only high quality cables of the appropriate type,
protect them from damage and regularly
check connections.
Use the LED to ensure the AC outlet has a good earth.
Power connected equipment from the same AC outlet
where possible
Check all cables and connections, refer to above
sections regarding distortion and temp warning light
PQA