Pynamite 11525 User manual

Page 1 of 710 gal # 11525
10 gallon Mist System

Page 2 of 710 gal # 11525
CONTENTS:
10 gallon System
Pressure Tester
Remote Control
Battery Charger
==================================================================================================
Before installation
Pynamite Mosquito Misting Systems are shipped with a charged battery, however if the system is not installed and
plugged in soon after receipt, the battery will discharge. Plug the system in prior to or during the installation to ensure
the battery is charged and the system is able to operate fully when installation is complete. Allow 6-8 hours to fully
charge a dead battery.
==================================================================================================
MISTING TIMES
Mist durations are preset for 60 seconds. For mosquito misting, set the timer to mist at dusk, dawn, and then an
additional mist around 10 pm. It will take a couple days to get control of your yard initially and sometimes after a big
rain and breeding cycle. Use the remote control to mist in between scheduled mists.
==================================================================================================
PROGRAMMING THE TIMER
Buttons on Timer
1. LED: To indicate ON/OFF status
2. CLOCK: To adjust current DAY and TIME
3. TIMER: To Review & Set Programs
4. DAY: To adjust Day of Week
5. HOUR: To adjust Hour
6. MIN: To adjust Minute
7. MANUAL: To select ON, AUTO or OFF
(see more on MANUAL button below)
8. P : Reset Timer’s Settings
NOTE: Press P button to reset Timer before programming
1. Adjusting CLOCK
Press and hold CLOCK and then press DAY, HOUR, MIN, respectively to adjust clock of Timer to accurate DAY,
HOUR & MINUTE. To change to the 24-Hour Format where LCD screen indicates, 0:00-23:59, hold the CLOCK
button down for 3 seconds.
2. Programming the Timer
A. Press TIMER. LCD screen shows 1 --:-- .
B. Press DAY to select any of the preset 15-combinations. Continuing to press DAY, the LCD alternates between the
15-combinations.
C. Press HOUR, MIN respectively to set desired Hour and Minute for 1 0N.
D. After finished setting 1 0N, Press TIMER again, 1 --:-- will appear on LCD screen to set 1 OFF.
E. Press DAY to select the same Day combination as 1 ON.
NOTE: DAY-combinations chosen in each of ON/OFF program-period must be consistent
F. Press HOUR, MIN respectively to set desired Hour and Minute for 1 OFF.
CAUTION: AN “OFF” SETTING OF 1 MINUTE LATER MUST BE PROGRAMMED FOR EVERY “ON”
SETTING. For example, if 8:00 is scheduled for ON, then 8:01 must be scheduled for OFF. IF THIS IS
NOT DONE, SCHEDULED MISTING CYCLES WILL NOT INITIATE AND REMOTE WILL NOT WORK. At any
time entire clock can be reset by pressing the grey button next to P .
If you should experience any difficulties, issues or problems while
assembling or operating your system, contact customer service at
info@pynamite.NET or 866-986-5586.
on
--
off
--

Page 3 of 710 gal # 11525
G. When finished setting 1 0N & 1 0FF, Press TIMER 2 --:-- will appear on the LCD screen.
H. Repeat programming procedure above to complete additional ON/OFF misting cycles if desired.
I. When finished programming mist cycles, press CLOCK.
NOTE: To disable a scheduled misting cycle, set the OFF time to the same as the ON time and the system will
not mist that cycle.
At any time entire clock can be reset by pressing the grey button next to P
MANUAL Button on Timer – is to select the ON, AUTO or OFF mode of the timer, not to initiate a mist. The
recommended mode is AUTO.
•When in AUTO mode, the timer will function as programmed above.
•When in OFF mode, the programmed misting cycles will not initiate. The Remote Control Start/Stop buttons will
initiate/stop a mist cycle while the timer is in OFF mode.
•When in ON mode, a mist cycle will initiate after a 2 second delay. Timer must be returned to AUTO mode for
the programmed mist cycles to continue. NOTE: The remote control is the preferred method for initiating an
unprogrammed mist.
BATTERY MAY BE PLUGGED IN CONTINUOUSLY WITHOUT LOSING BATTERY CAPACITY OR HARMING THE BATTERY
==================================================================================================
BACK OF 10 GALLON SYSTEM
1. NOZZLE CIRCUIT OUTLET – this is the beginning of the Nozzle
Circuit. NOTE: To insert the tubing correctly, first make a clean
straight cut with the Tube Cutter, then moisten the tubing and
push it all the way in and then swiftly pull back to lock the
tubing in place.
2 BATTERY CHARGER 2 PIN MATING CONNECTOR - Attach the
two pin connector from the Battery Charger to the mating two
pin connector. Plug the Battery Charger into a 120v outlet.
When the Battery Charger is plugged in, the LED on the Battery
Charger shows charging status:
•RED LIGHT FLASHING - charger has A/C power and microprocessor is functioning
properly. If the RED light continues to flash, then either the battery voltage is too
low (less than 3 volts) or the output connectors on the battery are not connected
correctly. The fuse in the positive battery connector may also be blown.
•RED LIGHT ON STEADY – battery is connected properly and charger is charging the battery. The RED light will
remain on until the charger completes the charging stage.
•GREEN LIGHT FLASHING - battery is greater than 80% charged.
•GREEN LIGHT ON STEADY – the charge is complete, keep plugged in to maintain the battery indefinitely.
•NO LED - not plugged into a 120v outlet, reverse polarity, or blown fuse on positive side of the battery.
on
2
4
1
3

Page 4 of 710 gal # 11525
BATTERY CHARGER TROUBLE SHOOTING CHECKLIST
•Charger light does not turn on – check to make sure A/C outlet is supplying power by plugging in a lamp,
appliance or voltage meter.
•The GREEN light goes on immediately when charging a discharged battery – the battery may be defective, take
the battery to be tested
•Charger is charging but the GREEN light does not illuminate – the battery may be defective, take the battery to
be tested.
NOTE: Battery Charger may be plugged into 120v outlet continuously without causing damage to the Battery.
NOTE: When unit is being stored or not in use for periods longer than 6 months, to preserve Battery capacity, keep
Battery Charger plugged in continuously.
NOTE: If extension cord must be used, make sure: (a) that pins on the plug of the extension cord are the same
number, size, and shape as those of the plug on the charger; (b) that extension cord is properly wired and is in good
electrical condition; and (c) that wire size is large enough for AC ampere rating of the charger (up to 100 foot
extension, use 18AWG size cord, 101-150 foot, use 16AWG size cord).
3. REMOTE CONTROL ANTENNA WIRE - Blue antenna wire for the supplied remote control. Ensure that it is sticking out
of the black plate.
4. TIMER - See programming Timer above.
NOT PICTURED
PRESSURE GUAGE – Tool to use to check misting pressure. It is not required for the installation. It can be used as a
diagnostic tool to check the pressure in the line.
BATTERY and PUMP AND MOTOR – are located behind the black plate. The 200 psi Pump can mist up to 30 Nozzles on
up to 500 feet of Tubing. Do not run more than 30 nozzles on this system.
==================================================================================================
REMOTE CONTROL
1. ON Button - pressing this button will initiate a 1 minute unscheduled
mist cycle.
2. OFF Button - pressing this button will stop a remote mist once it starts.
==================================================================================================
SYSTEM SETUP
Once the nozzle circuit has been installed and connected to the system, the system needs to be purged and tested
before filling it with insecticide.
•Fill the tank about half way with tap water. DO NOT ADD INSECTICIDE
•Go to the last nozzle in the circuit (or nozzles if you Tee’d off into different runs) and remove the nozzle tip(s) by
unscrewing it from the adapter.
•To purge the air out of the system, press the ON button on the remote. Water and air will come out of the open
nozzle(s). Run system as long as it takes to get the air out of the lines so that the water runs freely without
sputtering. Make sure the Suction Strainer on the 3/8" tube is below the surface of the water.
•Once the water is running without air sputtering, press the OFF button on the remote, and screw the nozzle
tip(s) back on.
1
2

Page 5 of 710 gal # 11525
•If the pressure does not get to 175-200 psi, there could be several reasons:
oTubing is loose – check every connection where tubing goes into a fitting and make sure water is not
leaking out or air is not being sucked in. It is imperative that the tubing is pushed in and swiftly pulled
back to lock it in place.
oToo many nozzles on a linear run –
The most optimum run is a looped run - Insert a piece of tubing into the Nozzle Circuit Outlet
and then a Union Tee. Start the nozzle circuit in one end of the union tee and loop back around
to tee into the same connection.
A linear circuit works well too - two lines coming out of the union tee that do not loop back to
the tee. Make sure there are a fairly equal number of nozzles on each of the main runs. A linear
run can cause the pressure to go down if there are too many nozzles on too long of run of
tubing.
•Once the pressure is set, pour in the insecticide and continue filling the tank with tap water.
NOTE: The mix ratio for the ½ gallon bottle into the 10 gallon tanks is 12.5 ounces. Each bottle will yield 5 refills.
================================================================================================
INSECTICIDES REGISTERED FOR MISTING
Only products that that are water based, approved by the EPA and labeled for use in an Automated Misting System can
be used in a Pynamite Misting System. Products containing Petroleum Distillates should never be used in an
Automated Misting System regardless of labeling. Additionally do not use Natural Products containing essential oils
such as wintergreen, peppermint and similar in a Pynamite Misting System. Using unauthorized products can damage
your system as well as your residence and will void the warranty.
================================================================================================
Nozzles
Pynamite Nozzles are fully cleanable. The tip (1) can be unscrewed and
soaked in a vinegar/ warm water solution to remove calcium deposits. The
Nozzle also contains a stainless steel cleanable mesh filter (2) in the rear of
the Nozzle. Unscrew the back of the Nozzle to locate the filter, remove and
rinse the filter with fresh water to remove any debris. Hand-tighten to reassemble.
NOTE: For optimum performance, nozzles should be checked and cleaned several times a year.
==================================================================================================
WINTERIZING
If possible, plan for your tank to be close to empty as the winter season commences. You will need to empty the tank
for the winter. Be sure to dispose of any remaining liquid properly according to the instructions on the label of your
misting concentrate.
Flush pump with clean water:
1. Open the Drain Cap on the back of the Tank, drain and rinse inside the tank with fresh water, replace the Drain
Cap.
2. Remove the Nozzle Circuit tubing from the first nozzle by pushing in on the collet and pulling out the tubing.
3. Fill a 5 gallon bucket with fresh water and position it next to Tank.
4. Open the Tank and remove the Suction Line and rinse thoroughly with fresh water.
5. Submerge the Suction Line in the 5 gallon bucket of fresh water.
6. Press the ON button on the Remote Control to clear the water from the Suction Line and flush the Pump.
1
2

Page 6 of 710 gal # 11525
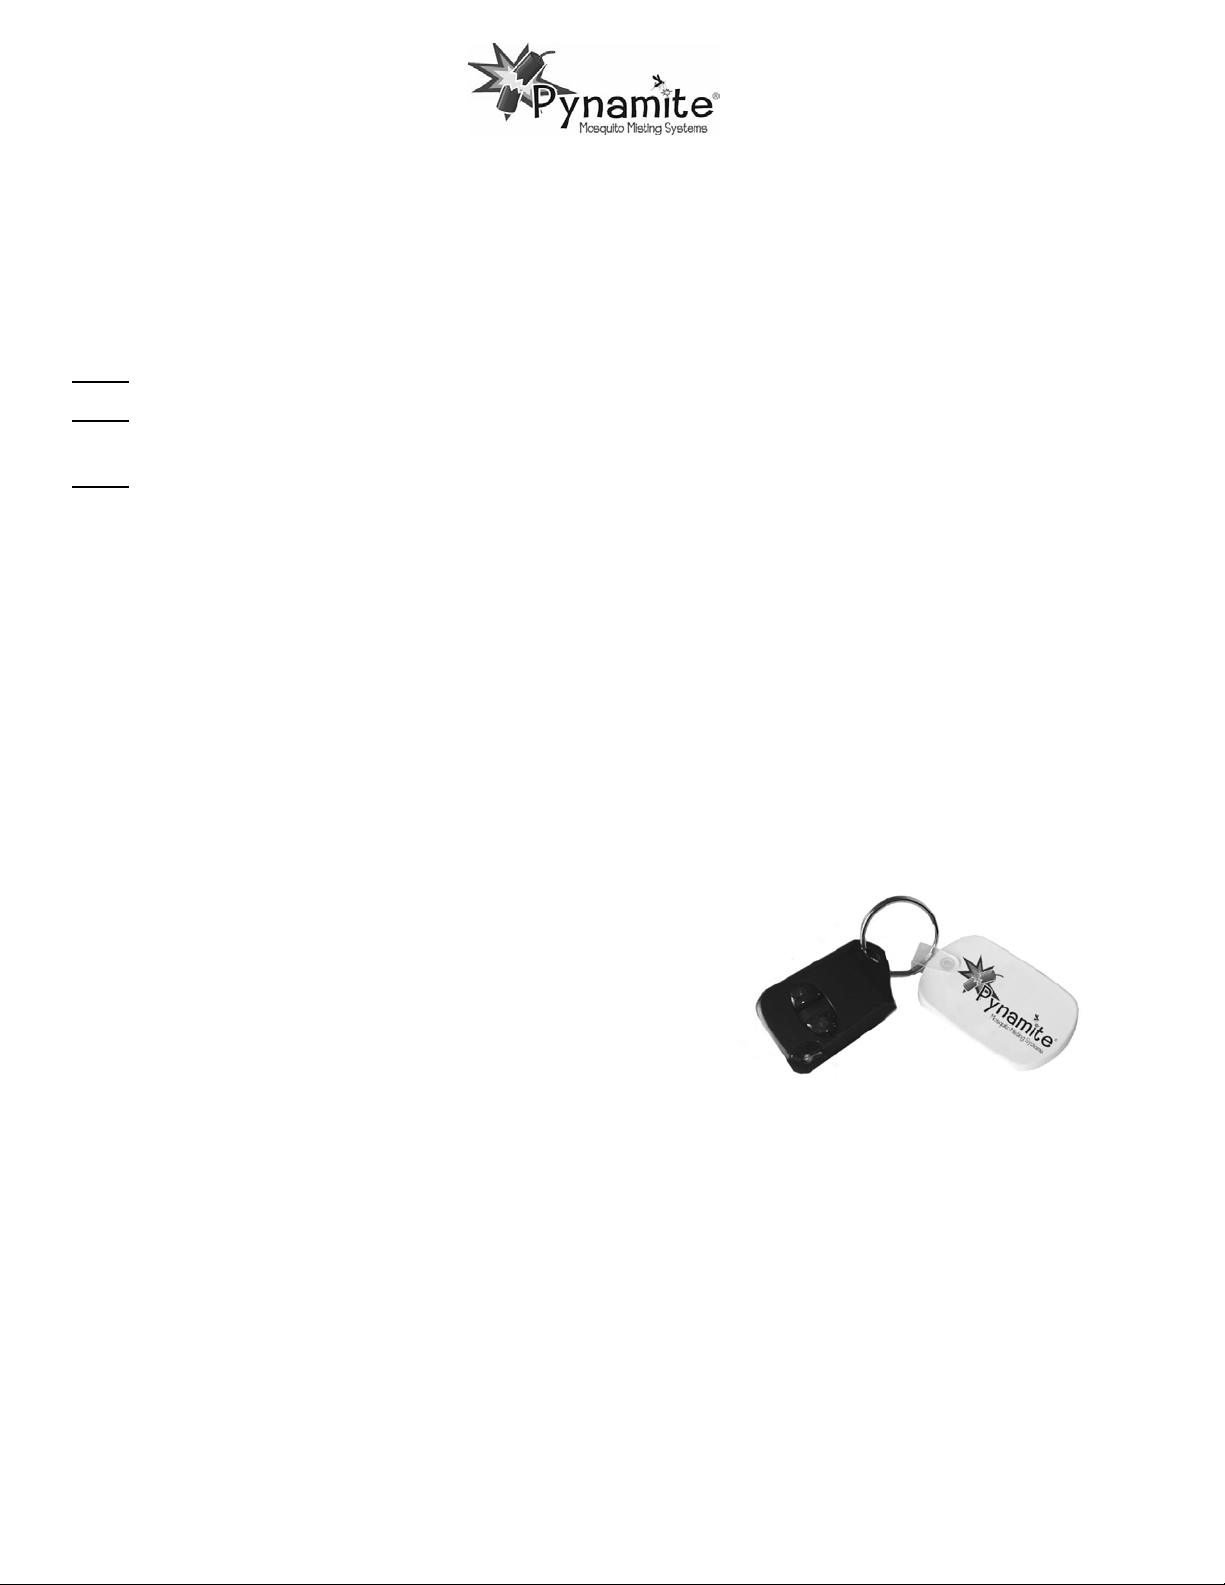
7. Remove the Suction line from bucket and activate a dry mist cycle by pressing the ON button on the Remote
Control to clear the water from the Pump.
8. Replace the Suction Line back in the now empty Tank and close the Lid.
9. Turn the Manual on Timer OFF and keep the system plugged in to maintain the Battery.
10. Reattach the nozzle you removed in step #2 above.
Purge fluid remaining in the Nozzle Circuit with compressed air.
1. Remove the Nozzle(s) from the Adapter(s) on the end of each run.
2. Using a portable air compressor with adapter (adapter can be purchased from Pynamite) purge fluid
from Nozzle Circuit by connecting the air compressor to the tubing that was removed from the In-Line
Nozzle Circuit Filter at the beginning of the Nozzle Circuit.
3. Once the fluid has been purged from the lines, replace the Nozzle(s).
NOTE: Winterizing is a great time to check and clean the nozzles. For optimum performance, nozzles should be
checked and cleaned several times a year. See nozzle cleaning instructions above.
NOTE: If you live in an area that does not freeze and you do not plan on performing a complete winterization
process, the Tank should either be emptied and cleaned or kept running throughout the winter. If the liquid sits
stagnate over several months, slime and bacteria will naturally grow in the tank. When the system starts up
again, that slime will be drawn up into the suction filter, though the pump and out through the nozzle circuit
causing damage.
==================================================================================================
WARRANTY
Lovett Industries, LLC dba Solar Insect Systems (SIS) warrants this Product, to be free from defects in material and
workmanship as follows:
•For a period of one (1) year from the date of purchase (whether or not actual use begins on that date), SIS will
repair or replace defective electronic parts with new or refurbished parts, at its option, at no charge. This
warranty does not include labor or other costs incurred for diagnosing, removing, installing, shipping, servicing
or handling of either defective parts or replacement parts. Additionally warranty does not apply to nozzle circuit
or fittings.
•This warranty applies solely to equipment supplied by SIS and is in lieu of all other warranties, expressed or
implied. No person, agent, dealer, or distributor is authorized or empowered to give any other warranty or to
assume any other liability on behalf of Solar Insect Systems.
Warranty Conditions:
•This warranty is extended only to the original Purchaser and is nontransferable.
•A purchase receipt or other proof of date of purchase will be required before warranty service is rendered.
•Installation, use, care and maintenance must be normal and in accordance with instructions contained in the
operating manual and Solar Insect’s service information. Failure to do so shall void this warranty.
•All claims for failure to conform to specifications or defects in material or workmanship under this warranty
must be made promptly after discovery and, in any event, must be received by Solar Insect Systems not more
than three years after the original purchase date.
•SIS reserves the right to inspect the equipment prior to any decision involving a warranty claim.
•SIS reserves the right to make warranted repairs at either the installed site or at SIS's location in Richmond, TX. If
SIS opts for repair at its own location, Purchaser is responsible for shipping the item to SIS at its expense.

Page 7 of 710 gal # 11525
Manufacturer’s obligation under the warranty shall not apply to:
•Any equipment, which has been damaged by negligence, misuse, abuse, neglect and/or improper adjustment
(including running the pump over 200 psi), accident, vandalism, acts of God, acts of war, whether declared or
undeclared, improper application, or any other contingency beyond the control of Solar Insect System
•Cosmetic damage
•Damage in transit
•Failures caused by products not supplied by SIS
•Failures, which result from faulty installation, set-up adjustments, improper operation, power line surge,
improper voltage supply or damage from lightning
•Any equipment that has been repaired or altered without authorization from SIS or in a manner inconsistent
with such authorization
•Normal wear on any item or piece of equipment
•Lost items
Manufactured by:
www.pynamite.NET
Table of contents
Popular Insect Control Equipment manuals by other brands

Davita
Davita MosQuit Directions for use

Radarcan
Radarcan RODENTS REPELLER PRO Instructions for use

exocutor
exocutor EX16 quick start guide

One Stop Gardens
One Stop Gardens SOLAR INSECT KILLER 95500 Assembly & operating instructions

Dynamic
Dynamic Dynatrap XL owner's manual

Dynamic
Dynamic Dynatrap 3 owner's manual