TAPE
RECORDING
BassStep
Filters
Cancel
Recording
Tape
Dubbing
To Record
from
AUX2
tO
TAPE
To Record
from
TAPE
to AUX2
Warning
Tape
Monitoring
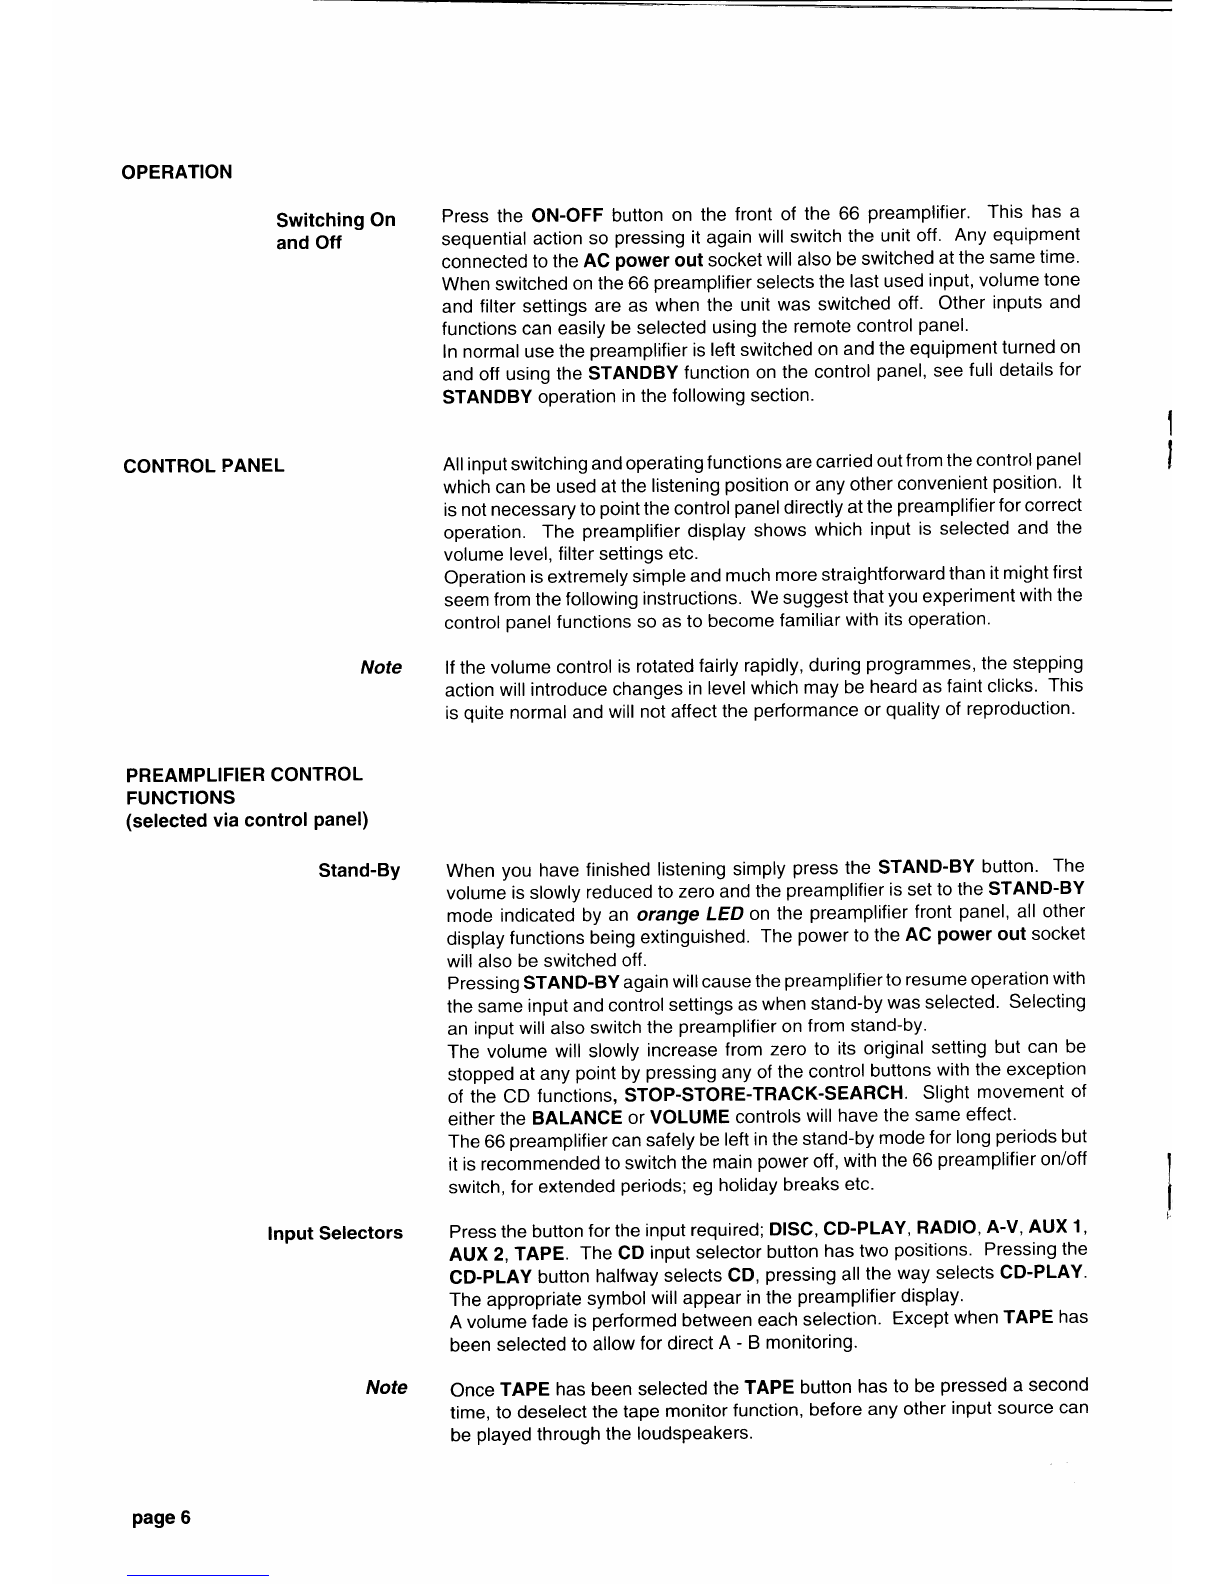
Provides
two
positions
of
step
cutat
the
lowend
ofthe
frequency
band
to
remove
unwanted
low
frequency
resonances
without
rolling
off
the
extreme
lowerbass
frequencies
(See
graphs).
Pressing
BASSSTEP
V steps
through51 and52 positions,
pressing
BASS
STEP
A steps
through
from52,51tothe
flat
response
position.
Thestep
position
selected
isshown
on
the
preamplifierdisplay.
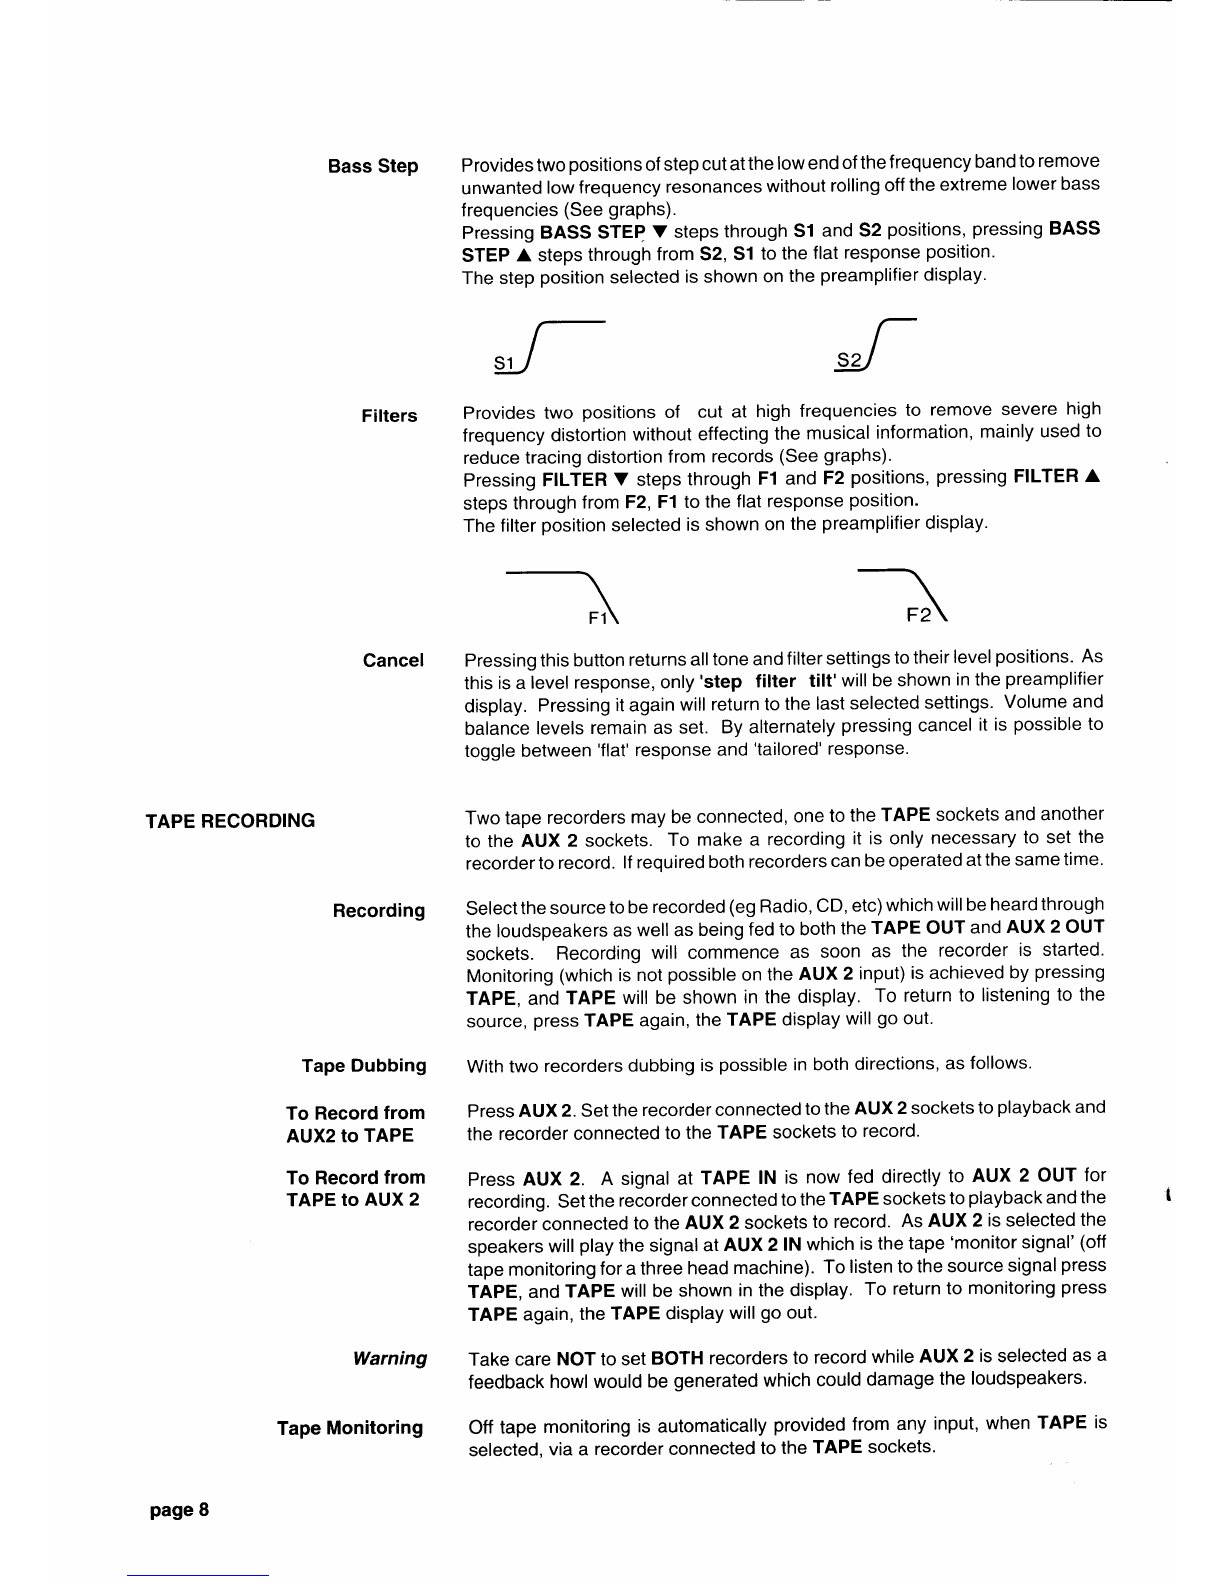
Provides
two positions
of cut at high
frequencies
to remove
severe
high
frequency
distortion
without
effecting
themusical
information,
mainly
used
to
reduce
tracing
distortion
from
records
(See
graphs).
Pressing
FILTER
V steps
through
F1
and
F2
positions,
pressing
FILTER
A
steps
through
fromF2,
Fl to
the
flatresponse
position.
The
filter
position
selected
is
shown
on
the
preamplifier
display.
Pressingthis
button
returns
alltone
and
filtersettings
totheir
level
positions.
As
this
isalevelresponse,
only'step filter tilt'will
beshown
in
the
preamplifier
display.
Pressing
it
again
will
returnto
the
last
selected
settings.
Volumeand
balance
levels
remainasset. Byalternately
pressing
cancel
itispossible
to
togglebetween
'flat'
response
and
'tailored'
response.
Twotape
recorders
maybe
connected,
one
to
the
TAPE
sockets
andanother
totheAUX 2 sockets.
To makea recording
it isonly
necessary
to setthe
recorder
to
record.
lfrequired
both
recorders
can
beoperated
at
thesame
time.
Selectthe
source
to
be
recorded
(eg
Radio,
CD,
etc)which
will
be
heardthrough
the
loudspeakers
as
wellas
being
fedtoboth
the
TAPEOUT
and
AUX
2OUT
sockets. Recording
will commence
as soon as the recorder
is started.
Monitoring
(which
is
not
possible
onthe
AUX
2 input)
isachieved
by
pressing
TAPE,and
TAPE
willbeshown
inthe
display.
To returnto listening
tothe
source,
press
TAPE
again,
the
TAPEdisplay
will
go
out.
Withtwo
recorders
dubbing
is
possible
inboth
directions,
as
follows.
Press
AUX
2.
Set
the
recorderconnected
to
the
AUX
2sockets
to
playback
and
the
recorderconnected
to
the
TAPEsockets
torecord'
Press
AUX 2. A signal
at TAPElN is nowfed directly
to AUX 2 OUTfor
recording.
Set
the
recorderconnected
to
the
TAPEsockets
to
playback
and
the
recorder
connected
totheAUX
2sockets
torecord.
AsAUX
2 is
selected
the
speakers
will
play
thesignal
at
AUX2lN
which
isthe
tape
'monitor
signal'
(off
tape
monitoring
fora
three
head
machine).
To
listen
tothe
source
signal
press
TAPE,and
TAPE
willbe
shown
inthedisplay.
To return
tomonitoring
press
TAPE
again,
the
TAPE
display
will
go
out.
Takecare
NOTtosetBOTH
recorders
torecord
while
AUX2 isselected
asa
feedback
howlwould
be
generated
which
could
damage
the
loudspeakers.
Off
tape
monitoring
isautomatically
provided
fromany
input,
when
TAPEis
selected,
viaa recorderconnected
to
the
TAPE
sockets'
pageI