Reference Version Number
KEYMAZE 500HIKE 1 17/11/2011 6/24
KEYMAZE 700TRAIL
2/ First settings
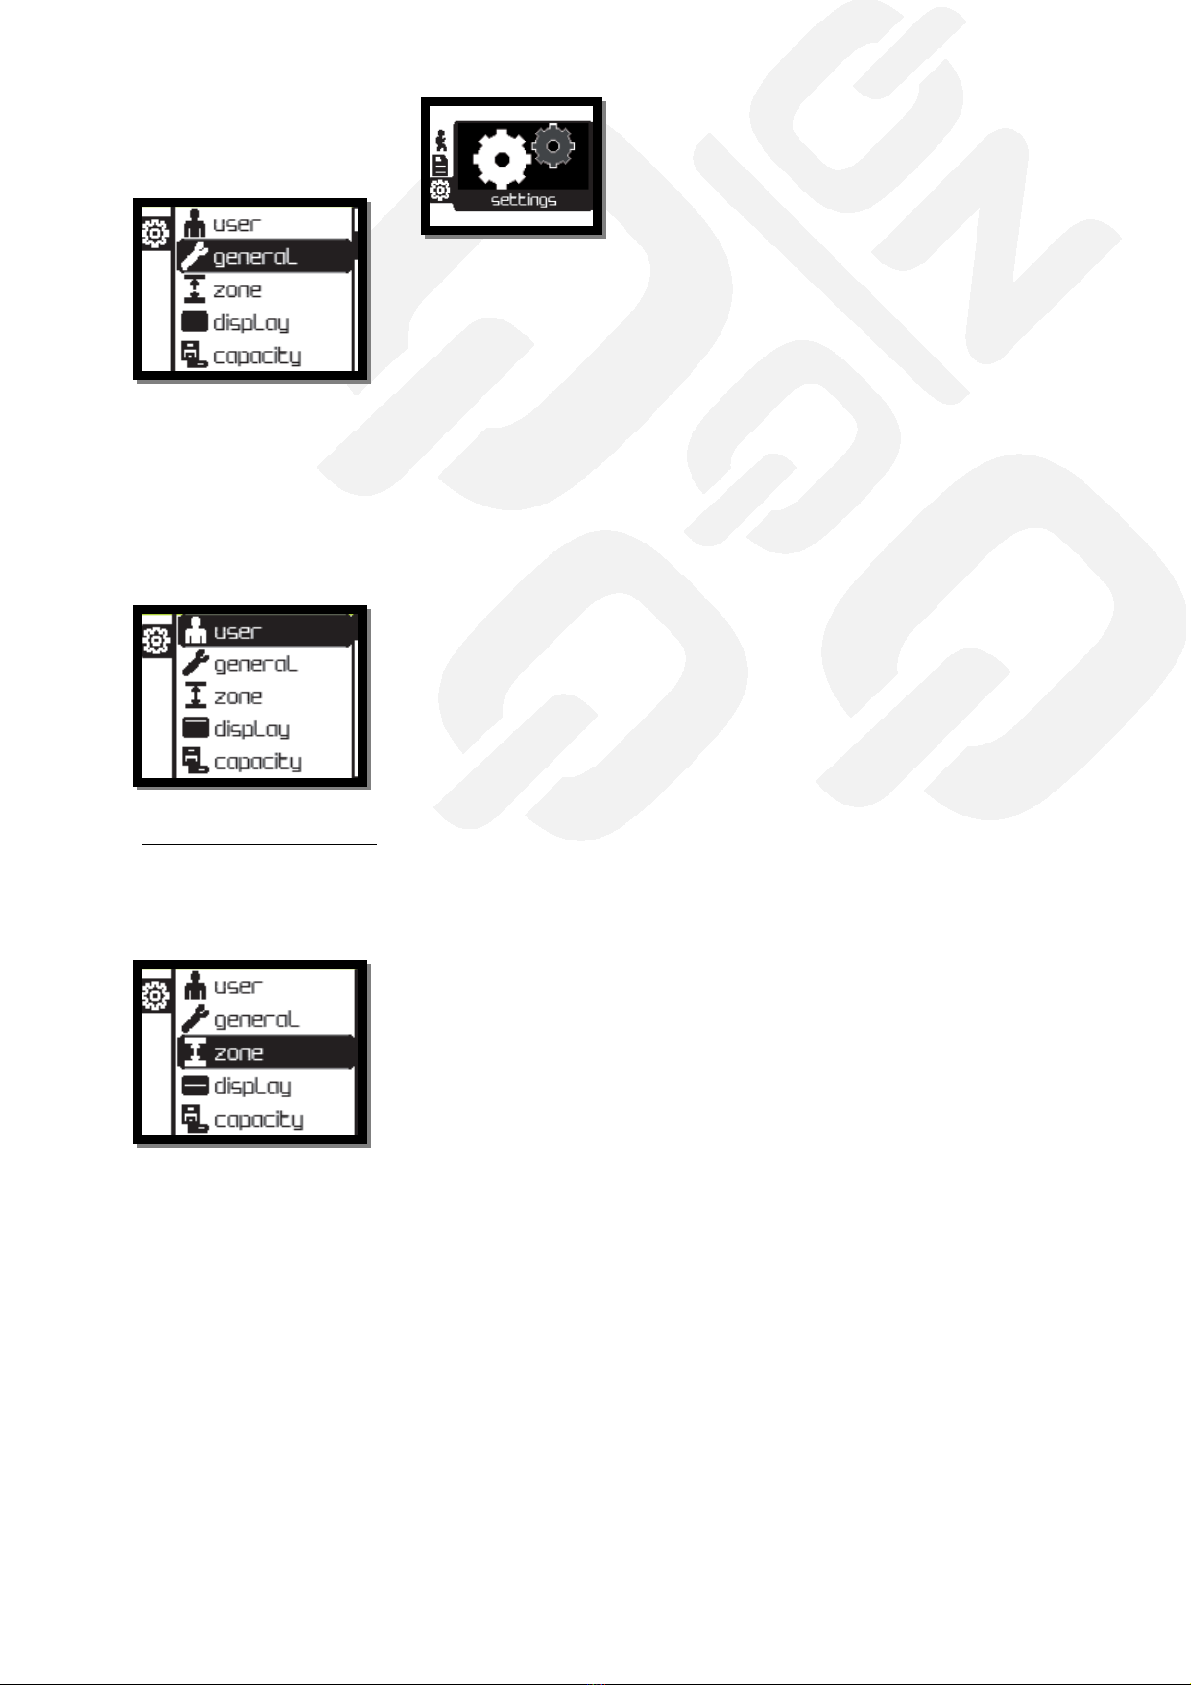
a/ General settings
Language - Choose the default language of your KEYMAZE
Time – The time is retrieved by the GPS signal at Green ich. You can, ho ever, adjust the offset for
your time zone.
Unit – You can select bet een the follo ing t o measurement systems hen setting the units of
measurement: meter/gram or feet/pound
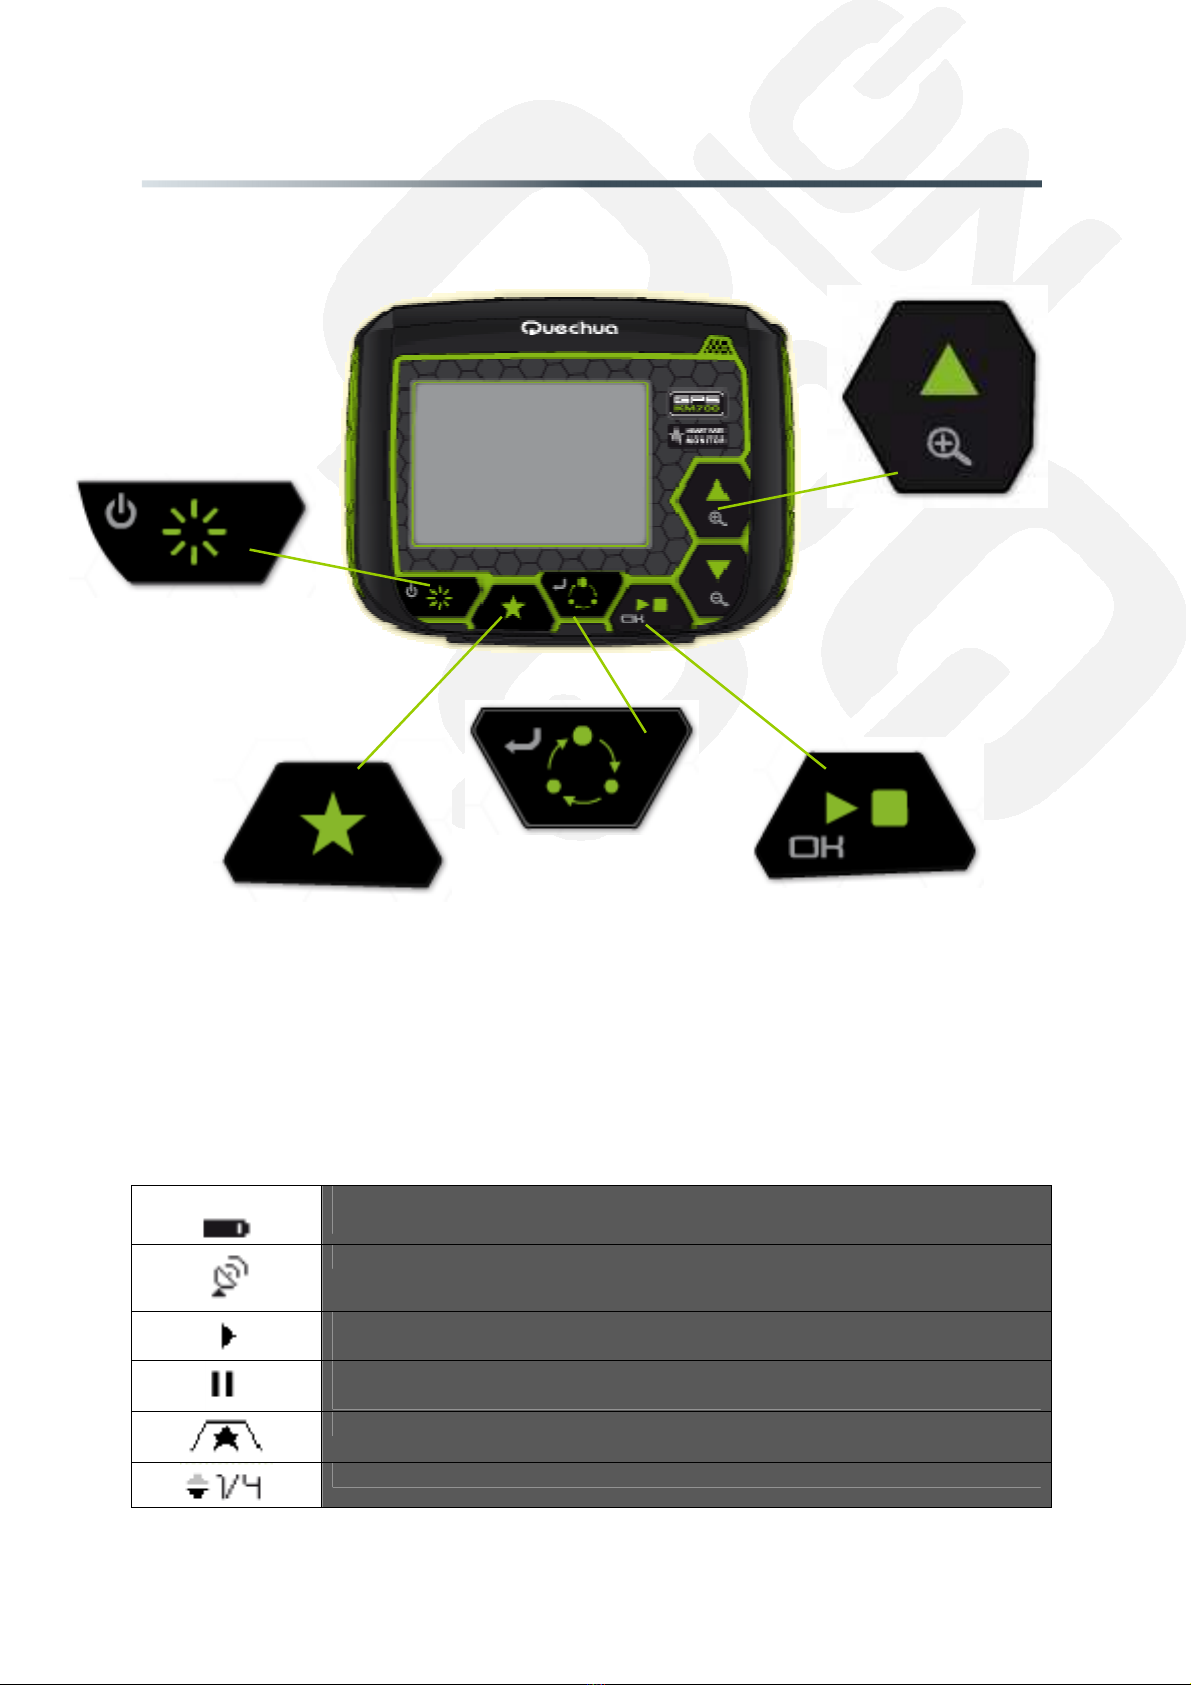
Bip – OFF/button+popup/alerts only
Night Mode – Off/On The night mode keeps the display backlight the duration of the exercise
During your orkout, press the Po er button to enable / disable the backlight.
b/ User settings
ONLY FOR KEYMAZE 700 :
FC max : the maximum heart rate is the rate at hich your heart can beat (by default it is estimated
by the formula : 220 - age)
FC min : the minimum heart rate is the heart rate at rest , to be observed in the morning hen you
ake up or after lying do n for 3 min.
/ Zone settings
This allo s you to set up different zones to train, keep a defined pace throughout the session or for
safety reasons.
You set up a minimum and a maximum, and your Keymaze ill arn you hen you exceed these
limits.
- ardio choose zone in bpm (only for Keymaze 700). If you choose the cardio zone you can
not choose the area speed.
- speed zone
3 speeds : / flat in km / h
/ climbing speed in meter per hour (m/h)
/ descent speed in meter per hour (m/h)
- off, zones are disabled
Gender – Man/Woman
Age – choice from 10 to 99 years
Weight – choice from 30 to 150 kg / 66 to 253 lb
Height – from 130 to 230 cm / 51 to 91 inch