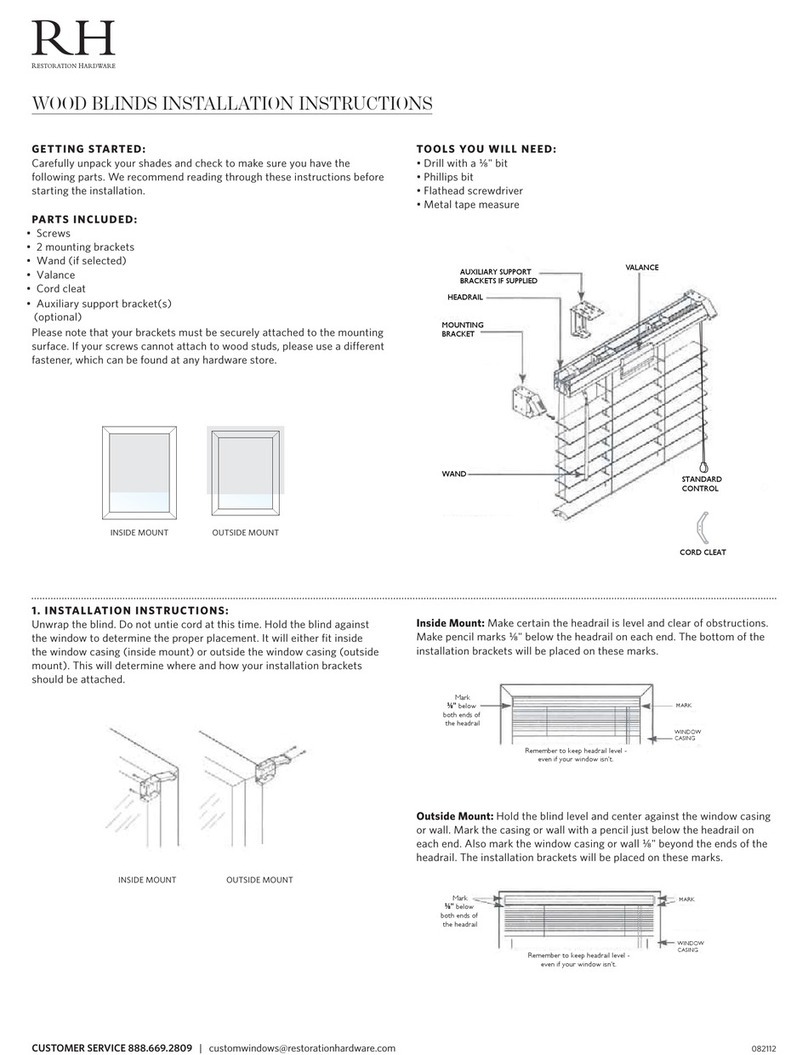
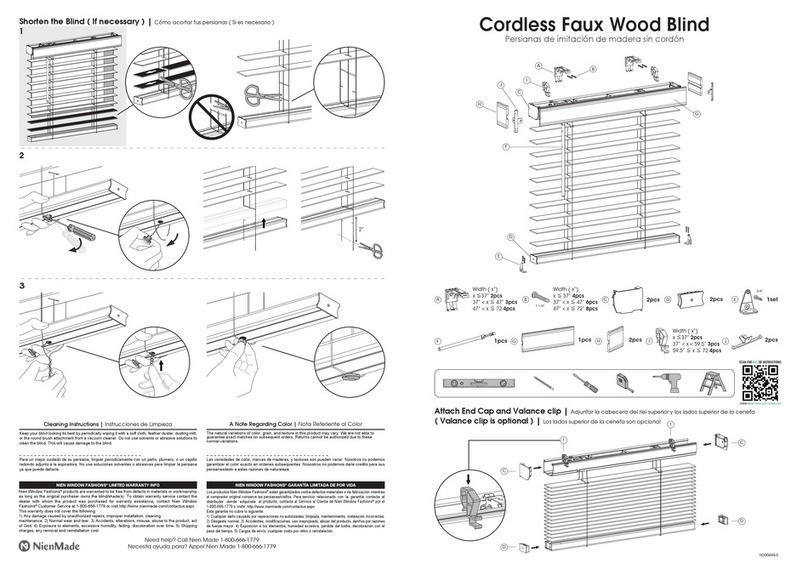
R. Lang Company ROLL AWAY 4000 Series User manual

Date: 05/01/2019 Tel: 800-677-5264 | Fax: 888-526-4329
R. Lang Company
Installation
Page 1 of 5
ROLL AWAY®Series 4000
Installation Instructions
(Window Screen)
IMPORTANT:
REVIEW ALL INSTRUCTIONS
THOROUGHLY
BEFORE STARTING STEP 1
TOOLS REQUIRED:
• Tape Measure
• Phillips Head Screwdriver
• Drill Motor & 3/32” Drill Bit
• Pencil or Scriber
• File
• Scissors
• Utility Knife
• Level
Step 1
PARTS INCLUDED:
Verify Part Lengths Required
R2040 guides should measure the opening height minus 1 15/16”.
The completed canopy assembly should measure the opening width minus 1/16”.
Partially
Assembled Unit
Flat Head Screw
#6 x 3/4”
R4060 & R4070 left and right
Guide Locks
With R4280 magnets installed
R2040 with
MeshlockTM Installed
Note: The Mesh LockTM can obscure the guide locks and canopy
end cap guide runners. A 1” wide, 8” long piece of thin cardboard
folded in the middle can be inserted into the guide channel to make
the bottom of the channel visible.

R. Lang Company
Date: 05/01/2019
Tel: 800-677-5264 | Fax: 888-526-4329
Installation
Page 2 of 5
Over tensioning the spring
can destroy it and void the
product warranty.
Locate the guide locks (R4060 and R4070) and install them in the guides (R2040),
insuring they are seated all the way to the bottom flange. The magnet goes to the outside
of your building (Figure 3).
Trim the Mesh LockTM at the magnets.
Step 2
Figure 3
Step 3
Test & Pretension the screen for operation.
The ROLL AWAY®window screen was shipped with a minimal amount of tension on the
screen. Test the tension on the screen by holding the canopy horizontally, withdrawing the
screen from the canopy, and allowing it to retract, taking care to keep the screen within
Figure 1
CAUTION!
the canopy end cap guide runners. If the screen
does not fully retract, add tension to the spring
by engaging the tension adjustment screw
with a #2 Phillips bit and turning the tension
adjustment screw counterclockwise. It will
require 30 turns of the tension adjustment screw
to add one turn of tension to the spring. Add just
enough tension to keep the drawbar against the
canopy as shown in Figure 1.
Do not push the adjustment screw. Use firm
pressure when adjusting the tension.
Install guide locks in guides.
Locate the guides (R2040) Note that the Mesh LockTM has long brushes and short brushes. The long brushes go to the outside of
your building (Figure 2). Mesh LockTM is crimped in place to avoid movement. If Mesh LockTM slides out of the channel, re-position
in the channel and crimp (squeeze) the end with pliers to secure in place before guides are installed.
Crimp
Locations
Figure 2
OUTSIDE
Step 4
If the guide locks are installed correctly, the Mesh LockTM long brushes cover
the magnets in the guide locks. To insure proper operation of the magnetic
latch, the long brush must be trimmed away at the magnet. Using a utility
knife or scissors, cut the long brush away for a distance of 1 inch, from the
bottom of the guide (Figure 4). Repeat for both guides.
Figure 4
NOTE: Counterclockwise adjustment will increase spring tension.

Date: 05/01/2019 Tel: 800-677-5264 | Fax: 888-526-4329
R. Lang Company
Installation
Page 3 of 5
Step 5
Step 6
Step 7
Step 8
Figure 5
Assemble guides to canopy.
Preassemble the ROLL AWAY®screen on the floor or other flat surface. Slide
the guides (R2040) onto the canopy end cap guide runners, with the openings
Place assembled unit into window opening.
Lift the assembled ROLL AWAY®screen by the guides (R2040) and place into the window frame. Do not bend the canopy end
cap guide runners or excessive stress could cause damage. To allow proper operation of the screen (and window) there should be
at least 1/8” clearance between the ROLL AWAY®screen and the window frame. Make sure the ROLL AWAY ® is properly
aligned and square in the opening. It is particularly important that the guides are parallel (Figure 5).
GUIDES MUST BE PARALLEL
Fasten canopy to window frame.
facing each other. Make sure they are placed on the correct sides of the canopy. The guide locks
must be installed on the correct side of the canopy to operate.
After checking for proper alignment, fasten the canopy end cap guide runners
and the top of each guide to the window frame (Figure 6). Using the 3/32” drill
bit, from the guide channel opening locate the countersunk hole in the canopy
end cap guide runner and drill through the guide. (Note: Do not penetrate
the wood deeper than 1/8” or the screw will not hold.) Use the #6 flat head
screws provided to fasten the canopy and guides in place.
Figure 6
CANOPY END CAP
GUIDE RUNNER
Outside of Installation
Fasten guide locks to window frame.
Figure 7
After checking for proper alignment, fasten the guide locks and the bottom of each guide
to the window frame. Using the 3/32” drill bit, from the guide channel opening locate the
countersunk hole in the guide lock and drill through the guide (Figure 7).
Note: Do not penetrate the wood deeper than 1/8” or
the screw will not hold. Use the #6 flat head screws
provided to fasten the guide locks and guides in place.

R. Lang Company
Date: 05/01/2019
Tel: 800-677-5264 | Fax: 888-526-4329
Installation
Page 4 of 5
Figure 9
Step 9
ROLL AWAY®LIMITED LIFETIME WARRANTY
(See Page 5 for warranty details)
Tension the screen and test for operation.
Tension the ROLL AWAY® window screen by drawing the screen out of the canopy
approximately 8” (Figure 8) and add tension to the spring by engaging the tension
adjustment screw with a #2 Phillips bit and turning the tension adjustment screw
counterclockwise.
Test the tension on the screen by drawing the screen all the way to the guide locks and
releasing. If the screen is tensioned properly, it should retract all the way to the canopy and
just touch it. If it hits the canopy with force, there is too much tension and some will have
to be relieved by turning the tension adjustment screw clockwise. If there is still insufficient
tension, repeat tensioning procedure as necessary.
Installation Complete
Make sure all components are properly installed. Check the overall operation of the ROLL AWAY®window screen . The
drawbar end caps should move freely in the guides and engage the guide locks.
Figure 8
Over tensioning the spring can destroy
it and void the product warranty.
CAUTION!

Date: 05/01/2019 Tel: 800-677-5264 | Fax: 888-526-4329
R. Lang Company
Installation
Page 5 of 5
The R. Lang Company was established in 1967, and retractable screen systems are how we began. We have always manufactured our products in
the USA and continue to do so today. With over 50 years of successful retractable screen manufacturing behind us, we stay as we have always been,
committed to making products that you’re happy to add to your home.
We are confident in our Products & Processes and provide the following “Limited Lifetime Warranty”.
Warranty Claim Process:
Any product rework must be pre-approved. In most cases, we recommend that the product be returned for correction to our facility in Visalia,
California. This warranty includes the costs of shipping all defective products for the first six (6) months after the initial purchase. After the first six
(6) months from initial purchase date, the buyer will be responsible for all shipping costs to/from our facility when required.
All warranty claims must be submitted by the original purchaser of the product from R. Lang Company for validation purposes. You must provide an
original invoice number for verification. R. Lang Company reserves the right to inspect and test products to determine the validity of any Warranty
Claim made or perceived, and R. Lang Company is the final judge as to its cause and rectification processes.
What Is Covered:
Our Limited Lifetime Warranty is valid for the original purchaser of our retractable window screen(s) only, and only when the screen has been installed
permanently in a single location.
Our Limited Lifetime Warranty is non-transferable, and is the only valid Warranty, implied or otherwise, in connection with our retractable window
screens. In no other event shall R. Lang Company be held liable for direct or indirect loss, consequential damage(s), or any other claims except as
provided for in this warranty.
Our Limited Lifetime Warranty assures the workmanship and materials (Screen Mesh/Mesh Lock/ Weather Stripping Excluded) utilized in our
retractable window screens will be free from defects, under normal use, to the original purchaser in a single location, for a lifetime. The R. Lang
Company will repair or provide replacement product, at its election, free of charge, for any product proven to have a manufacturing defect during the
lifetime of the product up to a maximum liability which shall be equal to the cost of replacement of the defective product. R. Lang Company shall in no
event be liable for labor charges or other expenses whatsoever in connection with removal or installation of either the original or replacement product.
In the event of repair or replacement pursuant to terms of this warranty, the original warranty shall apply to the repaired or replacement product. In
lieu of replacement/repair, R. Lang Company, at its sole discretion, reserves the right to refund up to the amount paid by the original purchaser of the
product but not including any installation/removal costs, consequential damage costs, or any other costs whatsoever. The term “defect” as used in this
warranty is defined as imperfections which impair the utility/intended use of the retractable window screen and are generally not applied to perceived
issues deemed ‘aesthetic’ or ‘subjective judgements’.
Our Limited Lifetime Warranty is only valid when all retractable window screens are installed in accordance with R. Lang Company Installation
Instructions (Available in both Text and Video formats). Retractable window screens installed incorrectly, in applications for which they were not
intended, damaged during installation, or not installed in accordance with R. Lang Company accepted methods, are NOT eligible for coverage under
this or any other warranty, implied or otherwise.
Our Limited Lifetime Warranty is intended to cover individual homeowners and does not apply to retractable window screens installed in commercial or
public use applications. Our Retractable Screens are intended for Interior Applications Only, any Exterior Applications or constant exposure to outdoor
elements will result in the Warranty being void.
Our Limited Lifetime Warranty expressly excludes the Screen Mesh and Mesh Lock components, and the Weather Stripping, which includes rips, tears,
separation, fraying, and/or snags in or on screen material, or the detaching of the screen material from the inner tube or drawbar. Wrinkles in the mesh
or puckering along its edges does not constitute a defect. Different mesh utilized, the screen’s size, its location, and even atmospheric conditions, may
cause variations in the mesh’s appearance and/or smoothness of extension/retraction, and are therefore not considered “defects” under the terms of this
warranty.
Our Limited Lifetime Warranty does not cover changes/fading/chalking in all coated finishes of all parts as it is an expectation this may take place with
the passage of time but in no way affects the operation of the retractable window screen.
Our Limited Lifetime Warranty does not cover damage caused by misuse, abuse, negligence, scratching, corrosive atmosphere contaminants, vandalism,
modifications, or any ‘Act of God’, or other causes reasonably beyond the control of the R. Lang Company.
Our Limited Lifetime Warranty assumes the original purchaser of the retractable window screen(s) will diligently perform all expected maintenance
tasks as outlined by R. Lang Company (Available in both Text and Video formats). Retractable window screens lacking maintenance as outlined by
R. Lang Company, or found to have a defect caused wholly or in part by improper maintenance, are NOT eligible for coverage under this warranty or
any other warranty.
This Document expresses the entire liability of R. Lang Company with respect to its retractable window screens.
Some States do not allow limitations or exclusions as set forth, so the above limitations or exclusions may not apply to you.
Limited Lifetime Warranty
ROLL AWAY® Window Screens (Series 2000 & Series 4000)
Our History Speaks for Our Quality
Table of contents
Popular Window Blind manuals by other brands
TOSO
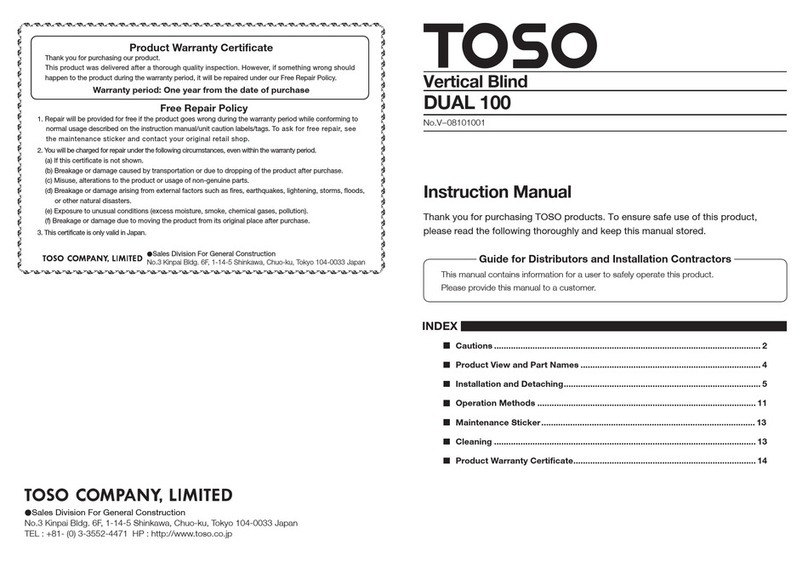
TOSO DUAL 100 instruction manual
Roma
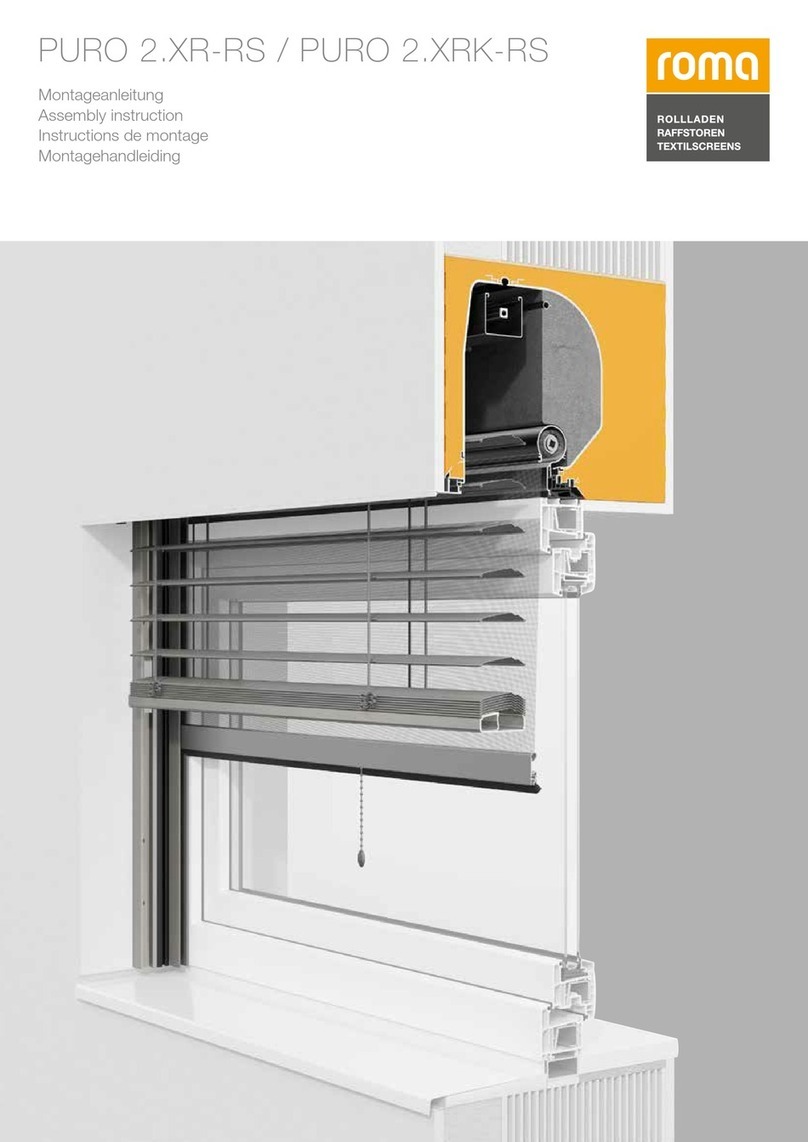
Roma PURO 2.XR-RS Assembly instruction
Isotra
Isotra PL 32 D Assembly manual

Silent Gliss
Silent Gliss 5100 Autoglide quick start guide
Silent Gliss
Silent Gliss SG 1060 quick start guide
HunterDouglas
HunterDouglas Vignette Modern Roman Shades Installation operation care
HunterDouglas
HunterDouglas PowerView EOS Plisse manual
HunterDouglas
HunterDouglas Brilliance INSTALLATION AND CARE INSTRUCTIONS
Euro Systems
Euro Systems Salire 100 Operation and maintenance
Velux
Velux Integra MML instructions
WAREMA
WAREMA VDA 13 operating instructions

Vimco
Vimco Lutron Sivoia QED installation instructions
