manuals.online logo
Brands
  1. Home
  2. •
  3. Brands
  4. •
  5. Radio Shack
  6. •
  7. Adapter
  8. •
  9. Radio Shack 273-1687 User manual

Radio Shack 273-1687 User manual

Other Radio Shack Adapter manuals

Radio Shack 1500093 User manual

Radio Shack

Radio Shack 1500093 User manual

Radio Shack USB Game Port Adapter User manual

Radio Shack

Radio Shack USB Game Port Adapter User manual

Radio Shack 273-1827 User manual

Radio Shack

Radio Shack 273-1827 User manual

Radio Shack AUTOMATIC TWO-LINE ADAPTER User manual

Radio Shack

Radio Shack AUTOMATIC TWO-LINE ADAPTER User manual

Radio Shack Enercell 273-317 User manual

Radio Shack

Radio Shack Enercell 273-317 User manual

Radio Shack 2730887 User manual

Radio Shack

Radio Shack 2730887 User manual

Radio Shack 1201526 User manual

Radio Shack

Radio Shack 1201526 User manual

Radio Shack 273-1668 User manual

Radio Shack

Radio Shack 273-1668 User manual

Radio Shack 273-1675 User manual

Radio Shack

Radio Shack 273-1675 User manual

Radio Shack Notebook Computer Universal 30W Power... User manual

Radio Shack

Radio Shack Notebook Computer Universal 30W Power... User manual

Radio Shack 2730885 User manual

Radio Shack

Radio Shack 2730885 User manual

Radio Shack 33-331 User manual

Radio Shack

Radio Shack 33-331 User manual

Radio Shack 273-1687A User manual

Radio Shack

Radio Shack 273-1687A User manual

Radio Shack 20-198 User manual

Radio Shack

Radio Shack 20-198 User manual

Popular Adapter manuals by other brands

Mini Gadgets BB2Outlet user manual

Mini Gadgets

Mini Gadgets BB2Outlet user manual

LSI LSISAS3442E-R Quick installation guide

LSI

LSI LSISAS3442E-R Quick installation guide

Moeller BBA -16 Series installation instructions

Moeller

Moeller BBA -16 Series installation instructions

Acer MWA3 quick start guide

Acer

Acer MWA3 quick start guide

Connect Tech ADG095 user guide

Connect Tech

Connect Tech ADG095 user guide

cable matters 604002 user manual

cable matters

cable matters 604002 user manual

Solwise PL-85PEW Easy start

Solwise

Solwise PL-85PEW Easy start

HP Photosmart 7100 user guide

HP

HP Photosmart 7100 user guide

HP E2494A installation guide

HP

HP E2494A installation guide

StarTech.com USB150WN1X1 quick start guide

StarTech.com

StarTech.com USB150WN1X1 quick start guide

Lindy 43198 user manual

Lindy

Lindy 43198 user manual

A&D AD-8527 instruction manual

A&D

A&D AD-8527 instruction manual

Motorola WU830G user guide

Motorola

Motorola WU830G user guide

Hawking HUF2 Specifications

Hawking

Hawking HUF2 Specifications

Allen-Bradley E3 Plus installation instructions

Allen-Bradley

Allen-Bradley E3 Plus installation instructions

Trust BT-2210Tp manual

Trust

Trust BT-2210Tp manual

HP NC7170 overview

HP

HP NC7170 overview

Uconnect BLE-485C user manual

Uconnect

Uconnect BLE-485C user manual

manuals.online logo
manuals.online logoBrands
  • About & Mission
  • Contact us
  • Privacy Policy
  • Terms and Conditions

Copyright 2025 Manuals.Online. All Rights Reserved.

©2002 RadioShack Corporation.
All Rights Reserved.
RadioShack and RadioShack.com are trademarks
used by RadioShack Corporation.
OWNER’S MANUAL
Please read before using this equipment.
:2"9CVV"7PKXGTUCN"#%1&%"
0QVGDQQM"#FCRVGT
273-1687
18
17
16
15
14
13
12
192021
22
23
24
#"+/2146#06"#
If an icon appears at the end of a paragraph, go to the box on that page with the
corresponding icon for pertinent information.
Rý— Warning #— Important .
..
.— Caution
°
°°
°— Hint ±— Note
FCC Statement
2
Your RadioShack 80 Watt Univeral AC/
DC Notebook Adapter is designed to
power popular brand notebook
computers which require DC input from
12V to 24V, with AC power input
ranging from 100V to 240V. It can also
power other devices within this range,
using the appropriate Adaptaplug™
adapter. The power adapter features
overload and short circuit protection to
protect it from damage.
The adapter comes with an AC power
cord, a zipper pouch for handy carrying,
six standard Adaptaplugs, and two
custom plugs to fit several different
models of Dell laptop computers. To
use this power adapter in countries
other than the USA, use a foreign
voltage plug adapter (not supplied,
available at your local RadioShack
store or online at RadioShack.com) of
the proper configuration for the power
outlet.
(%%"56#6'/'06
This device complies with Part 15 of the
FCC Rules
. Operation is subject to the
following two conditions: (1) This
device may not cause harmful
interference, and (2) this device must
accept any interference received,
%106'065
FCC Statement ........... 2
Adjusting the Output
Voltage ........................ 4
Selecting the
Adaptaplug ................. 5
Troubleshooting .......... 8
Care ............................10
Service and Repair .....10
Compatible
Computers ..................11
Specifications .............22
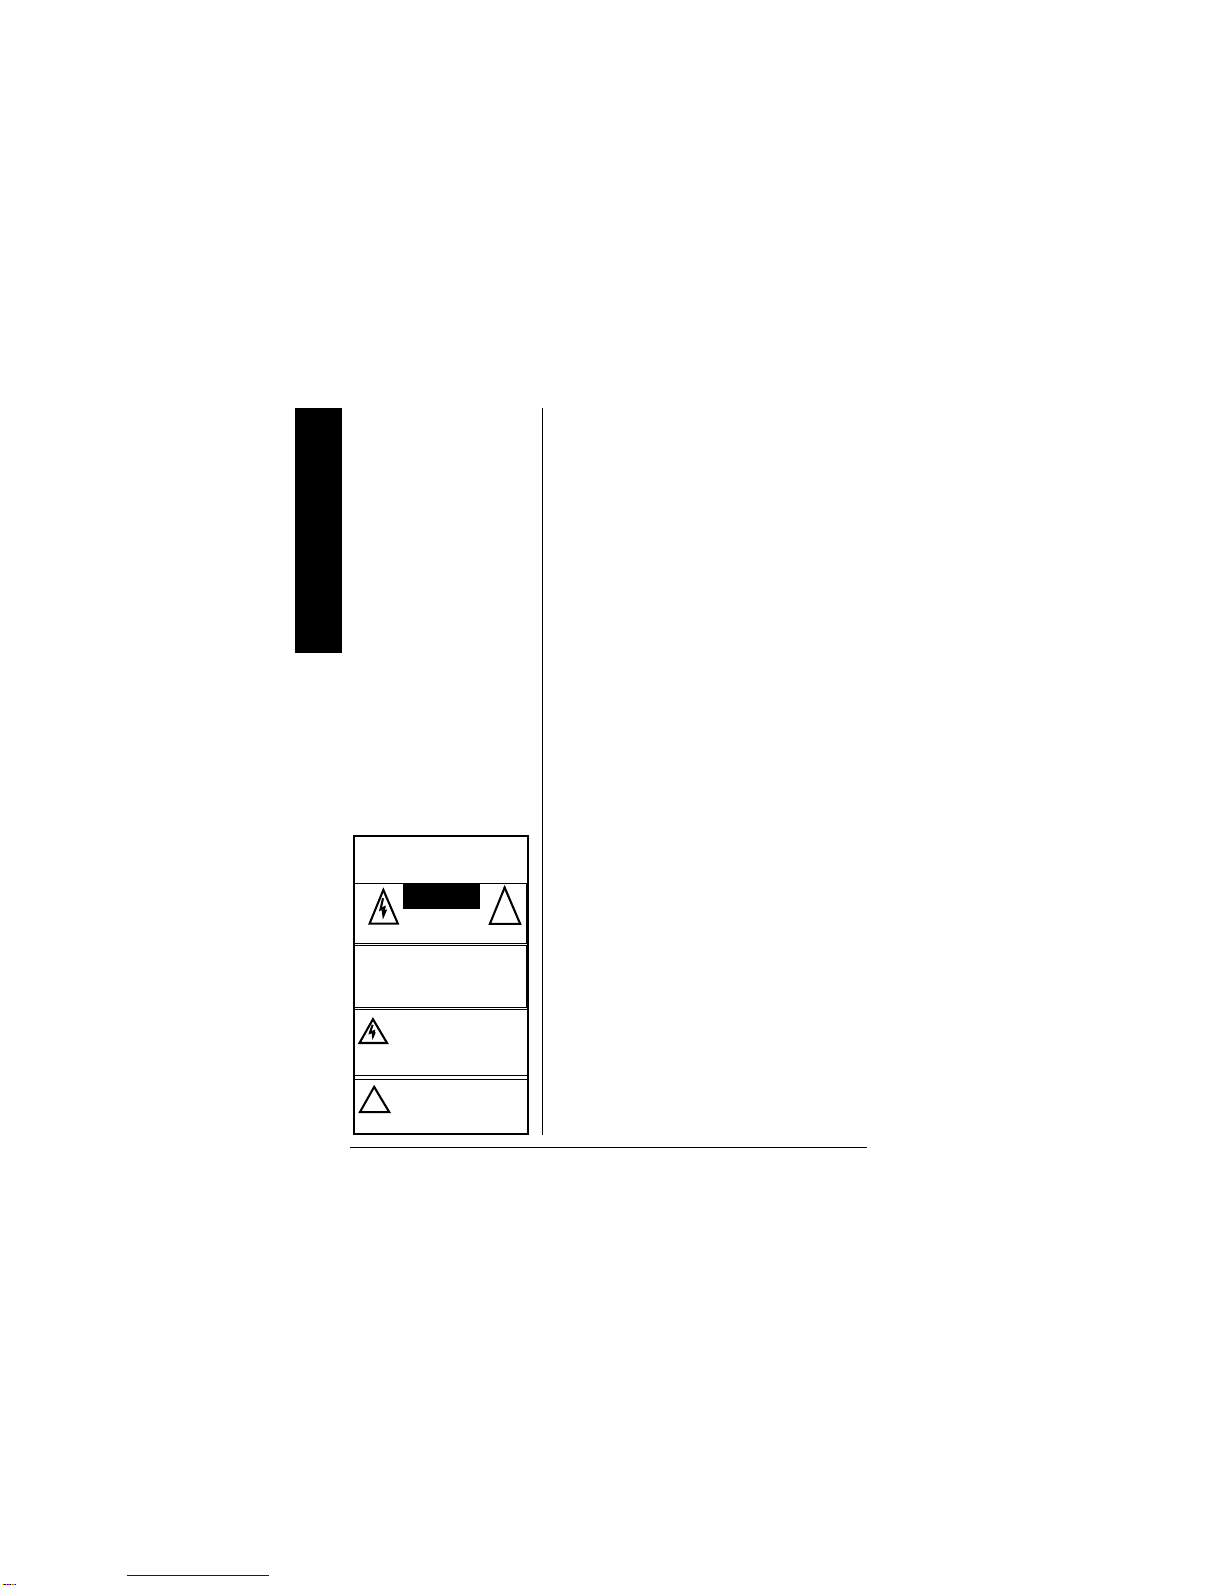
The lightning symbol is intended to
alert you to the presence of uninsu-
lated dangerous voltage within this
product’s enclosure that might be of
sufficient magnitude to constitute a
risk of electric shock. Do not open
the product’s case.
The exclamation symbol is intended
to inform you that important operat-
ing and maintenance instructions
are included in the literature accom-
panying this product.
!
WARNING: To reduce the risk the of fire
or shock hazard, do not expose this product
to rain or moisture.
CAUTION
!
CAUTION: TO REDUCE THE RISK OF
ELECTRIC SHOCK, DO NOT REMOVE COV-
ER OR BACK. NO USER-SERVICEABLE
PARTS INSIDE. REFER SERVICING TO
QUALIFIED PERSONNEL.
RISK OF ELECTRIC
SHOCK
DO NOT OPEN
FCC Statement
3
including interference that may cause
undesired operation."Rý
This equipment has been tested and
found to comply with the limits for a
Class B digital device, pursuant to Part
15 of the
FCC Rules
. These limits are
designed to provide reasonable
protection against harmful interference
in a residential installation. This
equipment generates, uses, and can
radiate radio frequency energy and, if
not installed and used in accordance
with the instructions, may cause
harmful interference to radio
communications. However, there is no
guarantee that interference will not
occur in a particular installation. If this
equipment does cause harmful
interference to radio or television
reception, which can be determined by
turning the equipment off and on, the
user is encouraged to try to correct the
interference by one or more of the
following measures:
• Reorient or relocate the receiving
antenna.
• Increase the separation between
the equipment and receiver.
Consult your local RadioShack store if
the problem still exists.
ýR"9#40+0)ýR"
Changes or
modifications to this unit
not expressly approved
by RadioShack may
cause interference and
void the user’s authority
to operate the
equipment.
4
Adjusting the Output Voltage
Your power adapter is ETL listed to UL
standards and meets all applicable
FCC standards.
#&,756+0)"6*'"
176276"81.6#)'
1. Determine the required output
voltage setting of the power
adapter by one of the following four
methods: .
..
.
• Refer to “Compatible
Computers” on Page 11 for
voltage, tip color, and polarity
settings.
• Note the voltage indication
marked next to the input jack on
the device to be powered.
Example:
Vin =
18V DC
or
18V
DC
.
• Review the power or ID plate on
the device to be powered. Look
for the word
“INPUT”
followed
by a number and
V DC
.
Example:
INPUT: 18V DC
. ±
• Review the power or ID plate on
the AC power adapter usually
used to power the device. Look
for the word
“OUTPUT”
followed
."%#76+10".
• Do not use the
adapter to power a
device that exceeds
the 80W maximum
power rating.
• Make sure the
adapter is
disconnected from
the AC outlet and
your computer before
adjusting its voltage
setting.
• Makesureyousetthe
power adapter to the
proper voltage before
you connect the
power adapter to an
input power source.
±"016'"±"
The notation “V DC”
might not be indicated.
Instead, the
international symbol
might be used.
5
Selecting the Adaptaplug
by a number and
V DC.
Example:
OUTPUT: 18V DC
.
If the power adapter or computer
indicates a voltage range, use the
voltage closest to the mid-range.
Example:
OUTPUT: 10–16V DC
;
set the power supply to 13V DC.
In rare cases when the voltage set-
ting is between whole numbers,
such as 15.5V DC, use the lower
setting first (15V DC). If the device
does not seem to operate properly,
readjust it to the higher value (16V
DC).
2. Use a flat-blade screwdriver to
rotate VOLTS 12/13/14/15/16/17/18/
19/20/21/22/23/24 to the desired
output voltage.
5'.'%6+0)"6*'"
#&#26#2.7)
The power adapter comes with six
Adaptaplugs and two Dell custom
plugs. The Adaptaplug colors and sizes
are:
• Blue (M) — 5.5 ×2.1 mm
• White (N) — 5.5 ×2.5 mm
6
Selecting the Adaptaplug
• Yellow (D) — 5.5×3.3 mm with 1.4
mm pin
• Green (Q) — 6.3 ×3 mm
• Yellow (T) — 6.5 ×4.3 mm with 1.9
mm pin
• Orange (H) — 3.4 ×1.3 mm
1. Refer to “Compatible Computers”
on Page 11 or examine the output
connector of your computer’s AC
adapter and compare it to the
Adaptaplugs supplied with your
power adapter.
2. Select the Adaptaplug that
resembles the original plug and
test it by temporarily inserting it
into the device to be powered. The
center contact or pin must be the
correct size to ensure proper
electrical contact. If it is too small
or large, additional Adaptaplugs
are available from your local
RadioShack store.
3. Connect the Adaptaplug to the
output socket at the end of the
power adapter’s cord.
If the tip on the device’s power jack
is positive, align +(positive)
marked on the Adaptaplug to TIP
marked on the output socket. If the
7
Selecting the Adaptaplug
tip on the device’s power jack is
negative, align – (negative) to TIP.
If you use the special Dell plug,
align TIP on the Dell plug with TIP
marked on the output socket. ±
4. Insert the Adaptaplug into the
device to be powered, then insert
TIP –
TIP +
++
+
±"016'"±"
If the polarity symbol is
not displayed on the
device to be powered, it
might appear on an ID
plate on the computer
power supply or the
original power adapter
(see “Compatible
Computers” on
Page 11).
Troubleshooting
8
the supplied AC power cord into
the AC jack on the adapter. Plug
the other end of the AC power cord
into a standard AC outlet. The
green indicator lights.
After making the connections described
above, check the power adapter’s cord.
If it is hanging loosely or if it is
positioned so that it could be damaged,
wind the excess cord around the
adapter — the large grooves on the top
and bottom of the adapter help hold the
cord in place. When the cord is the
length you want, slide the cord clip
down the cord until it is next to the part
of the cord you wrapped around the
adapter. Then, press the clip over one
piece of the wound cord to hold the
cord in place. .
..
.
6417$.'5*116+0)
Some notebook computers have power
supplies in excess of the rating of this
power adapter (80 watts). In most
cases, this higher rating is used to both
charge a completely discharged battery
and power the computer at the same
time. This power adapter can be used
for such applications, but it is
recommended that the computer’s
."%#76+10".
Save your data
frequently! If you operate
your notebook computer
after removing its
internal battery, an
interruption in power
might result in an
immediate computer
shutdown and possible
data loss. Such a power
interruption could be
caused by accidentally
disconnecting either end
of the power adapter.
Troubleshooting
9
battery be recharged before using this
adapter to operate the computer. .
..
.
You should remove your computer’s
battery only under the following
conditions:
• The computer automatically shuts
down while you try to power it with
the AC adapter.
• The computer’s rating label states
that the computer requires greater
than 80 watts and the computer’s
battery is completely discharged.
±
In the unlikely event of insufficient
power, you may encounter slower
battery charging time or automatic
shutdown of the power adapter. In case
of automatic shutdown, try one or more
of these steps to reset the adapter: .
..
.
• Completely recharge the battery
before using the computer. Use the
power adapter to charge the
battery, but do not operate the
computer during charging.
• If the battery is easily removable,
remove it from the computer to
eliminate the power requirement
for recharging.
."%#76+10".
Except as noted for
notebook computers
(see “Compatible
Computers” on
Page 11), the power
adapter’s 80 watt rating
must be equal to or
greater than the
requirement of the
device to be powered.
±"016'"±"
If the computer’s battery
is fully charged, do not
remove it.
."%#76+10".
• Always turn off the
computer before you
remove its battery.
• Be careful when
removing your
computer’s battery
because some laptop
computers do not
have batteries
designed for frequent
removal.
10
Care
• The power adapter can be used to
charge the battery in your
notebook computer by connecting
it to the computer with the battery
installed, and leaving the computer
turned off. .
..
.
%#4'
Keep the power adapter dry; if it gets
wet, wipe it dry immediately. Use and
store the power adapter only in normal
temperature environments. Handle the
power adapter carefully; do not drop it.
Keep the power adapter away from
dust and dirt, and wipe it with a damp
cloth occasionally to keep it looking
new.
5'48+%'"#0&"4'2#+4
If your power adapter is not performing
as it should, take it to your local
RadioShack store for assistance.
Modifying or tampering with the power
adapter’s internal components can
cause a malfunction and might
invalidate its warranty.
."%#76+10".
If the indicator turns off
while the power adapter
is in use, the output
current is beyond the
specification and the
overload/short circuit
protection activates.
Disconnect the adapter
from AC power, then
unplug the adapter from
the device. Reconnect
the power adapter to the
AC power. If the
indicator still fails to light,
take the adapter to your
local RadioShack store
for assistance. If the
indicatorison,reconnect
the adapter to your
laptop. If the indicator
turns off, your laptop is
exceeding the 80W
ratingof the adapter (see
“Troubleshooting” on
Page 8).