2
Warning: Never install non-rechargeable batteries
when CHARGE OFF/ON is set to ON. Non-recharge-
able batteries can get hot or explode if you try to
recharge them.
3. Install three AA batteries according to the polarity
symbols (+ and –) marked inside.
4. Replace the cover.
As you use the radio, the battery icon’s elements ( ) dis-
appear to show how much power remains. When only one
element remains, replace alkaline batteries or recharge
Ni-Cd or Ni-MH batteries.
Warning: Dispose of old batteries promptly and properly.
Do not burn or bury them.
Caution: If you do not plan to use the radio for a month or
longer, remove the batteries. Batteries can leak chemicals
that can destroy electronic parts.
Recharging Ni-Cd or Ni-MH Batteries
Warning: Do not attempt to charge alkaline batteries.
Non-rechargeable batteries can get hot or explode if you
try to recharge them.
If you use rechargeable Ni-Cd or Ni-MH batteries, you can
recharge them in the radio using an optional AC or DC
adapter (both available at your local RadioShack store).
The radio’s DC jack is only for charging Ni-Cd or Ni-MH
batteries. Connecting an adapter will not power the radio.
You can recharge Ni-Cd or Ni-MH batteries inside the ra-
dio using a 9V, 100 mA AC or DC adapter and a size H
Adaptaplug™ connector (neither supplied). Both adapters
and Adaptaplug are available at your local RadioShack
store.
Cautions:
• You must use a power source that supplies 9V DC
and delivers at least 100 mA. Its center tip must be
set to positive and its plug must fit the radio’s DC jack.
Using an adapter that does not meet these specifica-
tions could damage the radio or adapter.
• Always connect the adapter to the radio before you
connect it to an external power source (such as an
AC outlet or a vehicle cigarette-lighter socket). When
you finish, disconnect the adapter from the power
source before you disconnect it from the radio.
Follow these steps to connect an adapter to the radio.
1. Rotate VOL/OFF fully counterclockwise to turn off the
radio, then slide off the battery compartment cover.
2. Set CHARGE OFF/ON to ON.
3. Attach the Adaptaplug to the adapter so TIP reads
positive (+).
4. Connect the charger’s barrel plug to the radio’s DC
jack and plug its other end into a standard AC outlet
or 12V power source.
Complete charging takes about 10 hours. When charging
is complete, unplug the AC or DC adapter from the power
source, then disconnect it from the radio’s DC jack.
Note: Ni-MH batteries take longer to charge than Ni-Cd
batteries.
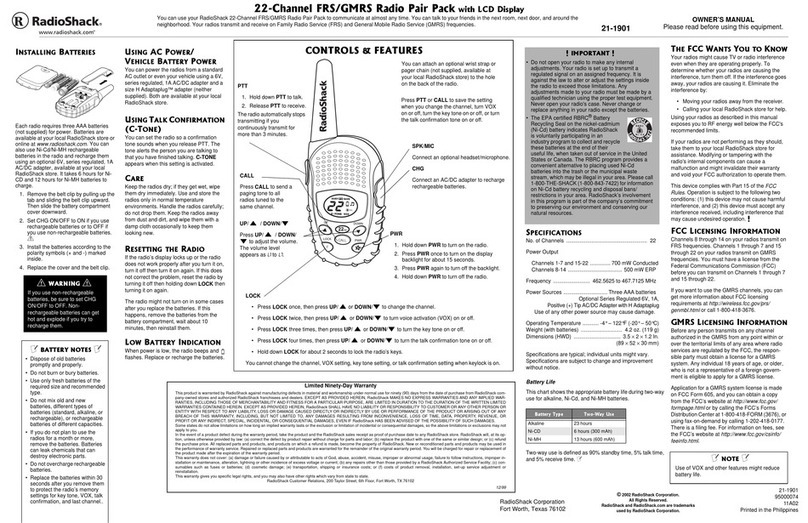
Important: The EPA certified RBRC®Bat-
tery Recycling Seal on the nickel-cadmium
(Ni-Cd) battery indicates RadioShack is vol-
untarily participating in an industry program
to collect and recycle these batteries at the
end of their useful life, when taken out of service in the
United States or Canada. The RBRC program provides a
convenient alternative to placing used Ni-Cd batteries into
the trash or the municipal waste stream, which may be ille-
gal in your area. Please call 1-800-THE-SHACK (1-800-
843-7422) for information on Ni-Cd battery recycling and
disposal bans/restrictions in your area. RadioShack’s in-
volvement in this program is part of the company’s com-
mitment to preserving our environment and conserving our
natural resources.
OPERATION
1. Rotate VOL/OFF to turn the radio on and off and adjust
the volume. When the radio is on, the power indicator
flashes.
Note: If you do not press any button on the radio or
the radio receives no signal after about 10 seconds, a
built-in energy saving system will switch on automati-
cally which further reduces the power consumption
and significantly lengthens standby time.
2. Hold down CALL to send a page to other FRS radios
set to the same channel. TX appears on the display
and the call tone sounds. After you hold down CALL
for about 6 seconds, the tone stops.
3. Hold down PTT and speak into the microphone to
transmit. TX appears on the display. When you finish
your transmission, release PTT.
Note: After you hold down PTT for about 2 minutes,
the radio automatically stops your transmission to
save power.
4. Hold down MON (monitor) to hear everything on a
channel, even weak transmissions. Release MON to
turn auto-squelch back on.
You can connect an optional microphone or speaker with
a 3/32-inch (2.5 mm) mini plug and a 1/8-inch (3.5 mm) plug
to the MIC/EAR jacks.
21-1855.fm Page 2 Friday, June 9, 2000 10:16 AM
