Rave RSS-WB User manual

RSS-WB
Wi-Fi/BT Sound System Pre-Amplifier
WWW.RAVETECHNOLOGY.COMWWW.RAVETECHNOLOGY.COMWWW.RAVETECHNOLOGY.COMWWW.RAVETECHNOLOGY.COM
WWW.RAVETECHNOLOGY.COM
Rave Technology
4100 East Baldwin Road
Holly, Michigan, 48442 USA
Tel: 866-303-2629
Pandora-Spotify-iHeart-Deezer-TuneIn-Tidal-Napster-Internet Radio-Qobuz
RSS CONNECT

•Multi-Room Audio Steaming
•Re-Broadcast Audio Source Inputs
•Audio Streaming Services
•iOS and Android APP
•Automatic Updates
•IR Remote Control
•EQ Controls
•Deep Bass Mode
•Save and Recall Presets
•Stream via Network or Bluetooth
•USB and AUX Input
Package Includes
•RSS-WB Sound System Pre-Amplifier
•IR Remote Control
•Audio Connection Cables
•Power Supply
•Product Manual
Product Features

AUX IN NET BT
IR
USB
AUX
AUX
I
I
N
N
AUX
AUX
OUT
OUT
LAN
LAN
USB
USB
5V/1A
5V/1A
BC D E F
G H I J K
L
BIR: IR Receiver Port
CAUX IN: Aux Source Mode
DNET: Wi-Fi Source Mode
E BT: Bluetooth Source Mode
FUSB: USB Source Mode
GLAN: RJ45 Ethernet Port
HUSB: USB Port (1024 track limit).
IAUX IN: Stereo 3.5mm Input
JAUX OUT: Stereo 3.5mm Output
K5V/1A: 5V/1A Micro USB Input
LRESET/SLEEP: short press sleep on/off
long press Bluetooth (reset) pairing

1. Make the audio connections according to the
diagram.
2. Install the RSS CONNECT APP on your
Android or iOS device.
3. Power on the RSS-WB by connecting the
power supply to the power input on the
device. When the device is ready for use you
will hear piano chime sound.
4. For Wi-Fi connection launch the APP and
follow the instructions.
**Attention Android users**
You may be asked to allow use of this device on your Wi-Fi network, please select yes
or connect anyway. RSS will not connect properly otherwise.
LAN CONNECTION
Plug in the wired cable to the RJ45 Ethernet, the device will automatically connect
with the RSS CONNECT APP (All devices must be connected to the same network)

Wi-Fi Connection
Select Sound System from the Wi-Fi menu and follow the connection instructions to connect.
Once connected you can choose a preset or custom name for each device.

Bluetooth music
Select Bluetooth from the music source page and open the Bluetooth connection on your
mobile device. Pair to device Bluetooth device under the new device name.
Line input
Connect the Aux 3.5mm cables to the audio source select line in
mode on the application or remote control.
Local music
Click the “My Music” on the application to play music from your mobile device.
**iOS iTunes library will not be available for local music.
Line input
Connect the Aux 3.5mm cables to the audio source select line in
mode on the application or remote control.
Home Music Share
Please note that our system only support NAS with DLNA feature.
AirPlay
The device supports AirPlay1 you can choose the AirPlay and to stream music
Stream from PC
Our devices can stream audio sources from local storage, media library in Mac and Windows
PC and online services from iTunes. Users can easily play and switch music, control volume and
choose the audio devices to group and upgroup the audio devices.

13
Multi-Room Audio
Group devices together for Multi-Room audio. Press and hold the device, slide while pressing to
group with another device. You will see the connection link, see examples below.
Rename:Customize Device Name
Speaker Info: Speaker Settings and Details
EQ: Bass and Treble Tone Controls
Preset Content: Select Preset to Play
Sleep Timer: Set to turn off music off automatically
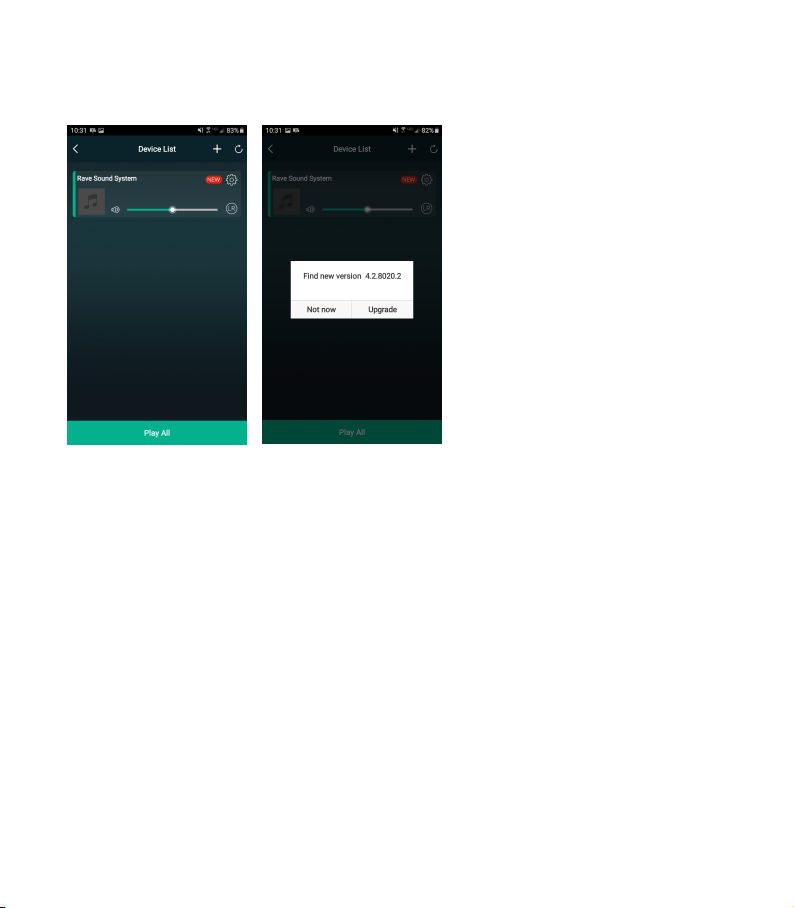
Device Settings
Press the gear icon next to the
device to change settings.
Left and Right channel
Users can choose the right channel or left channel
or stereo mode on the application, or choose left
channel on device A and choose right channel on
device B, and group them together and play in sync
to make stereo.
Presets
You can save you favorite stations or playlist for
easy recall by setting a preset. Only stations or
playlists with the speaker icon can be saved as a
preset. 10 presets can be saved and recalled using
the application, the IR remote control can recall
presets 1-6.

15
Device Updates
Restore factory setting
Two methods to restore device to factory setting
Method 1-long press the reset button on the device for 8-10seconds
Method 2-go for "App setting-speaker info-restore factory setting"

19
5-Year Limited Warranty
Rave Technology products are warranted
to be free from defects in workmanship
and materials for a period of Five (5)
years from the date of purchase without
charge for parts or labor. This warranty
does not apply to units that have been
subject to misuse, abuse, neglect or
improper installation, and does not apply
to repairs or alterations made by
unauthorized professional. This warranty
specifically excludes responsibility for
consequential damage. Retention of your
original bill of sale is required to obtain
service under the terms of this warranty.
© 2020 Rave Technology. All rights
reserved.
All trademarks are the property of their
respective owners. Specifications are
subject to change without notice.
Specs and Warranty
Rave Technology
4100 East Baldwin Road Holly,
Michigan, 48442 USA
Tel: 866-303-2629
Table of contents
Other Rave Amplifier manuals