manuals.online logo
Brands
  1. Home
  2. •
  3. Brands
  4. •
  5. Raymarine
  6. •
  7. Transducer
  8. •
  9. Raymarine RV-100 RealVision 3D User manual

Raymarine RV-100 RealVision 3D User manual

Other manuals for RV-100 RealVision 3D

2

Other Raymarine Transducer manuals

Raymarine Transducers User manual

Raymarine

Raymarine Transducers User manual

Raymarine REALVISION 3D User manual

Raymarine

Raymarine REALVISION 3D User manual

Raymarine RV2 Series User manual

Raymarine

Raymarine RV2 Series User manual

Raymarine DownVision CPT-70 User manual

Raymarine

Raymarine DownVision CPT-70 User manual

Raymarine RVM-400 Series User manual

Raymarine

Raymarine RVM-400 Series User manual

Raymarine HYPERVISION HV-100 User manual
Raymarine

Raymarine HYPERVISION HV-100 User manual

Raymarine REALVISION 3D RV-3 Series User manual

Raymarine

Raymarine REALVISION 3D RV-3 Series User manual

Raymarine Realvision RV-220P User manual

Raymarine

Raymarine Realvision RV-220P User manual

Raymarine RV-100 RealVision 3D User manual

Raymarine

Raymarine RV-100 RealVision 3D User manual

Raymarine ST50 plus Instruction Manual

Raymarine

Raymarine ST50 plus Instruction Manual

Raymarine RSW-Wired User manual

Raymarine

Raymarine RSW-Wired User manual

Raymarine RVM-100 User manual

Raymarine

Raymarine RVM-100 User manual

Raymarine RV-100 RealVision 3D User manual

Raymarine

Raymarine RV-100 RealVision 3D User manual

Raymarine RV-300 Series User manual

Raymarine

Raymarine RV-300 Series User manual

Raymarine DownVision CPT-70 User manual

Raymarine

Raymarine DownVision CPT-70 User manual

Raymarine HYPERVISIONT HV-300 Series User manual
Raymarine

Raymarine HYPERVISIONT HV-300 Series User manual

Raymarine HYPERVISION HV-100 User manual
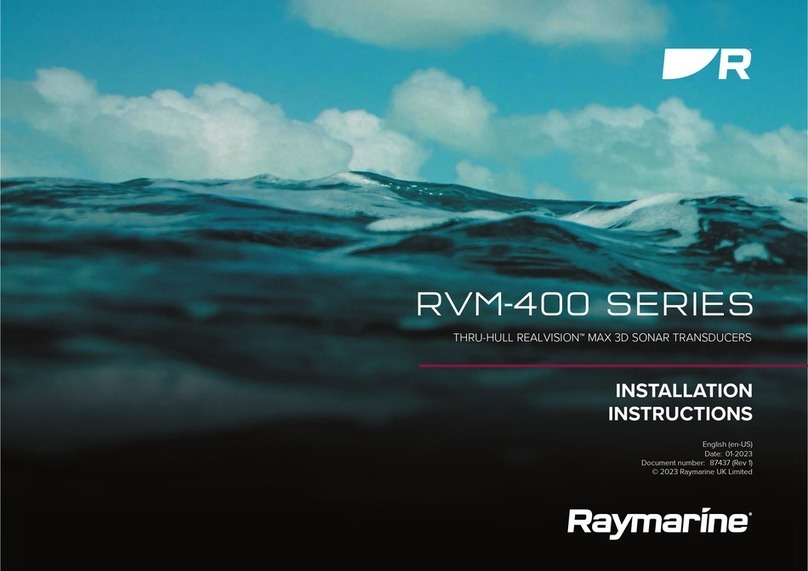
Raymarine

Raymarine HYPERVISION HV-100 User manual

Raymarine Wind Vane User manual

Raymarine

Raymarine Wind Vane User manual

Raymarine HYPERVISION HV-300 User manual
Raymarine

Raymarine HYPERVISION HV-300 User manual

Popular Transducer manuals by other brands

LEM DK series installation guide

LEM

LEM DK series installation guide

HBM AD101B quick start guide

HBM

HBM AD101B quick start guide

Camille Bauer SINEAX F534 operating instructions

Camille Bauer

Camille Bauer SINEAX F534 operating instructions

Trane KIT 16724 Installer's guide

Trane

Trane KIT 16724 Installer's guide

Lumel P18 user manual

Lumel

Lumel P18 user manual

B&C Speakers DE75PTN datasheet

B&C Speakers

B&C Speakers DE75PTN datasheet

Mianyang Weibo Electronic WB Series user manual

Mianyang Weibo Electronic

Mianyang Weibo Electronic WB Series user manual

ProMinent Dulcometer DMT operating instructions

ProMinent

ProMinent Dulcometer DMT operating instructions

Camille Bauer SIRAX CH-5610 operating instructions

Camille Bauer

Camille Bauer SIRAX CH-5610 operating instructions

Veris Industries PW Series installation guide

Veris Industries

Veris Industries PW Series installation guide

HBM TJ1-S6 installation manual

HBM

HBM TJ1-S6 installation manual

Simrad ES120-7C -  REV D Dimensions

Simrad

Simrad ES120-7C - REV D Dimensions

HBM C18 Mounting instructions

HBM

HBM C18 Mounting instructions

Spirax Sarco ITV1030 Installation and maintenance instructions

Spirax Sarco

Spirax Sarco ITV1030 Installation and maintenance instructions

MAMAC SYSTEMS PR-243 technical information

MAMAC SYSTEMS

MAMAC SYSTEMS PR-243 technical information

Balluff BTL5-P user guide

Balluff

Balluff BTL5-P user guide

MKS MicroPirani 925 Series Short form manual

MKS

MKS MicroPirani 925 Series Short form manual

WIKA WU-20 operating instructions

WIKA

WIKA WU-20 operating instructions

manuals.online logo
manuals.online logoBrands
  • About & Mission
  • Contact us
  • Privacy Policy
  • Terms and Conditions

Copyright 2025 Manuals.Online. All Rights Reserved.

RV-100Hull/StepBracket
Installationinstructions
Applicableproducts
Thisdocumentisapplicabletothefollowingproduct:
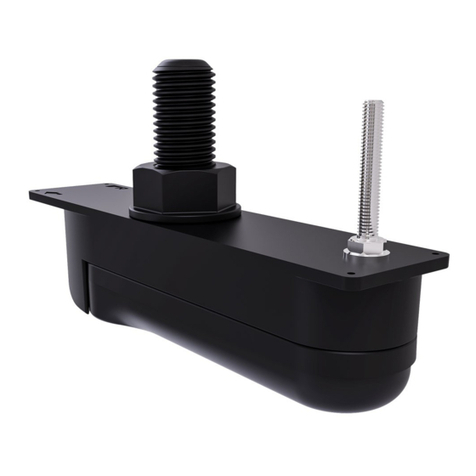
•RV-1003DTransducerHull/tepMountBracket(A80479).
Partssupplied
Thepartssuppliedwithyourproductareshownbelow.
1.Hull/tepbracket
2.Fixings
3.Documentation
Productdimensions-Hull/Stepbracket
Thetransducer’sdimensionsincludingthebracketareshown
below.
Selectingalocationfortheransducer
Theguidelinesbelowshouldbefollowedwhenselectinga
locationforyourtransducer.
Note:Thetransducerisnotsuitableformountingonvessels
wherethetransomisaftofthepropeller(s).
Forbestperformancethetransducermustbeinstalledina
locationwiththeleastturbulenceandaeration.
•Thetransducershouldbemountedonahorizontalsurface.
•Mountasuitabledistancefromthepropeller(s)toavoidwake.
•Turbulencecanbecausedbyanumberofotherfactorssuch
assteps(1),ribs(2),rowsofrivets(3)andstrakes(4).The
turbulenceappearsaftoftheselocations.
•Airtrappedunderthefrontofthevesselcantravelunderthe
hullandappearasaeration.
•T osimplifycablerouting,youcanchoosewhethertoinstallthe
transducerwiththecableexitingtowardsthevessel’sbow,or
towardsthestern.
•Ifinstallingunderthesteponasteppedtransomwiththecable
exitingtowardsthevessel’sbow,ensuresufficientroomisleftin
frontofthebrackettoallowforroutingthetransducercable.
Note:Optimumtransducerlocationandorientation(bow
cable-exit,orsterncable-exit)isdependentonhulltype.
Preparingthetransducer
TheRV-100RealVision™3Dtransducer(partnumberA80464)is
suppliedalreadyattachedtoatransducerhanger.
Beforemountingthetransducerusingtheaccessorybracket,you
mustremovethetransducerfromthetransducerhanger.
1.Removethebracketfixingbolt(5)andwasher(6).
tore the loose parts in a safe place; you will need these parts
if you want to mount the transducer on a transom using the
standard mounting bracket in the future.
Documentnumber:87305-2AB;7199;2018-01-23T15:22:58Date:01-2018
2.Usinga4mmhexkey,removetheflangedmountingbolt(2),
flangednylocnut(3),andmountingbracket(4).
3.lidetheplasticchock(1)awayfromthetransducerassembly.
4.Removethetransducercarrierfromthetransducerbysliding
thecarriertotherearofthetransducer.
tore the transducer carrier in a safe place; you will need this
if you want to mount the transducer on a transom using the
standard mounting bracket in the future.
Thetransducerisnowreadyforattachingtheaccessorybracket.
AttachingtheStep/Hullbrackettothe
transducer
WiththetransducercarrierremovedfromtheRV-100transducer,
youcannowattachthetep/Hullbracket.
1.Threadthetransducercable-endthroughthelargeopeningin
thetepbracket,thenplacethebracketonthetopsurfaceof
thetransducer,ensuringthatthebrackettabshaveslotted
beneaththeretainingtabsonthetransducer.Alignthe2holes
onthebracketwiththeholesonthetopfaceofthetransducer.
2.ecuretheHull/tepbrackettothetransducer.Usea4mm
hexkeytohandtightenbothbolts.
Do not overtighten the bolts, as this may damage the
transducer.
Mountingthetransducer
Thestepsbelowdescribeusingthebrackettomountthe
transducertothehullortheundersideofasteppedtransom.
Beforemountingensurethatyouhave:
•identifiedasuitablemountingsurfaceandensuredthatthereis
nothingontheothersideofthestep(batteries,fueltanks,etc.)
thatcouldbedamagedbythedrillormountingscrews.
•decidedwhethertomountthetransducerwiththecableexiting
towardsthebowofthevessel,ortowardsthestern.
•identifiedtheroutethatthecablewilltake.
A.Cableexitingtowardsthebow.
B.Cableexitingtowardsthestern.
1.Holdthebracketwithtransducerattachedinpositionandmark
thesurfacethroughthebracket’smountingholes.
2.Drill6xholesforthefixingscrews.
3.Filltheholeswithmarinegradesealant.
To prevent potential damage to plastics, do NOT use sealants
containing acetate or silicone.
4.Usingapozi-drivescrewdriverandthescrewsprovided,
securethebrackettothesurface.
5.ecurethetransducercablerunusingthesuppliedp-clips.
6.Ifyouhavemountedthetransducerwiththecableexiting
towardsthestern,completethefollowingprocedureusing
yourmultifunctiondisplay:Settingthetransducerorientation
Note: The Setting the transducer orientation procedure is
required to ensure that your display plots port and starboard
sonar returns on the correct side of the sonar image.
Settingthetransducerorientation
Ifyouhavemountedthetransducerwiththecableexiting
towardsthesternofyourvessel,youmustenabletheReverse
Port/Starboardoptionusingyourmultifunctiondisplay.
1.Fromthesonarapplication,navigateto:Menu>Settings>
Sounder>ReversePort/Starboard.
2.EnabletheReversePort/Starboardcontrol.
Note: Do NOT enable Reverse Port/Starboard if you have
mounted the transducer with the cable exiting towards the bow
of your vessel.
2RV-100Hull/tepBracketInstallationinstructions