RAYN Installation Guide
Lamp Head and LED Driver
Install the LEDDriver
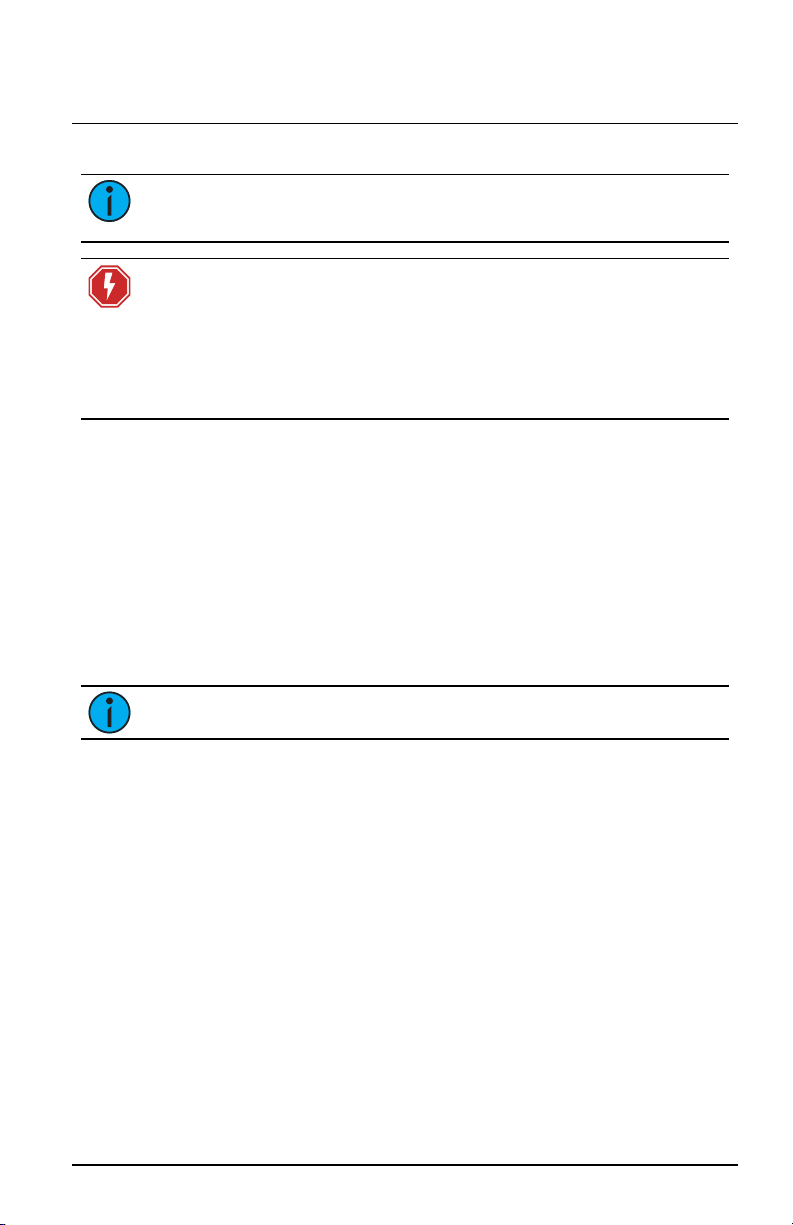
WARNING: Risk of electric shock! This device utilizes high
voltage and should only be installed by a qualified installer or
electrician. Follow all local codes for installation. Before
terminating the AC power wiring verify that the main breaker is in
the off position and follow the proper lockout/tag out procedures
per NFPA Standard 70E or applicable local regulations.
AVERTISSEMENT : Risque de décharge électrique! Cette
appareil utilise une haute tension et ne doit être installé que par
un installateur qualifié ou un électricien. Suivez tous les codes
locaux pour l'installation. Avant de raccorder le câblage du
courant alternatif, vérifiez que le disjoncteur principal est en
position d'arrêt et suivez les procédures de
Consignation/Déconsignation prescrites par la norme NFPA 70E
ou aux réglementations locales applicables.
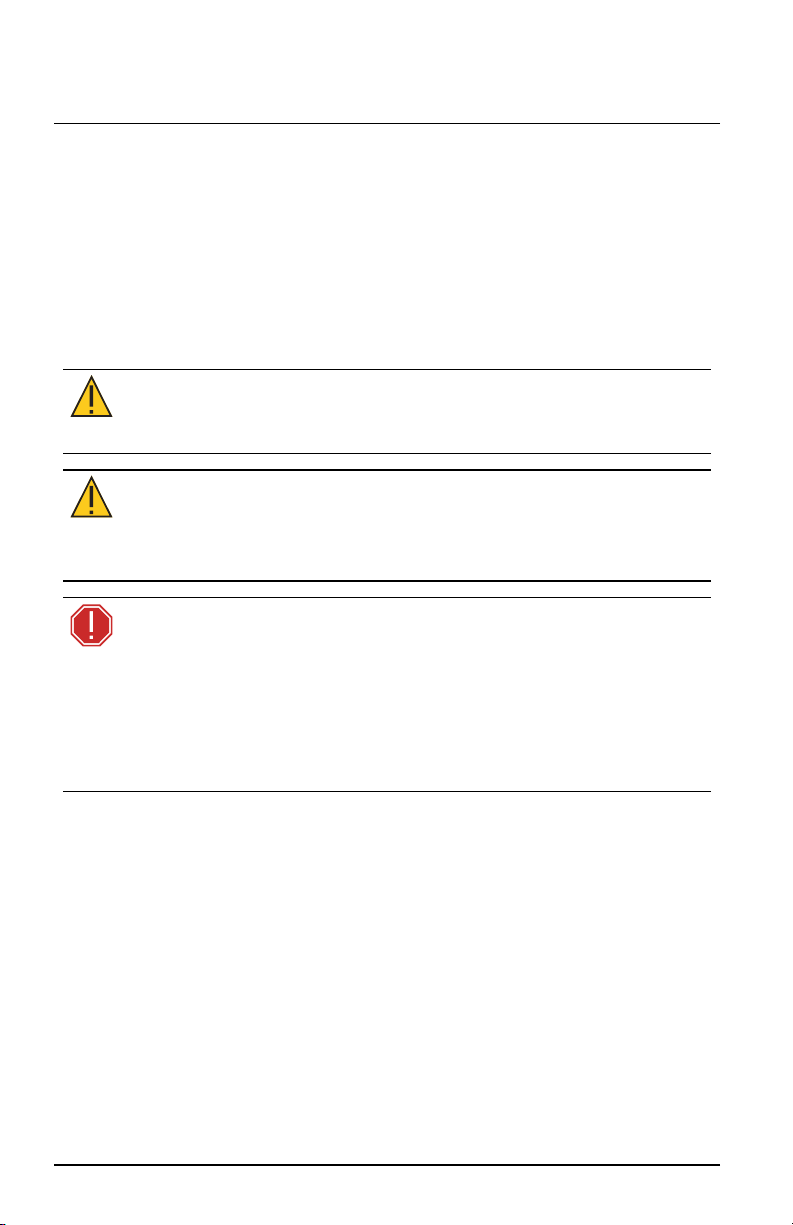
CAUTION: Risk of personal injury and/or product damage. Handle
the LED driver carefully. Do not lift, suspend, or move the driver
using the input or output wires.
1. Using M4 (#8)hardware, secure the LED driver to a suitable structure using the
built-in mounting flange. The installation location must be within 3m(10ft) of the
desired Lyda lamp head installation location.
2. Connect the lamp cable from the LED driver to the installed Lyda lamp head. The
connection is secured by rotating the locking ring counterclockwise until finger
tight.
3. If dimming control is required, connect the optional controller. See the Lyda
System Installation and User Manual for details.
4. Connect the LED driver to the power source. If using a connectorized power input
cable, simply plug the unit into the distributed power input receptacle. If using a
bare end power input cable, terminate the wiring according to the cable type and
local codes.
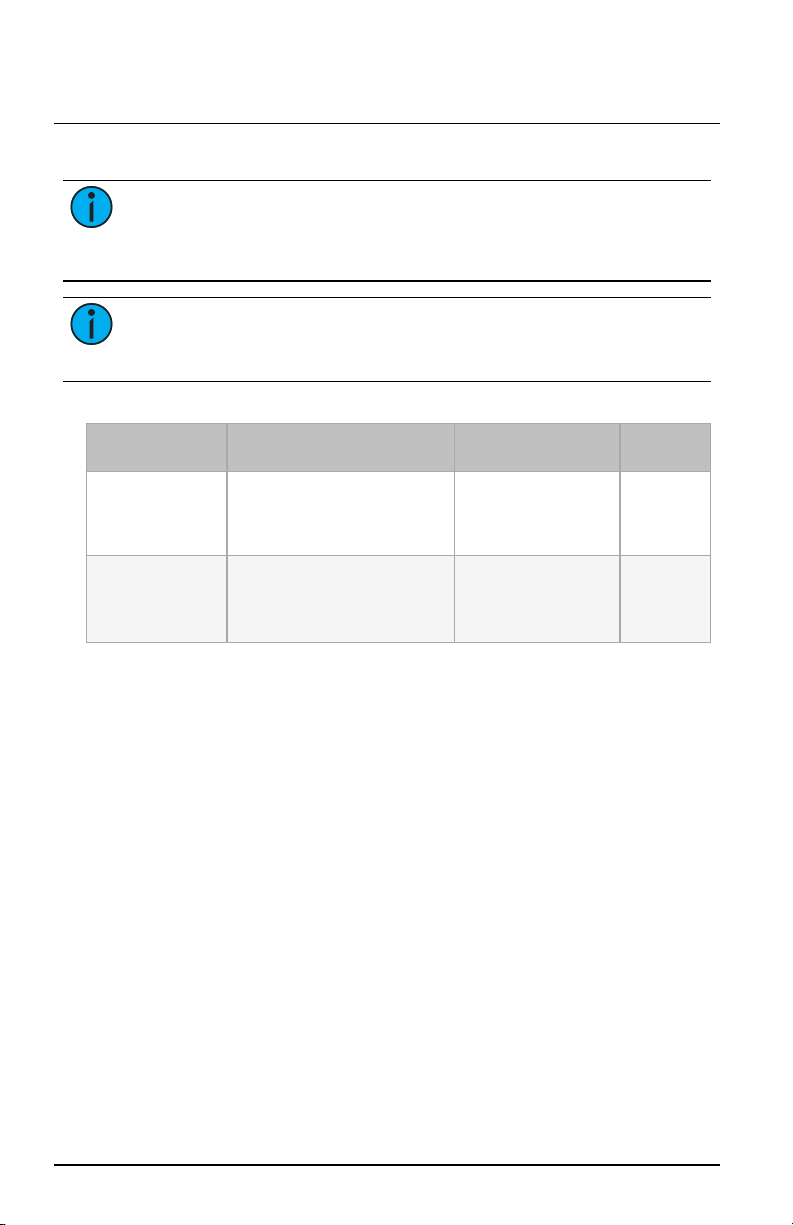
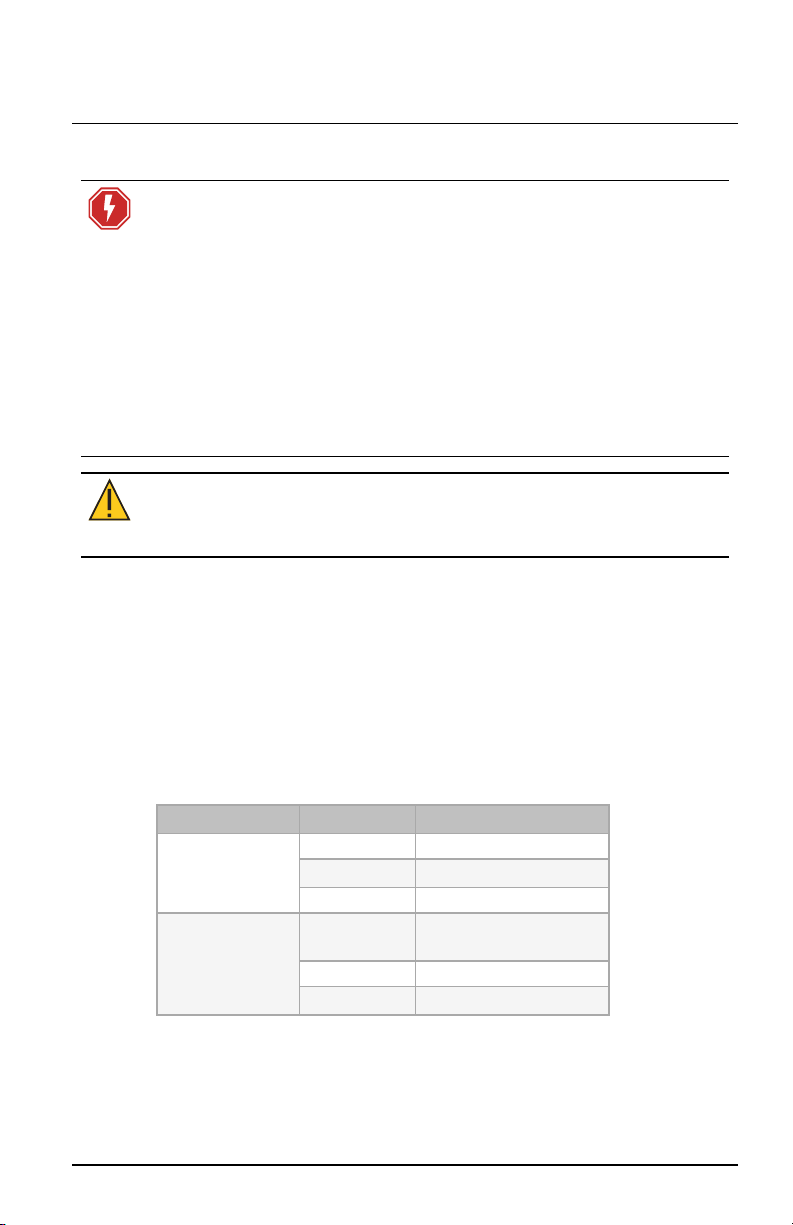
Model Type Color
Power Cable,
USColor Code
ground/earth green
line black
neutral white
Power Cable, IEC
Color Code
protective
earth
green/yellow
line brown
neutral blue
Reference
See rayngrowingsystems.com/products/lyda-system/ for the complete Lyda Lamp
Head and LED Driver Lamp Head and LED Driver Installation and User Manual
including power up and operation instructions.
Lamp Head and LED Driver Page 7 of 8 RAYN