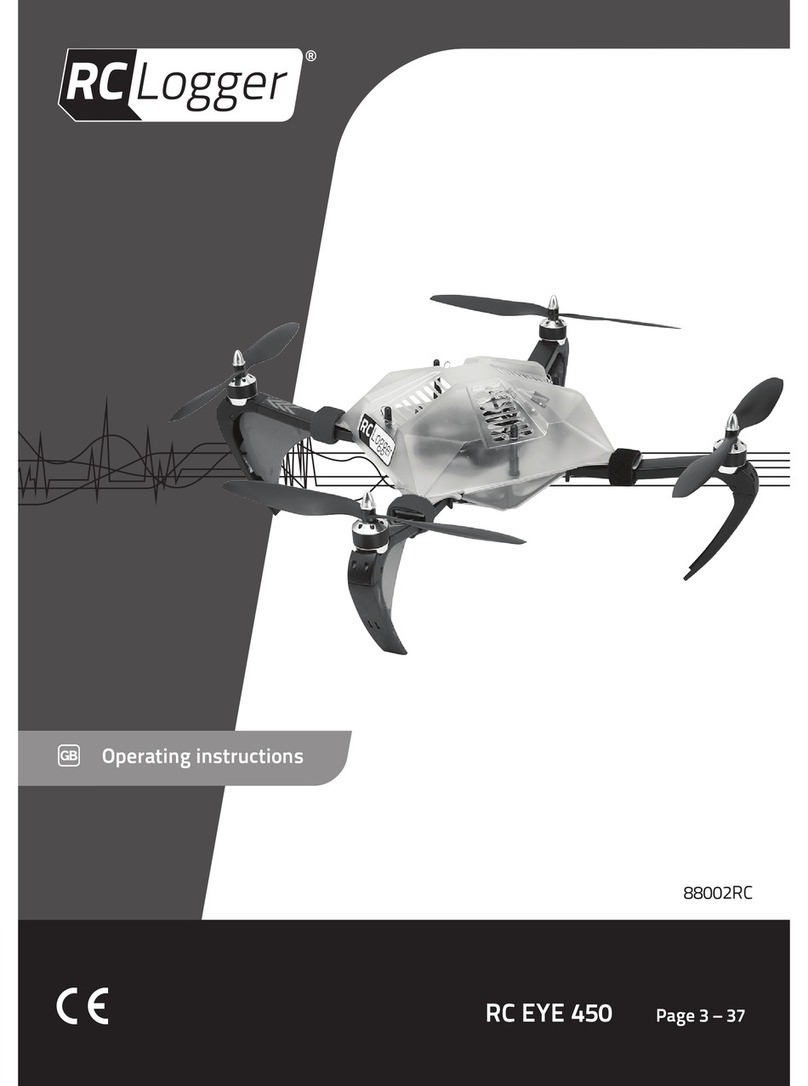
RC Logger RC EYE One User manual

Operating instructions
RC EYE One Page 3 – 28

2
These Operating Instructions accompany this product. They contain important information on
setting up and using the device. You should refer to these instructions, even if you are buying
this product for someone else.
Please retain these Operating Instructions for future use! A list of the contents can be found in
the Table of contents, with the corresponding page number, on page 3.

3
TABLE OF CONTENTS
Page
1.Introduction................................................................................................................................................ 4
2.Intended use ............................................................................................................................................. 5
3.Delivery content......................................................................................................................................... 5
4.Safety instructions ..................................................................................................................................... 5
5.Product description.................................................................................................................................... 8
6.Operating elements ................................................................................................................................... 9
7.Start preparations.................................................................................................................................... 10
8.Operating elements of transmitter and mode .......................................................................................... 12
9.Safety installation .................................................................................................................................... 14
10.Information for First Take-Off................................................................................................................. 15
11..................................................................................................................................... 22
12.Binding Function.................................................................................................................................... 24
13.Switch Transmitter Channel................................................................................................................... 24
14.Maintenance, care and repair................................................................................................................ 24
15.Disposal................................................................................................................................................. 26
16.Federal Communications Commission (FCC) DISCLAIMER................................................................ 26
17.Product support ..................................................................................................................................... 27
18.Technical data........................................................................................................................................ 28

4
1. INTRODUCTION
Dear customer,
Thank you for making the excellent decision to purchase this RC Logger® product. You now have a high-
quality product with a name that represents outstanding products.
This product complies with the applicable National and European standards and regulations. We kindly
request the user to follow the operating instructions, to preserve this condition and to ensure safe operation!
These operating instructions relate to this product. They contain important notices on commissioning and
handling. Please take this into consideration when you pass the product on to third parties.
Please keep these instructions for further reference!
All company names and product designations contained herein are trademarks of the respective owners.
All rights reserved.
We wish you a great deal of enjoyment with your new RC Logger® product!

5
2. INTENDED USE
The model “RC EYE one” is a model helicopter solely designed for private use in the model making area
and the operating times associated with this. This system is not suitable for other types of use. Any use
other than the one described above damages the device. Moreover, this involves dangers such as short
not become damp or wet. This product is not a toy and not suitable for children under 14 years of age.
For safety and approval purposes (CE), you must not rebuild and/or modify this product. If you use the
product for purposes other than those described above, the product may be damaged. In addition, improper
keep them. Make this product available to third parties only together with its operating instructions.
3. DELIVERY CONTENT
> 1 x RC EYE One
> 1 x 7.4 V 350 mAh LiPo Battery
> 1 x USB LiPo Charger
> 4 x Replacement Rotor (2 x black, 2 x red)
> 2 x Replacement Landing Skid
> 1 x Remote control
> 2 x AAA Battery
> Operating instructions
4. SAFETY INSTRUCTIONS
Read the operating instructions carefully and especially observe the safety information.
If you do not follow the safety instructions and information on proper handling in this
manual, we assume no liability for any resulting personal injury or damage to property.
Such cases will invalidate the warranty/guarantee.
Persons / Product
> The device is not a toy. Keep it out of the reach of children and pets.
> Do not leave packaging material lying around carelessly. These may become dangerous playing
material for children.
>The product must not become damp or wet. As delicate control electronics are used in the “RC EYE
optimised for a particular temperature
range, operation below 0°C is to be avoided.
> Do not place the product under any mechanical stress.
> If it is no longer possible to operate the product safely, take it out of operation and protect it from any
accidental use. Safe operation can no longer be guaranteed if the product:
- is visibly damaged,
- is no longer working properly,

6
- has been stored for extended periods in poor ambient conditions or
- has been subjected to any serious transport-related stresses.
> Handle the product carefully. Jolts, impacts or a fall even from a low height can damage the product.
Before commissioning
>Make sure that no other models are operated on the same channel (transmitter frequency) within the
range of the remote control. This applies for all products operated at 915 MHz (e.g. weather stations,
radio headphones, etc.). Otherwise, you will lose control of the remote-controlled models! Always
use different channels if you wish to operate two or several models in direct proximity of each other
simultaneously.
>Regularly check the functional reliability of your model and the remote control system. Watch out for any
visible damage such as defective plug connections or damaged cables.
>All moving parts of the model must run smoothly but should not have any play in their bearings.
>Check before each operation the correct and secure position of the rotors.
>
>
batteries are empty, always replace the complete set, never individual cells only.
>
Otherwise, unexpected reactions of the model may occur and the rotors might run unintentionally!
>When the rotors are running, make sure that neither objects nor body parts are in the rotating and
suction area of the rotors.
During Operation
>Do not take any risks when operating the model! Your own safety and that of your environment is solely
down to you being responsible when dealing with the model.
>Improper operation may cause serious injury and property damage! Therefore make sure to keep a
>Select an appropriate location for the operation of your model.
>
medication can cause incorrect responses.
>Do not direct your model towards spectators or towards yourself.
>
>Never switch off the remote control (transmitter) while the model is in use. After landing, always
>In case of a defect or a malfunction, remove the problem before using the model again.
>Never expose your model or the remote control to direct sunlight or excessive heat for an extended
period of time.
>In the case of a severe crash (e.g. from a high altitude). the electric gyro sensors can be damaged and/

7
>In the event of a crash, the throttle should be immediately reduced to zero. Rotating rotors may be
be checked for possible tears or breakages!
>To avoid damage to the “RC EYE One” helicopter through crashing due to low voltage of the rechargeable
battery through total discharge, we recommend that you respect the low voltage light signals without fail.
Batteries
> Correct polarity must be observed while inserting the batteries.
> Batteries should be removed from the device if it is not used for a long period of time to avoid damage
through leaking. Leaking or damaged batteries might cause acid burns when in contact with skin,
therefore use suitable protective gloves to handle corrupted batteries.
> Batteries must be kept out of reach of children. Do not leave the battery lying around, as there is risk,
that children or pets swallow it.
> All the batteries should be replaced at the same time. Mixing old and new batteries in the device can lead
to battery leakage and device damage.
>
batteries. There is a risk of explosion!
> Never mix batteries and rechargeable batteries!
LiPo batteries
electronic system when you do not use it (e.g. during transport or storage). Otherwise
unusable! There is also a danger of malfunction due to interferences. The rotors could
start up inadvertently and cause damage or injury.
batteries in particular are very susceptible to moisture due to the chemicals they
or to direct solar radiation. When handling LiPo batteries, observe the special safety
information of the battery manufacturer!
>
>
>Only charge intact and undamaged batteries. If the external insulation of the rechargeable battery is
damaged or if the rechargeable battery is deformed or bloated, it must not be charged. In this case, there
>

8
>
>
this also applies for all other chargers and rechargeable batteries.
>Never leave LiPo batteries unattended while charging them.
>
>
damp or wet.
Miscellaneous
> Consult an expert when in doubt about operation, safety or connection of the device.
>
shop.
> If you have questions which remain unanswered by these operating instructions, contact our technical
support service or other technical personnel.
5. PRODUCT DESCRIPTION
processor controlled electronics with position control and acceleration sensor stabilise the “RC EYE one”.
High-quality direct current engines in connection with a specially developed control permit a long, powerful
As the “RC EYE one” weighs less than 100 grams, it reacts sensitively to wind or draughts.

9
6. OPERATING ELEMENTS
1. Pre-assembled “RC EYE one”
2. Remote Control
3. USB LiPo Charger
4. 7.4 V 350 mAh LiPo Battery
5. AAA Battery
6. Two replacement rotors, counter-clockwise
7. Two replacement rotors, clockwise
Not displayed: Replacement Landing Skid
The spare part list can be found on our website www.rclogger.com in the download section for
the respective product.

10
7. START PREPARATIONS
Inserting batteries in the transmitter
1. Remove the battery
compartment lid (1) of the
transmitter. You need to
push the lever (2) own
slightly for this.
2. Insert two micro/AAA size
batteries with the correct
polarity (3). Observe the
corresponding icons in the
battery compartment. Insert
the battery compartment lid
again.
Operation of the transmitter with rechargeable batteries is not recommended because of
the lower cell voltage (battery = 1.5 V, rechargeable battery = 1.2 V) and the self-discharge
of rechargeable batteries. Quick feedback of the transmitter on low charge status of the
transmitter power supply would result.
Since the transmitter requires very little power, batteries will keep much longer. We recommend
the use of high-quality alkaline batteries.

11
Do not use any computer or notebook USB port to connect power to the USB charger
500 mA.
1. Use a suitable plug-in mains adapter or a cigarette lighter adapter with one USB output socket each
(output 5 V/DC, at least 1.5 A).
2. Connect the charger from the delivery (1) to a USB mains adapter (2) or a cigarette lights USB adapter
with its USB plug. The plug-in charger (or adapter) must have a current resilience of at least 1.5 A!
3.
4.
for this. If the battery is not defective (high-Ohmic/interrupted) and mains supply is warranted, charging
commences. This is indicated by the two red LEDs (3 = charge indicator).
The following LED displays are possible:
The red LED is permanently lit: The charging process is running
Defective battery and/or bad contact of the plugs
Red LED off: Charging end is reached or no rechargeable battery or a fully
charged battery is connected

12
Individual battery cells of a battery pack are usually different. The USB charger has
tow separate chargers integrated. Therefore, it is possible that a battery cell is already
charged (LED off) and the other battery cell is still being charged (LED on). Wait until
both LEDs have gone out before unplugging the battery.
battery cannot be charged with conventional LiPo chargers. Therefore, use the included
8. OPERATING ELEMENTS OF TRANSMITTER AND MODE
Transmitter
1. Button on/off
2. Button for channel selection
3. Control stick left (motor
speed and yaw)
4. Yaw trimming
5. Control stick right (roll and
pitch)
6. Pitch trimming
7. Roll trimming

13
Model Top
1. Rotors front (red rotors)
2. Rotors rear (black rotors)
3. LED for status display
Model Bottom
1.
modes
2. Hook-and-loop tape for
battery fastening
3.
battery
4. Battery holder

14
9. SAFETY INSTALLATION
The “RC EYE One” has a range of safety devices in the transmitter and model which
protect the model from damage and/or should reduce possible damage to a minimum. The
(transmitter).
Transmitter
>The charge condition of the inserted batteries is inspected every time the transmitter is switched on. If
the charge condition is too low, the transmitter switches off immediately again. The transmitter signals
this by three subsequent warning sounds.
>The charge condition is continually inspected while the transmitter is in operation. If the charge condition
drops below a certain value, the transmitter also signals this with a triple warning sound. In this case,
>The transmitter also has a deactivation automatic integrated. If no control element is operated for more
Model
>The LED in the “RC EYE One” shows if the transmitter is “bound” to the model and reception of the
mode that is set.
>
>Short-term reception interferences are ignored by the “RC EYE One” by the last control signals of the
>The “RC EYE One” constantly monitors the voltage of the connected batteries. If it falls below a critical
>If the voltage undercut is permanently below a certain value, the LED is lit permanently orange. In this
case, an emergency landing is initiated after a short period and the motors and LED are deactivated.
!"#$%&%
$'*+03%
$46'
7%$3'703
%0$'
If the “RC EYE One” is connected to a non-fully charged battery, this can also lead to
3'7%0$
08+00'
As another safety measure, the motors are switched off once one or several rotors are blocked. If this is

15
10. INFORMATION FOR FIRST TAKE-OFF
9&0%'
0$'
0303#
the model. The two red rotors are considered direction indicators. They mean “front”. The
&077'
Hover Flight
directed uplift force is equal to the downwards directed weight. This is achieved about at the central throttle
Pulling the throttle lever back causes the RC EYE One to drop. Pulling the throttle lever back all the way
shuts off the engines.
$ 3 8+00% $
&00!"#'*:8
and slight swerving of the “RC EYE One” forwards, backwards or to the side may result from
'+000;<'

16
Yaw
Yaw denotes the rotation of the “RC EYE One” around the yaw axis (vertical axis). This movement either
For the “RC EYE One”, this movement is not controlled by a tail rotor, but through speed variation of the
individual rotors to each other. The two red rotors show “front”.
If you move the left control lever to the left, the RC EYE One will turn to the left. If you move the control lever
(direction of the white arrow), the model must be trimmed with the black trimming button (also in the counter-
direction). Push the trimming button until the RC EYE One no longer turns away to the left.

17

18
Pitch
Pitch denotes the movement around the cross axis which can be compared to the nodding of a head.
rotors show “front”.
(also in the counter-direction). Push the trimming button until the RC EYE One no longer turns away to
the rear.

19
Roll
Roll denotes the movement around the centre line which can be compared to the sideways rolling of a ball
(or the sideways crawl of a crab). In this way, through lifting one side the “RC EYE One” moves independent
of its forward direction to the side. The two red rotors show “front”.
(also in the counter-direction). Push the trimming button until the RC EYE One no longer drifts to the left.

20
Flight Mode
experience. The button for this is at the bottom of the RC EYE One).
Other manuals for RC EYE One
1
Table of contents
Other RC Logger Toy manuals
Popular Toy manuals by other brands

M.T.H.
M.T.H. New York MTA R-21 operating instructions

The Land of Nod
The Land of Nod Street Vendor Cart Assembly instructions

Techno Source
Techno Source Clickables Fairy Charms IM-21300B user manual

K's kids
K's kids SAM Whose Phone is Ringing quick start guide

Vex Robotics
Vex Robotics IQ Standard Drive Base Build instructions

Bowser
Bowser AS616 quick start guide