RCm Smart Booster S User manual

Smart Booster S
A voltage converter with extra features specifically designed for power managing of RC gliders
User manual
1. Overview.
2. Features.
3. Using and setting.
4. Specifications.
ENG

Thank you for choosing the RCM Devices product.
Please, read carefully this full user manual to ensure the correct operation, as well as using the
full potential of the device Smart Booster S.
1. Overview.
The device Smart Booster S is a voltage booster with an extra features. This device designed
to organize and control of the power supply system for the on-board electronics of the model. As the
power system, uses a single-cell battery LiPo 1S, as the most reliable and easy-to-use solution.
This device has the following features and capabilities:
- voltage converter from single LiPo to 5 Volts
-sound based user interface
-battery monitoring system
-charge level indicator
-user configurable low charge alarm
-model finder alarm
-device management from the TX
This device is optimized for a models with a wingspan of ~1-1.5 meters (typical application -
model class F3K), which have on board up to 4 micro-servos, but at the same time, this device can be
successfully applied to standard models class F3K with a wingspan of ~1.5 meters, in case if the size
or weight are critical.
2. Fetures.
Voltage booster.
This function, is needed to power the on-board electronics from the single battery type LiPo 1S.
The purpose of the voltage booster, is to convert a low level input voltage to a higher level output
voltage.
-stable output voltage with low ripple over a wide input voltage range (means, more stable radio
system operation and ability to operate some time extra even after complete discharge of the battery)
-ability to provide high long time and high short time currents (a more rapid and accurate servo
response, support for up to 4 micro-servos)
-high efficiency
Battery status monitor.
This function, is designed to estimation of the charge level and to control the discharge level of
the on-board battery. The device continuously monitors the battery condition, after starting up,

informs the user about the charge level, and when discharge, switching to one of the low battery alarm
modes. The device has two low battery alarm modes that provide information about the close or fully
discharged battery. To the best optimization of the system, through the service menu, the
customization of the threshold level* of the first low battery alarm mode is available.
-battery charge level sound indication after start up (means, possibility to approximate estimate the
battery charge level and feasibility for further usage of the system immediately after turning on the device)
- first low battery alarm - customizable, there are five settings in the voltage range of 3.35-
3.55 V
-second low battery alarm - fixed at the level 3 V
- user-friendly service menu
- advanced algorithm for estimating the battery discharge level (accurate battery discharge level
detection, prevention of false switching of one of the low battery alarm modes during short voltage surges caused by operation
of the servos, as well as a definite shift and absence of “sound tinkling” on transition borders from one sound alarm mode to
another)
Lost model alarm.
This function, is the loud melody produced by the device, switching on and off which can be
controlled from the transmitter. This feature sometimes can be useful when searching for the model
being not far away but out of sight, for example when the model is in the high grass.
-control from one of the radio channels (means, controlling of this function with a simple toggle switch on
the transmitter)
3. Using and setting.
Precautionary measures.
Attention! The device is not protected against reverse polarity and overvoltage. Observe the
polarity and the level of the maximum input voltage. Failure to comply with these conditions may
result in immediate and complete failure of the device.
The device is not sealed, a liquid gets inside can break at once or over some time.
Preliminary preparation.
For correct operation of the device in any mode, the control channel of the transmitter should
be configured as follows:
-reverse: normal
-end point adjustment: +/-100%
-trimmer: 0%
For good usability of the device in all situations except for its settings, use the receiver channel,
the signal which corresponds to one of the extreme positions, such as 100% or -100%.
For good usability of the device in the service menu mode, it is recommended to use the
receiver channel, which is controlled by the vertical moving stick or the three-position switch on the
transmitter.

Connection diagram.
Fig. 1. General connection diagram.
Fig. 2. Pinout.
Fig. 3. Alternative cable for connecting the device to the receiver.
In that case, if you plan to use the channel of the receiver to which the device is connected, to
control the servo, or other device, use the adapter cable like the one shown in Fig. 3. In this case of
connection, the entire functionality that is controlled from the transmitter will be not available.
Sound indications and alarms.
The device has the different sound indications and the alarms to indicate various operating
modes and actions. Below, is their classification.
Battery charge level sound indication after start up
From one to four beeps.
First low battery alarm
Three different in duration beeps. Repeated every 15
seconds.
Second low battery alarm
Continuously repeated, short beeps.
Lost model alarm
Melody in the form of intermittent beeps. Repeated
every 15 seconds.
Service menu entering sound indication
Melody in the form of a "trill" from low tone to high.
Current setting number sound indication
From one to five beeps.
One beep - displays the setting №1.
…

Five beeps - displays the setting №5.
Operation modes.
-standby mode
-first low battery alarm mode
-second low battery alarm mode
-lost model alarm mode
-service menu mode
After 3 seconds after turn on, the device analyzes a voltage on the battery and then informs the
user about the charge level by means of proper sound indication or the alarm.
In case if the battery is not close to the discharge level, the device informs the user about the
approximately battery charge level by means of the battery charge level sound indication after start
up.
In case if the battery is close to the discharge level, the device switches to one of the low
battery alarm modes.
- standby mode
In this mode, all sound indications and alarms of the device are turned off, and at the same
time the device continuously monitors the battery voltage and the signal from the receiver. The device
switches to this mode directly after the battery charge level sound indication after start up, which
means after ~3 seconds after start up. Being in this mode, if the battery discharges, the device
automatically switches to the one of the low battery alarm modes.
- first low battery alarm mode
In this mode, the device informs the user of the impending low battery by means of the first low
battery alarm, and at the same time the device continue to monitoring the battery voltage. The device
switches to this mode automatically when the threshold level* of the first low battery alarm mode is
reached. Being in this mode, when the battery discharges further, the device automatically switches to
the second low battery alarm mode. Automatic switch to this mode is possible from:
•after battery voltage analysis after 3 seconds after start up
•standby mode
•lost model alarm mode
- second low battery alarm mode
In this mode, the device informs the user about the completely discharged battery by means of
the second low battery alarm. The device switches to this mode automatically when the threshold
level* of the second low battery alarm mode is reached. Automatic switch to this mode is possible
from:
•after battery voltage analysis after 3 seconds after start up
•standby mode
•lost model alarm mode

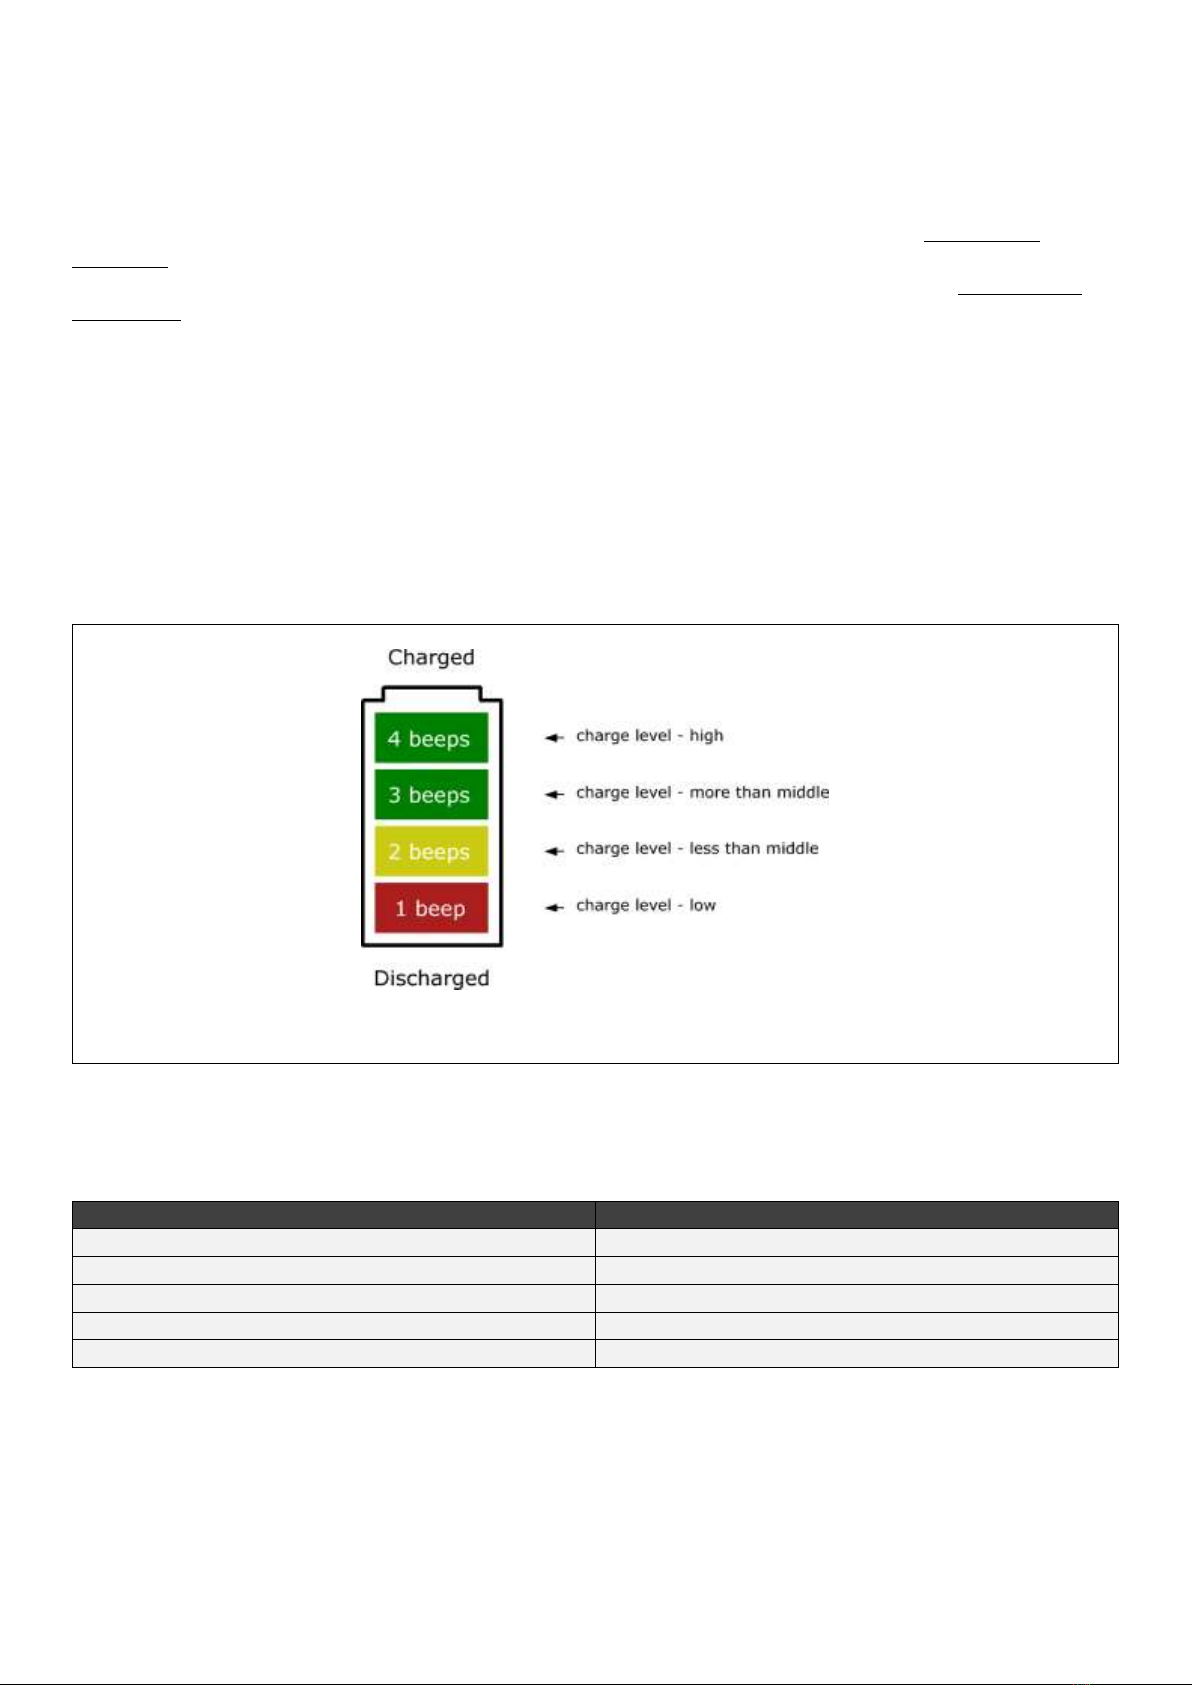
•first low battery alarm mode
- lost model alarm mode
In this mode, the device produced the lost model alarm, and at the same time it continuously
monitors the battery voltage and the signal from the receiver. If the battery is not discharged and the
device is not in the service menu mode, then the up position of the two-position switch on the
transmitter corresponds to the lost model alarm mode. Being in this mode, if the battery discharges,
the device automatically switches to the one of the low battery alarm modes.
- service menu mode
This mode is used to configure the threshold level* of the first low battery alarm mode. Being in
this mode, the device continuously monitors the battery voltage and the signal from the receiver. After
entering into the service menu mode, and also after changing the setting, the device displays the
number of the setting by means of the current setting number sound indication. In case of full battery
discharge, the device automatically switches to the second low battery alarm mode. Switching to the
other modes from the service menu is not available.
Service menu allows the user to choose one of these five settings:
Setting №
Threshold level* of the first low battery alarm mode
1
3.35 V
2
3.40 V
3
3.45 V
4
3.50 V
5
3.55 V
Entering to the service menu:
The initial state: the channel of the receiver to which the device is connected is set to control by
the spring-loaded vertical moving stick, the transmitter is turned on, the device is off.
-put the stick on the transmitter to the center position
-turn on the device
If, after 2 seconds after start up the stick was in the center position and the battery is not fully
discharged, than the device will enter to the service menu mode. After successful entering to this
mode, the device will produce the service menu entering sound indication, and then the current setting
number will be indicated. Next, the user can change the setting.
Changing the setting №:
-move the stick to one of the end positions and hold it for the second
-wait for the setting № changes
-back, move the stick to its neutral, middle position
Moving the stick on the transmitter to the forward or backward position and holding it for about
one second causing the next or previous setting № to set. Immediately after the new setting is set, the
device displays the number of the setting by means of the current setting number sound indication. To
exit the service menu - turn the device off.
The settings are non-volatile, which means the setting is retained after power is turned off.
The default setting - №3 (threshold level* - 3.45 V).

Usage recommendations.
The major purpose of the device - is organization and monitor of the power supply system of
the model. To track the battery, the battery status monitor function is used, which has two sound
alarms about the battery discharge. The device accurately monitors the battery discharge level and
promptly inform the user. The first low battery alarm is the main, and it is recommended to focus on it
as the main signal to stop using the system. This alarm indicates that the battery is close to full
discharge but yet not fully discharged, therefore using the battery at this stage is not defective to the
model and the battery itself. The second low battery alarm indicates that the battery is already fully
discharged and in fact, it is overdischarging now. Therefore, using the battery at this stage highly
undesirable because it leads to reduction of its working life and with a strong overdischarge, naturally
leads to failure of the voltage booster and consequently to failure the onboard electronics. Feature of
the voltage booster of the device, is that it retains its performance with the input voltage up to ~2.5 V,
that gives a small margin of time for the emergency landing the model after the second low battery
alarm is switched. However, despite this, it is strongly recommended to stop using the battery and not
to wait when it is completely discharges.
Understanding the battery charge level sound indication after start up.
This sound indication has from one to four beeps the meaning of which displayed below.
Fig. 4. Battery charge level sound indication after start up.
Approximate operation time of the on-board electronics from switching the first low battery
alarm mode to switching the second low battery alarm mode depending on the selected
setting.
Setting №
Operation time
№1 - 3.35 V
5 min
№2 - 3.40 V
9 min
№3 - 3.45 V
12 min
№4 - 3.50 V
15 min
№5 - 3.55 V
18 min
The data in the table are based on the initial conditions:
-battery: type - LiPo 1S, capacity - 1000 mAh
-servos: type - micro-servos, quantity - 4
-receiver: type - micro receiver
-servo operation mode: typical flying operation mode.

It should be noted, that with the different capacity of the battery the remaining time will also be
different, so for a complete system optimization and forecasting of results it is recommended to test a
specific battery and the load.
False triggering of the first low battery alarm mode.
During the system is works, in the case of servo overload and in particular several servos
overload at the same time, possible false triggering of the first low battery alarm mode. In this case, a
false alarm occurs due to the voltage drop on the battery that is perceived by the device as a sign of a
close discharge. This situation is normal and not a malfunction of the device. To avoid this effect,
setting the mechanics connected to the servos should be made such that, in all possible modes, the
servos should working without overloading.
4. Specifications.
Optimum operating range of the input voltages**
3.0-4.2 V
Maximum input voltage
5 V
Output voltage
5 V
Maximum continuous output current
0.8 A
Maximum pulse output current (@ 1 sec)
2 А
Own consumed current (in the standby mode)
12 mА
Voltage booster efficiency
85 %
Voltage measurement accuracy
2 %
Weight
5.6 g
Length
25 mm
Width
12 mm
Height
11 mm
Length of the input cable (for connection to the battery)
70 mm
Length of the output cable (for connection to the receiver)
120 mm
Connector type for connection to the battery
JST (male, 2 pin)
Connector type for connection to the receiver
JR (female, 3 pin)
Supported signal protocol from the receiver
PWM (positive)
* Threshold level - this is a stable value of the battery voltage at which the device goes into one of the low battery alarm
modes.
** Good battery type LiPo 1S has the voltage range 3.0-4.2 V.
RCM Devices © 2013-2015
http://rcmdevices.wix.com/international
Product: Smart Booster S User manual (ENG) 1.0
Table of contents
Popular Media Converter manuals by other brands

Perle
Perle SMI Media Converter installation guide

Wadia
Wadia 151 PowerDAC mini manual

Omnitron Systems Technology
Omnitron Systems Technology 4/16 Token Ring Fiber Converter OmniHawk user manual

Ecler
Ecler DAC110E user manual

Siko
Siko WV36M/CAN Translation of the original installation instructions

Masibus
Masibus 9000L Series manual