7
TP-200 IR SYSTEM SETTINGS
To connect to a wired network, connect the
Ethernet cable of the wired router and select
[Wired] from the menu. If the network is open (if
not encrypted), the device will be connected to
the network automatically.
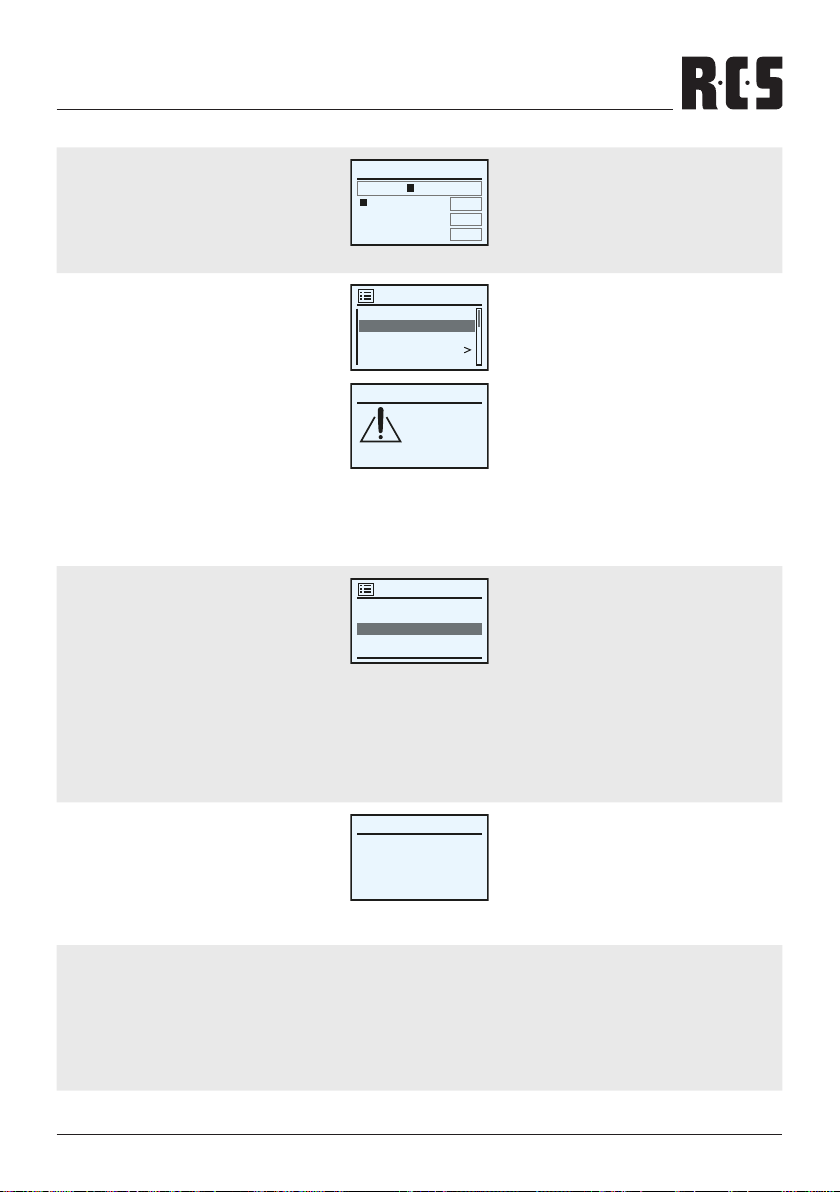
Key :
media123
0BKSP
123456789 , _-@,
abcdefghijklmnopq
rstuvwxyzABCDEFG
HIJKLMNOPQRSUT
OK
CANCEL
Um eine Verbindung zu einem kabelgebundenen
Netzwerk herzustellen, schließen Sie das Ethern-
et-Kabel des Routers an und wählen Sie [Wired]
im Menü. Wenn das Netzwerk oen ist (unver-
schlüsselt), wird das Gerät automatisch mit dem
Netzwerk verbunden.
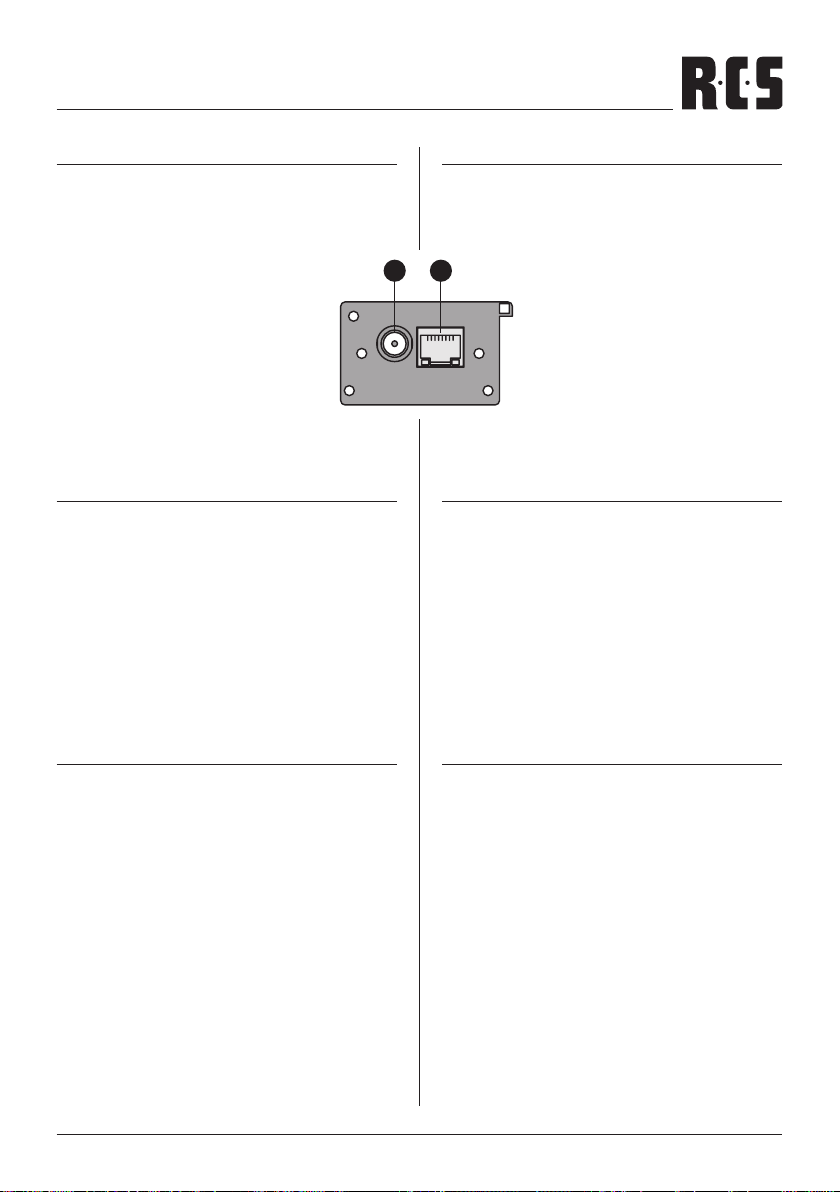
WPS encrypted network
When connecting to WPS encrypted network,
select [PBC Wlan setup] menu.
When WPS Setup is indicated on LCD, follow
the instructions on LCD and press CONTROL /
SELECT.
In the case of encrypted network, if you enter the
password, the machine tries to connect to the
network, and if the connection is successful, a
message indicating that the connection is esta-
blished is displayed.
If the connection fails, a failure message is dis-
played. In this case, try again.
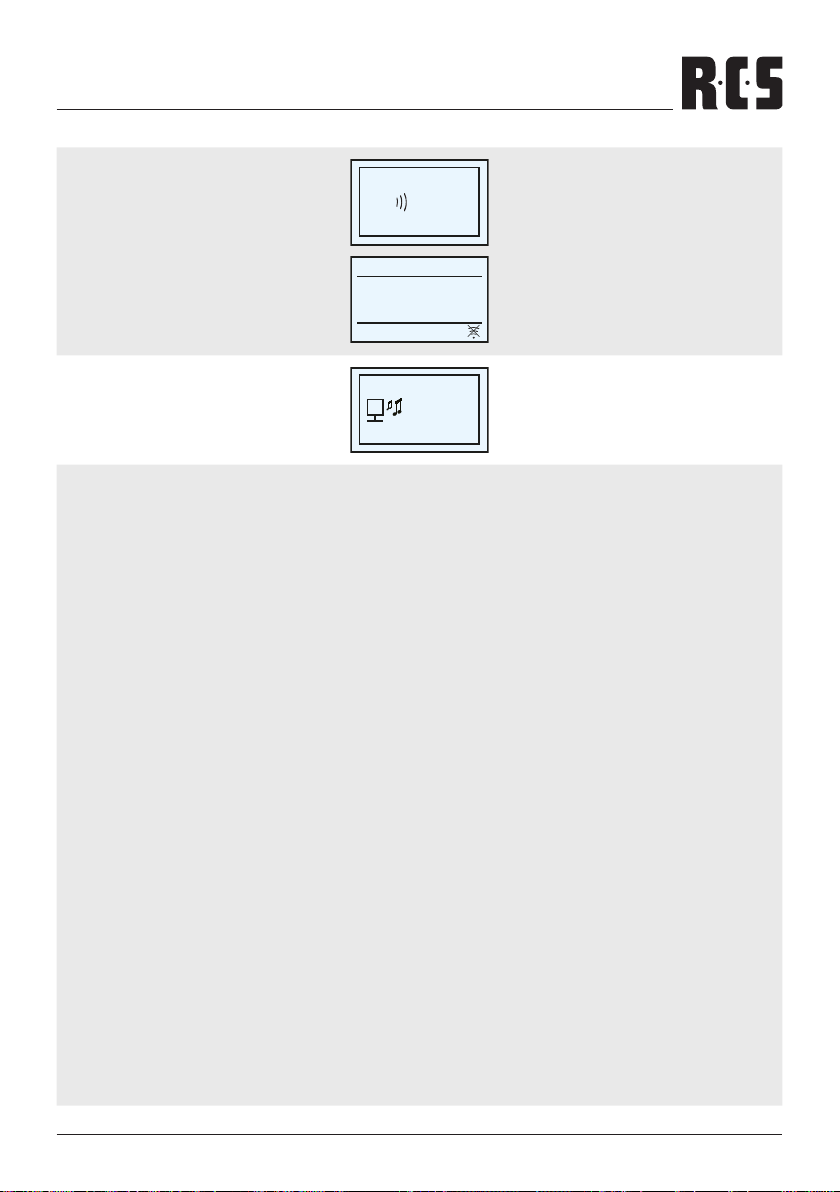
Network settings
Network wizard
PBC Wlan setup
View settings
Wian region
Manual settings
WPS verschlüsseltes Netzwerk
Wenn Sie sich mit einem WPS-Netzwerk verbin-
den, wählen Sie das Menü [PBC Wlan setup].
Wenn auf dem Display WPS-Setup angezeigt wird,
folgen Sie den Anweisungen auf dem Display und
drücken Sie auf den CONTROL / SELECT.
Bei verschlüsselten Netzwerken versucht das
Gerät nach Eingabe des Kennworts, eine Ver-
bindung zum Netzwerk herzustellen, und wenn
die Verbindung erfolgreich ist, wird eine Meldung
angezeigt, die besagt, dass die Verbindung her-
gestellt ist.
Wenn die Verbindung fehlschlägt, wird eine Feh-
lermeldung angezeigt. Versuchen Sie es in die-
sem Fall erneut.
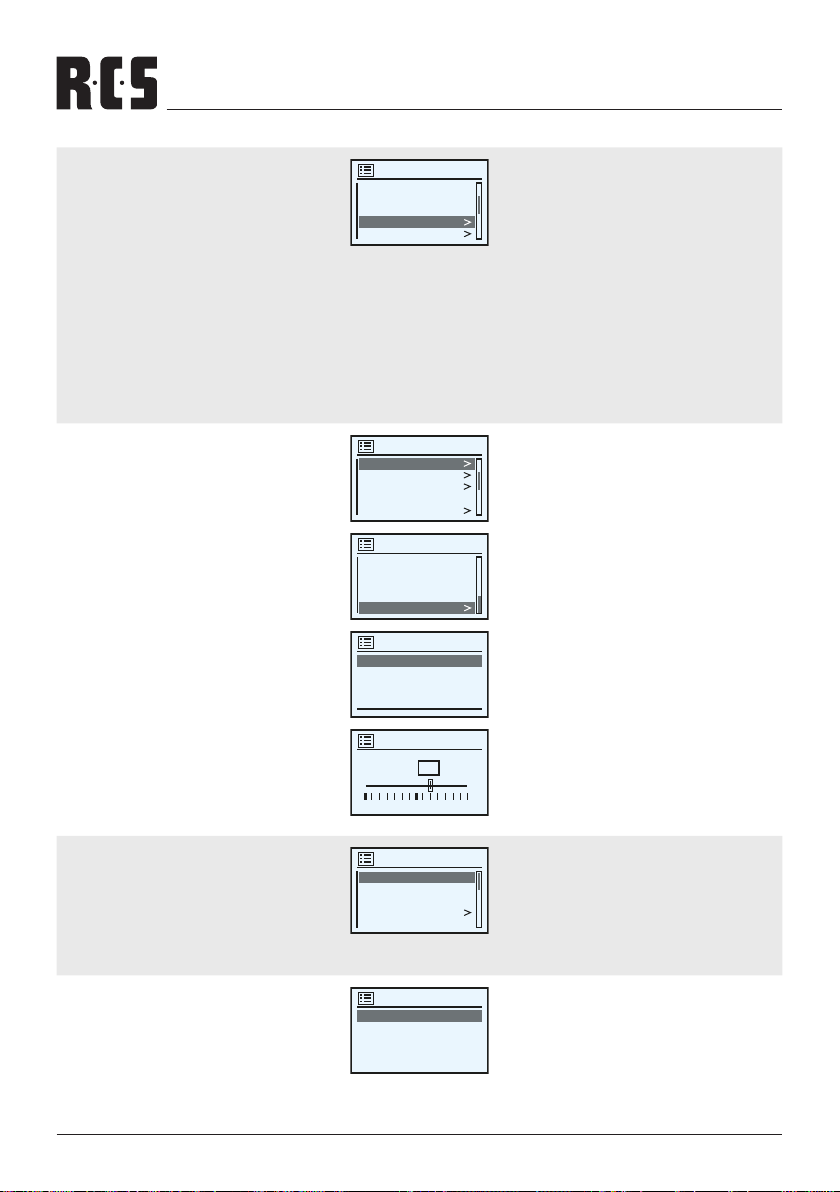
3. TIME/DATE
To set the time, move to Music player> System
setting> Time / date.
Time display: It can be displayed time in two ty-
pes (12hrs/24hrs)
Time and date can be updated manually or auto-
matically. Automatic update is synchronized time
and date with the externally provided time.
Automatic update is recommended because it
displays very accurate time information. To au-
tomatic update, select mode in Network, DAB
or FM.
Auto update
Update from DAB
Update from FM
Update from Network #
No update
3. UHRZEIT/DATUM
Um die Uhrzeit einzustellen, gehen Sie zu Music
player> System setting> Time / date.
Zeitanzeige: Die Zeit kann auf zwei Arten ange-
zeigt werden (12 Std./24 Std.).
Zeit und Datum können manuell oder automa-
tisch aktualisiert werden. Bei der automatischen
Aktualisierung werden Zeit und Datum mit der
extern bereitgestellten Zeit synchronisiert. Für
eine zuverlässig, genaue Zeitanzeige wird die
automatische Aktualisierung empfohlen. Wählen
Sie den Modus unter Netzwerk, DAB oder FM.
Daylight: If the country uses daylight saving
(summer time), the updated time is dierent
about an hour. If daylight saving time is applied,
turn on the daylight saving time option to cor-
rect it. When updating time in DAB or FM when
daylight saving time information is provided, the
device will be updated automatically.
Set Time / Date
25-03-2022
5:20 PM
Sommerzeit: Wenn die Sommerzeit gilt, weicht
die aktualisierte Zeit um eine Stunde ab. Wenn
die Sommerzeit angewendet werden soll, schal-
ten Sie die Sommerzeitoption ein. Bei der Aktua-
lisierung der Zeit in DAB oder FM wird das Gerät
automatisch aktualisiert, sobald die Sommerzei-
tinformationen bereitgestellt werden.
4. INACTIVE STANDBY
To set the standby time, move to Music player >
System setting > Inactive standby.
If this product is not used for a specied period
of time, it switched to standby mode automati-
cally. Standby time can be selected in o, 2h, 4h,
5h oder 6h.
4. INAKTIVER STANDBY
Um die Standby-Zeit einzustellen, gehen Sie zu
Music player > System setting > Inactive standby.
Wenn das Gerät eine bestimmte Zeit lang nicht
benutzt wird, schaltet es automatisch in den
Standby-Modus. Die Standby-Zeit kann zwi-
schen o, 2h, 4h, 5h oder 6h gewählt werden.
WPS Setup
Push WPS
button at the
other end
Press SELECT to
continue