3 - Preliminary Checks
3.3 Check Zero Weight (Check
Tare)
You should check the zero weight
regularly as part of the daily operating
routine. ALWAYS check zero weight if
the machine has been left idle for
some time and has cooled down.
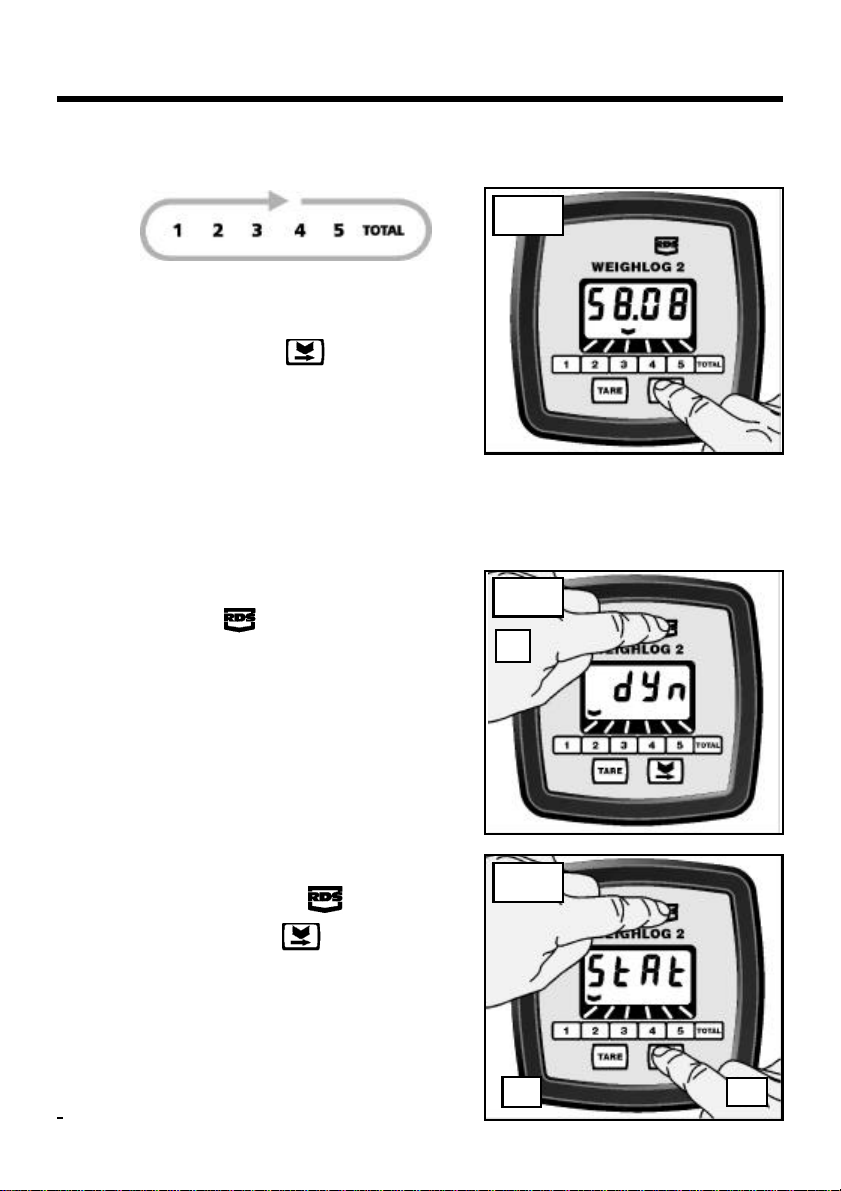
The lifting procedure is different for
Dynamic and Static weighing modes.
Note the weighing mode set on the
channel you have selected and follow
the appropriate procedure below.
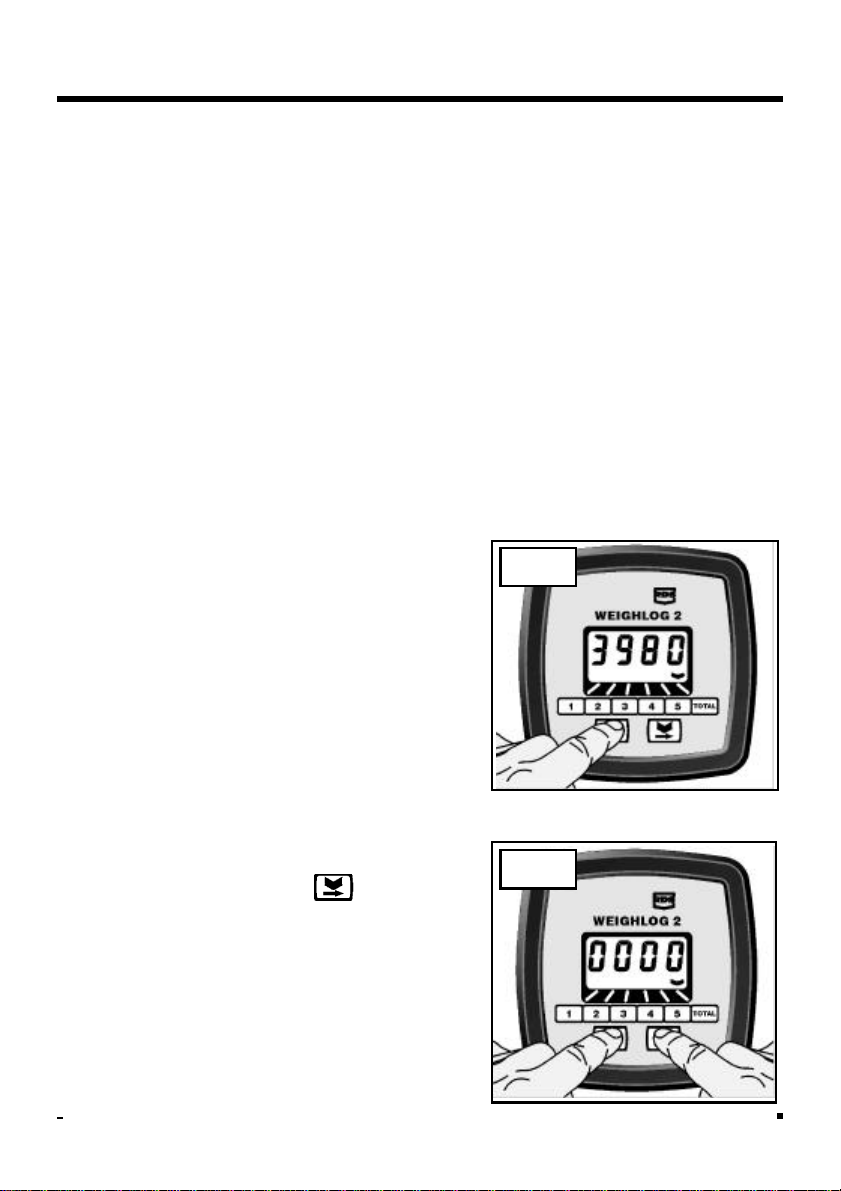
1. Ensure that the bucket is completely
empty. Crowd (roll) the bucket right
back as far as it will go.
2.a Dynamic weighing mode :Lift the
bucket through the reference position.
A single beep will be heard. The
display will show a value.
2.b Static weighing mode :Lift the bucket
up to the reference position and stop.
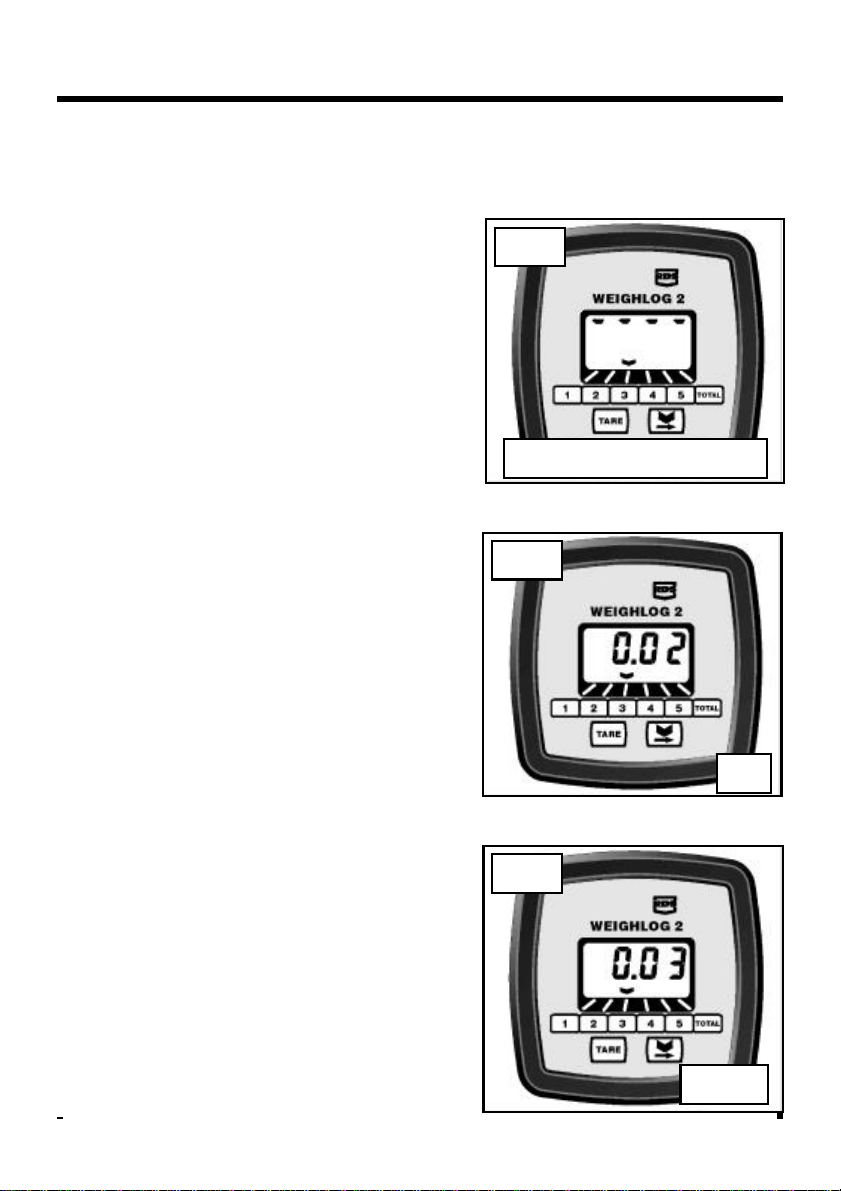
A single beep will be heard. If you lift
too high a second beep is heard and
the display will show 4 dashes (fig. 6).
If so, lower the bucket back down to
the reference position.
3. If the display reads within ±0.02 (20
kgs) or in "USA" units ±40 (40 lbs)
(fig. 7), this is within the repeatability
of the Weighlog system and can be
accepted without zeroing the weight.
Simply continue loading as normal.
4. If the display reads more than ±0.02
(20 kgs) or in "USA" units ±40 (40 lbs)
(fig. 8), then you should zero the
weight (see 3.4).
OK
Not OK
Static mode - Load too high
Fig. 8
Fig. 7
Fig. 6