REBEL OFF ROAD | 23501 COMMERCE CENTER DR, SUITE A, LAGUNA HILLS, CA 92653
(866) 900-8841 | info@rebeloffroad.com
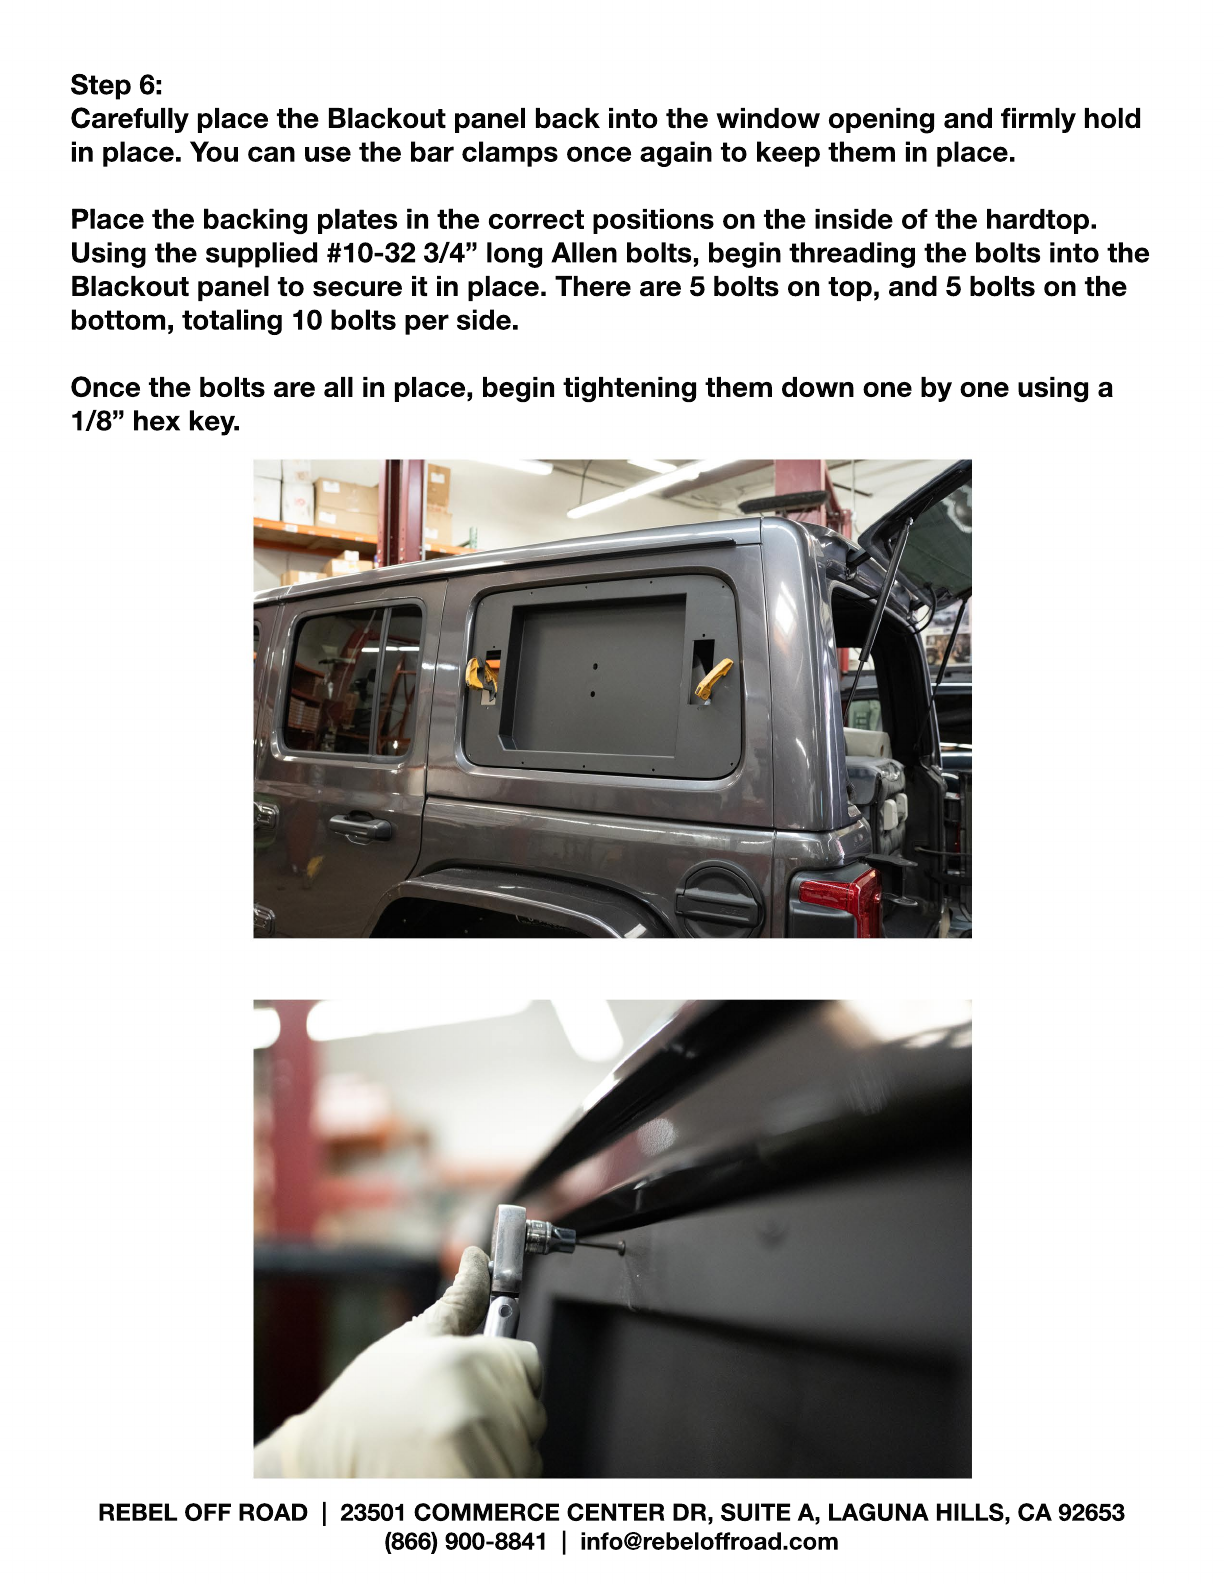
Step 6:
Carefully place the Blackout panel back into the window opening and firmly hold
in place. You can use the bar clamps once again to keep them in place.
Place the backing plates in the cor
Place the backing plates in the correct positions on the inside of the hardtop.
Using the supplied #10-32 3/4” long Allen bolts, begin threading the bolts into the
Blackout panel to secure it in place. There are 5 bolts on top, and 5 bolts on the
bottom, totaling 10 bolts per side.
Once the bolts are all in place, begin tightening them down one by one using a
1/8” hex key.