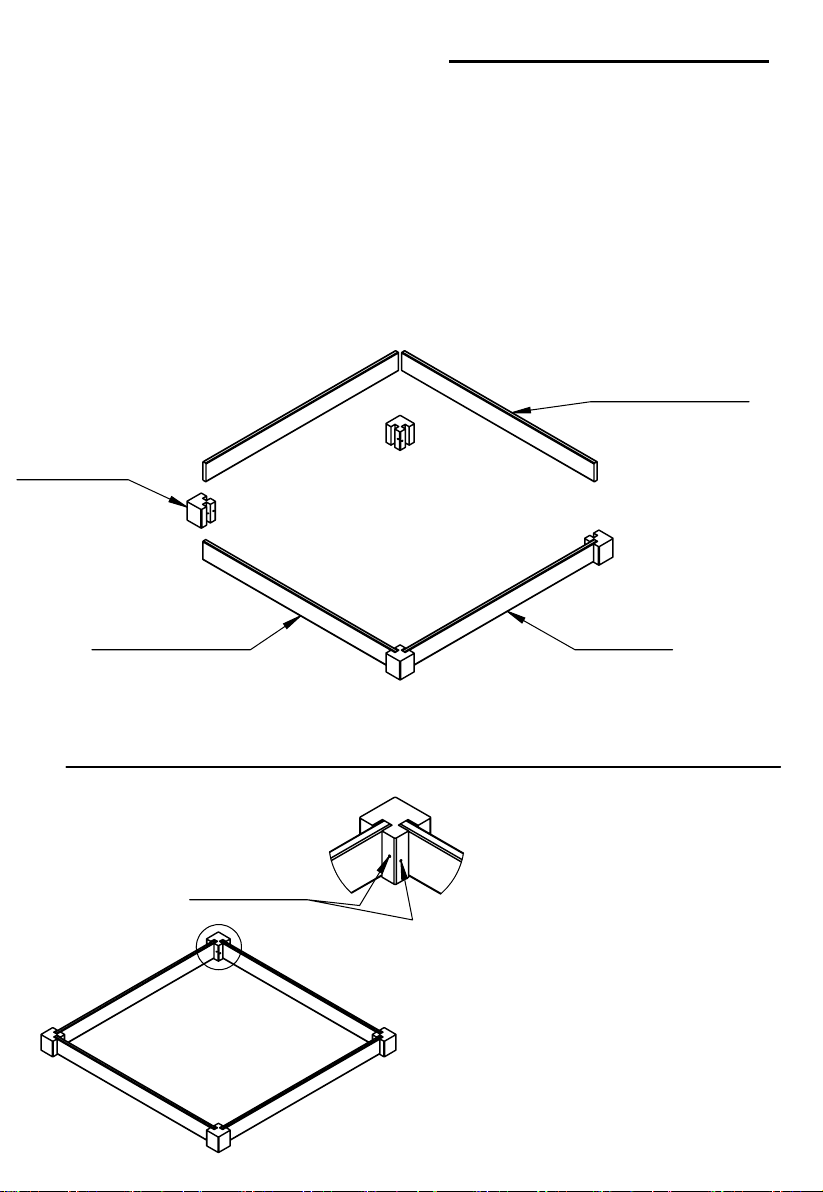
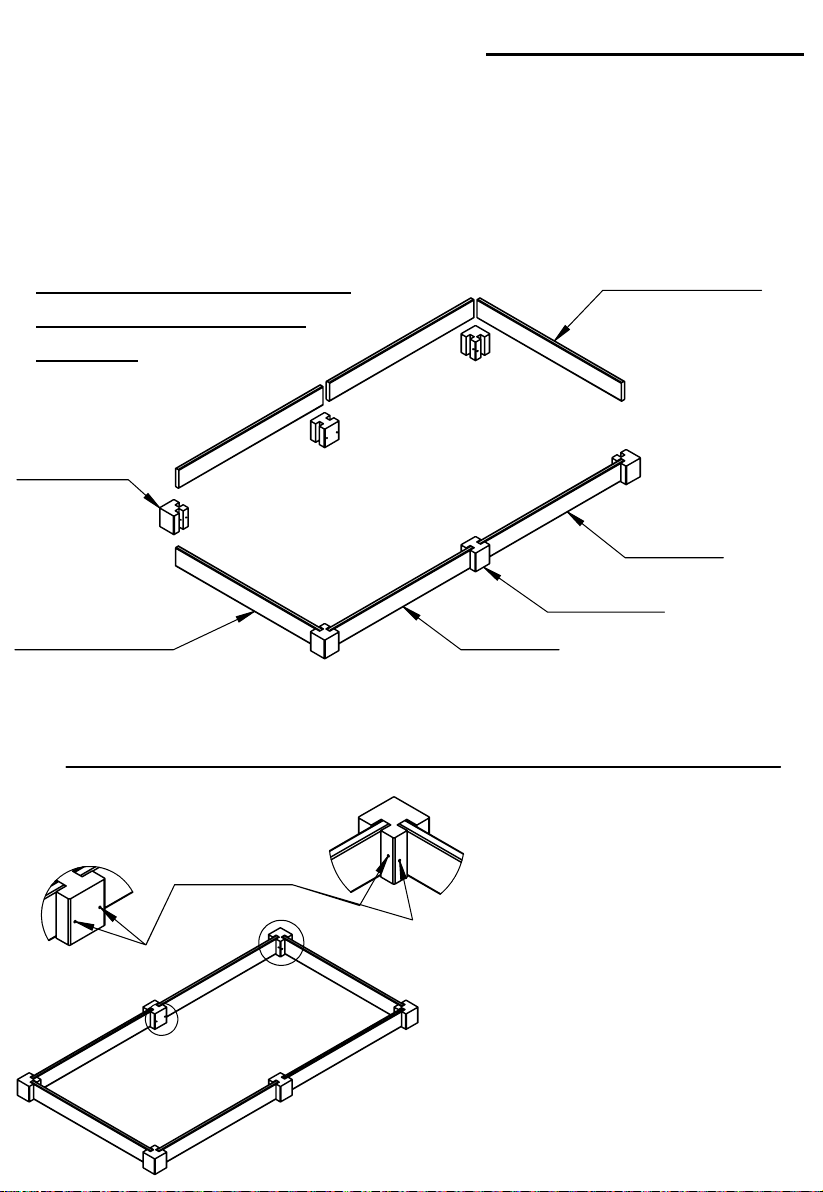
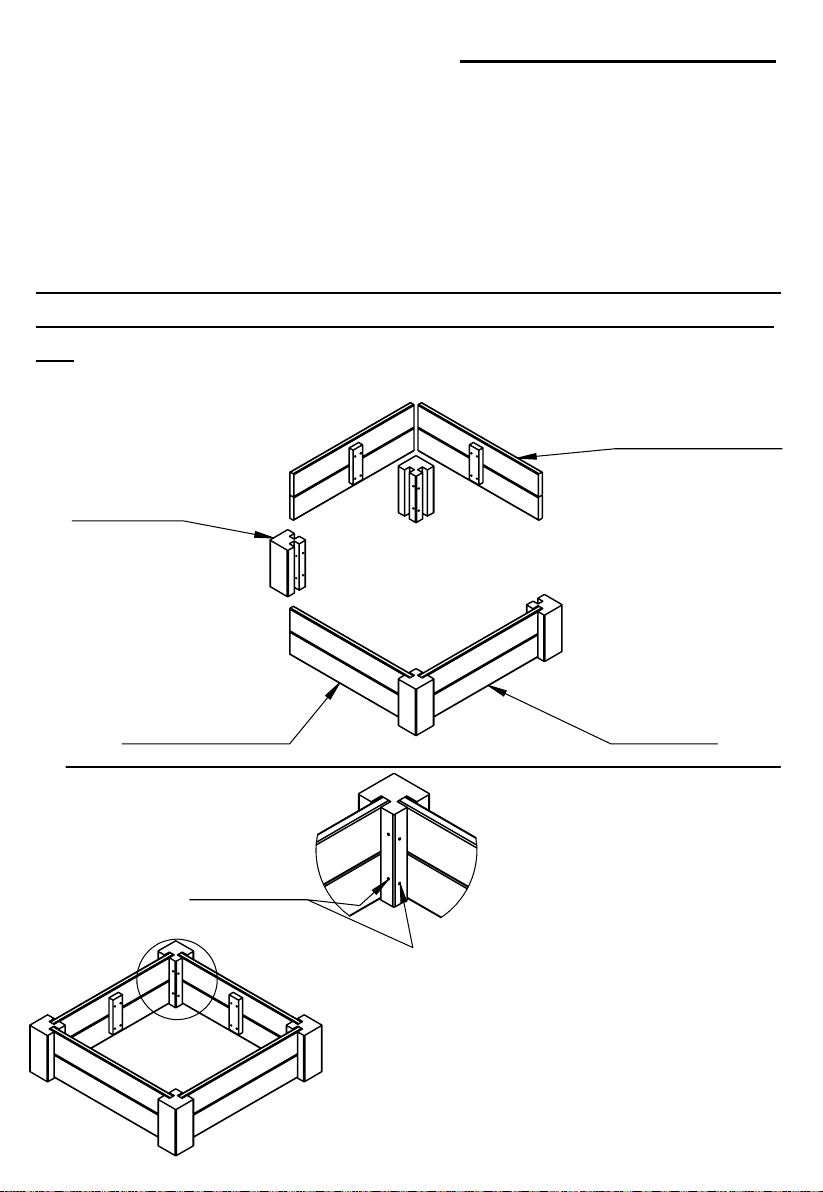
Assembly Guide Overview Continued
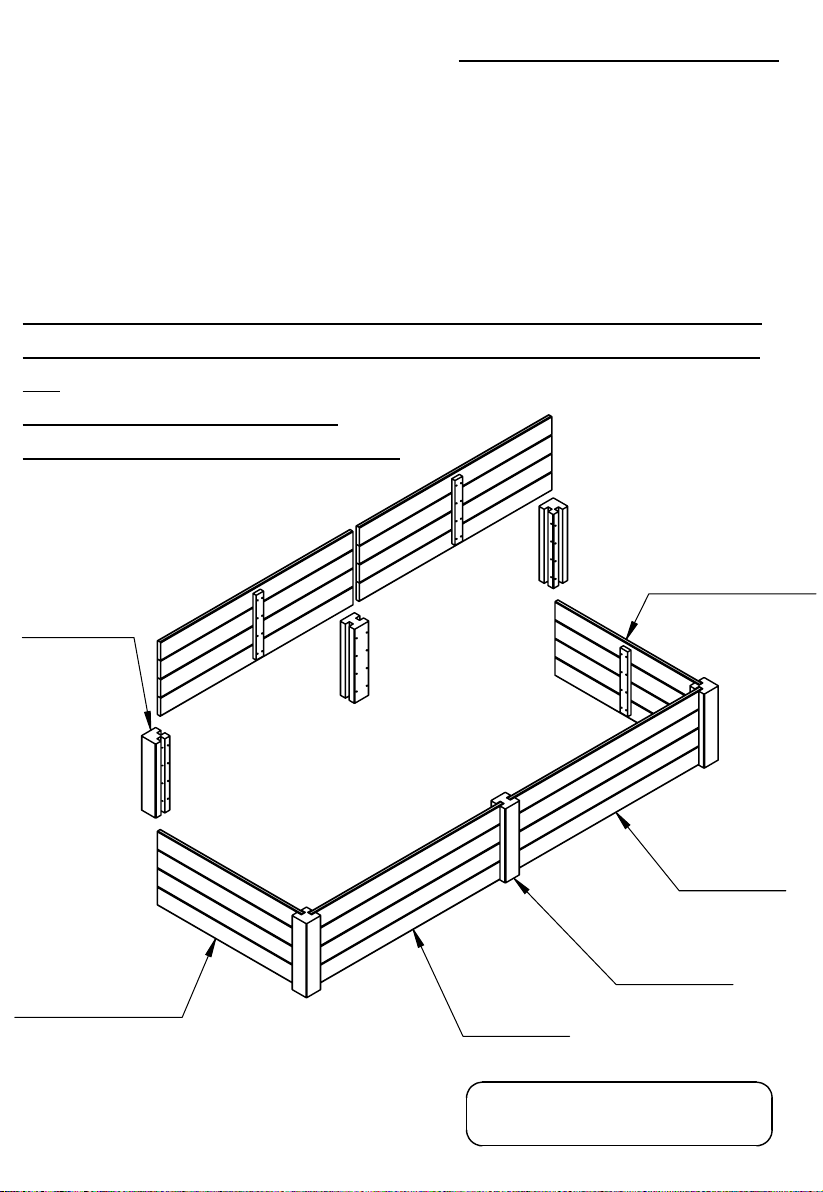
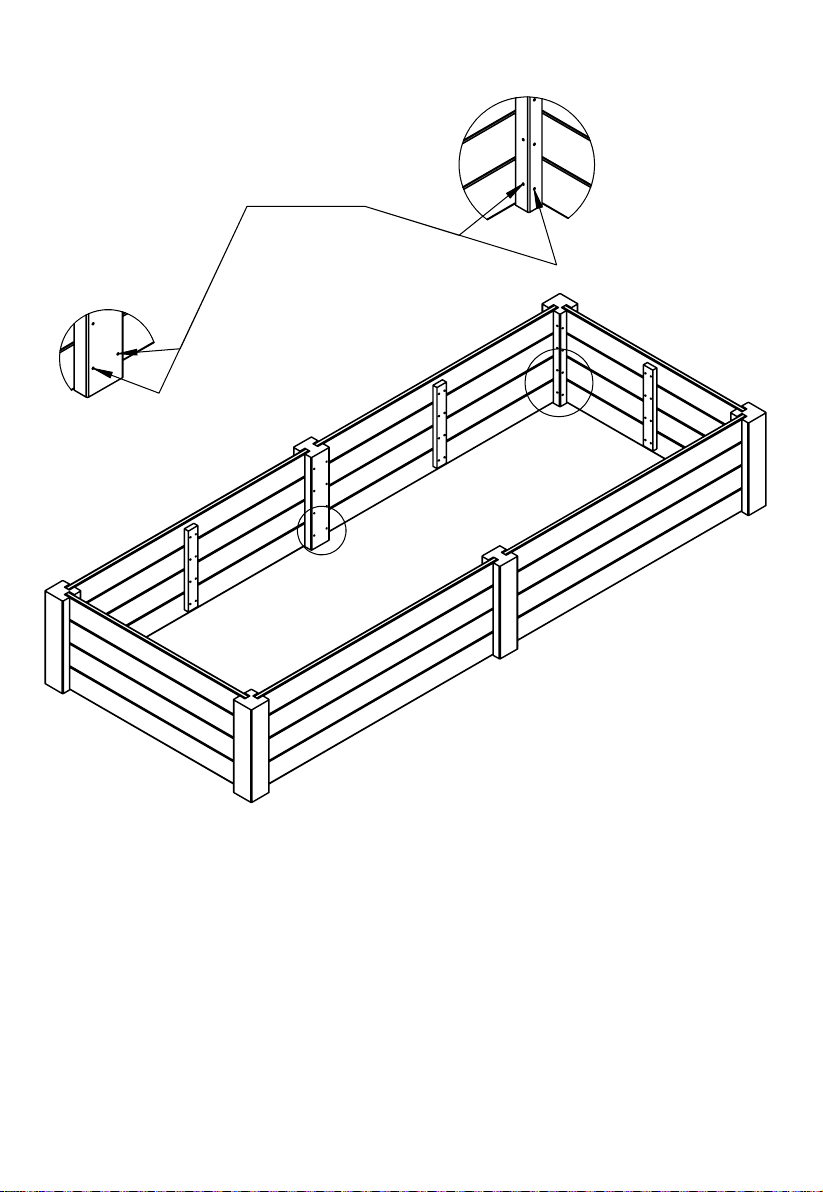
Two People required
for safe assembly
4
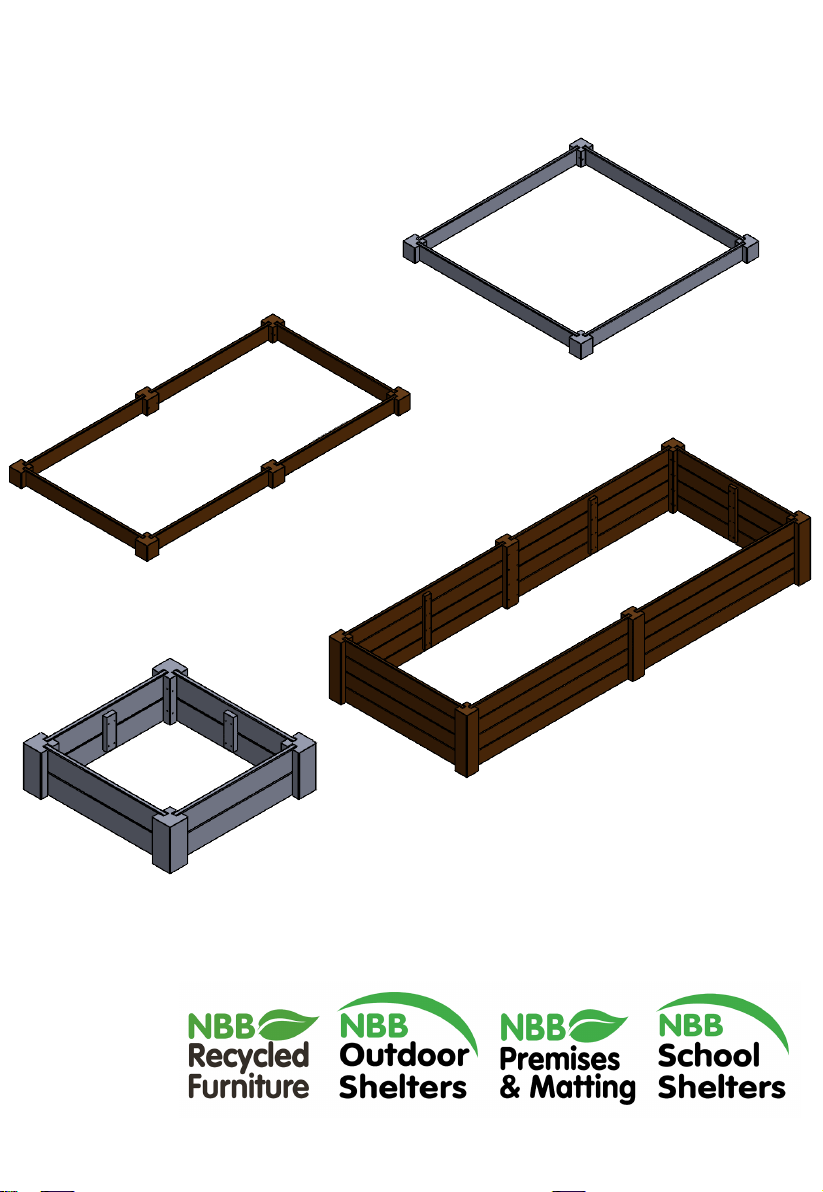
Product Code
Description
Page
Type D
RFPY1257
EverYear Elite Raised Bed L1330 x D730 x H200mm
8
RFPY1258
EverYear Elite Raised Bed L1330 x D730 x H300mm
8
RFPY1259
EverYear Elite Raised Bed L1330 x D730 x H400mm
8
RFPY1261
EverYear Elite Raised Bed D1970 x D730 x H200mm
8
RFPY1262
EverYear Elite Raised Bed D1970 x D730 x H300mm
8
RFPY1263
EverYear Elite Raised Bed D1970 x D730 x H400mm
8
RFPY1265
EverYear Elite Raised Bed L2570 x D730 x H200mm
8
RFPY1266
EverYear Elite Raised Bed L2570 x D730 x H300mm
8
RFPY1267
EverYear Elite Raised Bed L2570 x D730 x H400mm
8
RFPY1273 EverYear Elite Raised Bed L1330 x D1010 x H200mm
8
RFPY1274 EverYear Elite Raised Bed L1330 x D1010 x H300mm
8
RFPY1275 EverYear Elite Raised Bed L1330 x D1010 x H400mm
8
RFPY1277 EverYear Elite Raised Bed L1970 x D1030 x H200mm
8
RFPY1278 EverYear Elite Raised Bed L1970 x D1030 x H300mm
8
RFPY1279 EverYear Elite Raised Bed L1970 x D1030 x H400mm
8
RFPY1281 EverYear Elite Raised Bed L2570 x D1030 x H200mm
8
RFPY1282 EverYear Elite Raised Bed L2570 x D1030 x H300mm
8
RFPY1283 EverYear Elite Raised Bed L2570 x D1030 x H400mm
8
RFPY1285 EverYear Elite Raised Bed L1330 x D1330 x H200mm
8
RFPY1286 EverYear Elite Raised Bed L1330 x D1330 x H300mm
8
RFPY1287 EverYear Elite Raised Bed L1330 x D1330 x H400mm
8
RFPY1289 EverYear Elite Raised Bed L1970 x D1330 x H200mm
8
RFPY1290 EverYear Elite Raised Bed L1970 x D1330 x H300mm
8
RFPY1291 EverYear Elite Raised Bed L1970 x D1330 x H400mm
8
RFPY1293 EverYear Elite Raised Bed L2570 x D1330 x H200mm
8
RFPY1293 EverYear Elite Raised Bed L2570 x D1330 x H300mm
8
RFPY1294 EverYear Elite Raised Bed L2570 x D1330 x H400mm
8