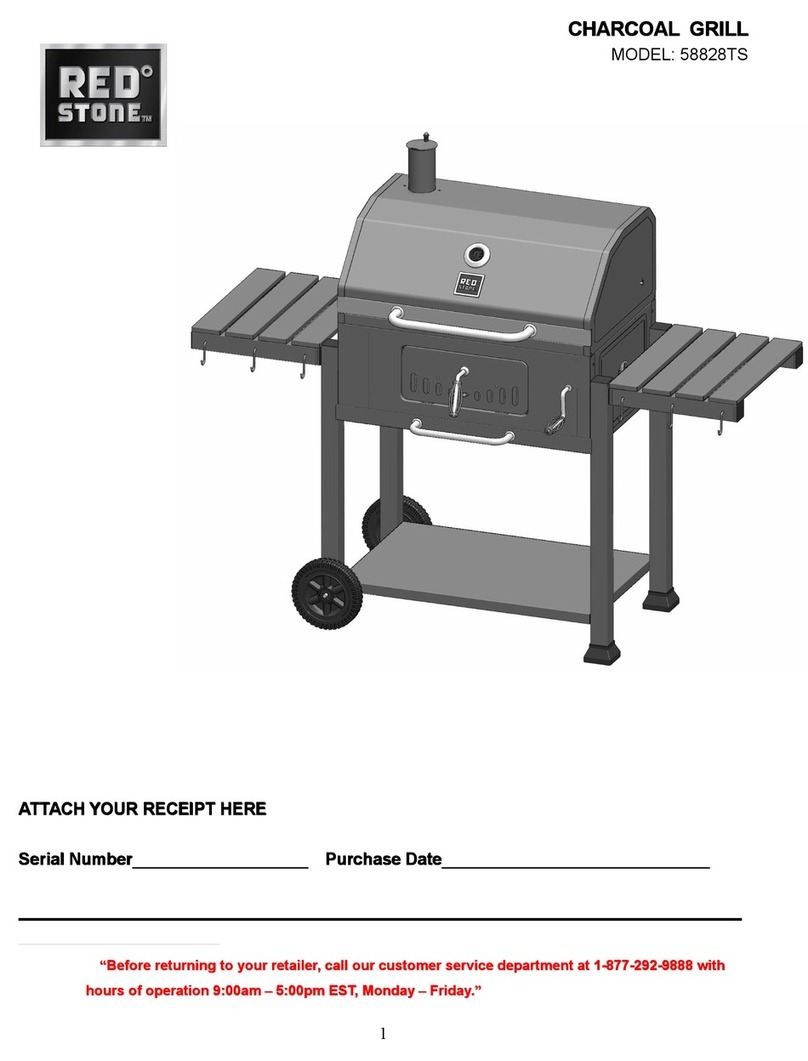
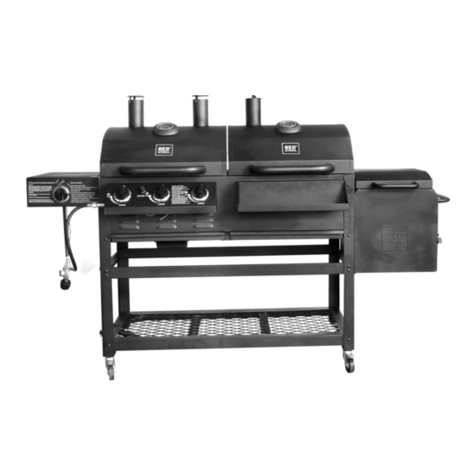
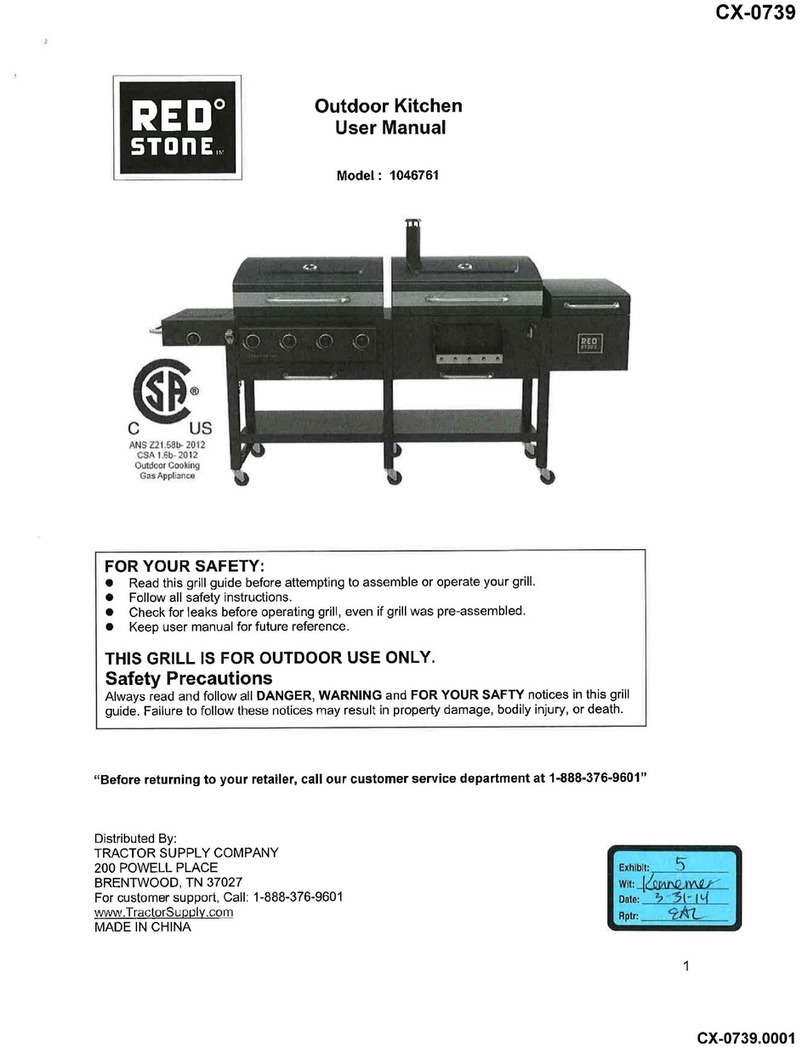
Red Stone 58812TS User manual

1
CHARCOAL
CHARCOAL
CHARCOAL
CHARCOAL GRILL
GRILL
GRILL
GRILL
MODEL: 58812TS
ATTACH
ATTACH
ATTACH
ATTACH YOUR
YOUR
YOUR
YOUR RECEIPT
RECEIPT
RECEIPT
RECEIPT HERE
HERE
HERE
HERE
Serial
Serial
Serial
Serial Number
Number
Number
Number Purchase
Purchase
Purchase
Purchase Date
Date
Date
Date
1
1
1
1
Questions,
Questions,
Questions,
Questions, problems,
problems,
problems,
problems, missing
missing
missing
missing parts?
parts?
parts?
parts? “
“
“
“Before
Before
Before
Before returning
returning
returning
returning to
to
to
to your
your
your
your retailer,
retailer,
retailer,
retailer, call
call
call
call our
our
our
our customer
customer
customer
customer
service
service
service
service department
department
department
department at
at
at
at 1-877-292-9888
1-877-292-9888
1-877-292-9888
1-877-292-9888 with
with
with
with hours
hours
hours
hours of
of
of
of operation
operation
operation
operation 9:00am
9:00am
9:00am
9:00am –
–
–
–5:00pm
5:00pm
5:00pm
5:00pm EST,
EST,
EST,
EST, Monday
Monday
Monday
Monday –
–
–
–
Friday.
Friday.
Friday.
Friday. ”
”
”
”

2
TABLE
TABLE
TABLE
TABLE OF
OF
OF
OF CONTENTS
CONTENTS
CONTENTS
CONTENTS
Safety Information ………………………………………………………………………………… … . 3
Parts List …………………………………………………………………………………………… … . 4
Hardware List …………………………………………………………………………………………… 9
Assembly or Installation Instructions.........................................................................................11
Operation Instructions ……………………………………………………………………………… .....24
Care and Maintenance ………………………………………………………………………………… 28

3
SAFETY
SAFETY
SAFETY
SAFETY INFORMATION
INFORMATION
INFORMATION
INFORMATION
�Outdoor use only. D O NOT use grill indoors or in an enclosed or non-ventilated area.
�Keep a fire extinguisher near this product at all times.
�Household use only. DO NOT operate this grill for other than its intended use.
�Some parts of this grill have been pre-oiled at the factory. Please burn off the oils before
cooking
�Do not wear loose clothing when using grill or allow hair to come in contact with grill.
�Never use grill on a wooden surface or other flammable surfaces. Use grill only on a hard,
stable surface that can support the grill
’
s weight.
�Keep 10 feet of clearance between grill and any combustible materials when grill is in use
(including, but not limited to bushes, shrubs, trees, leaves, grass, wooden decks or fences,
buildings, etc.).
�Keep grill away from gasoline and/or other flammable liquids, flammable gases, flammable
vapors, or areas where these may be present. Do not store or use grill in these areas.
�In windy conditions, place in an outdoor area that is sheltered from wind.
�Keep out of reach of children and pets , store out of reach of children when not in use .
�When moving or lifting grill, use caution to avoid back strains or injuries.
�Do not try to move or reposition grill while it is in use.
�Don ’ t place goods over 10kgs/22lbs on each side shelf.
�Do not use gasoline, kerosene, or alcohol to light charcoal. Using any of these products (or
similar products) could cause a flare up, flash fire, or explosion. Severe bodily injury could
be result.
�If using lighter fluid to start fire, leave the roll top hood open until briquettes are ashed over
and lighter fluid has burned off. Closing hood too soon could cause fumes from the lighter
fluid to accumulate inside the grill. This could cause a flare up or explosion when the hood
is opened.
�Do not add lighter fluid to warm or hot coals.
A
flash fire may result that could cause bodily
injury.
�Do not add instant light charcoal briquettes to an existing fire.
A
flash fire may result that
could cause bodily injury.
�Do not light and operate grill without the slide out ash pan in place.
�Do not leave hot grill or hot coals and ashes unattended.
�Do not remove or empty slide out ash pan until coals and ashes have completely cooled.
�Allow the unit to cool completely before conducting any routine cleaning or maintenance.

4
PARTS
PARTS
PARTS
PARTS LIST
LIST
LIST
LIST
A
B
C
D
E
G
F
H
I
J
K
L
M
P
N
O
Q
R
S
T
U
V
W
X
Y
Z
A1
A2
A3
A5
A4
A6
A7
A8
A9
A10
A12
A11
A13
A15
A14
A16
A17
A18
A19

5
Part
Part
Part
Part
Number
Number
Number
Number
Part Name
Part Name
Part Name
Part Name
Picture
Picture
Picture
Picture
Qty
Qty
Qty
Qty
A
1 pc
B
C
D
E
F
G
H
I
2 pcs
1 pc
4 pc s
4 pc s
1 pc
2 pcs
1 pc
1 pc
Hood
Chimney Lid
Chimney
Upper Hinge
Lower Hinge
Hood H andle
Warming Rack
Side Shelf
Handle Bottom

6
Part
Part
Part
Part
Number
Number
Number
Number
Part Name
Part Name
Part Name
Part Name
Qty
Qty
Qty
Qty
J
1
pc
K
L
M
N
O
P
Q
R
1
pc
3
pc s
2
pc s
1
pc
1
pc
1
pc
1
pc
1
pc
Picture
Picture
Picture
Picture
Side Shelf Bracket
Front
Side Shelf Bracket
Rear
Hooks
Cooking Grid
Ash Pan
Charcoal Pan
Transmission Shaft
Left Transmission
Support
Decorative

7
Part
Part
Part
Part
Number
Number
Number
Number
Part Name
Part Name
Part Name
Part Name
Qty
Qty
Qty
Qty
S
1 pc
T
U
V
W
X
Y
Z
A1
1 pc
1 pc
1 pc
1 pc
1 pc
1 pc
2 pc s
1 pc
Picture
Picture
Picture
Picture
Right Transmission
Support
Firebox
Vent Gear
Vent
Vent Knob
Legs ( Left)
Wheel Axle
Bottle Opener
Stabilizing Plate (Left)

8
Part
Part
Part
Part
Number
Number
Number
Number
Part Name
Part Name
Part Name
Part Name
Qty
Qty
Qty
Qty
A2
2 pcs
A3
A4
A5
A6
A7
A8
A9
A10
1 pc
2 pc s
2 pc s
1 pc
1 pc
1 pc
1 pc
1 pc
Picture
Picture
Picture
Picture
Wheel
Bottom Shelf
Caster
Legs ( Right)
Charcoal Pan Crank
Handle Bar Grip
Charcoal Door Handle
Base
Stabilizing Plate
(Right)

9
Part
Part
Part
Part
Number
Number
Number
Number
Part Name
Part Name
Part Name
Part Name
Qty
Qty
Qty
Qty
A11
1 pc
A12
A13
A14
A15
A16
A17
A18
A19
1 pc
1 pc
4 pc s
2 pc s
1 pc
1 pc
1 pc
1 pc
Picture
Picture
Picture
Picture
Charcoal Door Locking
Lever
Air Vent
Smoker Handle Base
Smoker Handle
Smoker
Cooking Grid of Smoker
Charcoal Grid of Smoker
Lid of Smoker
Smoker Handle

10
H
H
H
H ARDWARE
ARDWARE
ARDWARE
ARDWARE LIST
LIST
LIST
LIST
Estimated
Estimated
Estimated
Estimated Assembly
Assembly
Assembly
Assembly Time:
Time:
Time:
Time: 30~45 minutes with 2 people.
Tools Required for Assembly (not included) : Ph i lips Head Screwdriver and Adjustable Wrench .
Part
Part
Part
Part
Number
Number
Number
Number
Name
Name
Name
Name
Qty
Qty
Qty
Qty
AA
43 pcs
Picture
Picture
Picture
Picture
M6 Nut
BB
CC
DD
EE
FF
GG
HH
II
JJ
KK
LL
M6X12 Bolt
M6 Half Screw
Thread Bolt
M6X40 Bolt
M6X65 Bolt
M8 Nut
Spring
Flat Washer
Lock Washer
Hinge Pin
Axle Pin
Cotter Pin
49 pcs
2 pcs
16 pcs
12 pcs
1 pc
1 pc
23 pcs
18 pcs
2 pcs
4 pcs
10 pcs

11
ASSEMBLY
ASSEMBLY
ASSEMBLY
ASSEMBLY INSTRUCTIONS
INSTRUCTIONS
INSTRUCTIONS
INSTRUCTIONS
A5
A6AAEE
BB
YAAEE
BB
Z
A3
EE
1
1
1
1 .
.
.
.Attach the Stabilizing Plate (Right) ( A6 ) to
the Legs ( Right ) (A5) from left to right using
M6 x 65 bolts ( EE ) and M6 nuts (AA). U sing
M6X12Bolts (BB) from up to down. Do not
completely tighten until after Step 2.
2
2
2
2 .
.
.
.Attach the Stabilizing Plate (Left) ( Y ) to the
Legs ( Left ) (Z) from left to right using M6 x 65
bolts ( EE ) and M6 nuts (AA). U sing
M6X12Bolts (BB) from up to down.
1
1
1
1
2
2
2
2
3
3
3
3 .
.
.
.Attach the bottom shelf ( A3 ) to all 4 legs
using M6 x 65 bolts ( EE ) and tighten
3
3
3
3

12
ASSEMBLY
ASSEMBLY
ASSEMBLY
ASSEMBLY INSTRUCTIONS
INSTRUCTIONS
INSTRUCTIONS
INSTRUCTIONS
A1
LL
A2
A4
A5
Z
BB
T
4.
4.
4.
4. Slide the wheel axle ( A1 ) through the
holes on the legs . Attach the wheels
(A2) onto the ends of the wheel axle (A1)
using 2 c otter p in s ( LL ) .
Tak
e ou tcaster s
( A4 )an dscre w the m tightl y int o th e
botto m hole s o flegs ( A5) .
5.
5.
5.
5. Attach the firebox (T) to Stabilizing Plate
(Right) (Y) and Stabilizing Plate (Left) (A5)
using M6X12Bolts (BB) and tighten .
4
4
4
4
5
5
5
5

13
ASSEMBLY
ASSEMBLY
ASSEMBLY
ASSEMBLY INSTRUCTIONS
INSTRUCTIONS
INSTRUCTIONS
INSTRUCTIONS
A9
A10
A11
AA
II
HH
BB
HH
AA
V
X
T
6.
6.
6.
6. A ttach the charcoal door handle ( A9 )
Charcoal Door Handle Base ( A10) and
Charcoal Door Locking Lever ( A11) t o the
charcoal door attached using M6 nut (AA),
flat washer ( HH ) and lock washer ( II ). Be
sure that the handle and locking lever are in
the correct positions (handle pointing down,
level pointing up) before fully tightening.
7.
7.
7.
7. Insert Vent Knob ( V ), through left Side
Panel, Vent ( W ), Vent Gear ( X ), and attach
M6 nut ( AA ) ,Using the M6X12Bolt(BB)
through the left side panel , Vent ( W ) and
flat washer and lock washer and M6 nut ( AA ) .
6
6
6
6
7
7
7
7

14
ASSEMBLY
ASSEMBLY
ASSEMBLY
ASSEMBLY INSTRUCTIONS
INSTRUCTIONS
INSTRUCTIONS
INSTRUCTIONS
BB
J
BB
I
K
AA
AA
8.
8.
8.
8. Assemble the Side Shelf Bracket
Front ( J ) and Side Shelf Bracket Back
( K ) on the firebox ( T ) using M6X12
bolts ( BB ) and M6 nuts ( AA ) for each
bracket. P ut the side shelf (I) on the
Side Shelf Bracket Front ( J ) and Side
Shelf Bracket Back ( K )
9.
9.
9.
9. Attach the lower hinges ( E ) to the
firebox (T) using M6 x 40 bolts ( DD ),
flat washers ( HH ) and lock washers
( II ).
8
8
8
8
9
9
9
9
EHH
II
DD
T

15
ASSEMBLY
ASSEMBLY
ASSEMBLY
ASSEMBLY INSTRUCTIONS
INSTRUCTIONS
INSTRUCTIONS
INSTRUCTIONS
DD
E
HH
II
AA
AA
A13
BB
CC
AA
II
HH
AA
HH
A12
A16
CC
11.
11.
11.
11. Attach the Air Vent ( A13 ) to the
smoker charcoal door using M6 x 12
bolt ( BB ), flat washers ( HH ) and lock
washers ( II ) with M6 Nut ( AA) and
tighten .
Attach the M6 Half screw thread bolt
( CC) flat washers ( HH ) Smoker Handle
( A12 ) with M6 nut ( AA) , and Attach the
M6 Half screw thread bolt ( CC) Insert
the smoker (A16 ) and tighten .
10.
10.
10.
10. Attach the lower hinges ( E ) to the
smoker ( A16) using M6 x 40 bolts ( DD ),
flat washers ( HH ) and lock washers ( II )
with M6 Nut ( AA) and tighten .
10
10
10
10
11
11
11
11

16
ASSEMBLY
ASSEMBLY
ASSEMBLY
ASSEMBLY INSTRUCTIONS
INSTRUCTIONS
INSTRUCTIONS
INSTRUCTIONS
BB
HH
A14
A15
A16
BB
AA
1
1
1
1 2.
2.
2.
2. Install the smoker h andles (A15)
and h ood h andle b ase s (A14) to the
smoker ( A16) using M6 x 12 bolts
( BB ) and flat washers ( HH ) .
1
1
1
1 3.
3.
3.
3. Attach the smoker to the firebox ( T )
using M6X12Bolts ( BB ) and M6 nut
( AA ) and tighten .
12
12
12
12
13
13
13
13

17
ASSEMBLY
ASSEMBLY
ASSEMBLY
ASSEMBLY INSTRUCTIONS
INSTRUCTIONS
INSTRUCTIONS
INSTRUCTIONS
P
BB
AA
R
S
1
1
1
1 4.
4.
4.
4. Attach the right transmission
support ( S ) to the transmission shaft
( Q ) using axle pin (JJ) and cotter pin
( LL ). Attach the left transmission
support ( R ) to the other side of the
transmission shaft in the same way.
1
1
1
1 5.
5.
5.
5. Attach the c harcoal p an (P) to
the left and right transmission
supports (S and R ) using M6 nuts
(AA) and M6 x 12 bolts (BB).
14
14
14
14
15
15
15
15
LL
R
Q
S
JJ

18
ASSEMBLY
ASSEMBLY
ASSEMBLY
ASSEMBLY INSTRUCTIONS
INSTRUCTIONS
INSTRUCTIONS
INSTRUCTIONS
S
A8
BB
R
BB
A17
A16
1
1
1
1 6.
6.
6.
6. Attach the handle bar grip ( A8 ) and
the right transmission support ( S ) to the
firebox (T) front panel using M6 x 12 bolts
(BB). Attach the left transmission support
( R ) to the left side of the firebox (T) front
panel using M6 x 12 bolts (BB). Lock the
bar of the transmission shaft (R) onto the
hooks of the left and right transmission
supports (S and T ) .
1
1
1
1 7.
7.
7.
7. Put the Cooking Grid of
Smoker ( A17) onto the smoker
( A16).
16
16
16
16
17
17
17
17

19
ASSEMBLY
ASSEMBLY
ASSEMBLY
ASSEMBLY INSTRUCTIONS
INSTRUCTIONS
INSTRUCTIONS
INSTRUCTIONS
DD
D
HH
II
AA
A
F
G
A
BB
1
1
1
1 8.
8.
8.
8. Attach the upper hinges ( D ) to
the hood ( A ) using M6 nuts (AA),
M6 x 40 bolts ( DD ), flat washers
( HH ) and lock washers ( II ).
18
18
18
18
1
1
1
1 9.
9.
9.
9. Install the hood h andle (F) and
h ood h andle bottom (G) to the hood
( A) using M6 x 12 bolts ( BB )
19
19
19
19

20
ASSEMBLY
ASSEMBLY
ASSEMBLY
ASSEMBLY INSTRUCTIONS
INSTRUCTIONS
INSTRUCTIONS
INSTRUCTIONS
FF
B
GG
AA
BB
DD
D
HH
II
AA
BB
A14
A15
20.
20.
20.
20. Insert the chimney ( C ) through
the inside of the hood ( A ). Secure
the chimney ( C ) to the hood ( A )
using M6 nuts (AA) and M6 x 12
bolts (BB). . Attach the chimney lid
( B ) to the chimney ( C ) using spring
( GG ) and M8 nut ( FF ).
20
20
20
20
21
21
21
212
2
2
2 1.
1.
1.
1. Attach the lower hinges ( E ) to
the lid of smoker ( A19) using M6 x
40 bolts ( DD ), flat washers ( HH )
and lock washers ( II ) with M6 Nut
( AA) and tighten .
Install the smoker h andle (A15)
and h ood h andle b ase s (A14) to the
lid of smoker ( A19) using M6 x 12
bolts ( BB ) .
Table of contents
Other Red Stone Grill manuals