Redwood RWC1020A User manual

Operation Manual
RWC1020A
Portable Signal Generator
Rev. 1.0
1

Read me First
Please read this manual before using the PSG to ensure safe and proper use.
○ Descriptions are based on the device’s default settings.
○ Images may differ in appearance from the actual product.
○This product uses Lithium Polymer rechargeable battery. Do not change to other
models or contact the supplier should you need any replacement battery.
○ Appearances and specifications are subject to change without prior notice.
○ This product includes certain software and Redwoodcomm-approved
accessories.
What’s in the box
○ Portable Signal Generator (RWC1020A)
○ USB C to A cable
○ User manual
○ Dual band Wifi Antenna
Product Layout
1. Power On/Off Switch
2. RF On/Off indicator
3. RF Out Port (SMA)
4. Display(1.3’’ OLED)
5. UP button
6. Down button
7. Left button
8. Right button
9. SEL(Select) button
10. Admin Port
11. 10MHz REF Input port
12. USB C port (Charge / UART)
13. Charge status indicator
2

Specification
RF
Frequency
12.5 MHz to 6400 MHz
Power
10 to -50 dBm (12.5 - 3200 MHz)
5 to -50 dBm (3200 - 5500 MHz)
0 to -50 dBm (5500 - 6400 MHz)
Phase Noise
-109dBc/Hz @ 1 GHz(10 kHz offset)
Harmonics
(2ND/ 3RD)-35/ -50dBc typ.
Power Consumption
< 1.0W
Mechanics
Weight
200g
Dimension
85(W) x 72(H) x 38(D) mm
Material
Aluminum
Battery
3.7V Lithium Polymer 1500mAh
RF Block Diagram
3

Default Description
How to change the main mode
To jump to the other modes, use the Left or Right button
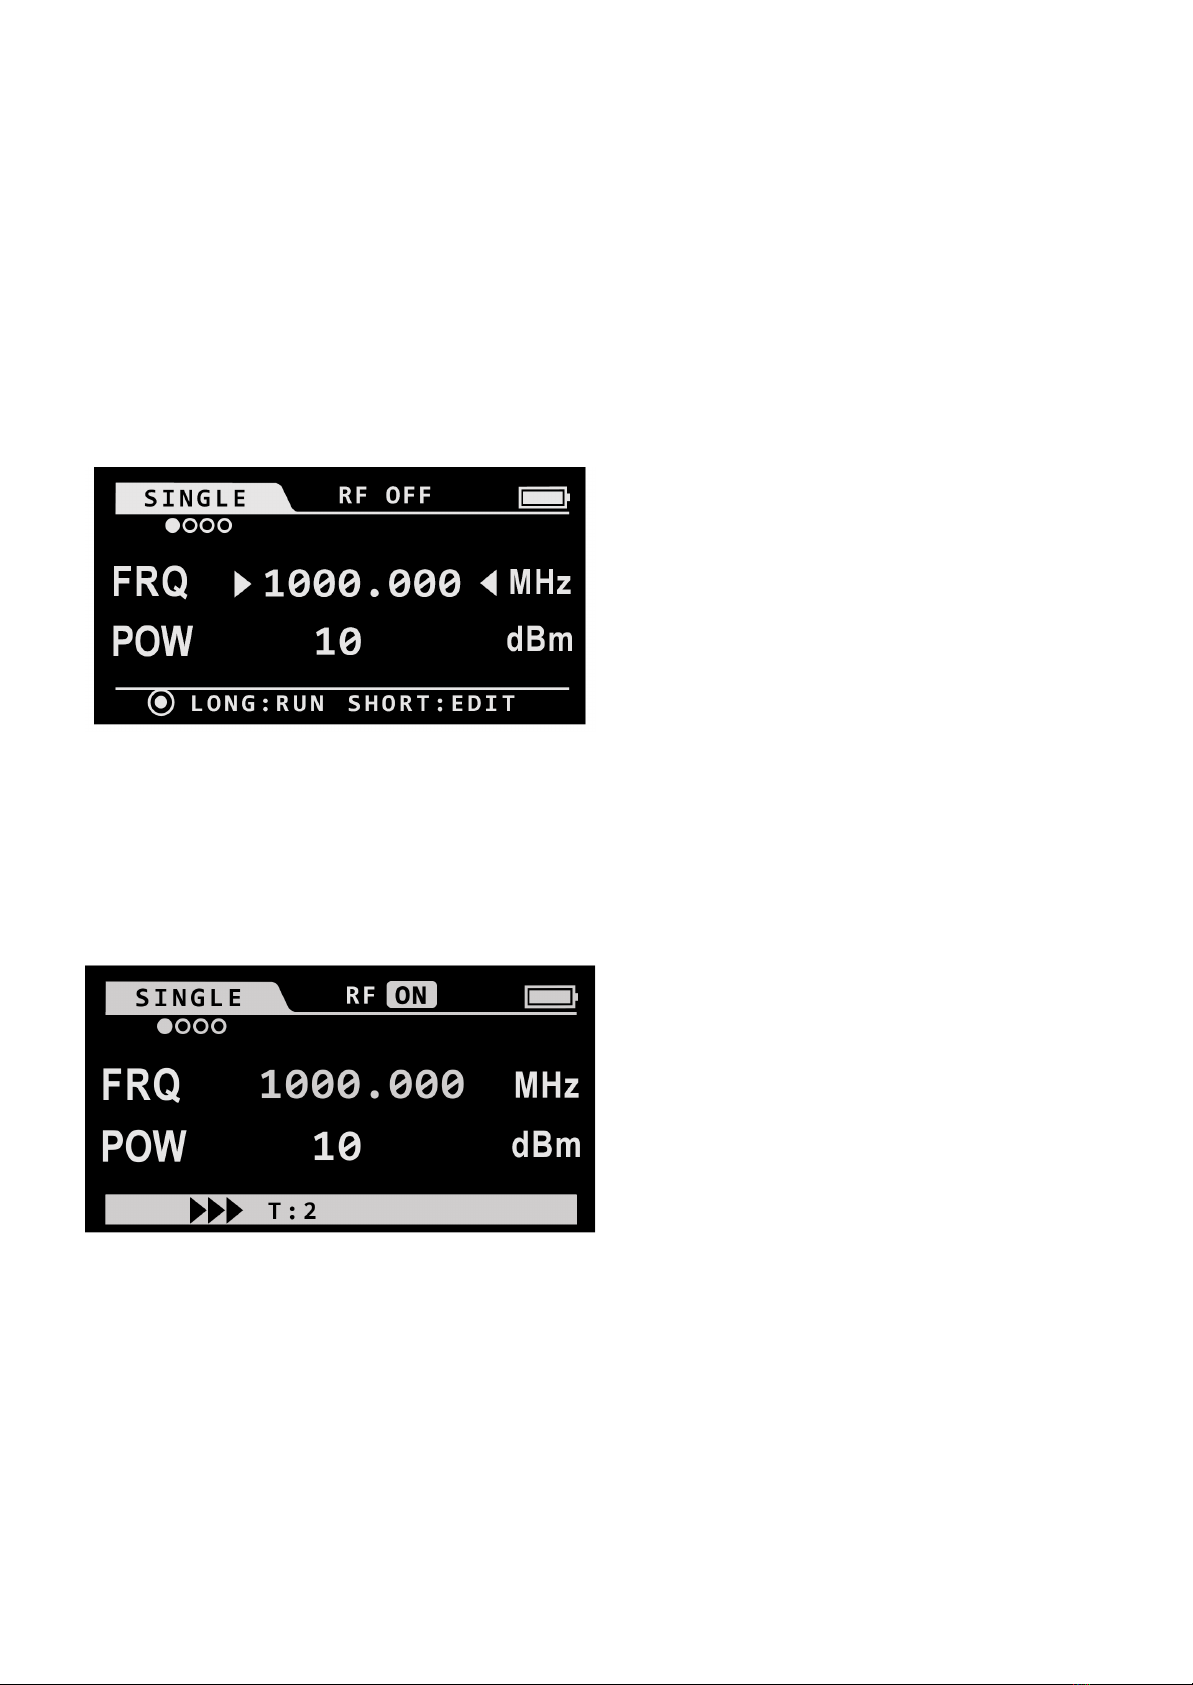
Edit mode
To enter into edit mode,
just push SEL button shortly.
Value Change
To modify each values in edit mode,
use the Up or Down button.
Move Cursor
To move cursor in edit mode,
use the Left or Right button.
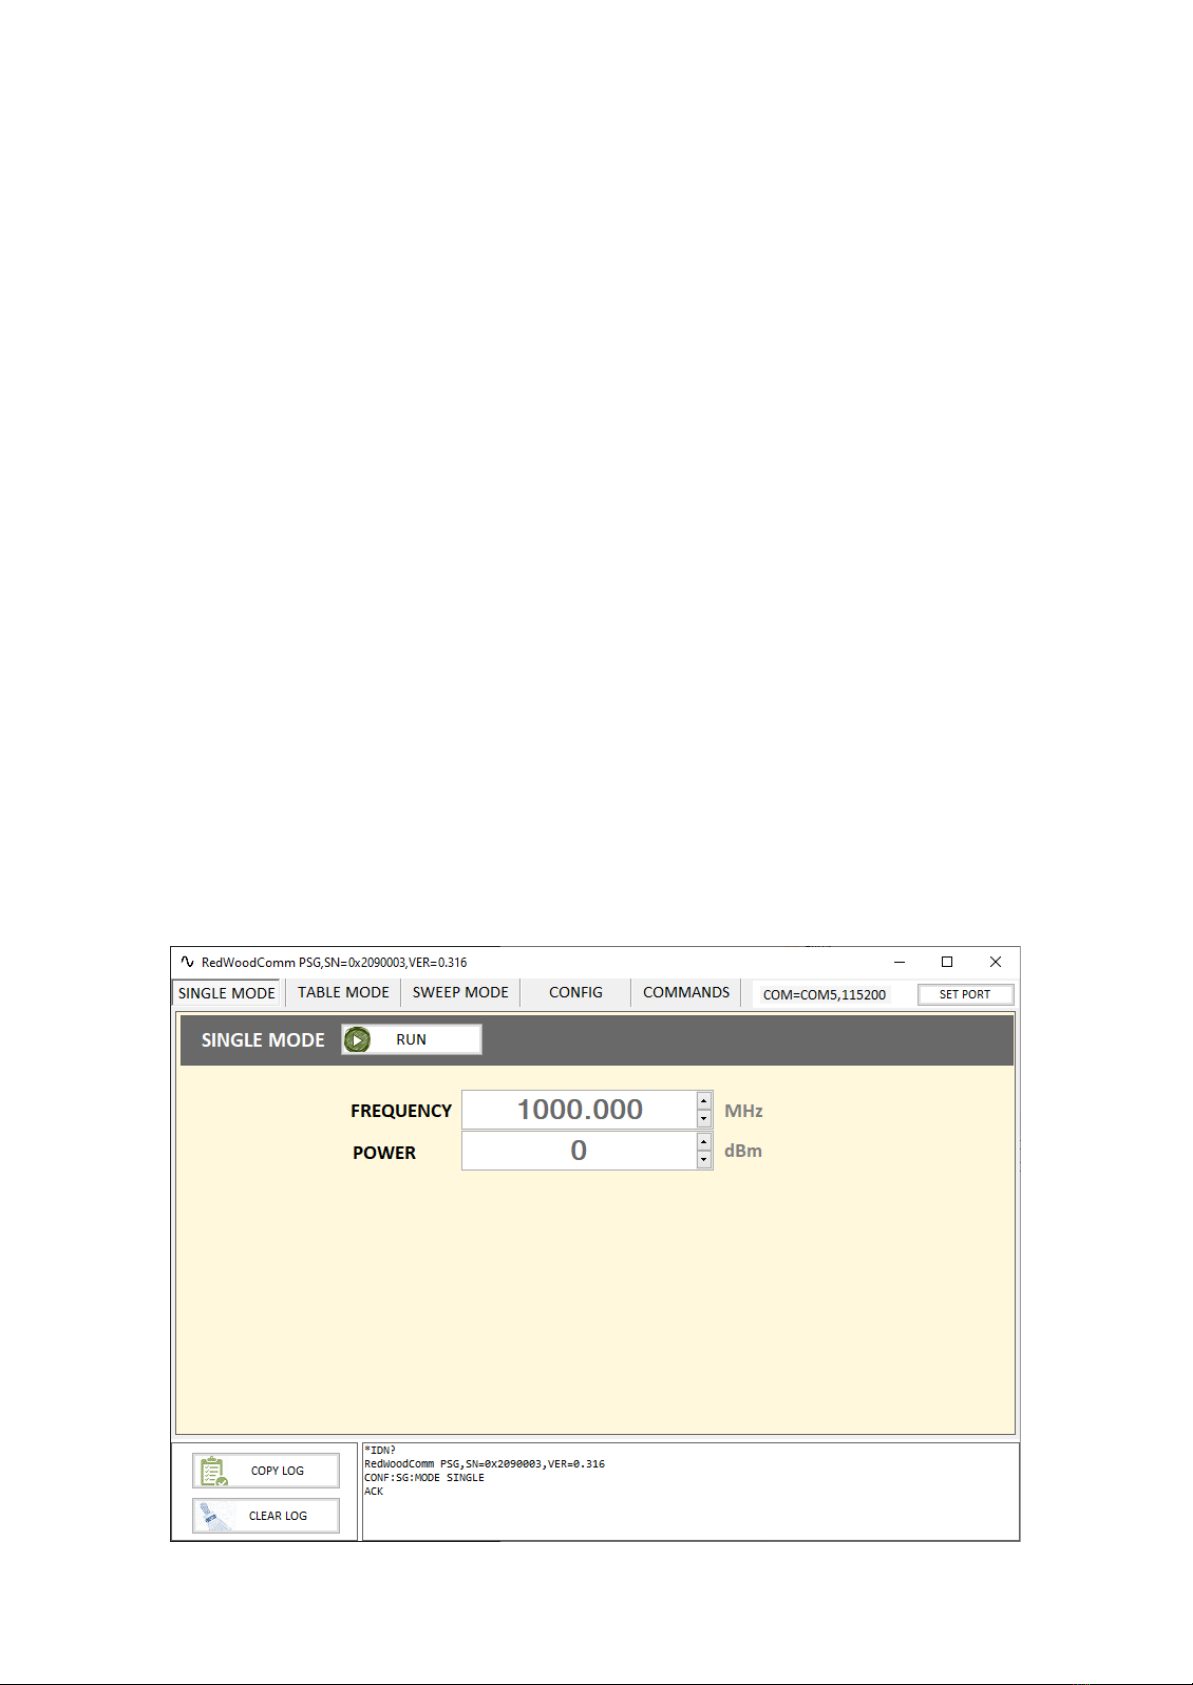
RF On/Off
To turn RF on, push and hold SEL button.
How to modify item values
Pushing ‘SEL’ button shortly enters edit mode. You can use the Up/Down
button to increase or decrease the value and the Left/Right button to move
digit position.
4

4 Main operation Modes
○ SINGLE Mode: RF out with Single frequency.
○ SWEEP Mode: RF out with sweeping frequencies.
○ TABLE Mode: RF out with table frequencies.
○ CONFIG Mode: Configuration parameters of the RWC1020A
A. SINGLE Mode
Single mode can set desired RF frequency and power and easily control on/off.
RF On/Off
Pushing ‘SEL’ button long turns the RF on. You can see how long time has
passed since turning on the RF at the bottom of the screen.
5

B. SWEEP Mode
RWC1020A transmits the tone signal from start frequency to stop frequency in
step frequency.
Start Frequency
○ Range 12.5~6400MHz
○ Resolution: kHz
It should be equal or less than stop
frequency.
Step Frequency
○ Range 12.5~6400MHz
○ Resolution: kHz
Run time
○ Duration for each frequency
○ Range: 2~65000 sec
Stop Frequency
○ Range 12.5~6400MHz
○ Resolution: kHz
It should be equal or greater than start
frequency.
Out Power
○ 10 to -50 dBm (12.5 MHz - 3200 MHz)
○ 5 to -50 dBm (3200 MHz - 5500 MHz)
○ 0 to -50 dBm (5500 MHz - 6400 MHz)
RF On/Off
Pushing ‘SEL’ button long turns the RF
on. You can see how long time has
passed since turning on the RF at the
bottom of the screen.
6

D. CONFIG Mode
Battery Voltage/Temperature information
Just displaying value, cannot modify
Beep Sound
Press and hold the ‘SeL’ button to turn the beep sound on or off.
Screen Brightness
Press and hold the ‘SEL’ button to change OLED screen brightness.
Reference In
Press and hold the ‘SEL’ button to switch 10MHz reference INT(internal) or
EXT(external)
Bluetooth UART
Press and hold the ‘SEL’ button to turn the Bluetooth UART on or off.
Factory Reset
Press and hold the ‘SEL’ button to reset the parameter to the factory setting.
Be careful! The all parameters you’ve modified will be reset as factory values
without any warning message.
8

Upgrading Firmware
STEP 1
Connect RWC1020A to user PC with USB and confirm COM port is
installed correctly in user’s PC
STEP 2
Download the avrdude from the website.
https://sourceforge.net/projects/avrdudegui/
STEP 3
Download psg_upgrade.bat and rwc1020a hex files from the
Redwoodcomm website and copy them into the avrdude tool
directory.
STEP4
Run psg_upgrade.bat file or run command as follows COMn should
be modified same to the COM port number that is installed in your
PC. ( avrdude -p ATXMEGA256A3 -c avr911 -P COMn -b 115200 -e -V
-U flash:w:"psg_ctrl.hex" )
All responsibilities of upgrading firmware lies with users
9

Warning
Low Battery
When the battery voltage is less than 3.5V, warning message
will be shown and RF power will be turned off automatically.
Charging
Over charging protection is embedded, but unplugging after
charging is strongly recommended.
PC Software
Users can control all functions of the PSG with PC application software.
PC software will be synchronized with PSG through USB(UART). Whenever
you select a tab in PC software, PSG’s mode will be changed. PSG is controlled
by user with ASCII commands. You can find out all remote commands on PSG
application software. On every mode tab, you can change parameters and
run PSG with this software. (download : http://www.redwoodcomm.com)
SINGLE Mode
Mode for transmitting a single frequency.
10

TABLE Mode
Mode for transmitting a many frequencies listed up the table.
Maximum number is up to 70
⤤Saving the frequencies list as a file.
⤤Loading a frequency list file. Just double clicking one of
the list item, it will apply it
⤤Downloading frequency and power, and run time into PSG through
RS-232.
SWEEP Mode
Mode for transmitting frequencies in step sequence.
11

CONFIG Mode
You can control the status.
Commands
You can send the command by double clicking a command. PSG can be
controlled by any other hyper terminal utilities through RS-232 port.
12
Table of contents
Popular Portable Generator manuals by other brands

SIGLENT
SIGLENT SSG3000X user manual

Marathon
Marathon MagnaPLUS Series Troubleshooting

Teleco
Teleco Telair ENERGY 2510D Use and maintenance manual and instructions for installation

MarelliMotori
MarelliMotori M8B 250 Instructions and Safety Information

Aksa
Aksa AAP 2200i user manual

Craftsman
Craftsman 580.326300 owner's manual