User’s Guide
Safety Precautions, Care and Maintenance
Regency™ Series 200 Single Line Telephone
11. Unplug this product from the wall outlet and refer servicing to
qualified personnel under the following conditions:
a) If liquid has been spilled into the product.
b) If the product has been exposed to rain or water.
c) If the product does not operate according to the
operating instructions.
d) If the product has been dropped or the cabinet has been
damaged.
e) If the product exhibits a distinct change in performance.
12. Do not use the telephone (other than a cordless type) during
an electrical storm. There is a remote risk of electrical shock
from lightning.
13. Do not use the telephone to report a gas leak if the telephone
is in the vicinity of the leak.
14. Keep the telephone dry. Wipe immediately if wet. Liquids
may contain minerals that can corrode the electronic circuits.
15. Use and store the telephone in a moderate temperature
environment. Extreme temperatures can shorten the life of
electronic devices, damage batteries and distort or melt
plastic parts.
16. Keep the telephone away from excessive dust and dirt.
17. Wipe the telephone with a damp cloth occasionally to keep
it looking new. Do not use harsh chemicals, cleaning solvents
or strong detergents to clean the telephone.
16
Regency™ Series 200 Single Line Telephone
User’s Guide
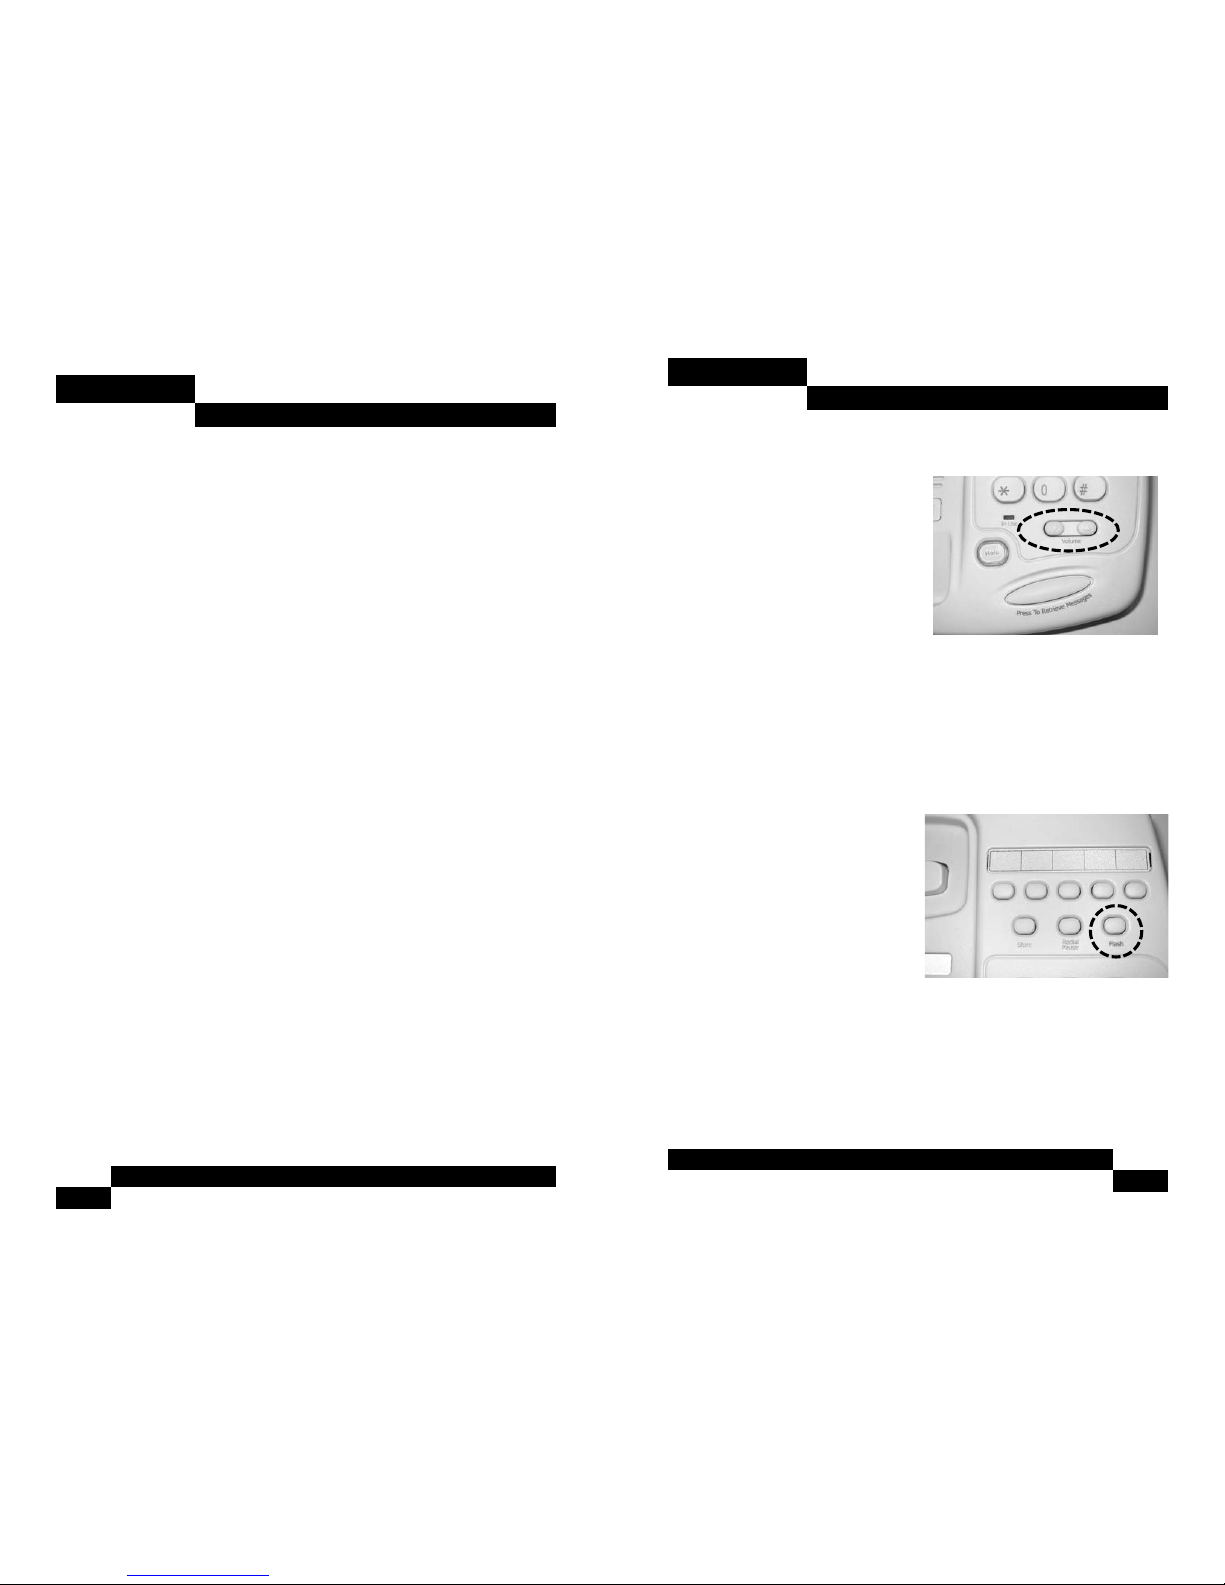
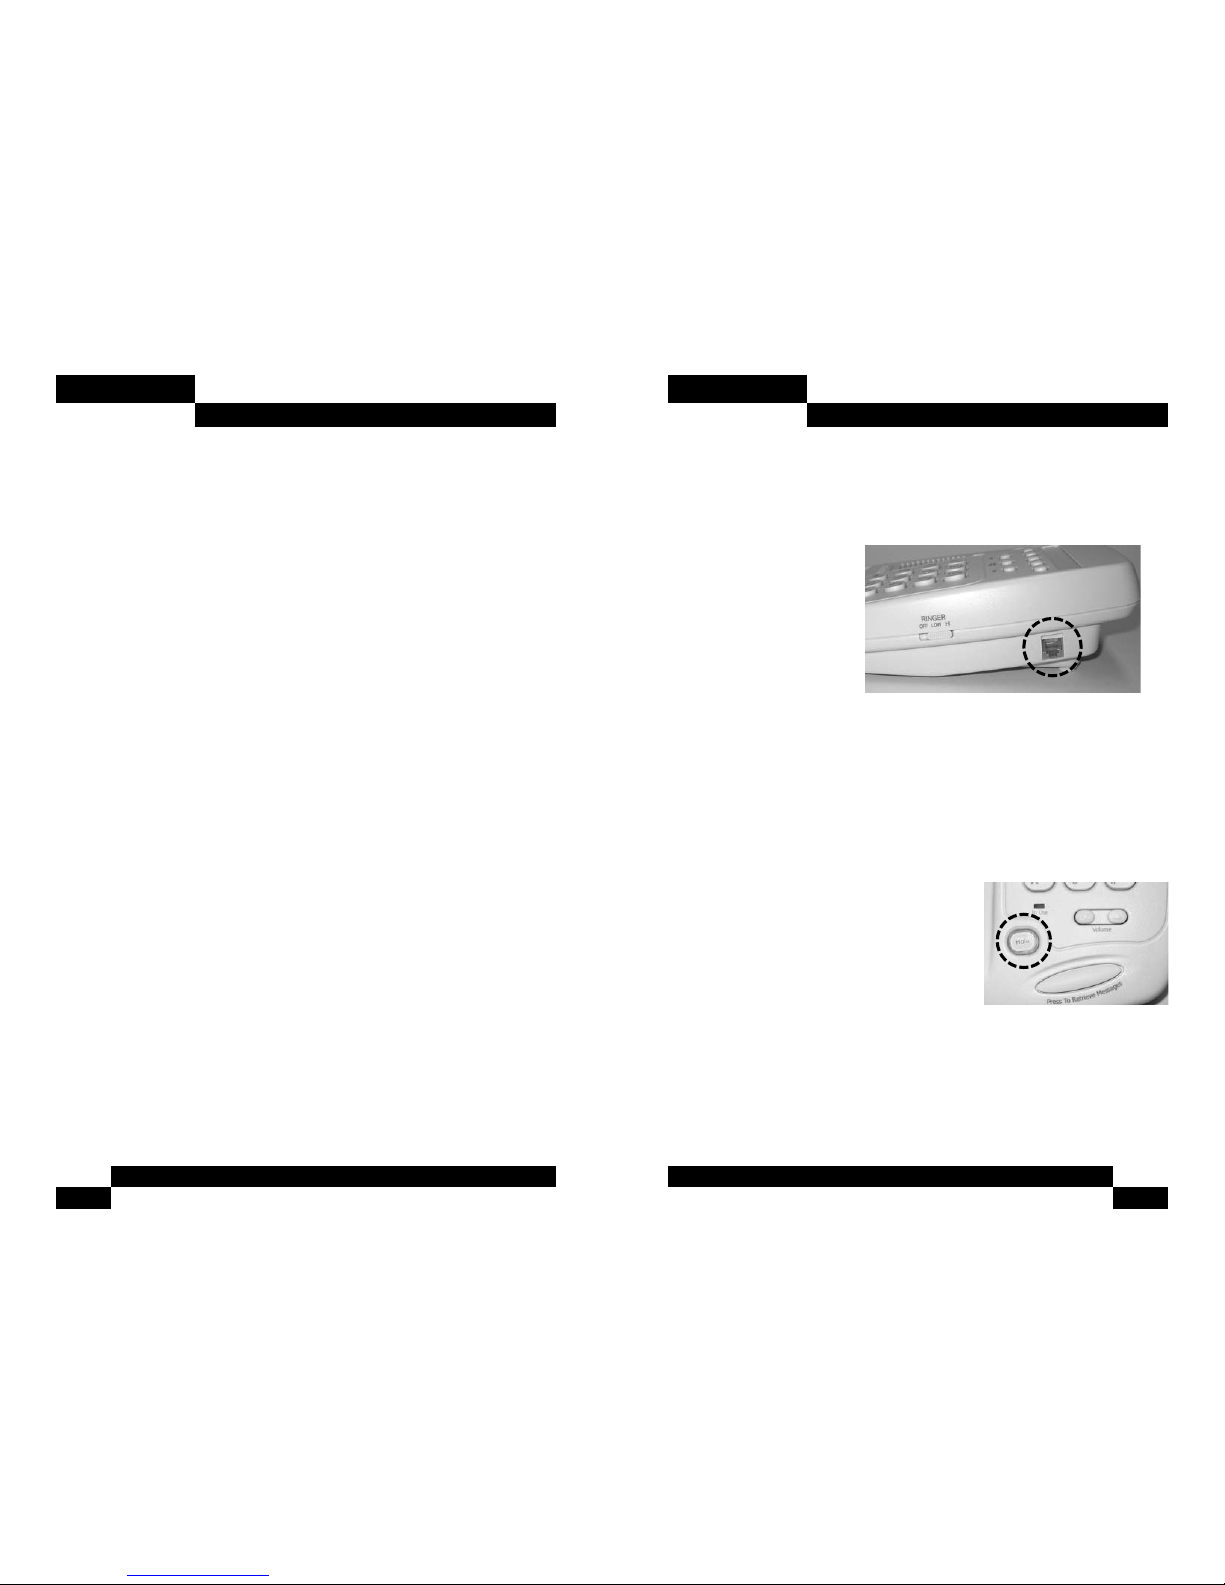
Using the Features and Options
Handset Volume Control
With the handset off-hook, press
the arrows on the VOLUME key
repeatedly to increase or
decrease the volume. The
volume of the handset receiver
can be increased by 12 to 18
decibels.
Note:
The handset volume control switch will automatically reset back
to its normal level when hanging up. This will ensure that the
handset volume resets back to normal for the next phone call.
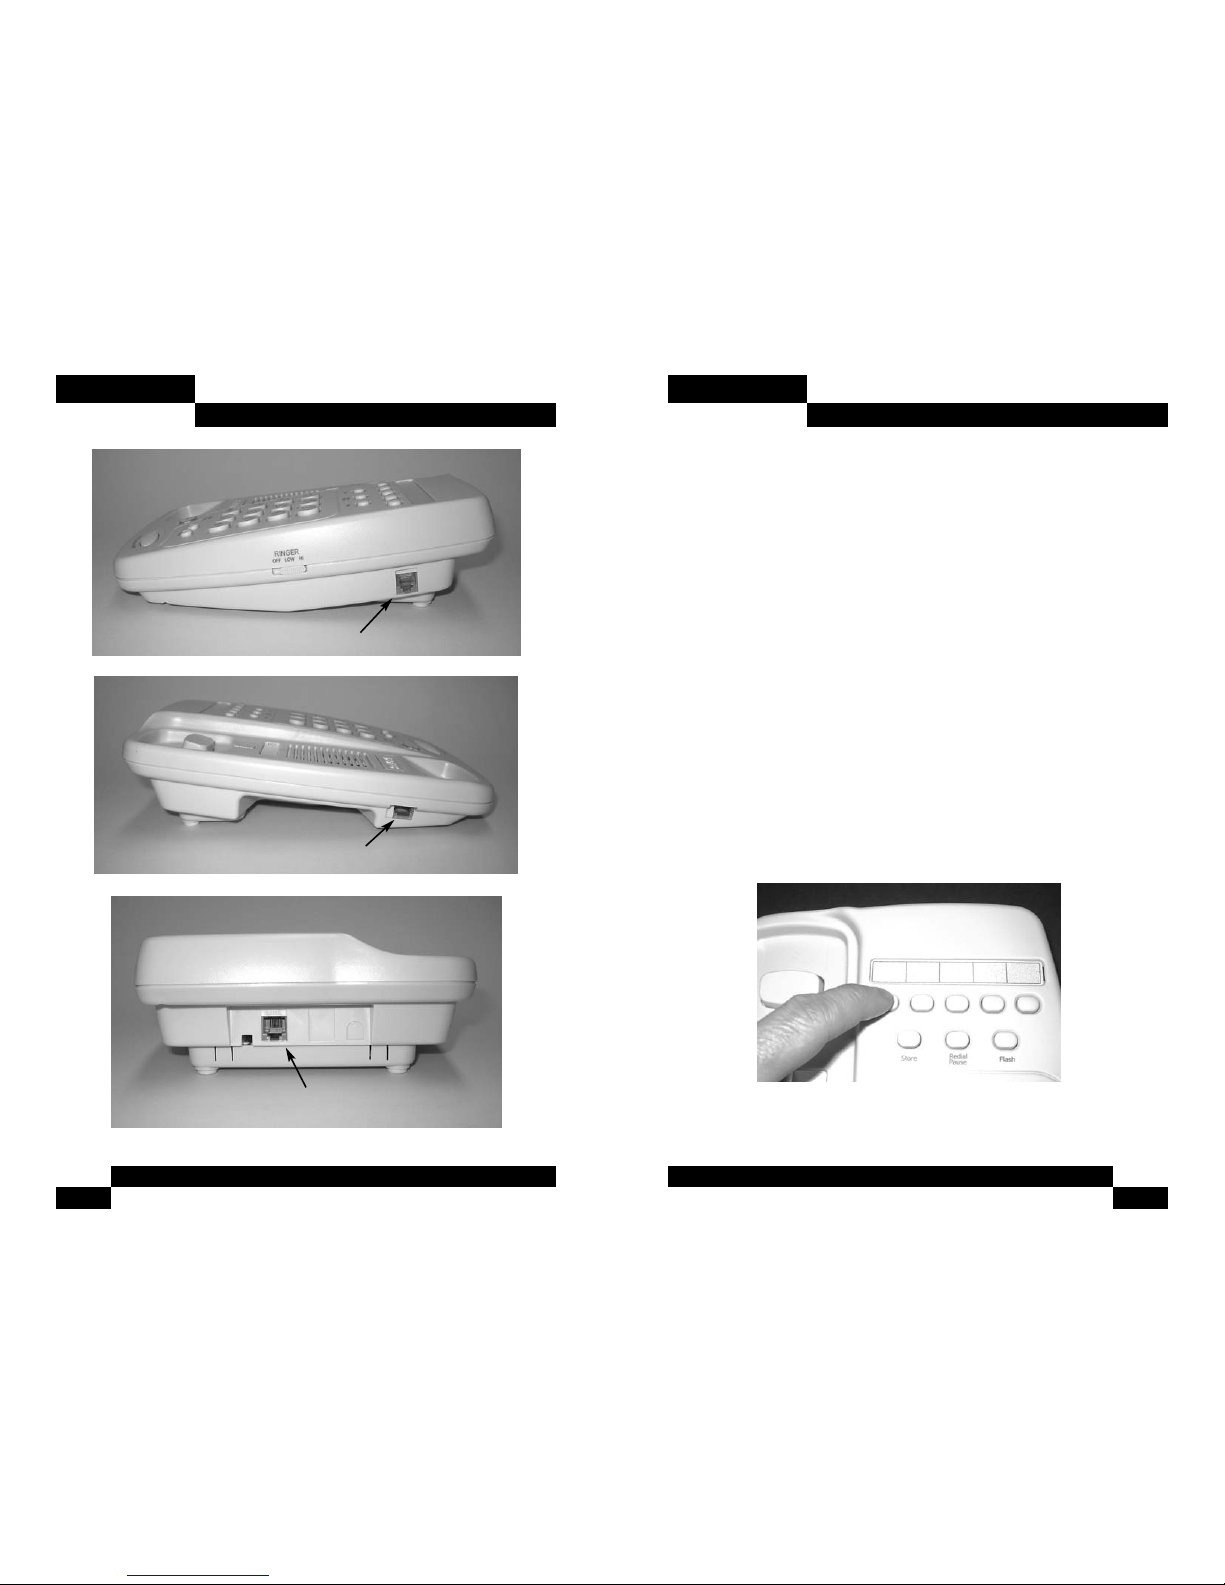
Flash Key
The FLASH key is an electronic
timed line break of 600 milli
seconds, like hanging up
momentarily, that is used for
accessing line features provided
by your telephone company or
by your telephone system. For
example, many times a flash is
used for accessing features such
as Call Waiting. When used in a Centrex application, it can be
used to access other features like Call Pick-Up, Call Transfer, etc.
Contact your telephone system coordinator or your local
telephone company for further information regarding your line
features.