Pressing the joystick briefly results in entering the viewing mode. When in
viewing mode all configured universal inputs and outputs, including
pressure and flow sensor values, can be viewed.
To enter the settings mode, press the joystick for at least s when the
display is inactive.
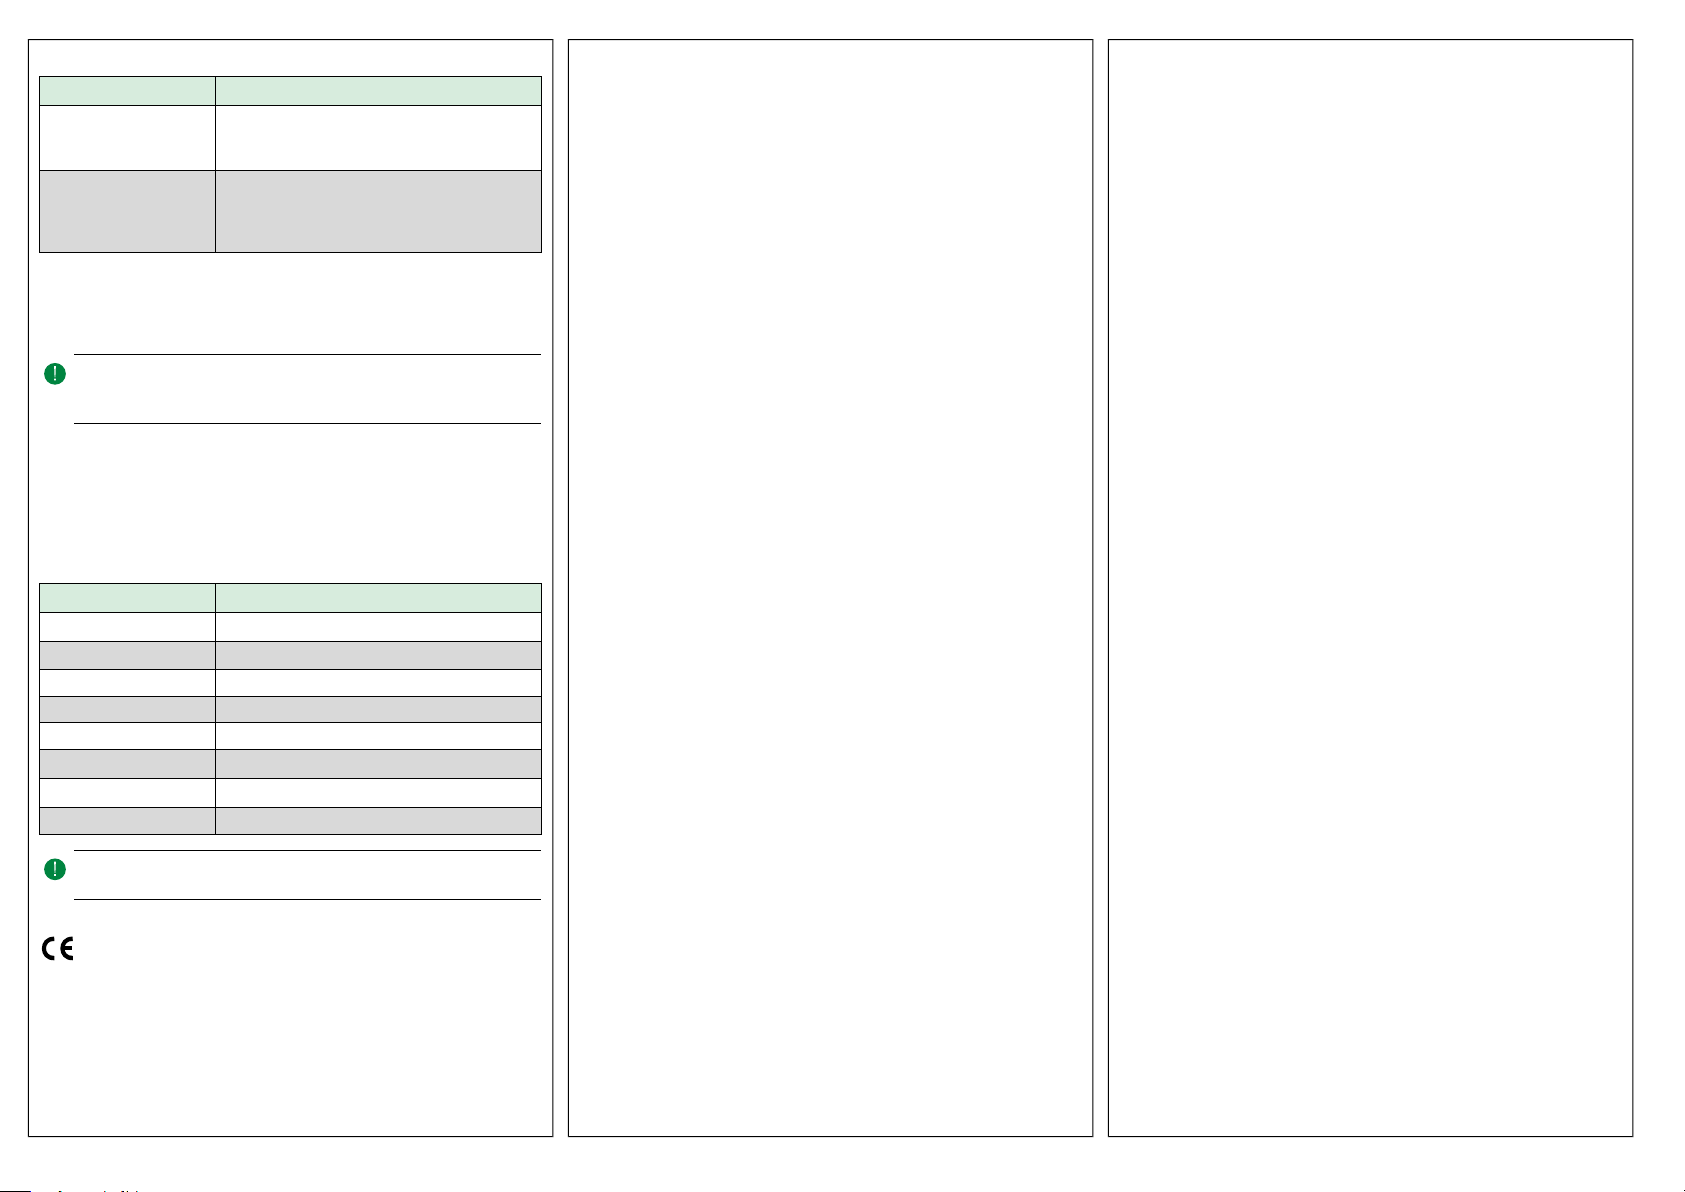
Table 1 Na igate the menu system
Joystick movements Action
○ (push in) Accept/select
Long press for settings mode (> 5 s)
Short press for viewing mode
↑ Select next
↓ Select previous
← Back / cancel
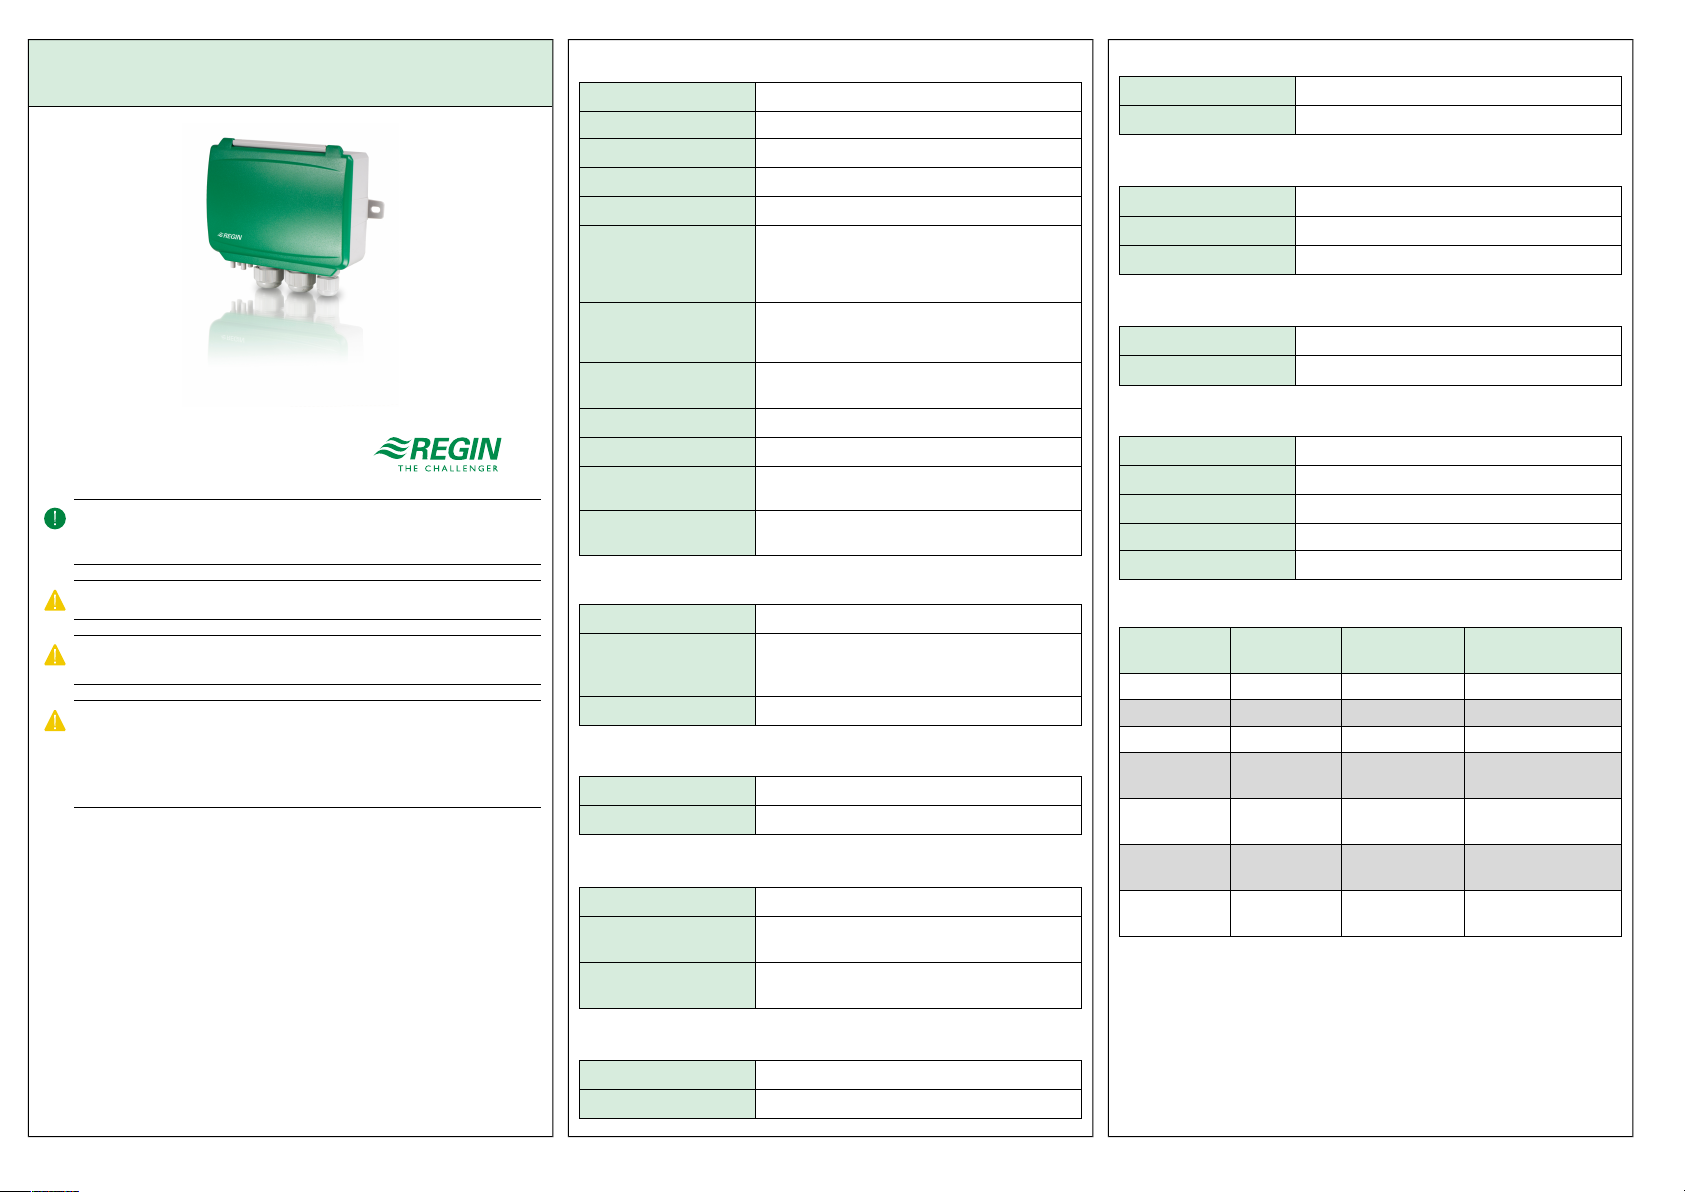
Getting started
How to view and modify settings in the menu system:
1. Enter into viewing or setting mode by pressing and releasing the
joystick (long or short press) when the display is inactive
2. Navigate through the different sub menus by moving the joystick up
or down
3. Select a sub menu by pressing and releasing the joystick
4. If in setting mode, select a value to modify by pressing and releasing
the joystick
. Change the value by moving the joystick up or down
6. Confirm the setting by pressing and releasing the joystick, or move
the joystick left to discard the changes
7. Move the joystick left to return to the previous menu
NNoottee!! The last con iguration entered into the transmitter is always valid,
regardless o whether it was per ormed using the menu system or via
Modbus.
Viewing mode menu
Sub menu Description
P.# Pressure value
P.1 = sensor 1 / P.2 = sensor 2
F.# Flow value
F.1 = sensor 1 / F.2 = sensor 2
d.# UI: Value in digital mode
d.1 = UI1 / d.2 = UI2
u.# UI: Value in 0-10 V mode
u.1 = UI1 / u.2 = UI2
Sub menu Description
t.# UI: Value in temperature mode (°C)
t.1 = UI1 / t.2 = UI2
L.# UO: Value in digital mode
L.1 = UO1 / L.2 = UO2
U.# UO: Value in 0-10 V mode
U.1 = UO1 / U.2 = UO2
Two digits can be shown at a time in the display. Therefore, several
subsequent views are used to display a longer value. Example: A pressure
value of 23 0 Pa on sensor 1 is shown with three views, i.e. 1 P.1 2 23
3 0. The measuring unit for the displayed value is set via Modbus.
NNoottee!! The K- actor has to be set via Modbus to be able to view correct
low values. In ormation regarding low calculation is ound in the variable
list.
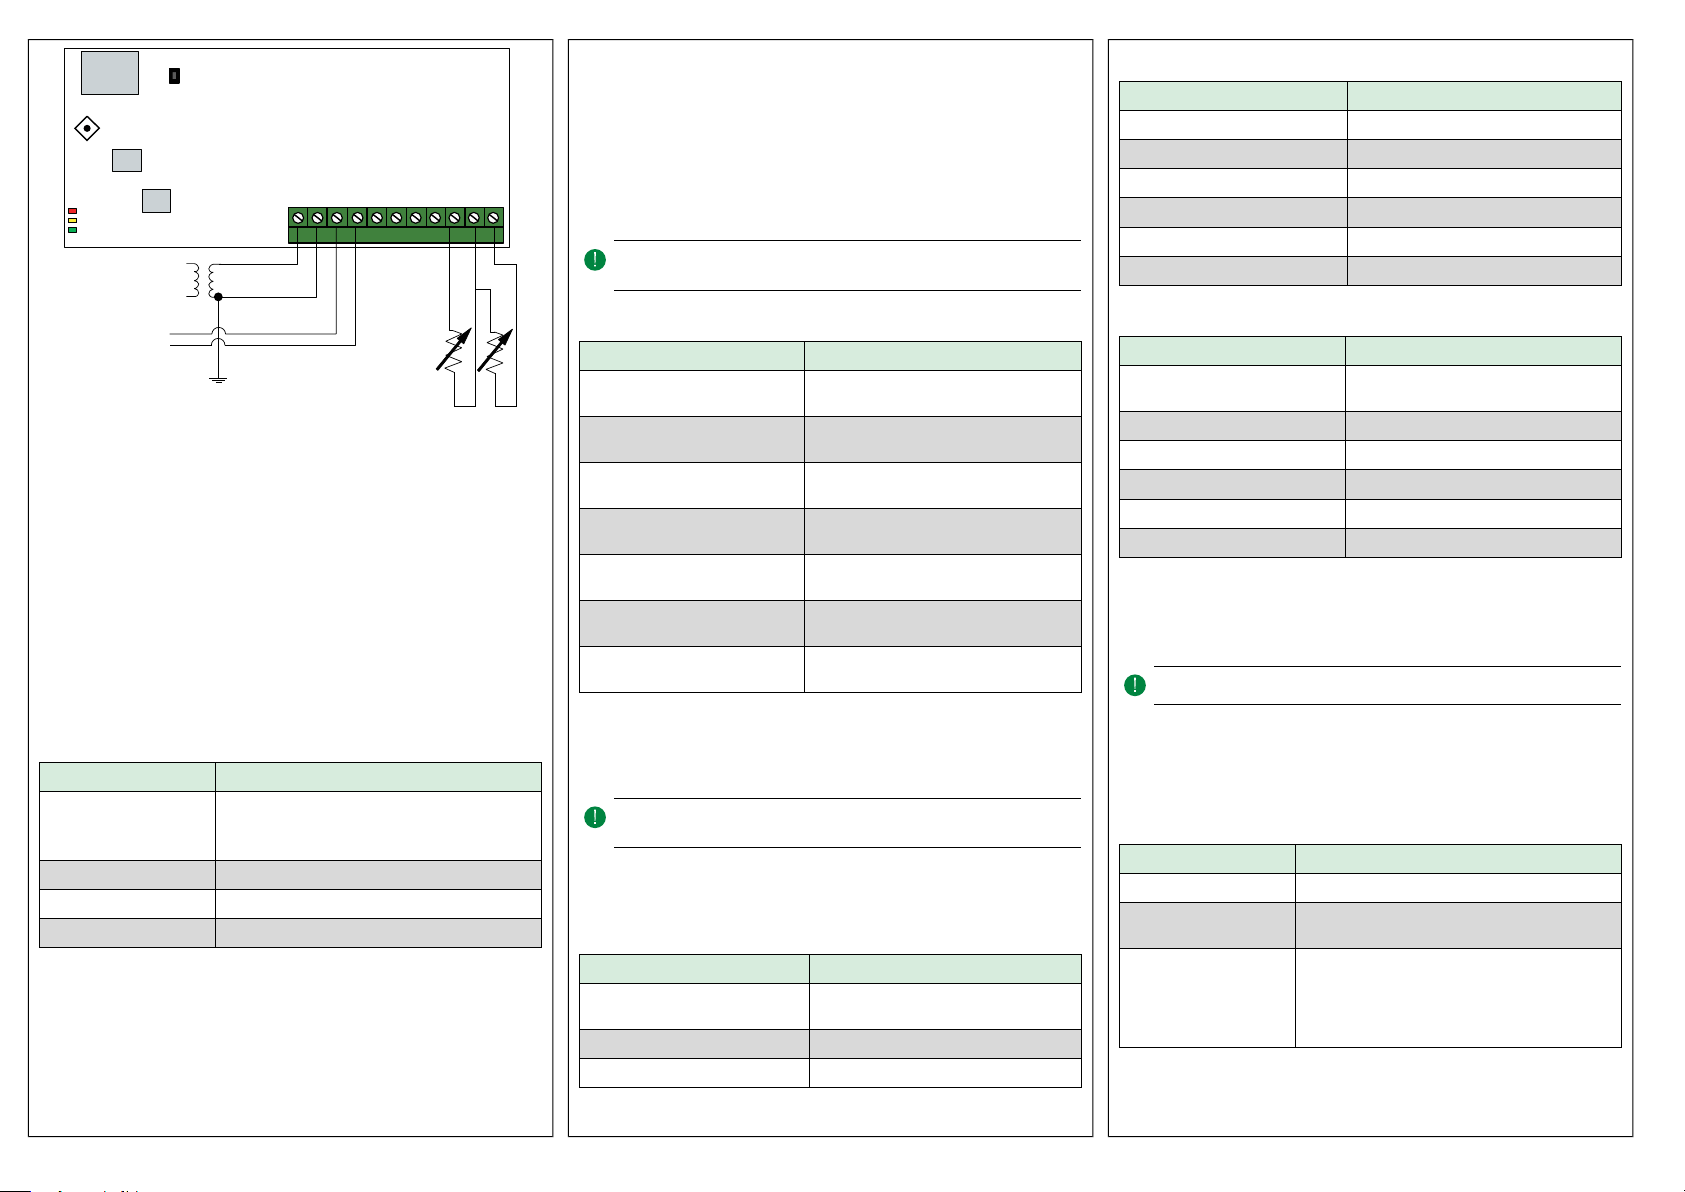
Settings mode menu
Settings related to the communication can be changed in the settings
mode menu via the display.
Sub menu Description
.A Modbus address (1-247), given as hexa-
decimal numbers (1-F7)
.b Modbus baud rate (see Table 2)
.C Modbus settings (see Table 3)
Table 2 Settings in the sub menu .b
Modbus baud rate Description
12 1200 bps
24 2400 bps
96 9600 bps (factory setting)
19 19200 bps
38 38400 bps
57 57600 bps
Table 3 Settings in the sub menu .C
Modbus settings Description
n1 8 bytes, 1 stop bit, no parity (factory setting)
n2 8 bytes, 2 stop bits, no parity
E1 8 bytes, 1 stop bit, even parity
E2 8 bytes, 2 stop bits, even parity
Table 3 Settings in the sub menu .C (continued)
Modbus settings Description
o1 8 bytes, 1 stop bit, odd parity
o2 8 bytes, 2 stop bits, odd parity
When the transmitter is connected to Regin’s Corrigo controller, it is
configured as an expansion unit. When configuring the unit for Regin's
freely programmable products the addressing can be set via Modbus. See
the Corrigo manual and the PDTX…-C variable list for more
information.
NNoottee!! All documentation can be downloaded rom www.regincontrols.
com
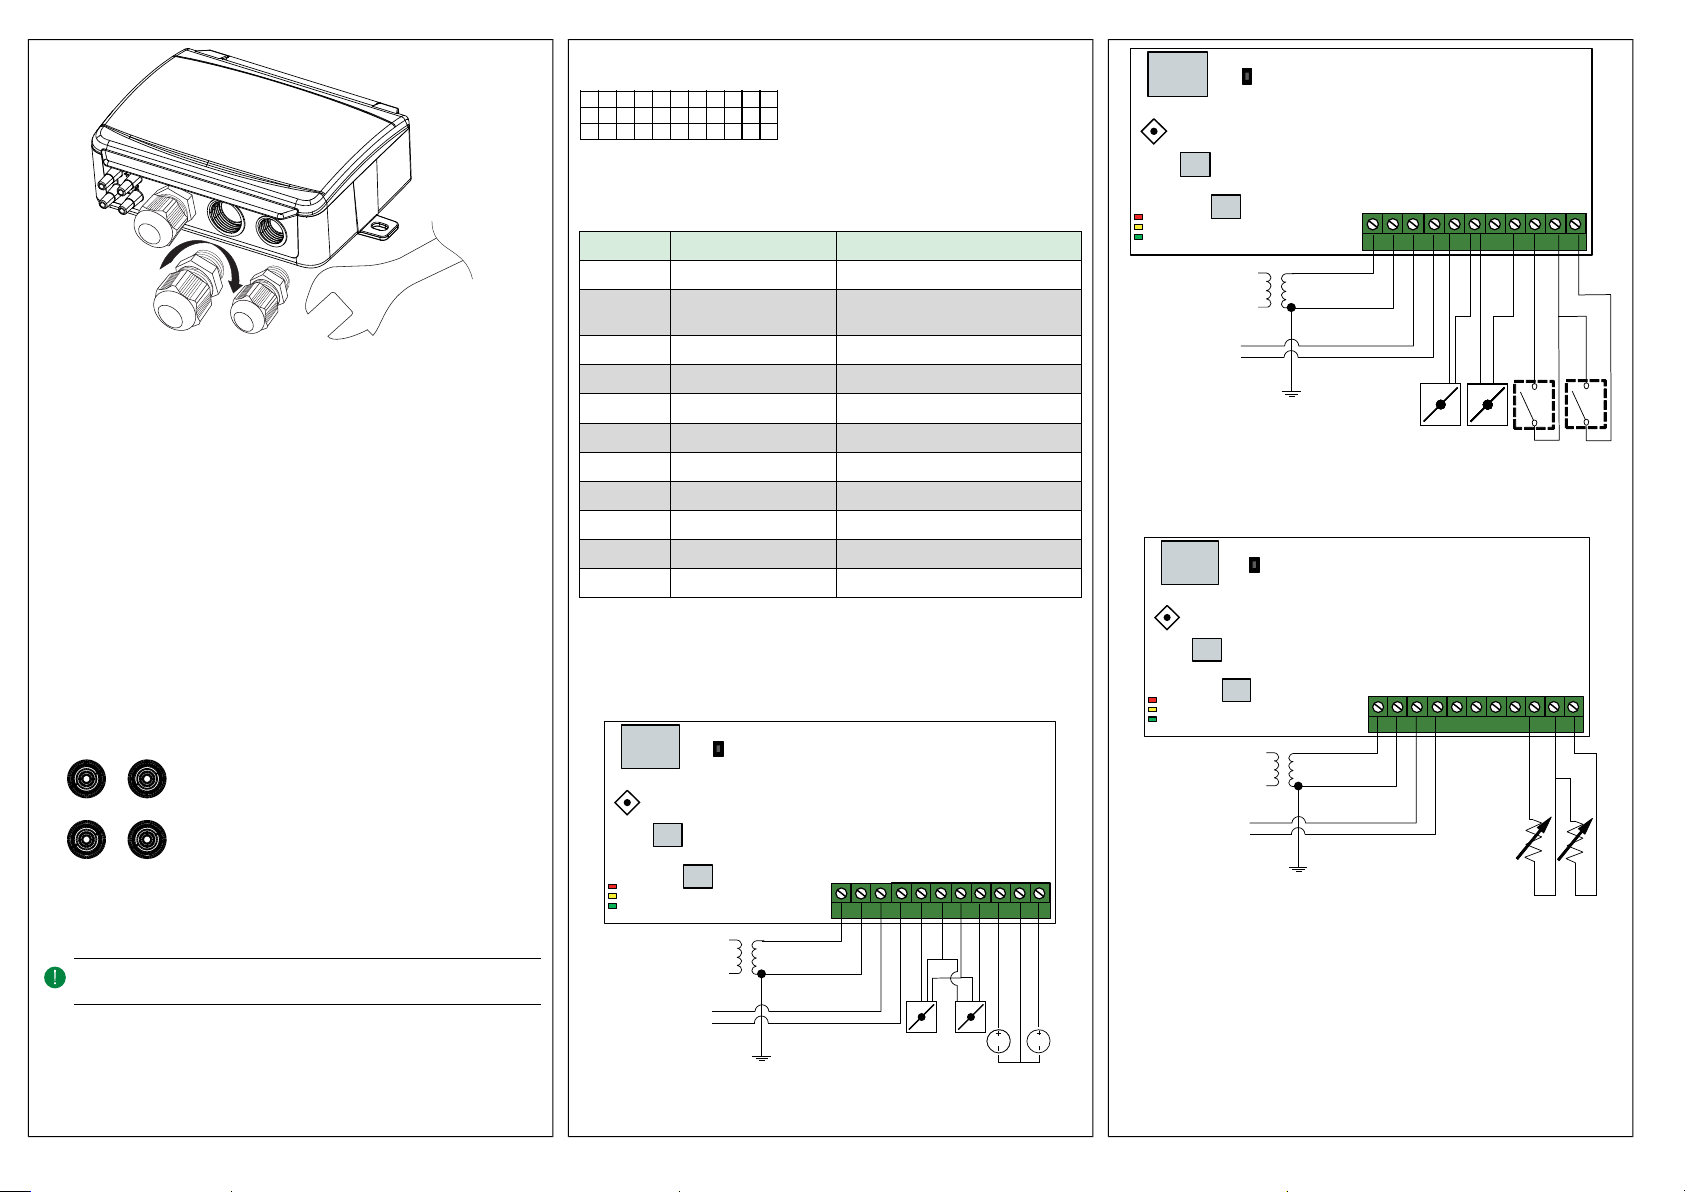
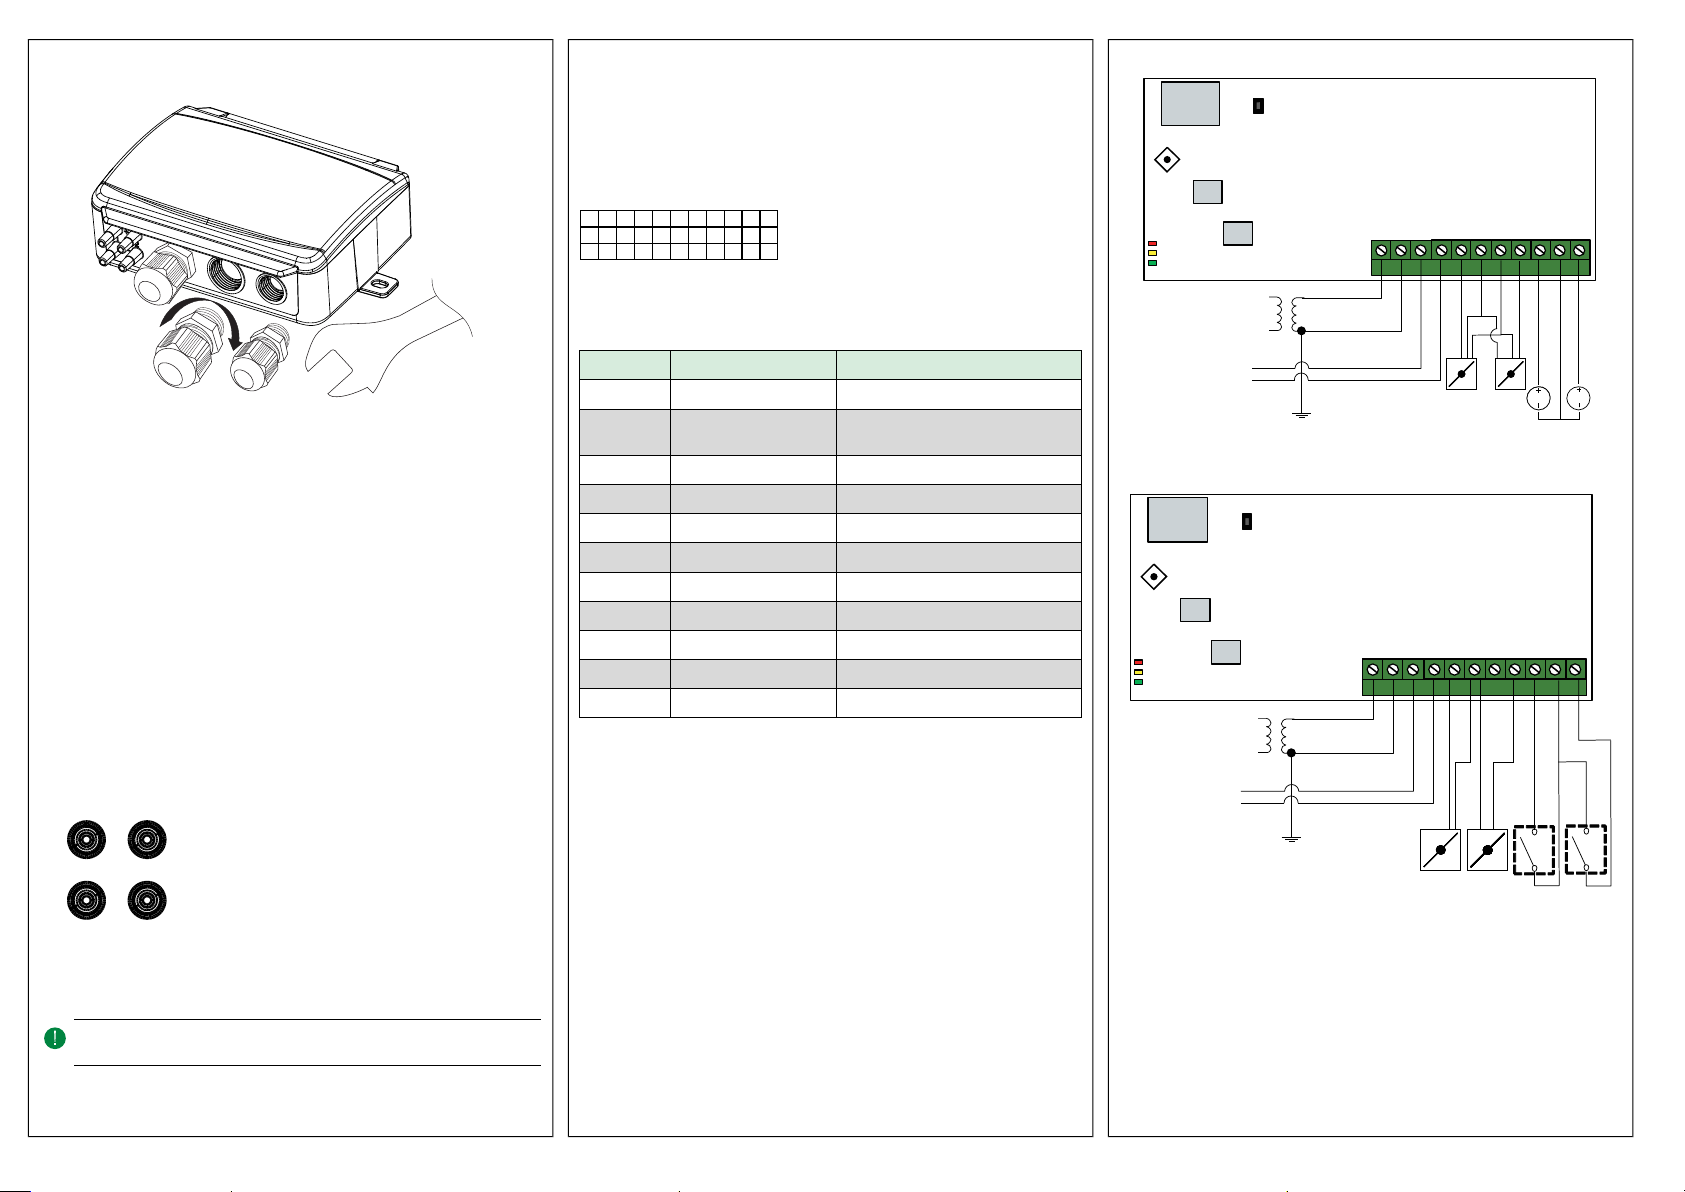
Handling
EDs
Three LEDs are available to show different states.
LEDs Description
Yellow RS485 data transmission indication
Red Global device status. Is activated when an error is
present (see the variable list for more details).
Green 1 Hz flash rate: Normal operation
5 Hz flash rate: Zero-set calibration is preformed
25 Hz flash rate: Factory reset is performed
Push-button
Action Description
Quick press Zero-set pressure calibration
The green LED will be flashing when the zero-set
operation has been made.
Long press (> 10 s) Reset to factory default settings
The green LEDs will be flashing during the opera-
tion. The unit will then reset and restart.
Zero-set pressure calibration
A short press on the push-button will zero-set calibrate the available
pressure sensors.
NNoottee!! Be sure to disconnect the pressure tubes be ore doing this. Let the
unit warm up or 10 minutes be ore attempting zero-set.
Factory reset
A long press on the push-button, more than 10 seconds, will perform a
factory restore of user defined settings. Table 4 displays some of the
settings that will be restored.
PDTX…-C 3