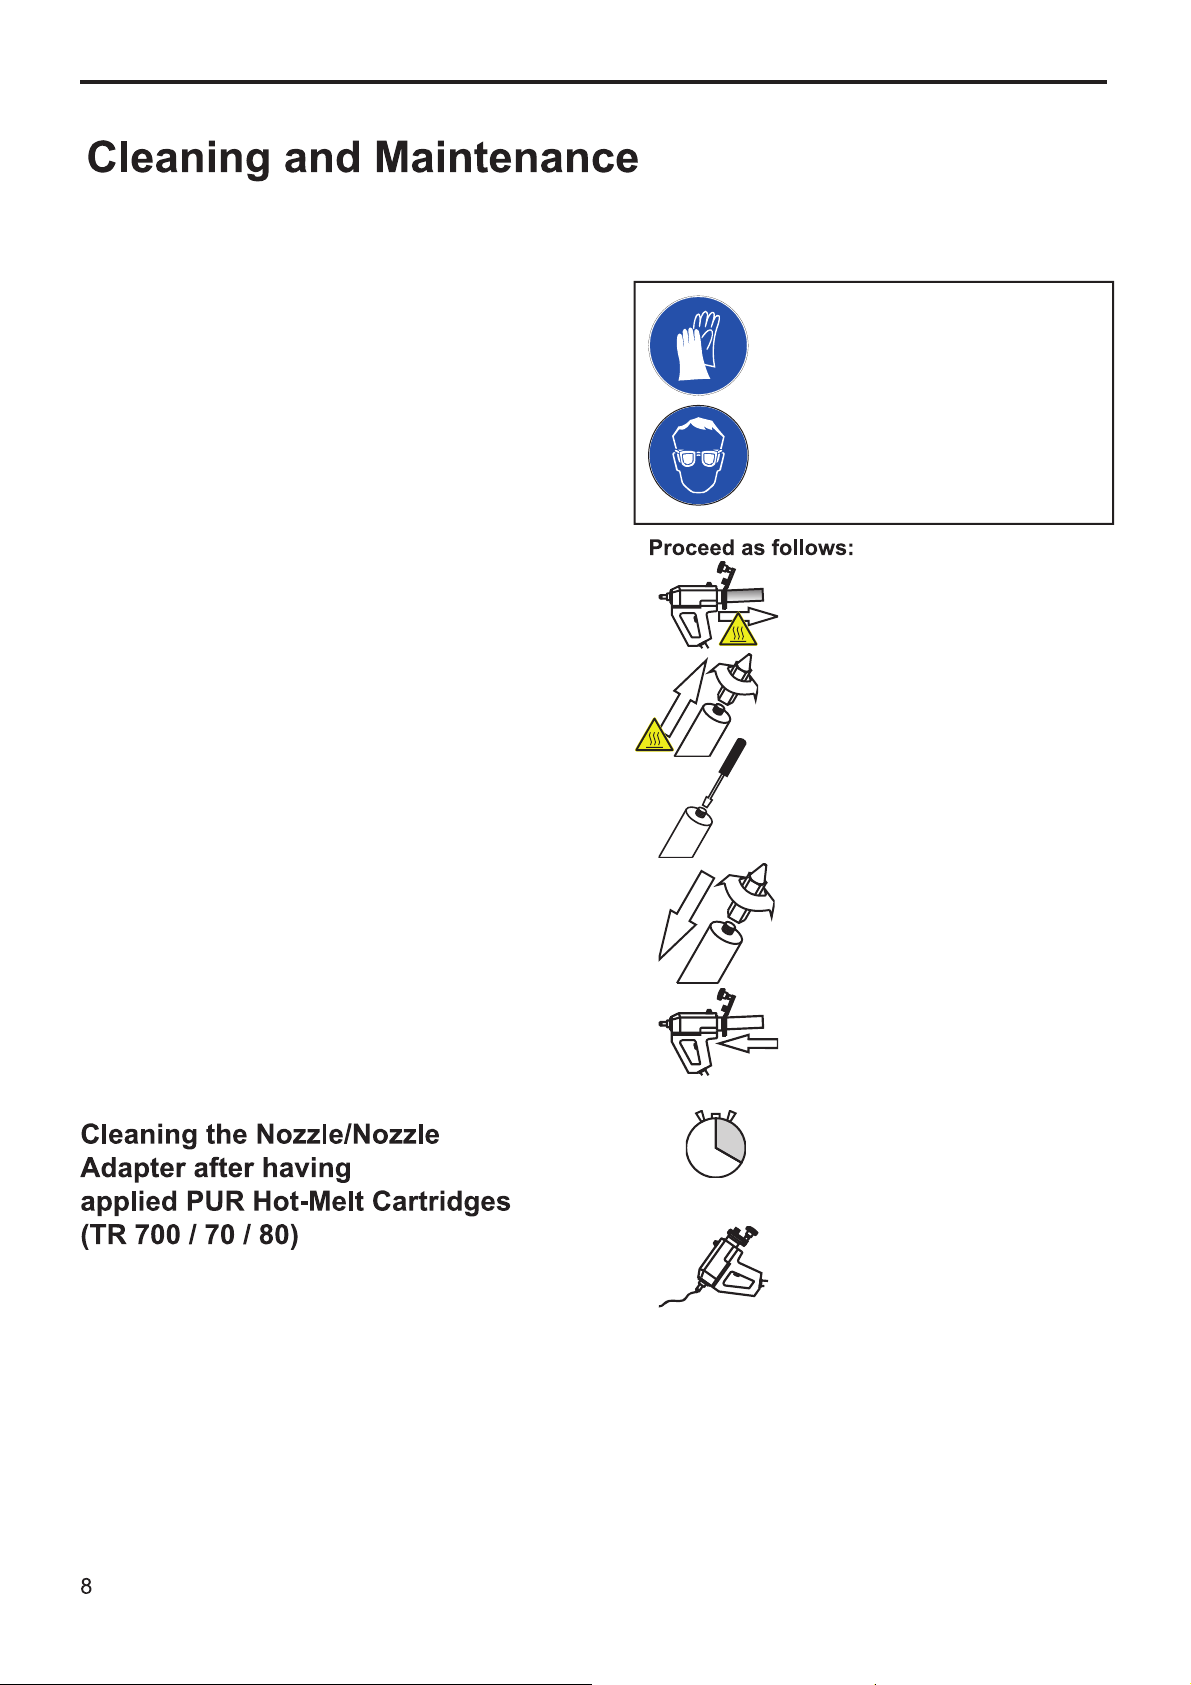
If an empty cartridge is replaced by a full one containing
a different type of glue, nozzle and adapter must be
cleaned. For this, please read „Cleaning the
Nozzle/Nozzle Adapter after working with PUR Hot-Melt
Glue Cartridges“ in chapter „Cleaning and Maintenance“.
(Page 8).
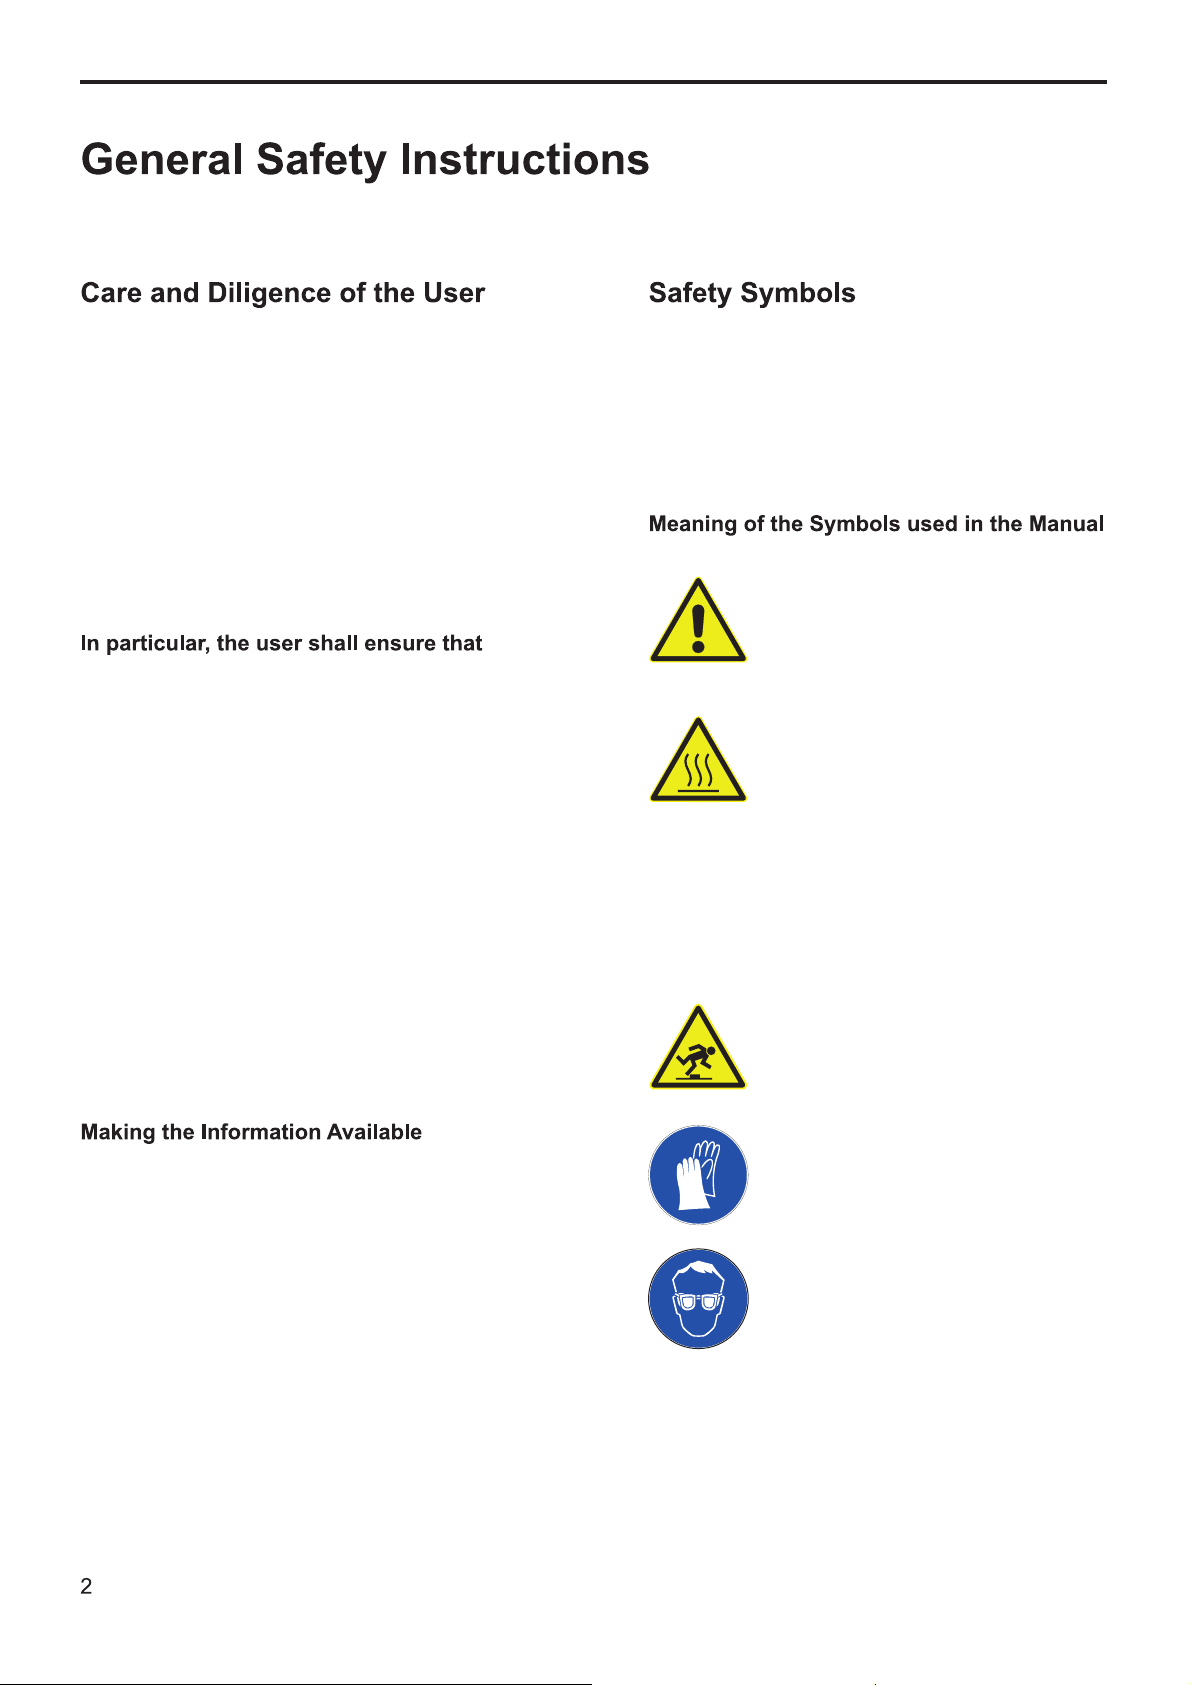
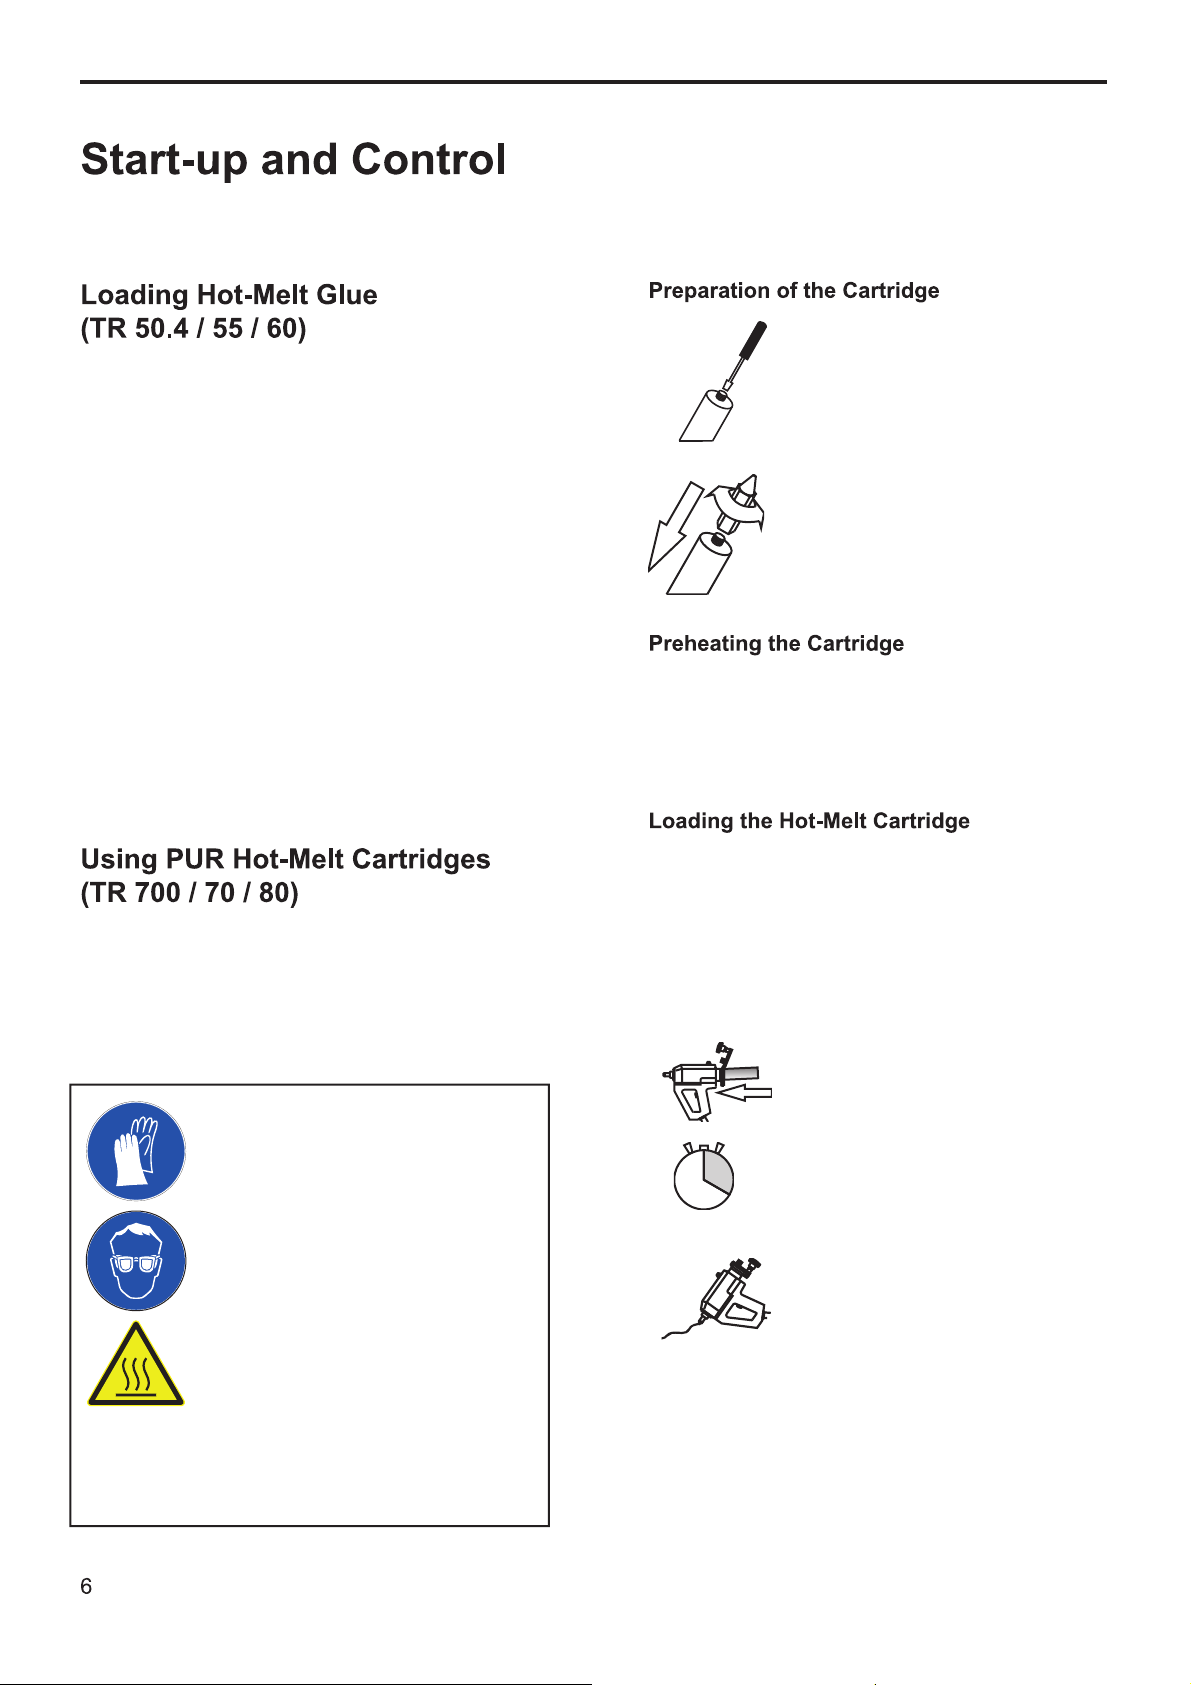
Wear protective gloves and safety
goggles whenever you work with the
applicator.
Never start working before fitting a nozzle
first.
Never direct the glue jet towards people!
If hot glue comes into contact with the
skin, cool it with cold water immediately.
Do not try to remove the hot-melt from the
skin first. If necessary, consult a doctor. If
hot glue comes into contact with the eyes,
immediately cool them under running
water for about 15 minutes and consult
your doctor at once.
Make yourself familiar with the instrument first. Apply
a little glue in varying forms on a piece of paper or
cardboard. For example, lines, small or big spray or glue
points. Try to find out the correct quantity and the ideal
pattern by adjusting the air and glue quantities by means
of the pressure regulator at the stand (TR 60 / 80),
always observing the correct working temperatures of the
specific hot-melt. This temperature is indicated in the
technical datasheet of the respective hot-melt.
The supplied hot-spray systems TR 60 / 80 are designed
for spraying pressure-sensitive adhesives and PUR hot-
melt glues. Please check, whether the complete spray
head (drawing Detail Front) is fitted to the applicator; if
this is not the case, attach it. The spray cap (# 3088)
must be screwed on slightly by hand; never use any
tools. You are advised to wear protective gloves. Do not
turn off the spray air as long as a spray cap is fitted to
the glue gun.
For this, the complete spray head must be exchanged.
Please read the following chapter „Replacement of
Nozzles“ (see below).
The correct nozzle assembly is shown in the
attached drawing „Nozzle Assembly for Dot and Line
Application“. To apply dots and lines, the pressure
regulator for the spray air on the stand must be set to
zero pressure.
Warning: risk of burns!
If hot glue comes into contact with the
skin, cool it with cold water immediately.
Do not try to remove the hot-melt from the
skin first. If necessary, consult a doctor. If
hot glue comes into contact with the eyes,
immediately cool them under running
water for about 15 minutes and consult
your doctor at once.
For your own safety wear protective
gloves and safety goggles whenever you
work with the applicator.
Unplug the connecting cable before
replacing nozzles!
Only replace nozzles when the applicator is warm
(applicator temperature 60-80 °C) and the glue tank is
empty. Replacing a nozzle when the applicator is cold,
may damage the applicator. If the nozzle is replaced
when the applicator is too hot, liquid glue may leak out.
For the melting range and the melting point of the used
glue, please see the technical datasheet of the
respective glue.
Please unplug the device after working with it. Do not
unplug it by pulling the cord, pull the plug instead.