2 3
:
. -
,
. ,
, -
.
:
1. : JPEG.
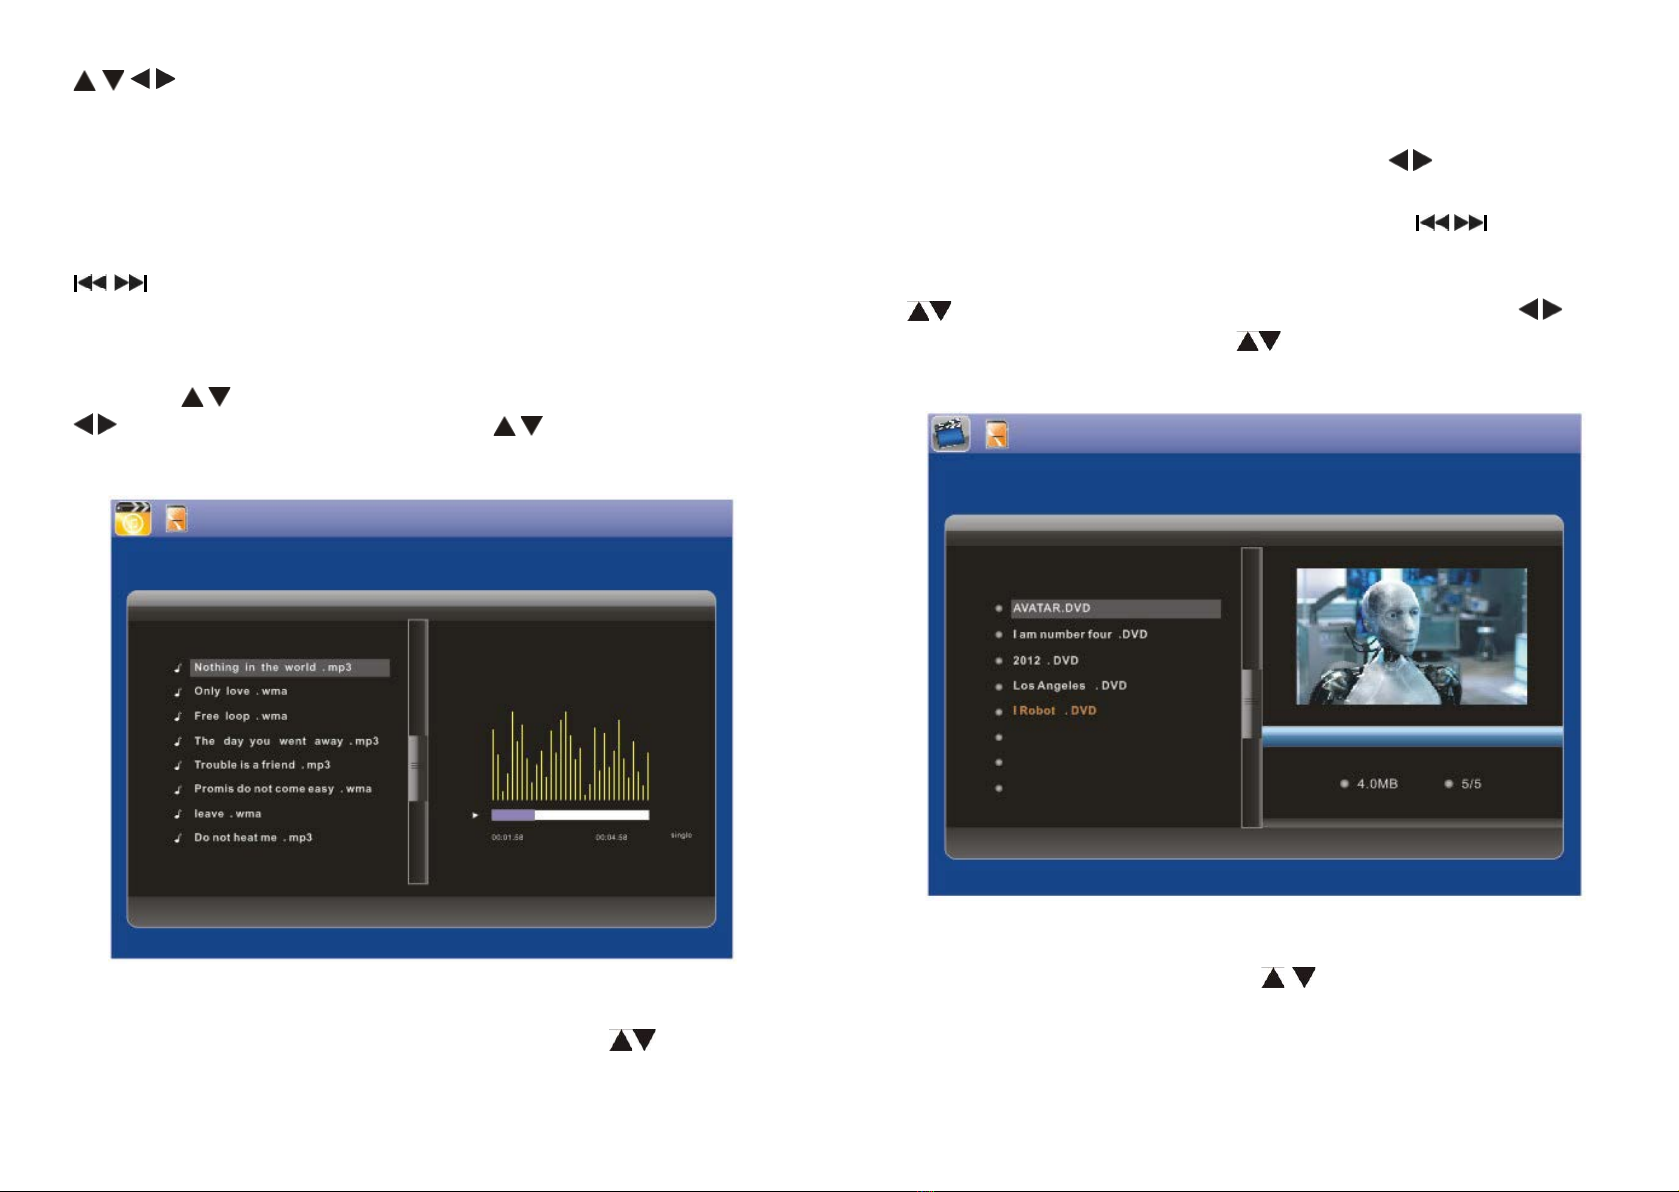
2. : MP3, WMA.
3. : MPEG1, MPEG2, MPEG4, Xvid, AVI,
M-JPEG, H.264.
4. : SD/MMC/SDHC/MS.
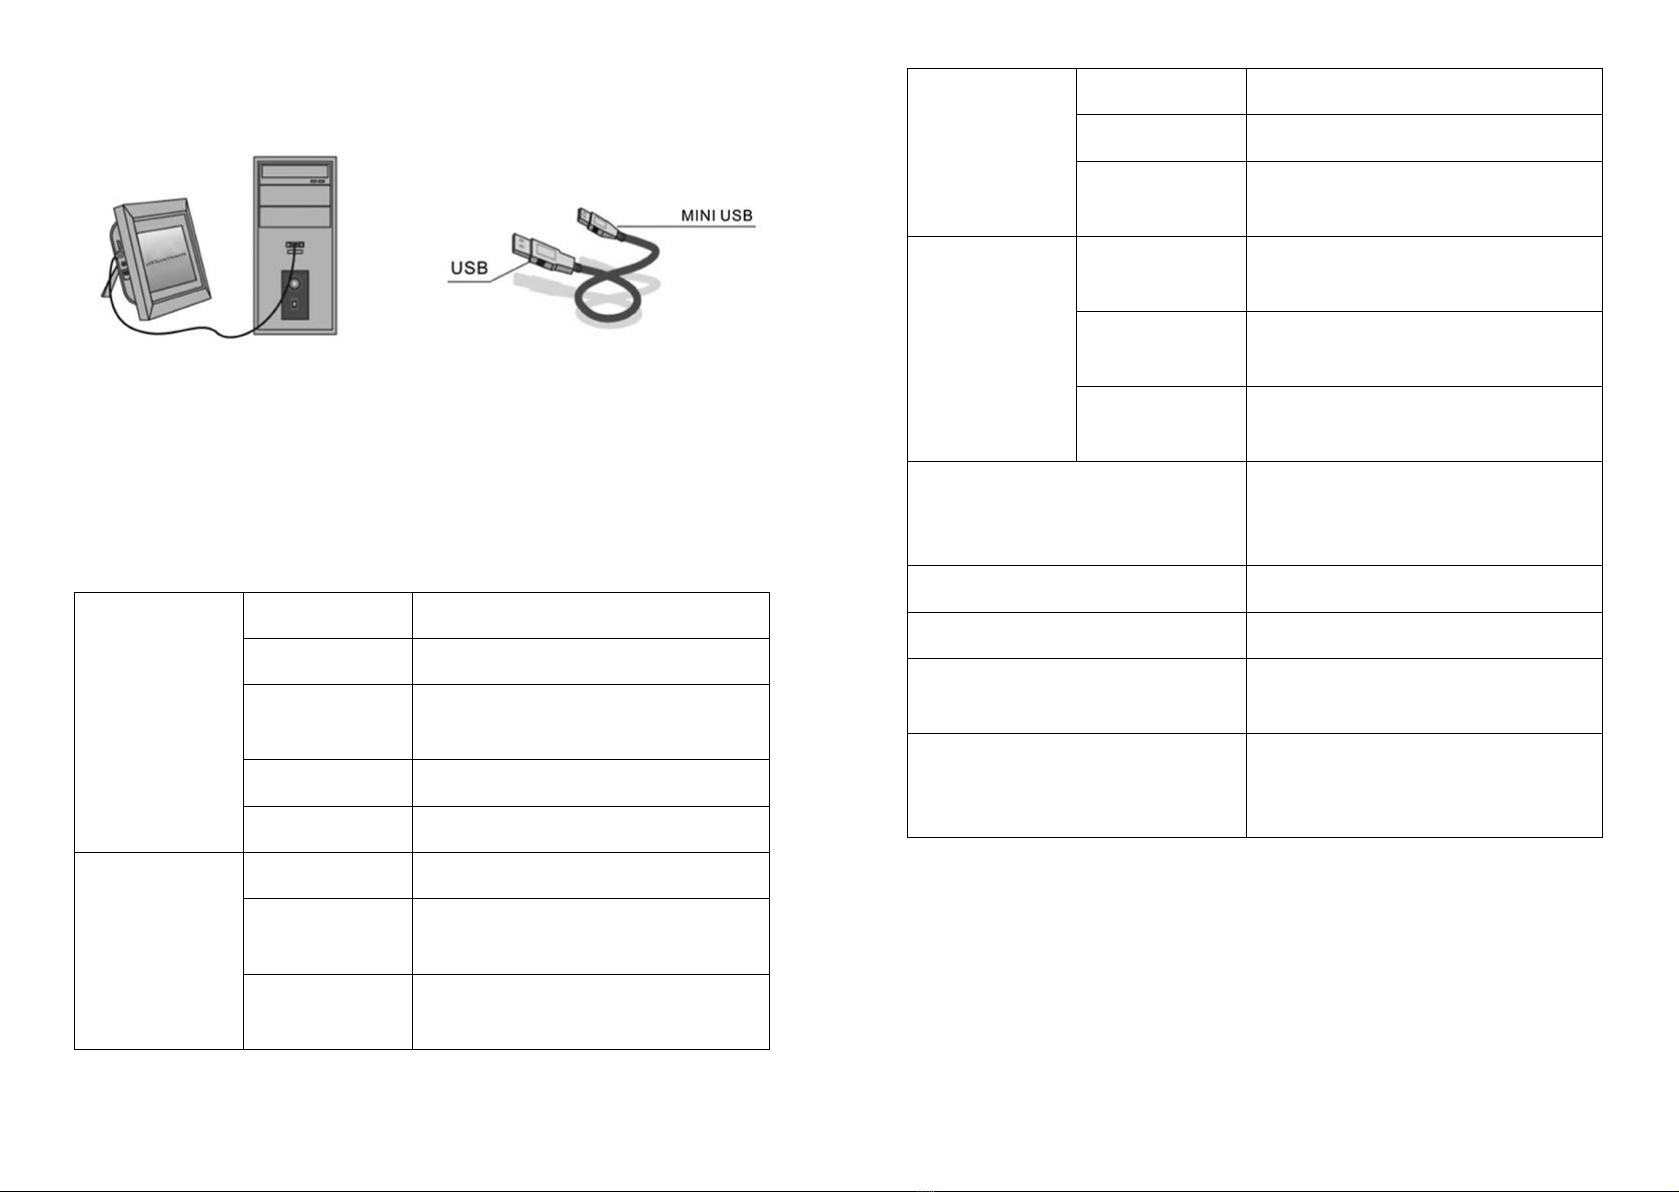
5. USB: USB 2.0HOST, Mini USB.
6. , , , /-
.
7. , , .
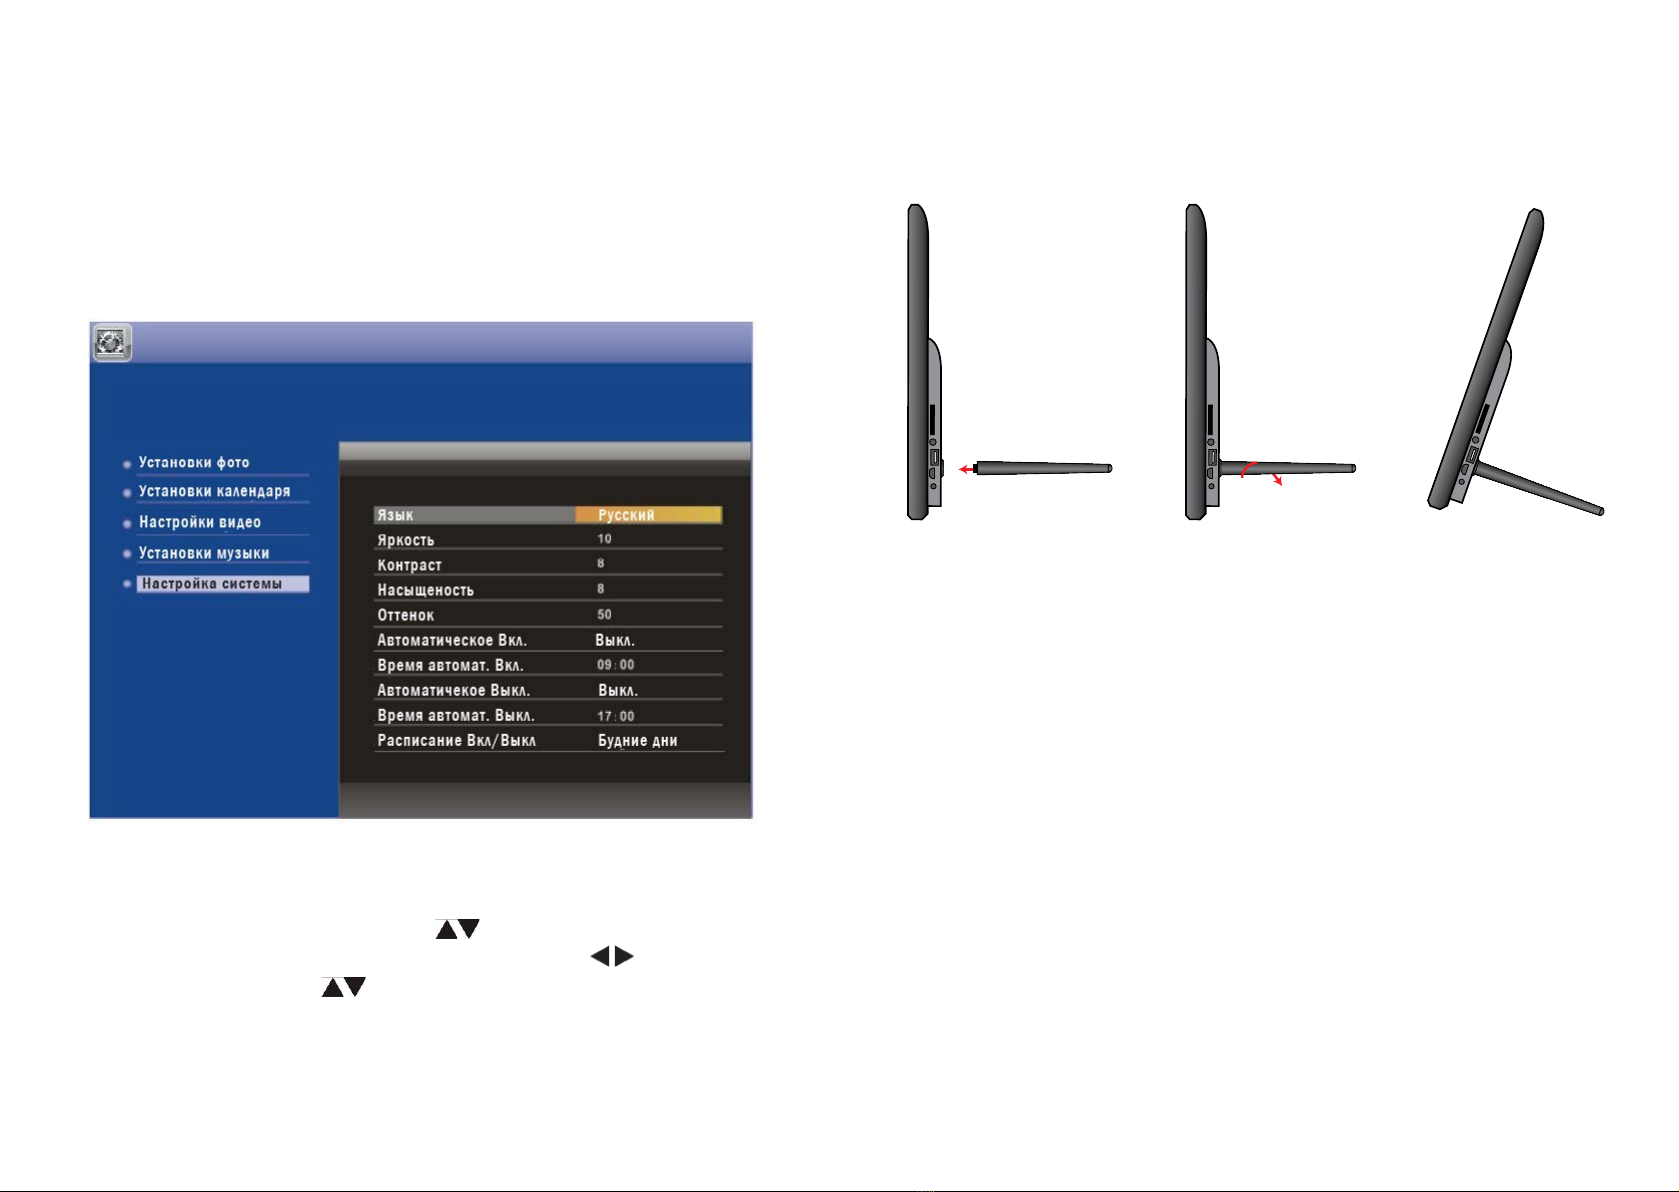
8. : -, , -
, , .
9. -
10. - .
11. .
12. (2x2)
13. - 10 -
.
14. .
15. : , .
:
1.
2.
3.
4.
5.
6. USB —
• -
.
•
.
• -
.
• -
.
• . -
. ,
. -
-
.
, -
, .
, , -
, -
. ,
-.
/USB-. -
.
, -
.