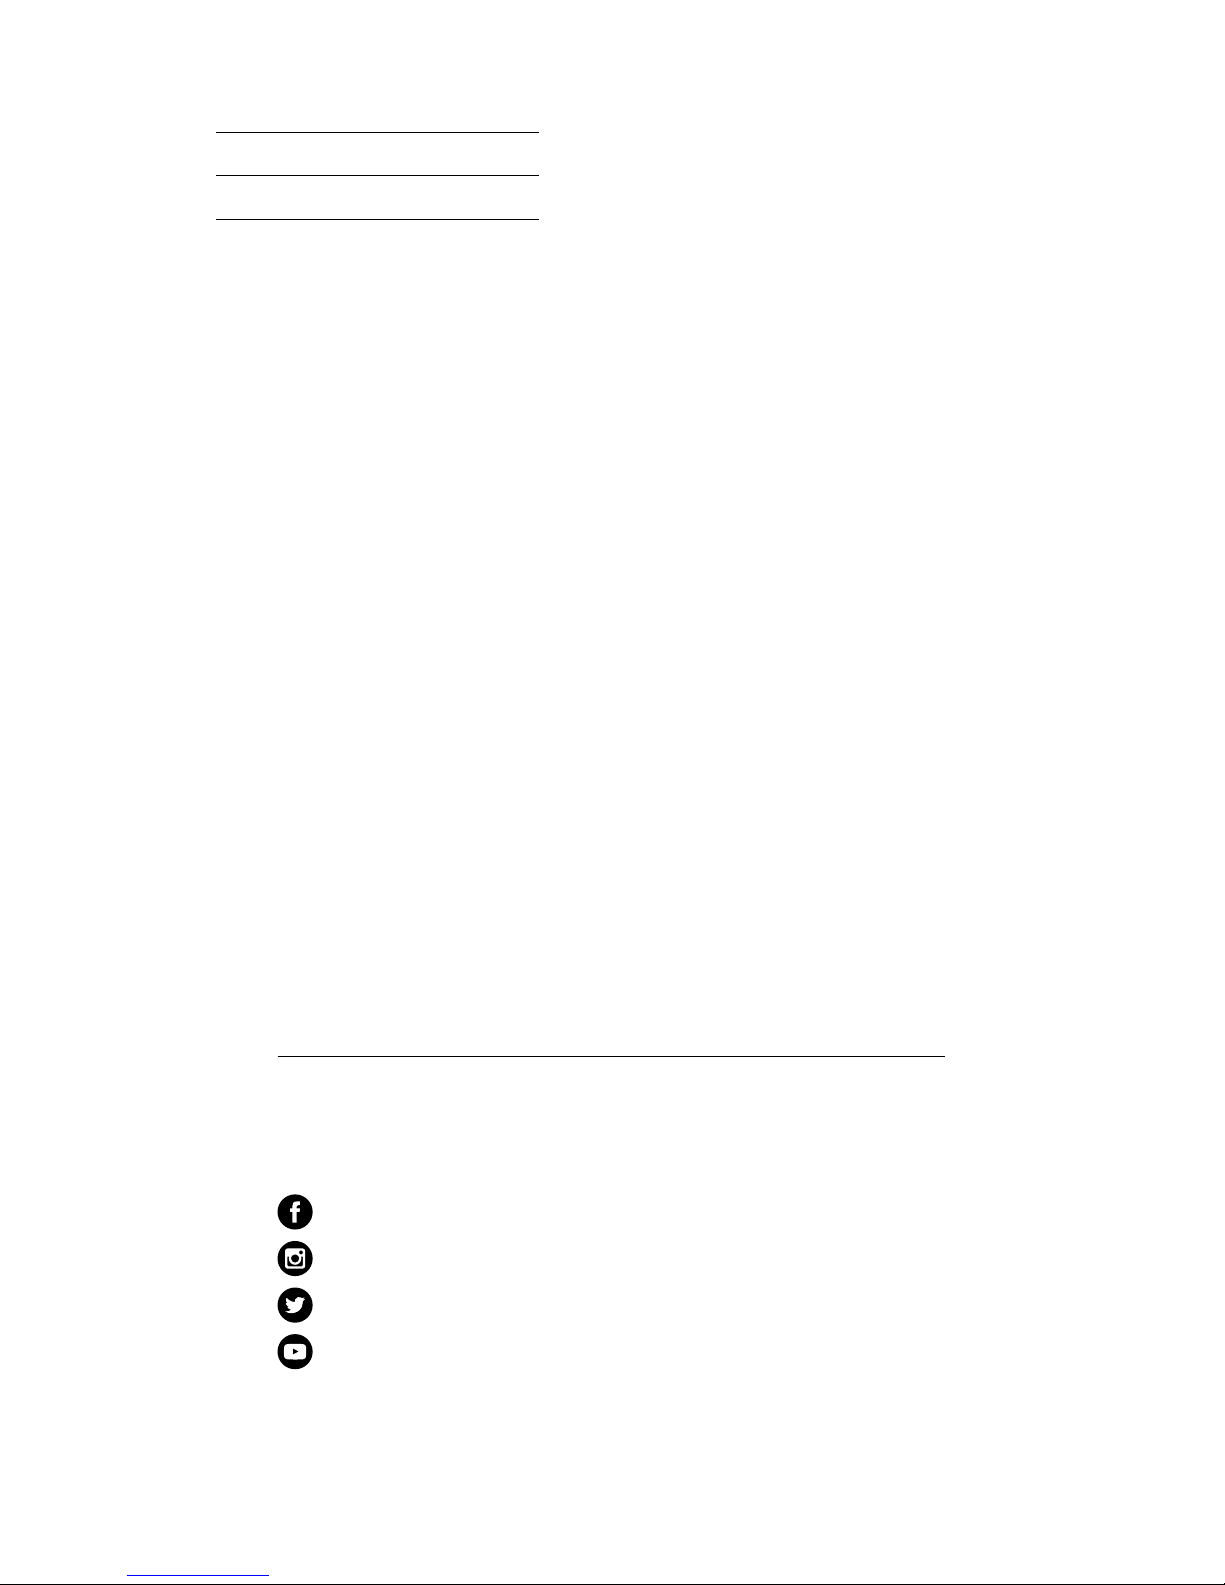
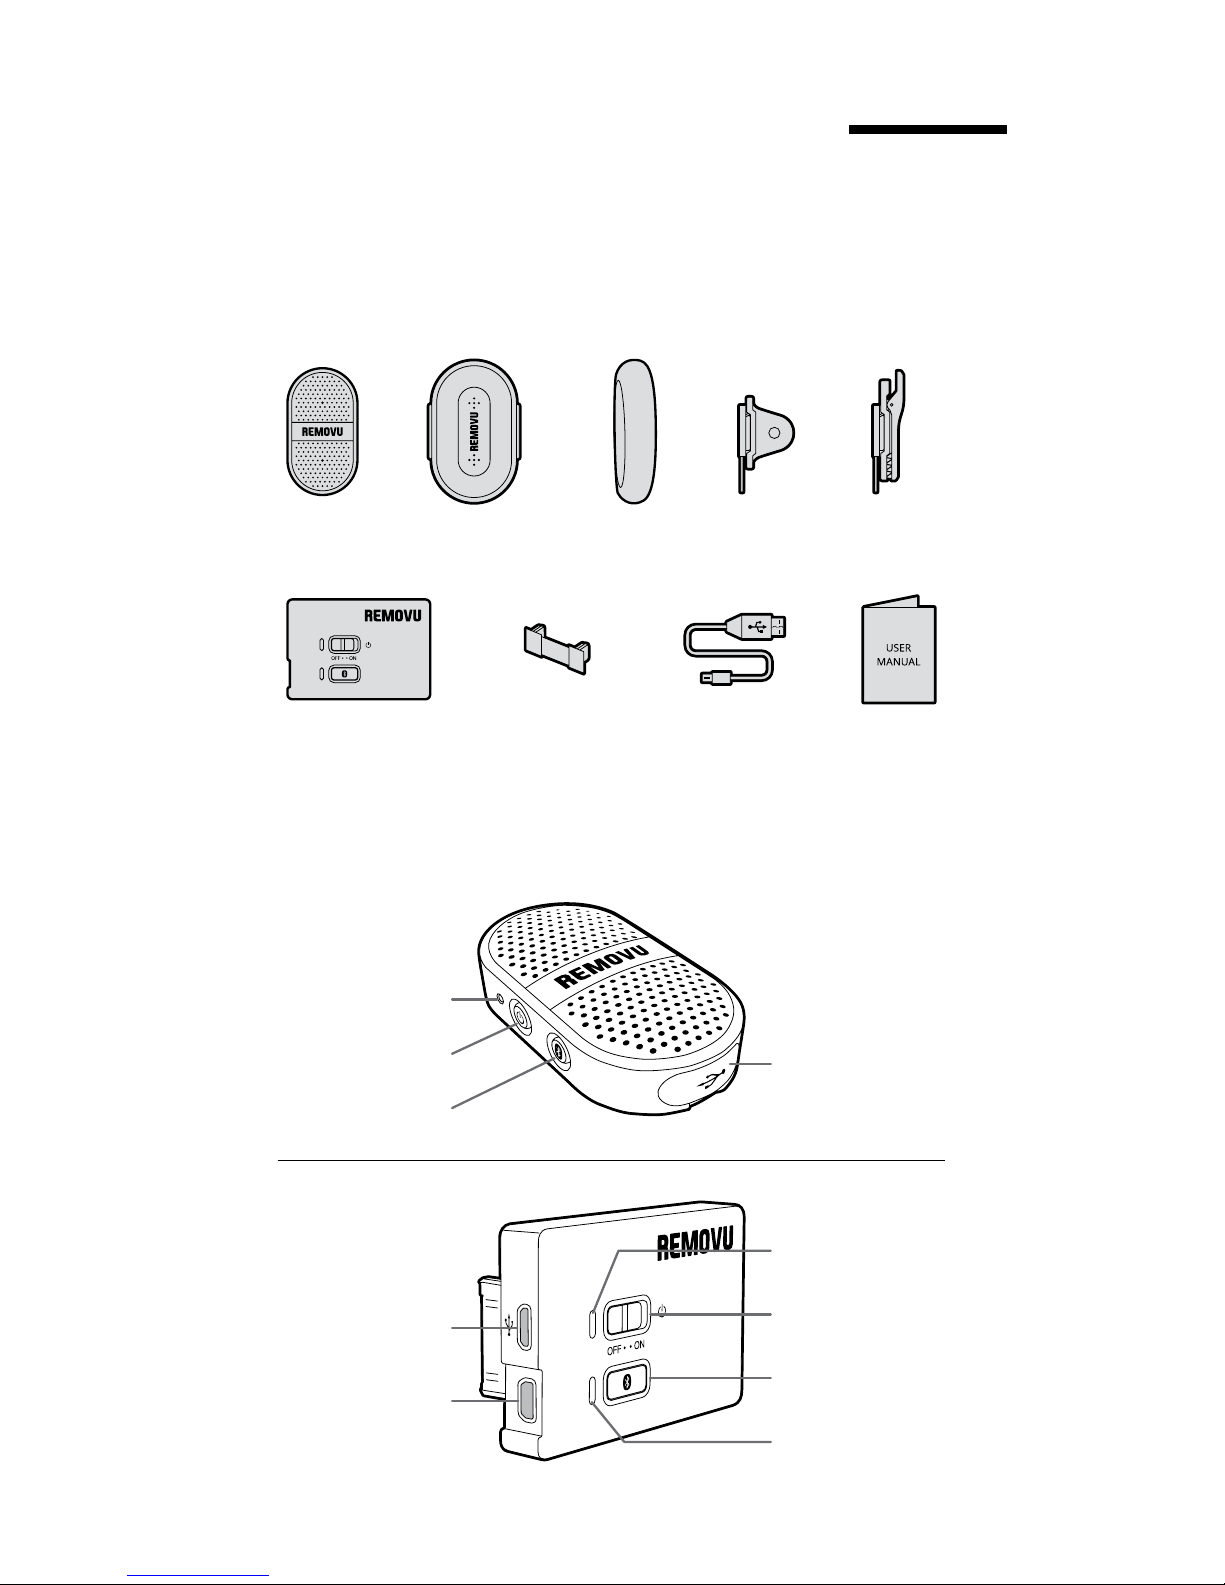
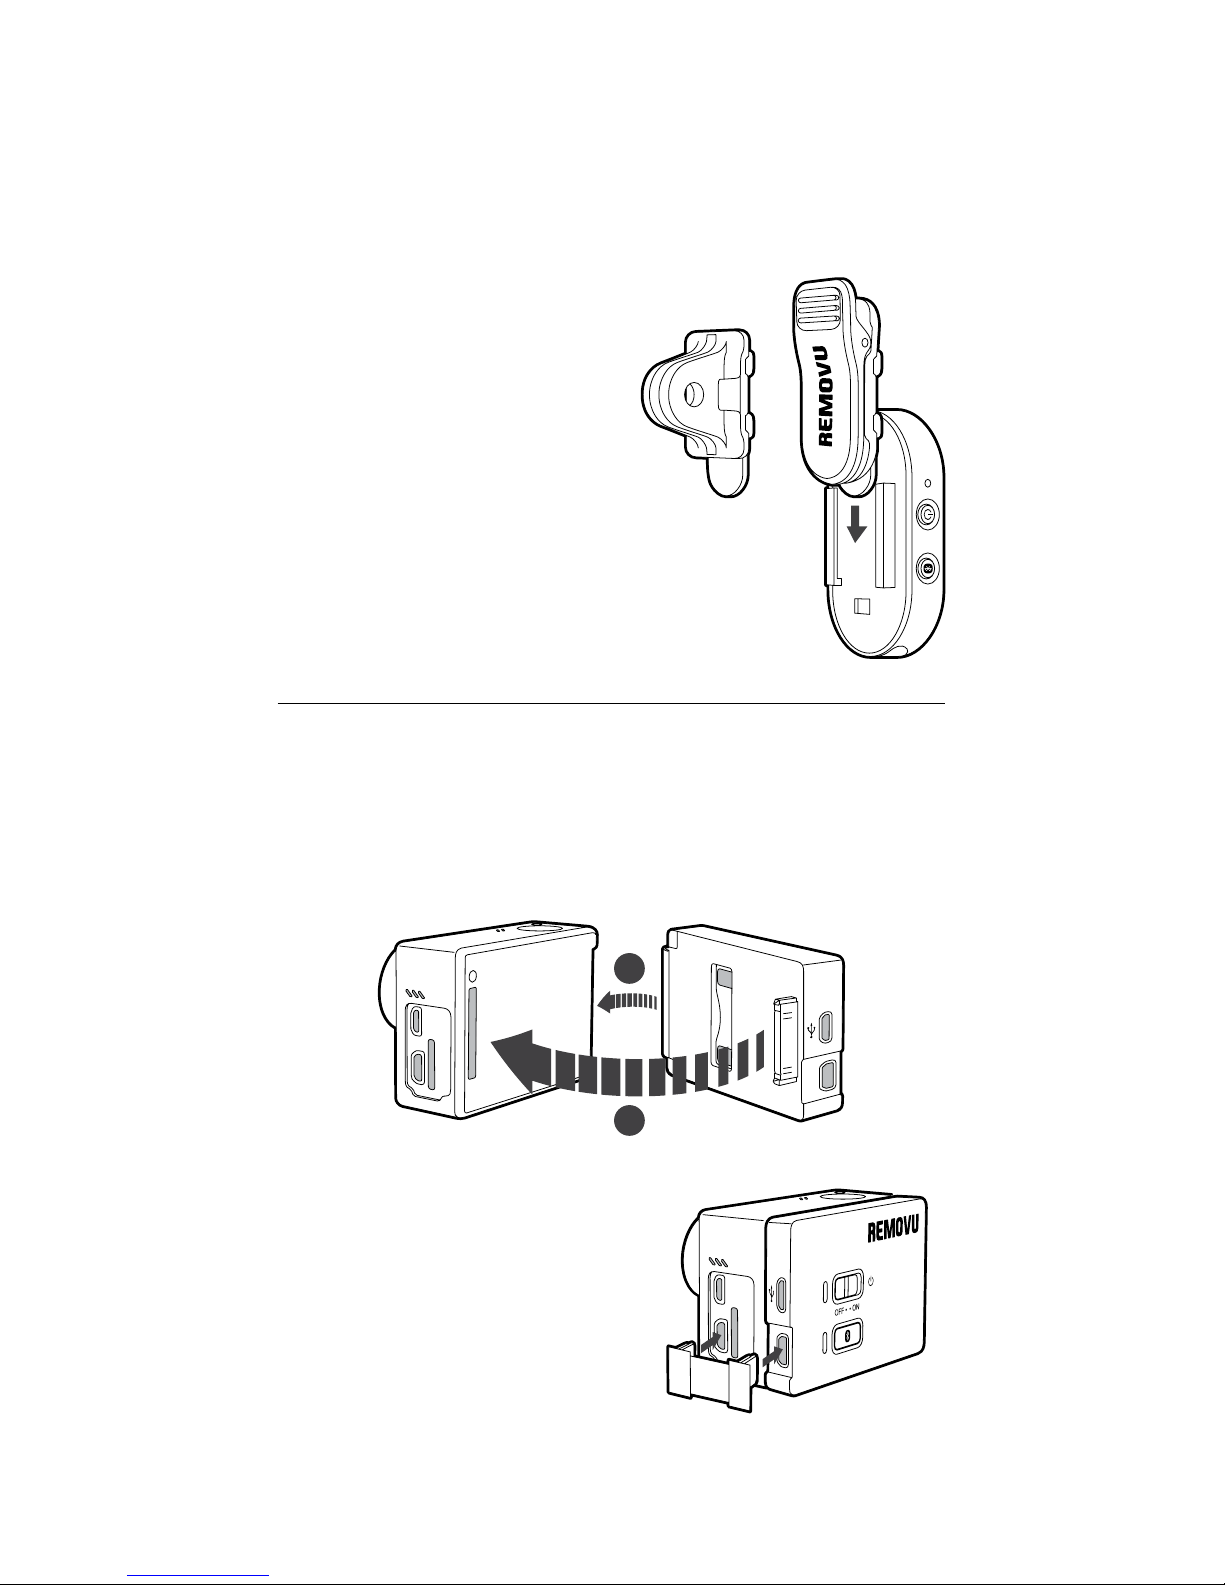
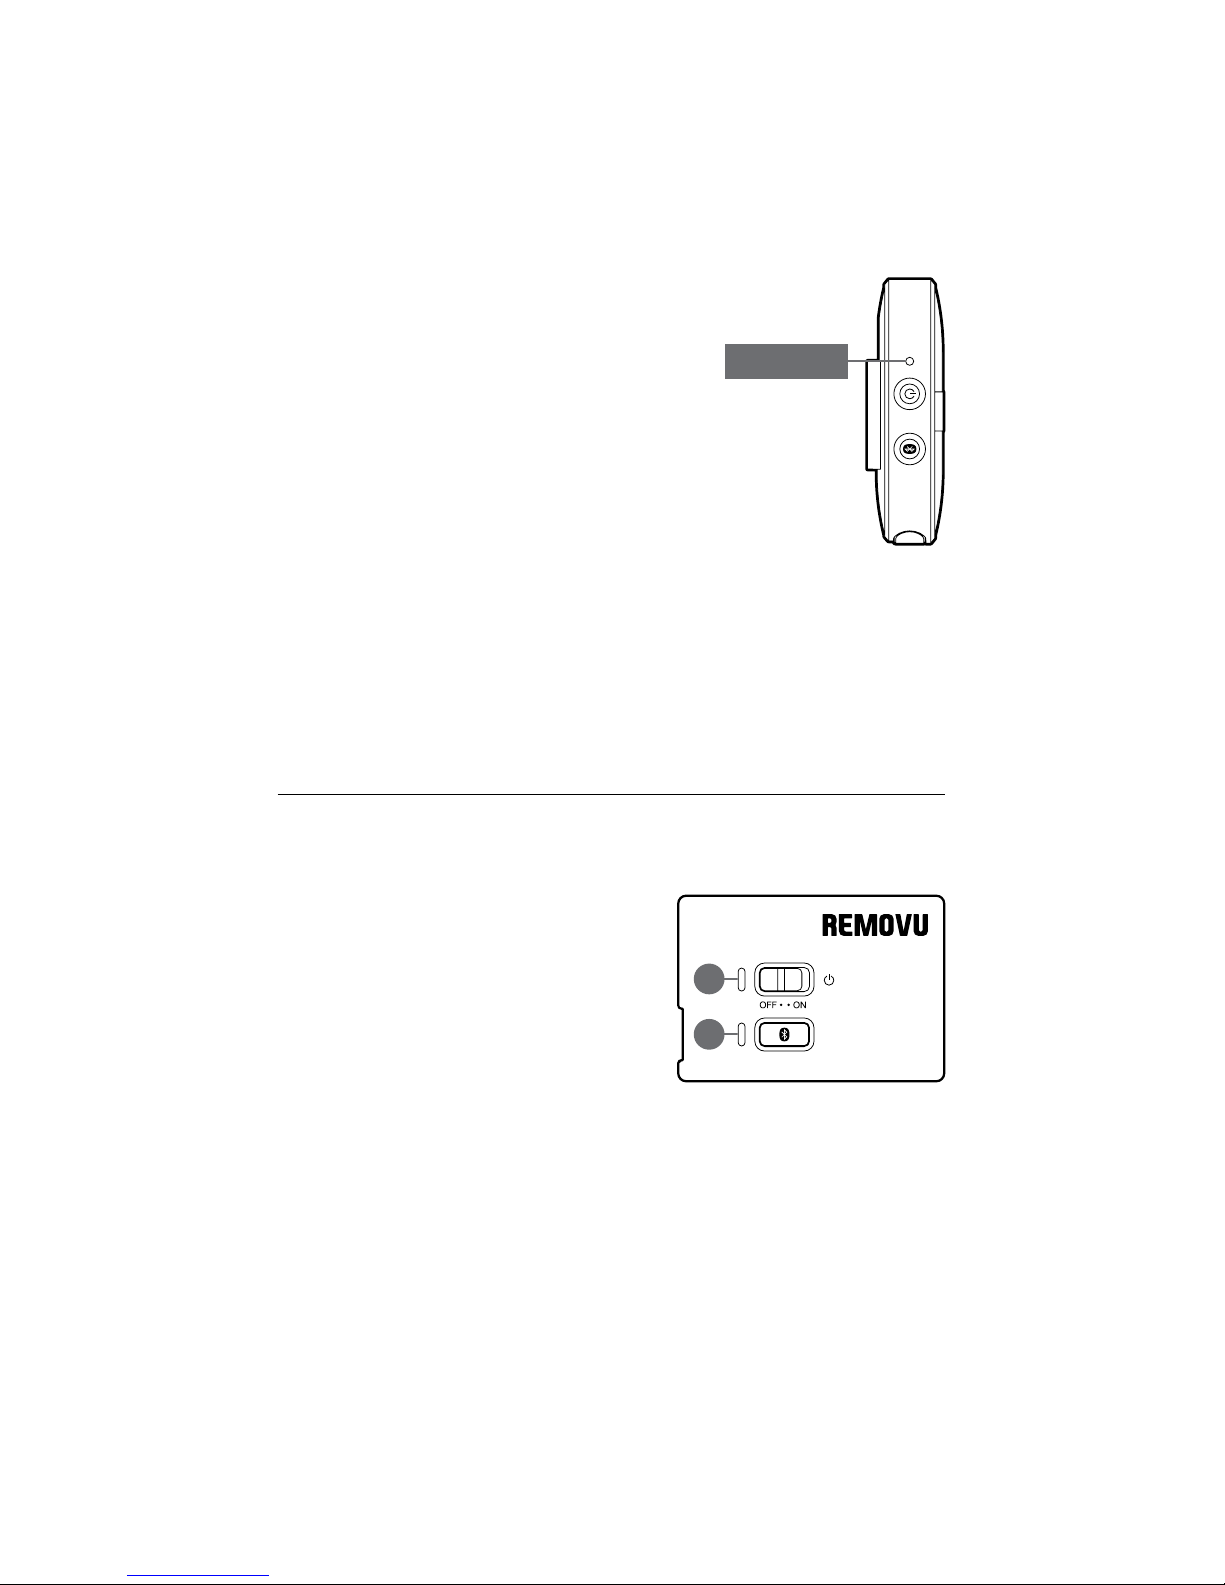
REMOVU M1+A1 User manual

Bluetooth Microphone for GoPro®
USERMANUAL

2
Join REMOVU Family
Unauthorized reproduction of this document in whole or in part is strictly prohibited.
The content of this document may be changed at any time without prior notice.
Facebook.com/removuglobal
Instagram.com/removu
Twitter.com/removuglobal
Youtube.com/removu
Product Website www.removu.com
Get support www.removu.com/support
Find Store information www.removu.com/distributors
Status LED
Power Button
Pairing Button
Micro USB Port
Camera
Connector Port
ENGLISH 3
9

3
M1
Set
A1
Set
M1 Waterproof
Housing
A1
Connector
M1
Windscreen
USB
Cable
M1 Swivel
Mount
User
Manual
M1 Swivel
Clip
English
1. Contents
2. Parts
Status LED
Power Button
Pairing Button
Micro USB Port
Battery Status LED
Power Switch
Micro USB Port
Camera
Connector Port
Pair Status LED
Pairing Button
Please make sure your package includes all of the following items.
REMOVU M1
REMOVU A1

4
1. When Charging
● Red LED: Charging
● Blue LED: Fully Charged
2. Bluetooth Pairing
● Red LED: Unpaired
● Flashing red and blue LED: Pairing
● Blue LED: Paired
3. Battery Status (Shows only when the device turns on)
● 100% ~ 76%: Red LED ashes 4 times
● 75% ~ 51%: Red LED ashes 3 times
● 50% ~ 26%: Red LED ashes 2 times
● 25% ~ 5%: Red LED ashes 1 time
● Below 5%: Red LED ashes 10 times
4. Battery Status when being used
● Below 5%: The device turns off after red LED ashes 10 times
in 0.2 second interval.
3. LED Status Indicator
REMOVU M1
REMOVU A1
1. LED1: Battery Status Indicator
● Red LED: Charging
● Blue LED: Fully Charged
2. LED2: Bluetooth Status Indicator
● Red LED: Unpaired
● Flashing red and blue LED: Pairing
● Blue LED: Paired
● Red + Blue LED: Audio Amplication Mode
3. Battery Status (Shows only when the device turns on)
● 100% ~ 76%: Red LED ashes 4 times
● 75% ~ 51%: Red LED ashes 3 times
● 50% ~ 26%: Red LED ashes 2 times
● 25% ~ 5%: Red LED ashes 1 time
● Below 5%: Red LED ashes 10 times
4. Battery Status when being used
● Below 5%: The device turns off after red LED ashes 10 times
in 0.2 second interval.
1
2
Status LED

5
4. How to use REMOVU M1+A1
REMOVU M1
REMOVU A1
1. Attach the A1 to the back of your GoPro as illustrated below.
2. Make sure plug the device into
the slot all the way.
3. Plug the connector to the GoPro
and the A1.
4. To detach, just follow previous
steps backwards.
Attaching swivel collar clip or
mount connector on M1.
or
Attaching the A1 to GoPro.
1. Slide the collar clip into the
guide rail located on the back
of M1.
2. Clip-on the device to your
collar or mount any place you
wish to attach it to.
3. You can rotate the M1 in the
desired angle.
1
2

6
5. Pairing the Device
6. To Record
7. Audio Amplication Mode
1. Pairing A1 to M1
- Turn on the A1, and press the pairing button.
- Turn on the M1, and press the pairing button.
- When the devices are paired, the LED indicators on both devices
will turn blue.
2. Pairing A1 with other Bluetooth microphones (headsets).
- Turn on the A1, and press the pairing button.
- Turn on the power of the device you are trying to use with A1
and activate the pairing mode of the device.
- When the devices are paired, the LED indicator will turn blue.
This mode is used when M1 is being used in the waterproof hous-
ing case. It amplies the sound recorded through M1.
How to Activate
1. While the devices are paired, press the pairing button on A1.
2. When you see both red and blue LED lit at the same time, it
means you have succesffully activated the audio amplication
mode.
3. To deactivate, press the pairing button on A1 again.
1. When the devices are successfully connected, and A1 and its
connector are plugged in correctly, the camera will record the
sound received from the M1 to the video.
2. Switching Microphones: If you want to switch from M1 to GoPro
internal microphone
- While A1 is connected to the GoPro, turn off pairing mode
using the pairing button on A1 or just turn off the power to use
the internal microphone of GoPro. Turn on pairing mode to use
M1 again.
- Turn off the power of M1 or unpair the device using the pairing
button to disconnect the device. Then the internal microphone
of GoPro get activated.

7
8. Waterproof Housing
With the waterproof housing, you can record the sound even
under wet condition.
To use the waterproof housing,
1. Place the M1 into the bottom part of the housing.
2. Place the lid part onto the bottom part and assemble until the
the two brackets clicks to the bottom part.
3. Turn on the Audio Amplication mode to record your sound.
To remove the waterproof housing,
1. Lift up the two brackets that are holding the top and bottom
parts of the case together.
2. Pull off the top part from the bottom part.
3. Remove the M1 from the case.
1
2
2
3
3

8
9. Warranty Information
Essel-t Co., LTD. (“essel-t”) warrants that essel-t’s devices and
accessories (“Products”) are free from defects in material and work-
manship under normal use and service for the period commencing
upon the date of purchase by the rst consumer purchaser and
continuing for 18 months period of time after that date.
This Limited Warranty is conditioned upon proper use of Product
by Purchaser. This Limited Warranty does not cover:
Standard Limited Warranty
Exclusions and Limitations
(a)
(b)
(c)
(d)
(e)
(f)
(g)
(h)
(i)
Defects or damage resulting from accident, misuse, abnormal
use, abnormal conditions, improper storage, exposure to liquid,
moisture, dampness, sand or dirt, neglect, or unusual physical,
electrical or electromechanical stress;
Scratches, dents and cosmetic damage, unless caused by
essel-t;
Defects or damage resulting from excessive force or use of a
metallic object when pressing on a touch screen;
Equipment that has the serial number or the enhancement data
code removed, defaced, damaged, altered or made illegible;
Ordinary wear and tear;
Defects or damage resulting from the use of Product in con-
junction or connection with accessories, products, or ancillary/
peripheral equipment not furnished or approved by essel-t;
Defects or damage resulting from improper testing, operation,
maintenance, installation, service, or adjustment not furnished
or approved by essel-t;
Defects or damage resulting from external causes such as
collision with an object, re, ooding, dirt, windstorm, lightning,
earthquake, exposure to weather conditions, theft, blown fuse,
or improper use of any electrical source;
The battery has been charged by a battery charger not speci-
ed or approved by essel-t for charging the battery;

9

10
1
2
Status LED

11
or
1
2

12

13
1
2
3
2
3

REMOVU®by essel-t co., ltd.
Copyright 2015 essel-t co., ltd. All Rights Reserved. Patents Pending.
REMOVU®is a trademark of essel-t co., ltd.
registered in the U.S. and other countries.
GoPro®is a trademark of GoPro Inc.,
registered in the U.S. and other countries.
www.removu.com
Frequency : 2402 ~ 2480 MHz
A1: Bluetooth V4.0 / M1 : Bluetooth V3.0 (Not support LE)
Temperature : -20 ~ 50℃
Power : 3.8V
FCCID: 2AC73-M1 / 2AC73-A1
This equipment has been tested and found to comply with the limits for a
class B digital device, pursuant to Part 15 of the FCC Rules. These limits are
designed to provide reasonable protection against harmful interference in a
residential installation. This equipment generates uses and can radiate radio
frequency energy and, if not installed and used in accordance with the
instructions, may cause harmful interference to radio communications.
However, there is no guarantee that interference will not occur in a particular
installation. If this equipment does cause harmful interference or television
reception, which can be determined by turning the equipment off and on, the
user is encouraged to try to correct the interference by one or more of the
following measures:
• Reorient or relocate the receiving antenna.
• Increase the separation between the equipment and receiver.
• Connect the equipment into an outlet on a
circuit diff erent from that to which the receiver is connected.
• Consult the dealer or an experienced radio/TV technician for help.
Hereby, ESSEL-T CO.,LTD declares that this M1 & A1 is in compliance with the
essential requirements and other relevant provisions of directive 1999/5/EC.)

Table of contents
Other REMOVU Microphone manuals