resideo Genesis Touch User manual

Health Monitor Instructions
Genesis Touch Health Monitor

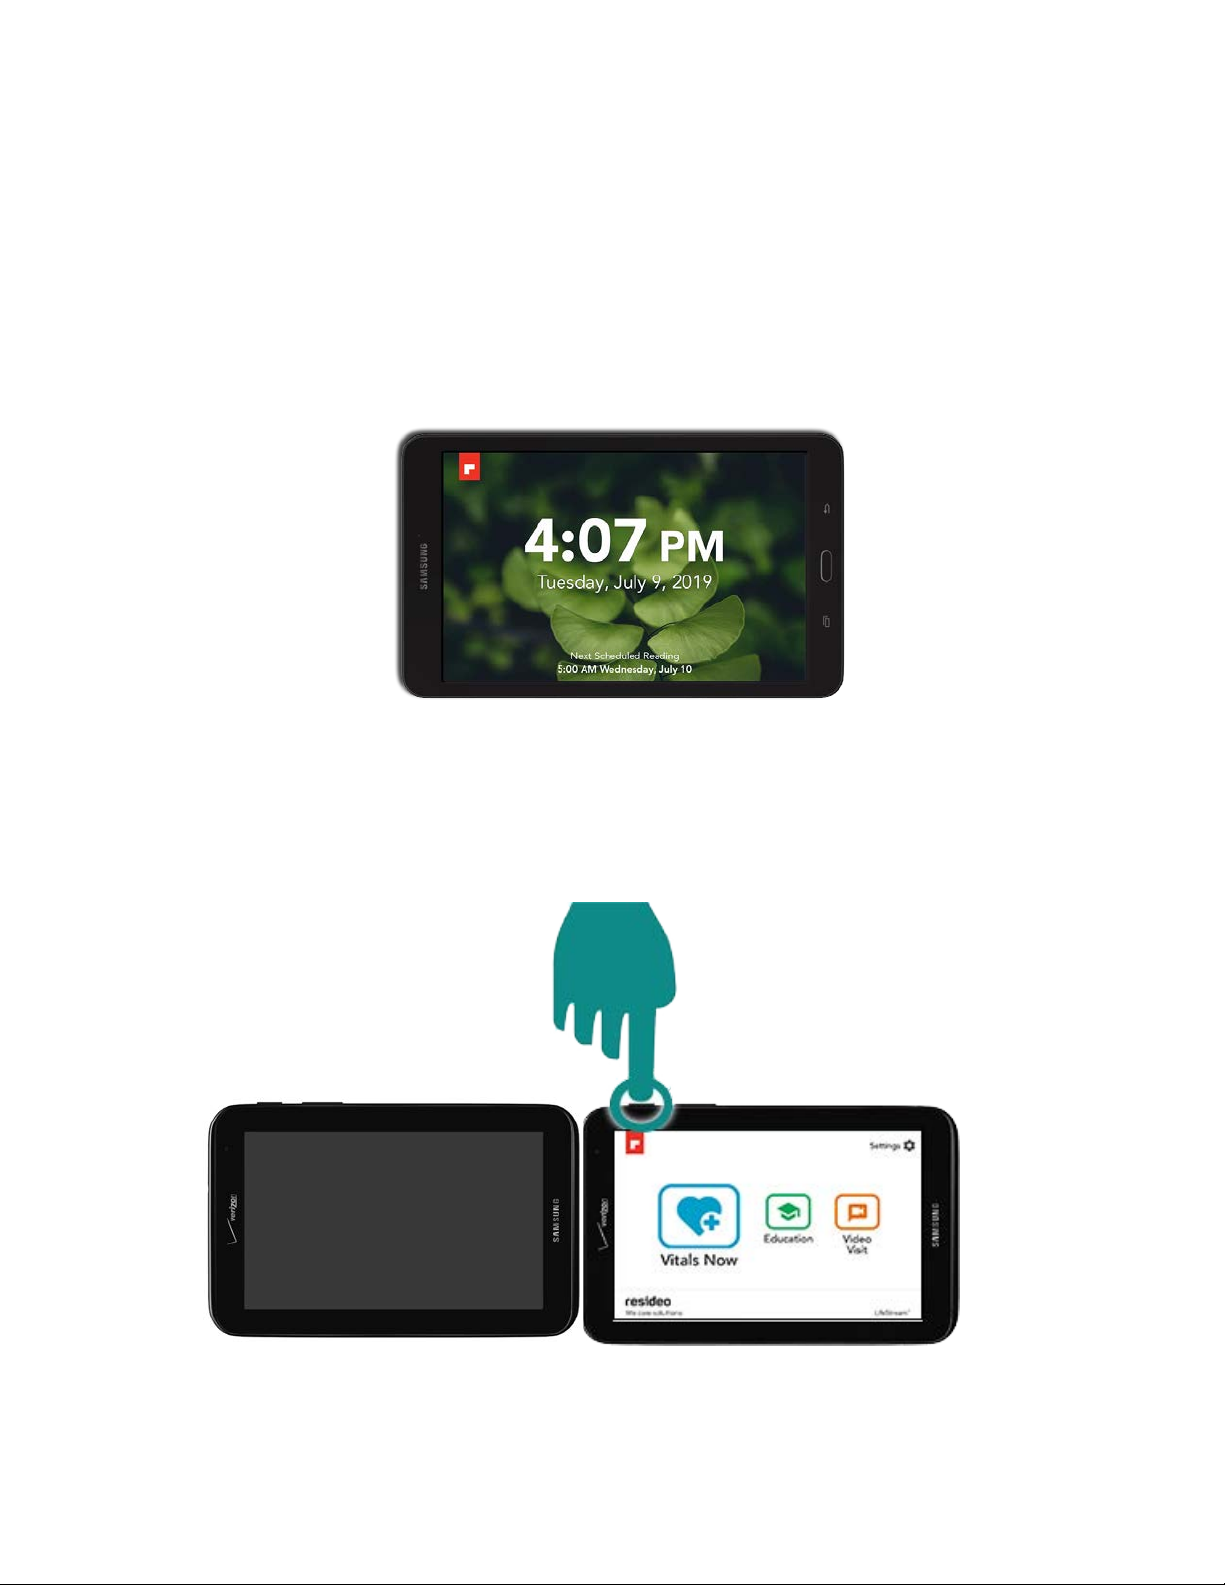
You are using a Genesis Touch Monitor, also
known as just a monitor. It is used to collect
and show you your vital signs.
Your vital signs may be reported from medical
devices that measure:
Blood Pressure
Blood Oxygen
Heart Rate
Weight
Temperature
Blood Glucose
INR
Lung Function (PEF and FEV1)
Vital signs may also be manually entered.
Your care provider will show you how to use
the medical devices and when to manually enter
your vitals. Your vital sign measurements will
be sent to your care provider and may be part of
your health record.
Read the user manuals of your medical
devices for additional information and
use as directed.
Warning
Risk of ELECTRICAL SHOCK
DO NOT spray cleaners on or into the unit.
DO NOT put in water or other liquid.
DO NOT use with wet hands.
DO NOT use the monitor or turn on if it is wet.
DO NOT disassemble.
DO NOT expose to dust, dirt or sand.
DO NOT put in an oven, microwave or dryer.
DO NOT use a power cord from another device
DO NOT operate on your lap.
DO NOT drop, knock, or shake the unit.
THIS MONITOR IS FOR YOUR USE ONLY
EXPLOSION HAZARD
This monitor could cause a fire if used or placed
next to flammable liquids, gas or explosives.
Heat can also damage the monitor or cause the
monitor to explode.
NOT A TOY OR BABY MONITOR
If children are using this monitor for medical
reasons, they must be supervised or trained by a
care provider.
IMPLANTABLE MEDICAL DEVICES
Keep the monitor six (6) inches away from your
body. TURN OFF the monitor and ask your care
provider for assistance if you think your
implantable medical device is not functioning
correctly.
CABLES CAN CREATE A TRIPPING HAZARD
Be careful when placing cables, wires and
hoses.
USE ONLY APPROVED MEDICAL ITEMS
Ask a care provider if you do not know what
items to use with this device. Using the wrong
items may cause damage or break the monitor.
TOUCH SCREEN DAMAGE
DO NOT use sharp, pointed or hard items.
DO NOT use if monitor screen is broken.
DO NOT CHANGE THE MONITOR SETTINGS
DO NOT REMOVE THE SIM CARD.
Use your monitor only as described in these
instructions. Contact your care provider with
any questions or to help solve any problems.
Indications for Use: The Honeywell HomMed Genesis Touch System is designed to retrospectively monitor vital signs. Vital
signs include noninvasive blood pressure, pulse oximetry, pulse rate, weight, temperature, blood sugar, prothrombin time/
international normalized ratio (PT/INR), peak expiratory flow (PEF) and forced expiratory volume (FEV1). The GenesisTouch
System collects, displays and transmits vital signs measurements from commercially available medical devices designed for
home use. Collected measurement data from the Genesis Touch System can then be transmitted via a communication module to
a central viewing station where the data can be viewed and analyzed by a healthcare professional. The Genesis Touch System is
intended for home use by patients and caregivers or in a healthcare related environment by healthcare providers.
Contra-Indications: The Genesis Touch System is not intended for emergency use or real-time monitoring and does not have
auditory or visual alarms for out-of-limit parameters.

Patient Telemonitoring Instructions
Contact Information
The monitor is NOT an emergency contact device. If you are experiencing an
emergency use your phone for help. Use the table below for important information:
Your monitor will be personalized for your needs. Vital sign measurements may be
scheduled so that your Genesis Touch reminds you when to take vital signs.
Handling Spills
Call your health care provider right away if the spill was more than a few drops or
if liquid is inside the monitor. If you spill liquid on the monitor or scale:
•Unplug the monitor from the wall outlet.
• Wipe up the spill with a clean, soft cloth.
• Let the monitor dry completely.
• Notify your care provider that you have disconnected the monitor.
• Only if you are sure the monitor is dry, plug the monitor back into the outlet.
For: Contact:
A Medical
Emergency: Your local emergency service
Health Care
Providers:
Other:
Time to
take your
vital signs
Time to
take your
vital signs

Patient Telemonitoring Instructions
Waking Up Your Monitor
Make sure your monitor is always ON. When it is on it will remind you when your
care provider wants you to take your vital signs.
Most of the time when your monitor is on, you will see the time displayed, as well
as when your next scheduled reading is. You can touch the screen anywhere if you
need to wake the monitor up, to take a reading, read education or attend a video
visit, like shown below.:
Turning Your Monitor Screen On
If your monitor screen is not on, you will see a black screen like below.
Press the Power button to turn the monitor screen back on.
If the monitor still does not turn on, check to see that it is plugged in.
The monitor screen is off: Press the Power button to
turn the monitor screen on:

Patient Telemonitoring Instructions
Using Monitor Keys
To use buttons simply touch the icon with your finger tip.
Button Function
Power Use this button to turn the monitor on.
Volume Allows you to adjust the monitor’s volume.
Table 1: Monitor Buttons
Key Icon Function
Vitals
Now As instructed by your care provider, press this button to begin taking your vital
signs measurements. Vital sign measurements may include hand-entered vitals, or
measurements collected by medical devices that your care provider gave you.
Next Use this button to complete a step and go on to the next step. You may also hold
this button to skip entering a vital sign if requested by a care provider.
Back Redo a step or go back to the previous screen. You can continue to go back to the
previous screen until you no longer see a back button.
Settings Change the brightness of the screen and volume of the monitor. If your care
provider asks you to go to the Status Screen, use this button to get there.
Video Allows you to join a video visit with your care provider and family. This button
will only appear if your care provider has shown you how to have a video visit.
Education Your clinician may turn this button on so that you may access a variety of health
recommendations about your condition, or general health and wellness tips.
Return Allows you to return to the previous screen or the Vitals Now screen.
This button may be on the right side of the monitor or below the screen:..
Background From the Settings menu, tap to select a background when the monitor sleeps.

Patient Telemonitoring Instructions
Getting Back to the Genesis Touch Screen
A window might pop up on the screen that looks odd or different. If it remains on
the screen while you are trying to take your vitals, it is possible to go back to the
Genesis Touch monitor and continue taking vitals by pressing the Return Key:
The return key may be on the frame of your monitor, so it is easy to locate. It can
also appear in a black bar on the bottom of your screen.
Examples
In your screen looks like these examples, select the Return Key:
When you see an X, like shown on the left. You may tap the X to
close the window that has popped up.
If you have tried pressing the Return Key and the X button, and
you are not able to take your vital signs as normal, please contact
your care provider.

Patient Telemonitoring Instructions
Adjusting Brightness and Volume
Your care provider will adjust the volume and brightness settings for you.
To adjust the brightness and volume yourself:
1. From the Vitals Now/Home screen, select the Settings button ( ). A screen
similar to the following appears:
2. Select Brightness & Volume. A screen similar to the following appears:
3. To increase the brightness or volume, place your fingertip on the light
bulb or speaker icon. Slide your finger to the left to decrease brightness
or volume. Slide your finger to the right to increase brightness or
volume.
4. Select the Back button when you are done. The Settings screen
appears again. Press the button again to return to the Vitals Now /
Home Screen.

You may customize the idle screen that displays while the monitor is not in
use. From the Home screen:
1. Select Settings
2. Select Background
3. Tap a preferred background.
4. Select Back to return
The new background will display after a period of inactivity.
Your scheduled reading will be listed below the date and time.
Updating the Background of the Monitor

Patient Telemonitoring Instructions
Vital Signs Entry
Your monitor provides two options for taking vital signs. Vital signs can be
scheduled so that you are asked to report them at the time your care provider sets.
You also can take your vital signs at any time.
Before you take the first set of vital signs, ensure that you know how to use each
piece of equipment. If you have any questions, contact your care provider.
Responding to Scheduled Vitals
When your vital signs are scheduled, the monitor wakes up and tells you that it’s
time to take your vital signs.
1. Press the Next button to begin.
2. When questions are asked of you, following screen appears. Questions are also
read aloud for you. As shown below, a question has been asked:
Select either Yes or No in response to the question.
When the questions are done, the monitor will then ask you to take your vital signs.

Patient Telemonitoring Instructions
Taking Vital Signs Readings
You can send vitals to your health care provider at any time.You do not have to wait
for a scheduled report time. You would normally do this if a care provider requests
that you take your Vital Signs.
Remember that vitals may only be reviewed during the day, so if you send a reading
in the middle of the night, your health care provider may not look at the reading
until much later. This is not an emergency response device.
1. To take vital signs manually, touch the monitor screen to wake it up. The
following screen appears:
2. Select Vitals Now. A screen similar to the following appears:
3. For the vitals related to Blood Glucose, INR and Peak Flow, please follow the
instructions in the section, Manually Entering Blood Glucose, INR & Peak Flow.
4. If you are entering other vital signs, please continue to the next page.

Patient Telemonitoring Instructions
To: Do this:
Selectall
of the
vital
signs
1. Press Select All. All available vital signs will be highlighted.
The following picture is an example. Your list of vital signs to enter may be different:
Select
only
specific
vital
signs
2. Select the button related to the vital sign you want to take.
Remember to do this only when your care provider asks you to
retake vitals, or if you are taking them for your information only.
Select the Next button. A screen like the following appears:
To: Do this:
Send your vitals to
your care provider Select Yes. The system will use the vital sign you
selected and send it to your care provider.
Take vitals without
sending information
to the care provider
Select No. The system will allow you to report your
vital sign, but does not transmit to a care provider. This
may be what you select if you are taking vital signs for
your own daily health log.

Patient Telemonitoring Instructions
Taking Your Blood Oxygen Measurement
1. If the monitor asks you to take your blood oxygen reading, press the power
button on top of the oximeter. If there is no button, skip to number 2:
2. Place the oximeter on your middle finger with the display on top and keep it
there until a reading is gathered. The oximeter will open like a clothespin.
3. The screen will change when it has connected to your blood oxygen device:
4. A reading summary appears:
If you cannot see a reading, remove false nails or finger nail polish and try again.
5. Remove the pulse oximeter as directed by the monitor.
A Contec oximeter is shown above
Press the power
button to turn the
device on first.

Patient Telemonitoring Instructions
Blood Pressure Readings
There are a few things you should know about taking your blood pressure.
First, make sure you have read the user manual provided by your blood
pressure device manufacturer, and take notes as your care provider instructs.
Preparing to Take a Blood Pressure Measurement
• Sit comfortably on a chair and relax for a few minutes before taking a reading.
• Rest your arm so that it is at or below your heart level.
• Try to always take your reading in the same position and use the same arm.
• A reading may take up to 3 minutes. The cuff will become very tight but it will deflate soon.
• Place the blood pressure cuff against your skin, and NOT over clothing.
• Do NOT roll up your shirt sleeve tightly.
• If you are using an oximeter, place the cuff on the arm opposite the oximeter.
IMPORTANT:Make sure that the blood pressure hoses are not kinked, compressed or restricted.
Placing the Blood Pressure Cuff
1. Hold the cuff so that once on your arm, the cord points toward your hand.
2. With the palm of your hand up, slip your
hand through the cuff.
Place the cuff tube off-center, toward the
inner side of the arm so that it is in line with
your little finger.
3. Slide the cuff up your arm over your
elbow. There should be about a two-finger
space between the bend in your elbow and
the cuff.
4. Do not make the cuff too tight. You
should be able to slide a finger between the
cuff and your arm.
5. Wrap the cuff end under and around your
arm and fasten it to the velcro.
6. Confirm that the index arrow points
within the proper cuff fit range.
CAUTION: Personal Injury Hazard
Prolonged inflation can result in impairment of circulation.
Stop inflation at any time by pressing the Start key.
To restart inflation, press the Start key.

Patient Telemonitoring Instructions
Taking Your Blood Pressure Measurement
1.The monitor prompts you to take
your reading as shown here. Check
that your blood pressure cuff is in
position at this time.
2.Briefly press the START button on
the blood pressure unit as shown in the
picture below. Do NOT hold the
button down.
3. The blood pressure unit lights up, the cuff begins to inflate, and a screen similar
to the following appears on your monitor:
If you are looking at your blood pressure monitor, the cuff inflation pressure will
increase as your reading is taken. When it has finished, the cuff deflates and the
monitor displays your reading.
4. You may remove the blood pressure cuff as instructed by your monitor.

Patient Telemonitoring Instructions
Taking Your Weight Measurement
When the monitor prompts you to step on the scale, a screen similar to the
following appears:
1. The monitor may take a moment to connect to the device.
Follow all directions that appear and remain still.
2. Step on the middle of the scale as directed.
3. Stand as still as possible for about five seconds.A screen similar to the following
may appear as the monitor obtains a reading:

Patient Telemonitoring Instructions
4. If your weight is recorded, please step off the scale as directed by the monitor:
5. After 30 seconds, if the monitor has not told you to step off of the scale, take a
look at your scale. You may have a scale that looks like the following.
6. This kind of scale beeps when a reading has been attained, and the words “Step
Off” are displayed on your scale screen as shown. Step off the scale as directed:
7. You will see the following screen once you step off of the scale, with your
weight displayed:.
CAUTION:Personal Injury Hazard
Weight placed on the edge of the scale may cause the scale to tip and
cause you to fall. Do NOT step onto or attempt to stand on the edge
of the scale.

Patient Telemonitoring Instructions
Blood Glucose Measurements with the MyGlucoHealth Device
Refer to manufacturer’s documentation for more information on peripheral devices.
1. When you are prompted to enter your vital signs, follow all directions.
Press the up button on your paired glucose meter to send your vitals, as the monitor
will ask you to do.
2. The glucometer will beep and your last reading is displayed on the monitor:.
If you have a different type of device, not shown in this guide, connect the
Glucometer to your Bluetooth adapter to transmit readings as instructed.
If you are manually entering your blood glucose readings, go to Manually Entering
Peak Flow, INR and Blood Glucose Vital Signs on page 16.

Patient Telemonitoring Instructions
Manually Entering Most Vital Signs
All information may be entered when prompted by screens similar to the following.
Make sure you enter information as displayed directly from your device.
The pictures on the right are examples of
what you may see as you report a vital
sign.
• Be aware of the need to enter a
decimal point when needed like the
example on the right.
• When you press a button, it lights up.
• The numbers you type will be
displayed, confirming entry.
•The monitor will guide you by
explaining what an expected reading
range could be (highlighted in red). If
your reading is outside of the range
displayed on your monitor screen,
report this to your care provider.
If you made a mistake, press the Delete button to re-enter a measurement:
Press Next to continue after you have typed in your vital signs:

Patient Telemonitoring Instructions
Manually Entering Peak Flow, INR and Blood Glucose Vital Signs
Report vital sign readings soon after taking them and be aware of how to find the
date and time of your reading on your device. The time of these vital sign readings
is important and you will need to enter the time and date. To do this:
1. Press the AM/PM button once for AM and twice for PM..
2. Press the Date button to select either yesterday or today.
3. When you are done entering the time, press the Next button:
4. Now enter the reading you have
recorded, or as it appears on your
device.You must enter a valid reading
in order to continue. A valid range of
vital signs values is displayed under
your entered values as shown on the
right:
5. You will see a reading summary
window when your vital signs have
been entered.
Read the information displayed on the monitor and take your next vital sign if
asked to do so by the monitor.

Patient Telemonitoring Instructions
Transmitting Data
When all tests are complete, a screen similar to the following appears:
The following screen appears letting you know that you have completed your vitals:
Reminders or education may display at this time, before returning to your
reading summary screen or a final review.
Select Done. Your monitor will return to the Vitals Now / Home Screen.
Table of contents