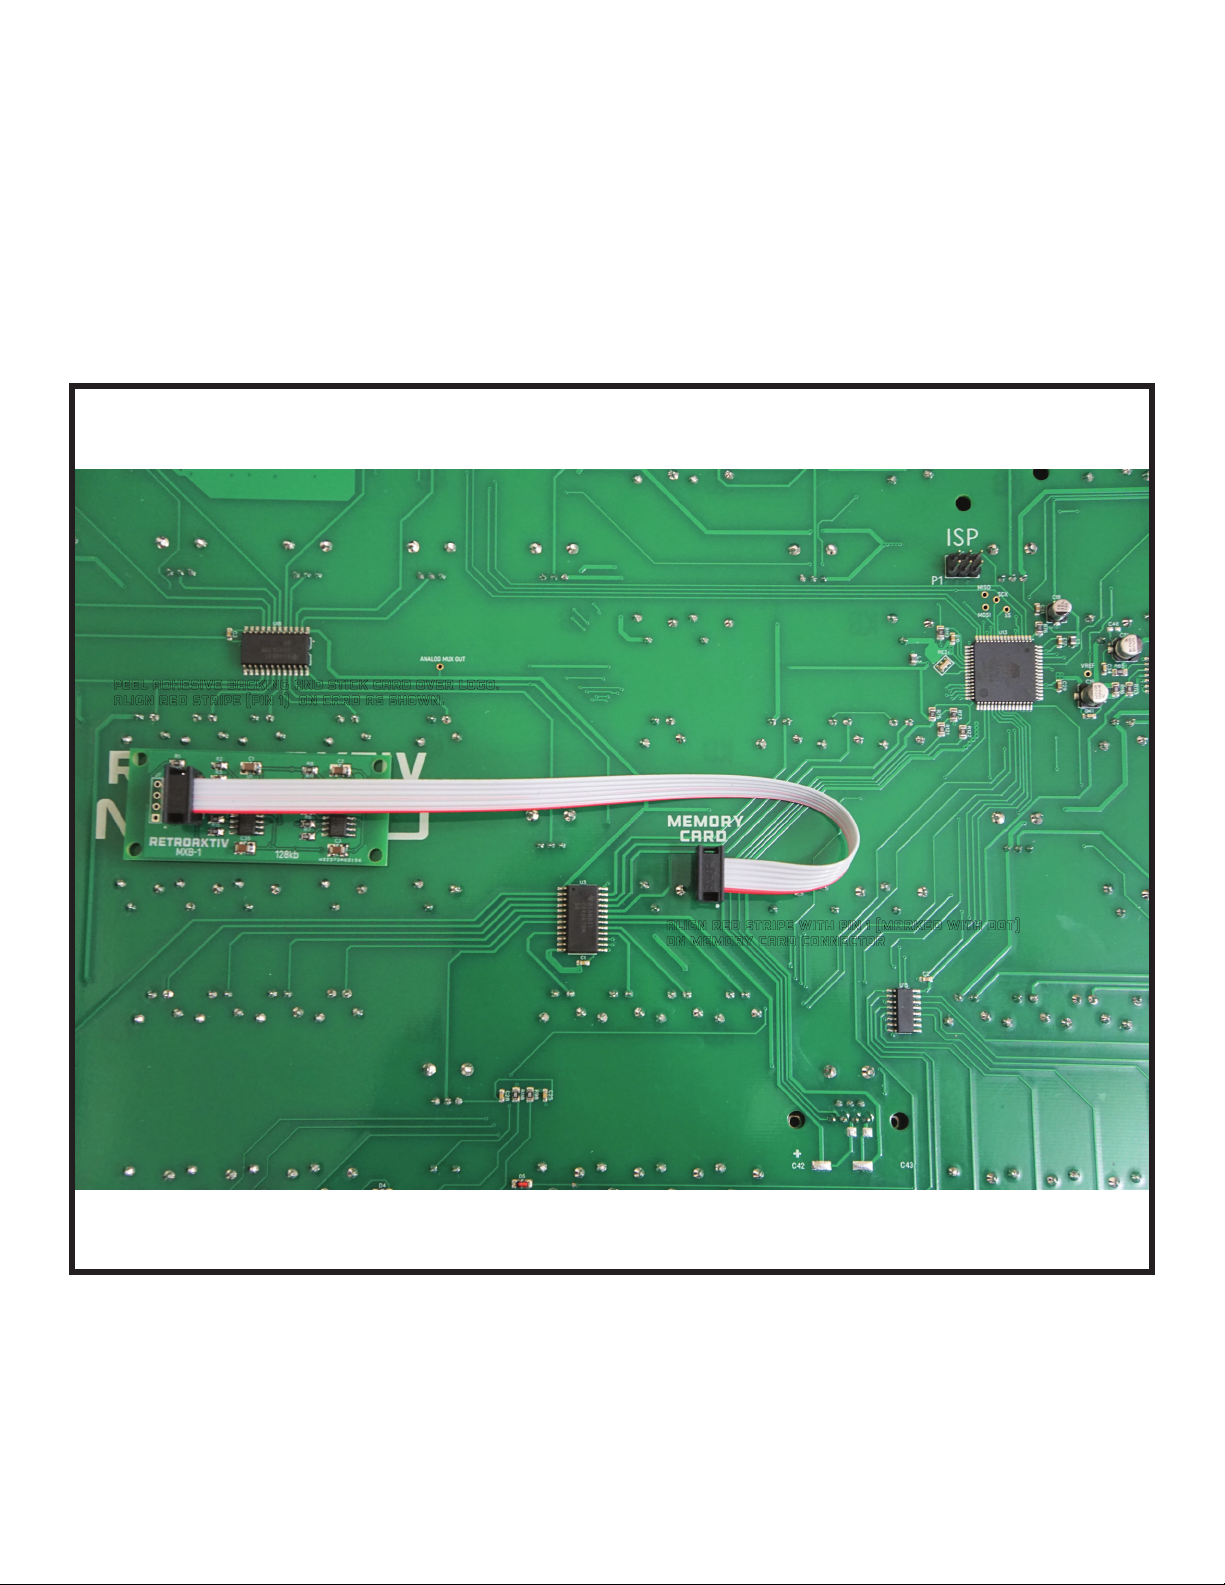
peel adhesive backing and stick card over logo.
align red stripe (pin 1) on card as shown.
align red stripe with pin 1 (marked with dot)
on memory card connector
When all screws marked in red are removed, simply slide the faceplate toward the rear of the unit, and slide it
off of the boom onclosure like a drawer. When PCB is accessible, remove adhesive backing from the memory
card and stick the card as shown below, over the RETROAKTIV MPG-70 logo.
Pin 1 on the cable is marked with a red stripe. Plug the cable into the card and the MEMORY CARD headers as
shown, taking care that the red stripe is oriented exactly as shown. Once complete, it is a good idea to power
up the board to be sure that the MPG-70 boots correctly. The unit will not boot if the card is plugged in back-
wards. If unit boots correctly, then the card is now installed.
To reassemble, slide the front panel back onto the boom enlosure the same way it came off, like a draw-
er. Replace the 2 screws on the le and right sides of the unit first. Do not fully tighten. Now replace the 4
screws on the boom. Do not fully tighten. Then replace the 9 screws on the panel without fully tightening.
Once all screws are in place, tighten all 17 screws. Installation is now complete.