Revo Revo In-Car Operating instructions

ß

2
Copyright and
acknowledgements
Copyright © 2005 Revo Digital Limited.
All rights reserved.
Revo Digital Ltd
The Inox Building
Caldwellside
Lanark
United Kingdom ML11 7SR
Web: http://www.revo.co.uk/
The information in this guide is believed to
be correct as of the date of publication.
However, our policy is one of continuous
development and so the information is
subject to change without notice, and does
not represent a commitment on the part
of Revo Digital Limited.
Revo, Revowave, Revo Dock, and Revo Go
are trademarks or registered trademarks
of Revo Digital Limited.
Part no: RG/1
This guide was produced by
Human-Computer Interface Ltd,
Web: http://www.interface.co.uk/
Safety warnings
FCC Warning: This equipment generates
and can radiate radio frequency energy
and if not installed and used correctly
in accordance with our instructions
may cause interference to radio
communications or radio and television
reception. It has been type-tested and
complies with the limits set out in Subpart
J, Part 15 of FCC rules for a Class
B computing device. These limits are
intended to provide reasonable protection
against such interference in home
installations.
EEC: This product has been designed
and type-tested to comply with EU
requirements.
Preface

3
Contents
n Welcome to Revo! 4
Digital radio 4
Revo in your car 4
Installing Revo 4
n Revo options 5
Revo in your home 5
Taking Revo with you 5
Revo Remote 5
Alternative antenna options 5
n Components 6
n Controls 7
n Installing Revo 8
Connecting the
Revowave antenna 8
Installing Revo with a
direct audio input 8
Installing Revo with an
FM aerial input 9
n Switching on and off 10
n Selecting stations 11
n Customising Revo 12
n Display options 14

4
Digital radio is ideal for in-car use because:
n It gives high quality sound with no
interference or distortion.
n It provides a wide range of both local and
national stations.
n National stations are on fixed
frequencies, allowing you to drive from
one end of the country to the other,
without the need to retune.
Revo in your car
Revo’s unique freestanding design ensures
that you can install it in any type of vehicle,
irrespective of whether it has a standard
car radio aperture in the centre console.
Revo fits into a mounting cradle, allowing
it to be removed from the vehicle for
security, used in several vehicles (by
purchasing additional car kits), or used at
home or on the move in conjunction with
the optional Revo Dock or Revo Go kits.
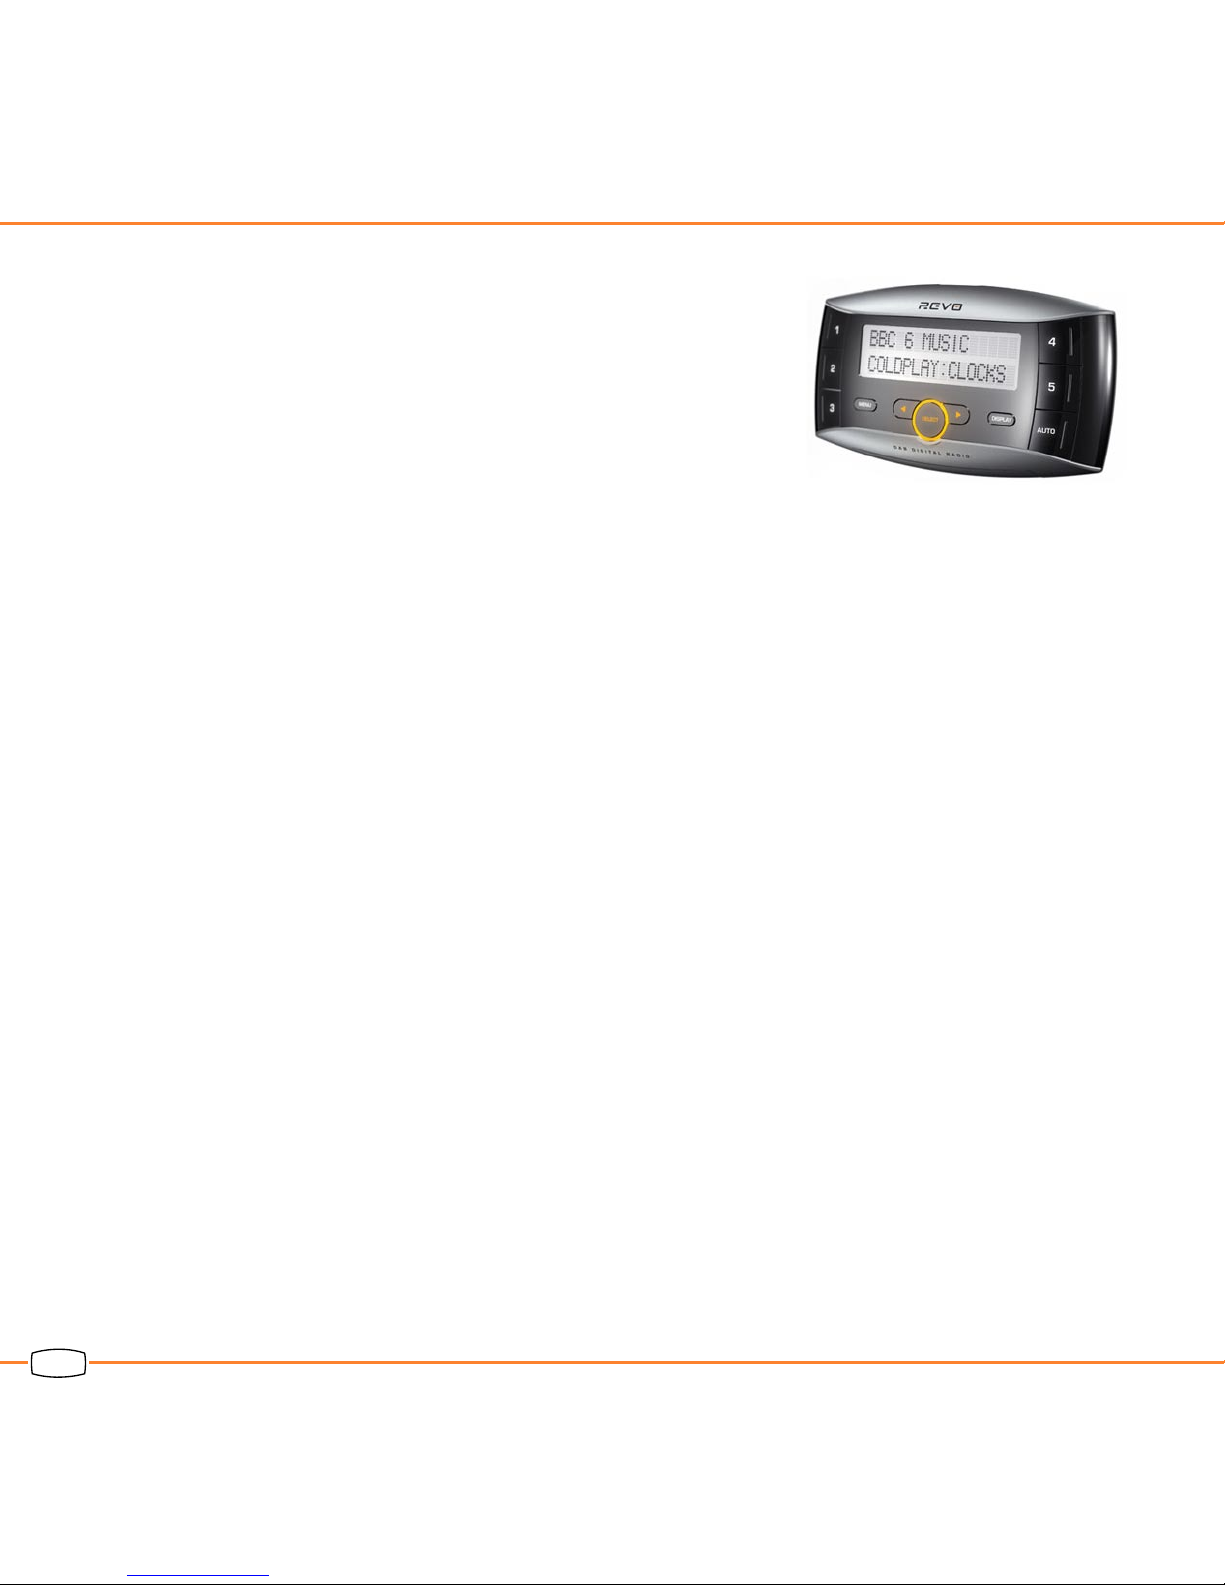
Its backlit “Ice White” LCD display can be
clearly read in a wide variety of lighting
conditions.
Installing Revo
Revo connects directly into the vehicle’s
audio system either through the aerial
input of the existing FM radio, or via any
auxiliary input using RCA connectors. This
allows you to add digital radio to your car
while keeping your current audio system,
including reception of AM, FM, and tape or
CD playback.
Revo is supplied with a screen-mounted
DAB antenna, known as Revowave, which
can be located along the passenger
side window pillar for superb DAB signal
reception. Revo itself can be positioned in
a number of convenient locations inside
the vehicle.
If you have some electrical installation
experience you can install Revo yourself.
Alternatively you can have Revo installed
for you by a professional installer.
Welcome to Revo!
This chapter explains Revo’s key features, with information
about the options for using Revo in your car, at home, and
on the move.
Digital radio

5
Revo in your home
The optional Revo Dock kit allows Revo
to be connected to a home audio system
to give you the benefit of the choice and
quality of digital radio on your home hi-fi
system.
Taking Revo with you
The optional Revo Go kit allows Revo to be
used as a portable DAB digital radio. The
kit includes an integrated rechargeable
battery pack, and a pair of high-quality ear
bud headphones.
Revo Remote
This optional accessory allows you to
control Revo remotely, whether in your car
or at home.
Alternative antenna options
Alternative antennae are available for
use with Revo. Ask your Revo dealer for
details, or visit www.revo.co.uk.
Revo options

6
Components
The Revo in-car kit consists of the following:
Revo DAB digital radio
Car cradle and wiring
Modulator
Revowave antenna
Power regulator
ß
This manual
If any of these items are missing please contact Revo Digital Limited, or your supplier.
Aerial adapters

7
Controls
Revo’s functions are accessed using the following keys:
After selecting a function the display reverts to showing the current station if you do not
press any key for six seconds.

8
Installing Revo
There are two options for connecting Revo to an existing in-car audio system depending
on the features it offers. This section will help you decide which option to use. Skip this
section if Revo has already been installed for you.
Connecting the Revowave
antenna
n Attach the antenna to the
windscreen alongside the
passenger A-pillar.
n Connect the cable to the
antenna connector on the
Revo car cradle.
Leave at least 5cm between the antenna
and A-pillar.
Note: Heated or athermic heat-reflecting
windscreens may prevent the antenna
from receiving an adequate signal. In
this case attach the antenna to the rear
window, or use an external aerial.
Installing Revo with a direct
audio input
If your existing in-car audio system provides
an auxiliary input, using RCA phono
connectors, you can connect the audio
output from Revo directly to this, and you
do not need to use the modulator supplied
with Revo.
n Connect the two RCA phono outputs
from the Revo car cradle to the RCA
phono inputs on your in-car system.
n Connect the two power connectors to
the vehicle power supply.

9
Installing Revo with an FM
aerial input
If your existing in-car audio system does
not offer an auxiliary input on RCA phono
connectors, use the modulator supplied
with Revo to add the digital audio from
Revo as a modulated signal on the FM
aerial input. You can then select the audio
from Revo by tuning the vehicle’s radio to
87.7 MHz.
n Connect the cable from the existing FM
aerial to the flying aerial input lead on
the modulator.
n Connect the aerial output from the
modulator to the aerial input of your in-
car FM tuner.
n Connect the two RCA phono outputs
from the Revo car cradle to the RCA
phono inputs on the modulator.
n Connect the two power connectors to
the vehicle power supply.
n Tune your car stereo to 87.7MHz
to listen to Revo. Other frequencies
are available, and are written on the
modulator.

10
Switching on and off
To fit Revo into its cradle
n Slide it down until it clicks into place.
If you wish you can lock Revo into position
on the cradle using the lock switch on the
back of the unit.
When you first fit Revo into its cradle it will
be in standby mode with the display blank
and no sound playing.
Revo will also be in standby mode when the
vehicle’s ignition is switched on.
To switch on from standby
n Press any key on the front panel or
optional remote control.
To put Revo into standby
n Press and hold MUTE for two seconds.
To mute or restore the sound
n Press MUTE.
The second line of the display will show
Muted:
To restore the sound press MUTE again.
To switch the display backlight on
or off
n Press the backlight button.
To restore the backlight press the backlight
button again.
To reset Revo
If you want to restore Revo to its standard
settings:
n Press and hold down MENU until the
display shows:
n Press SELECT.

11
Selecting stations
To add the DAB stations in your
area
n Press SCAN.
The display shows a progress indicator
together with the number of stations
found:
The stations will be added to any stored
stations.
To clear stations that are no longer
accessible
n Press and hold down SCAN for two
seconds.
The progress indicator shows the number
of stations found. This will remove all
inaccessible stations (those prefixed with
?) from the station list.
To select a station
n Press < or > to step through the list of
stations.
The second line of the display will show the
name of each station as you step:
When the station you want to listen to is
displayed:
n Press SELECT to select it.
Stations that are not currently available
are prefixed by ? in the list of stations.
You can choose what order your stations
are listed in; see Customising Revo, page
12.
If you have chosen Fav station order,
your favourite stations will be shown first,
indicated by a ˙ to the right of the station
name.
To store a preset
You can store the current station so you
can select it simply by pressing one of the
keys 1 to 5.
n Press and hold down the preset key
1 to 5 you want to use until the display
shows:
To select a preset
n Press the corresponding preset key
1 to 5.

12
To select an option
n Press MENU, then press < or > until
the name of the option is displayed:
n Press SELECT to select it.
The following sections explain how to use
each option.
To specify the order in which
stations are displayed
n Select the Station order option.
The top line of the display shows the
current station order and allows you to
change it.
n Press < or > to step between the
station order options:
n Press SELECT to select the current
option.
The following table explains the alternative
options:
Station order Description
Fav station Lists the six most frequently
selected stations first.
Alphanumeric Displays all stations in
alphanumeric order.
Active station Lists active stations
(ones that are currently
broadcasting) before
inactive ones.
Prune stations Removes inactive stations
from the station list.
˙ ’ presets Automatically transfers
your five favourite stations
to the preset buttons. Only
available when the Fav
station option is selected.
Customising Revo
Revo provides a number of options to allow you to customise the way it operates to suit
your own preferences.

13
To use manual tuning
n Select the Manual tune option.
The display shows the current station
number and frequency:
n Press < or > to step between the
stations and press SELECT to select the
current station.
If there is a station corresponding to this
station number and frequency the display
will show the station name, and a tuning
meter showing the signal strength:
To set the dynamic range control
Revo includes a dynamic range control that
automatically boosts the volume of quieter
sounds for listening in noisy environments.
n Select the DRC value option.
The display shows the current DRC value
and allows you to adjust it:
The DRC value can be switched between
the following options:
DRC Description
DRC 0 Dynamic Range Control is
switched off.
DRC ½Dynamic Range Control is set
to half normal level.
DRC 1 Dynamic Range Control is
switched on; the default
setting recommended for noisy
environments.
To display the software version
number
n Select the SW version option.
The version number is displayed on the top
line of the display. You should specify this
when speaking to Revo Technical Support.

14
To change the display mode
You can display different information about
each station on the Revo two-line display.
n Press DISPLAY to step between the
different display options.
The options are explained in the following
table:
Display option Example
Normal display
with scrolling text
Type of broadcast
Broadcaster
Time and date
Station name and
frequency
Data rate and
stereo/mono
Signal level
To show the signal strength
n Press SELECT.
The display shows a tuning bar with the
strength of the current station:
The indicator on the tuning bar shows the
minimum acceptable signal level. Stations
with a station strength below this will
automatically be muted to avoid noise and
interference.
If necessary reposition the Revowave
antenna to improve the signal strength.
Display options

ß
Revo Digital Ltd
The Inox Building
Caldwellside
Lanark
United Kingdom
ML11 7SR
suppor[email protected]
0870 350 0355
Table of contents
Popular Car Stereo System manuals by other brands

Metra Electronics
Metra Electronics 95-7309 installation instructions

Memphis
Memphis nanoboxx NANO110P manual

Directed Audio
Directed Audio 22104 Pro + installation guide

Pioneer
Pioneer DEH-2350UB owner's manual

CoPilot
CoPilot DAB-011 instruction manual

Caraudio-Systems
Caraudio-Systems usbLOGIC USB-MFD2 user manual