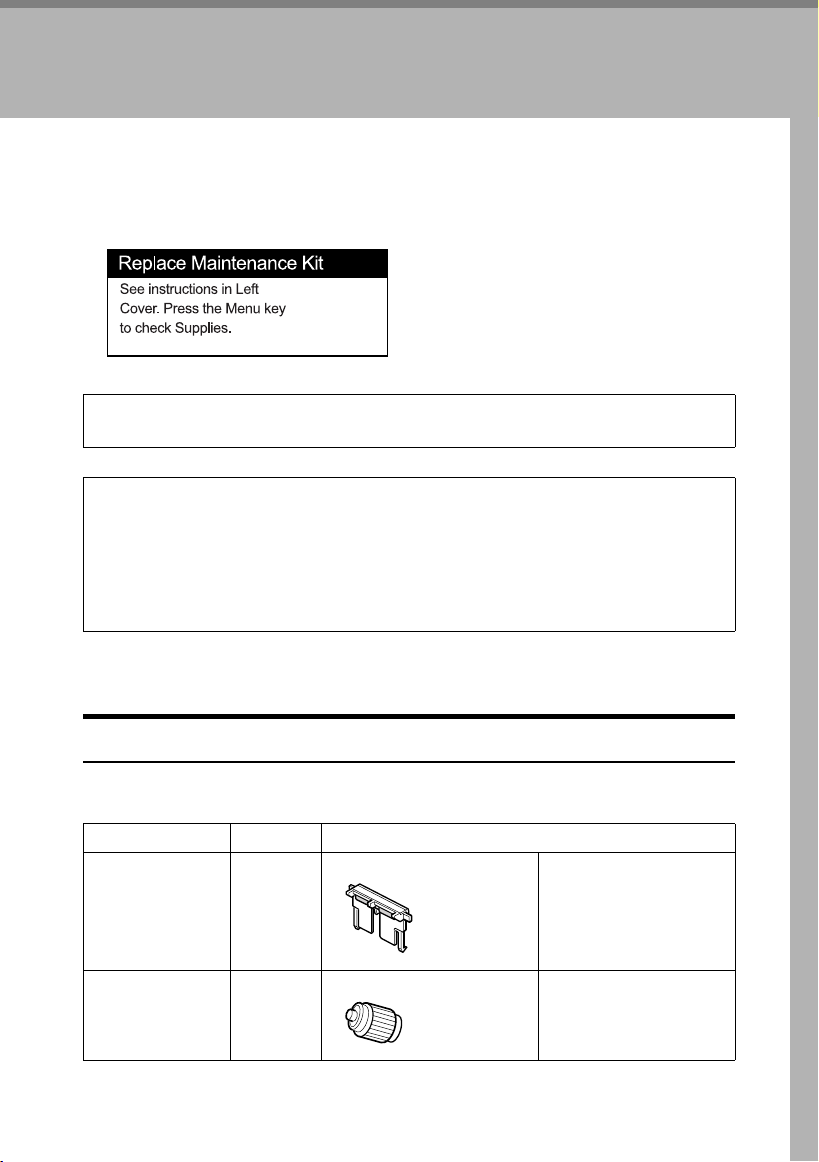
Replace Maintenance Kit
6
1
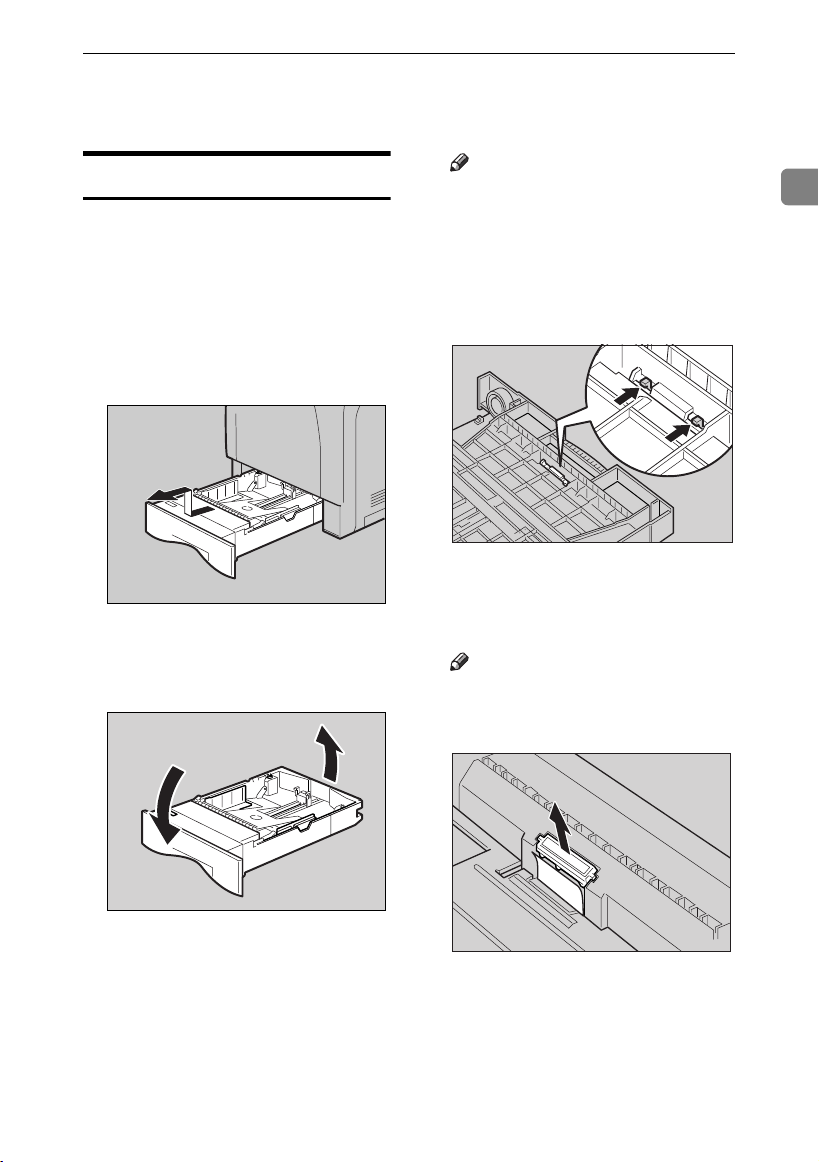
EInsert the new friction pad in the
paper tray.
Place the spring over the central
prong of the new friction pad and
align the friction pad with the
grooves of the paper tray. Then
push down friction pad (as shown
in the illustration), until it clicks.
After pushing down the friction
pad, check it is properly installed
by pressing it lightly. If it is proper-
ly installed, it will spring back up.
FFollow the same procedure to re-
place optional Paper Feed Unit
friction pads.
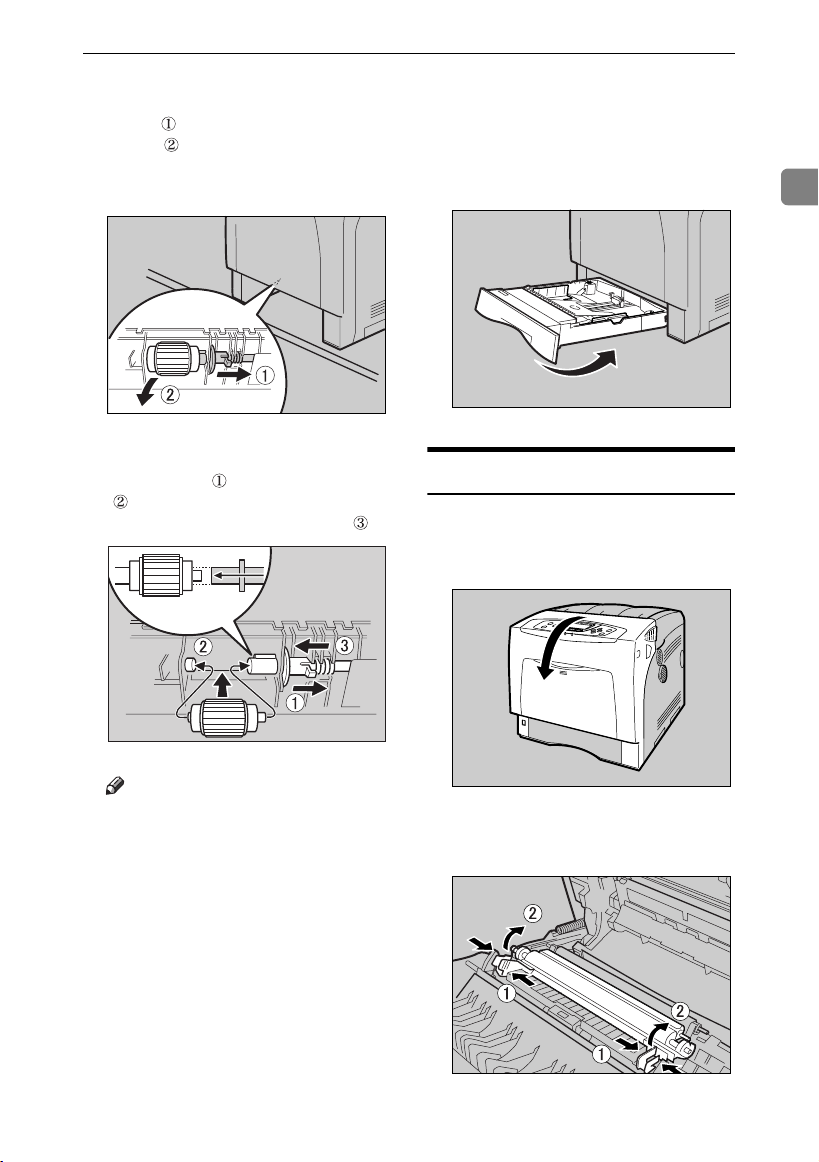
Replacing the Paper Feed
Roller
Replace all feed rollers including the
printer and the optional Paper Feed
Unit(s). The following procedure
shows how to replace the printer's pa-
per feed rollers.
CAUTION:
CAUTION:
AMove the printer to the edge of a
sturdy and stable table or desk.
Important
❒Make sure the printer is lifted
by at least two people.
❒Always move the printer hori-
zontally. Turning the printer
sideways or tilting it backward
or forward while moving will
result in toner leakage.
❒Do not put the printer on an un-
stable or sloped surface.
Note
❒If the printer is equipped with
the optional Paper Feed Unit,
do not move the printer and the
unit together, they are not se-
curely attached.
•The printer weights approxi-
mately 50 kg (110.3 lb.). When
moving the printer, use the inset
grips on both sides, and lift slow-
ly. The printer will break or cause
injury if dropped.
AET201S
•Lifting the paper feed unit care-
lessly or dropping it may cause
injury.
AQC017S
GaiaP2_maintkitB-F_FM_forPaper.book Page 6 Friday, January 20, 2006 6:16 PM