ENG Page 6 251-Trailer-ISM 09-13-18
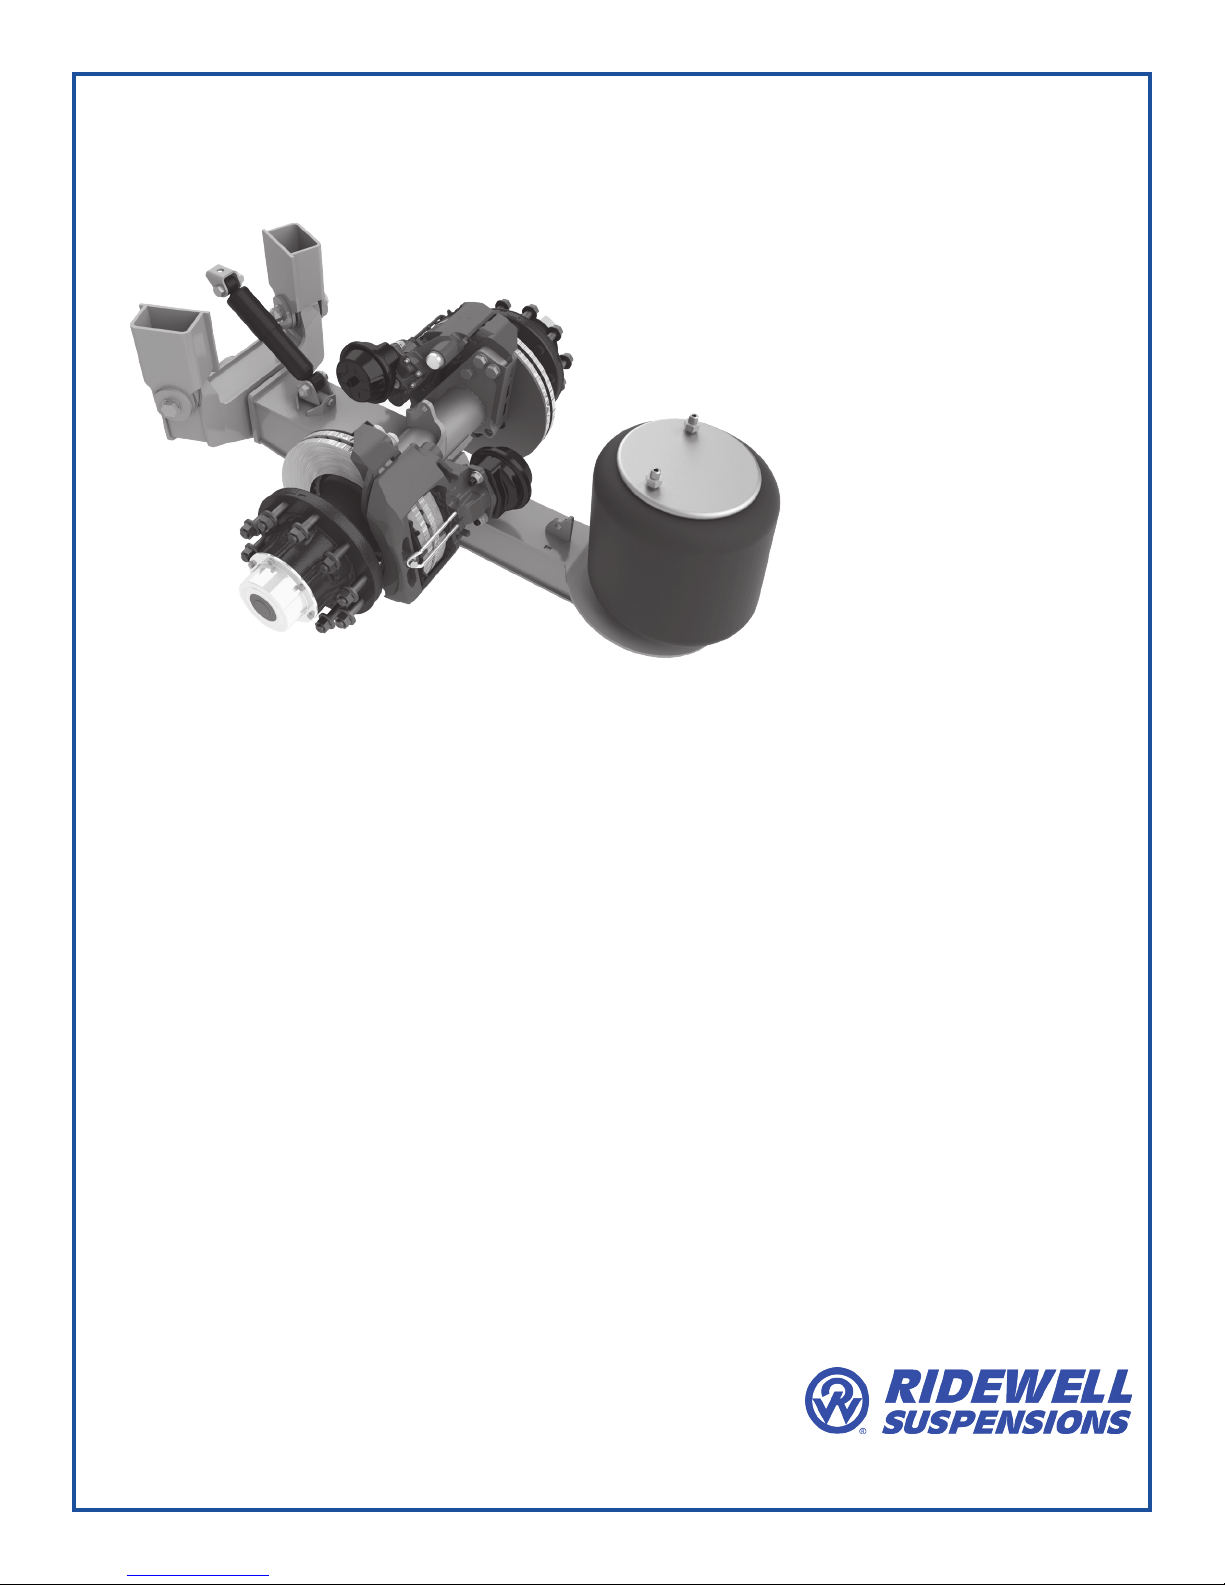
Mounting the suspension to the frame
Refer to the engineering drawing for the range of ride
heights available, torque values, spacing and clear-
ance requirements of the suspension.
Frame hangers are an optional component of the
RAR-251 Trailer Suspension. Ridewell can design a
suspension hanger for a specic application.
It is the responsibility of the trailer OEM to design
a hanger and alignment mechanism that ts to the
trailer frame.
The suspension installer has the nal responsibility
of aaching the suspension to the vehicle frame.
(Optional Hanger) Weld-On Installation
Check that the location provides adequate clearance
for suspension components.
Hangers and air spring mounting plates should be
perpendicular to the chassis frame and in alignment
with each other.
1. Mark the desired location of the hangers on
the vehicle frame. Hangers must be installed as
shown on the engineering drawing for proper
axle alignment.
2. Weld the hangers to the frame with 1/4” llet
welds completely around the hangers. Stop the
welds 1/2” from the corners and edges.
3. Mark the desired location of the air spring
mounting plates on the frame. A minimum 0.75-
inch clearance must be maintained around the air
spring when it is at maximum diameter.
4. Weld the air spring mounting plates to the frame
with 3/16” llet welds.
Stub axle suspensions are designed with a roll joint.
Roll stops are not provided in this suspension. Tire
rub plates must be installed on the trailer frame to
limit roll to 10-degrees or less.
Final Assembly and Inspection
• Verify the welds of the hanger and air spring
mounting plates.
• Brake chamber clamps and ports must be clocked
(rotated) to prevent interference with surround-
ing components.
• Aach pivot assemblies to hangers.
Note: Do not fully torque pivot hardware until
axle alignment is completed.
• Installer must set the suspension to the specied
mounting height before torquing the pivot bolt to
prevent pre-loading the rubber in the bushing.
• Dowel pin must be installed in roll joint before
welding on anti-turn washer. Anti-turn washer
must cover dowel pin.
• Refer to engineering drawing to install shock
absorber. Torque to specications (Page 7).
• Complete assembly and installation of air springs
as shown on the engineering drawing. Torque to
specications (Page 7).
• Install/connect the height control valve (HCV), if
applicable. Check the air system tubing and t-
tings after installation for leaks.
• Verify the suspension ride height is adjusted
within the range shown on the engineering draw-
ing and complete axle alignment procedure.
The Limiter Chain connection point shown on the
drawing is for reference only. Locate the chain so that
chain can not interfere with the axle assembly, the
brake chambers or the wheels or tires.
Frame tab should be placed after suspension installa-
tion and with the suspension in full rebound posi-
tion. Limiter Chain must be travel limiter.
Failure to torque bolts/nuts of suspension
components to specications can result in failure of
the suspension and void the warranty.