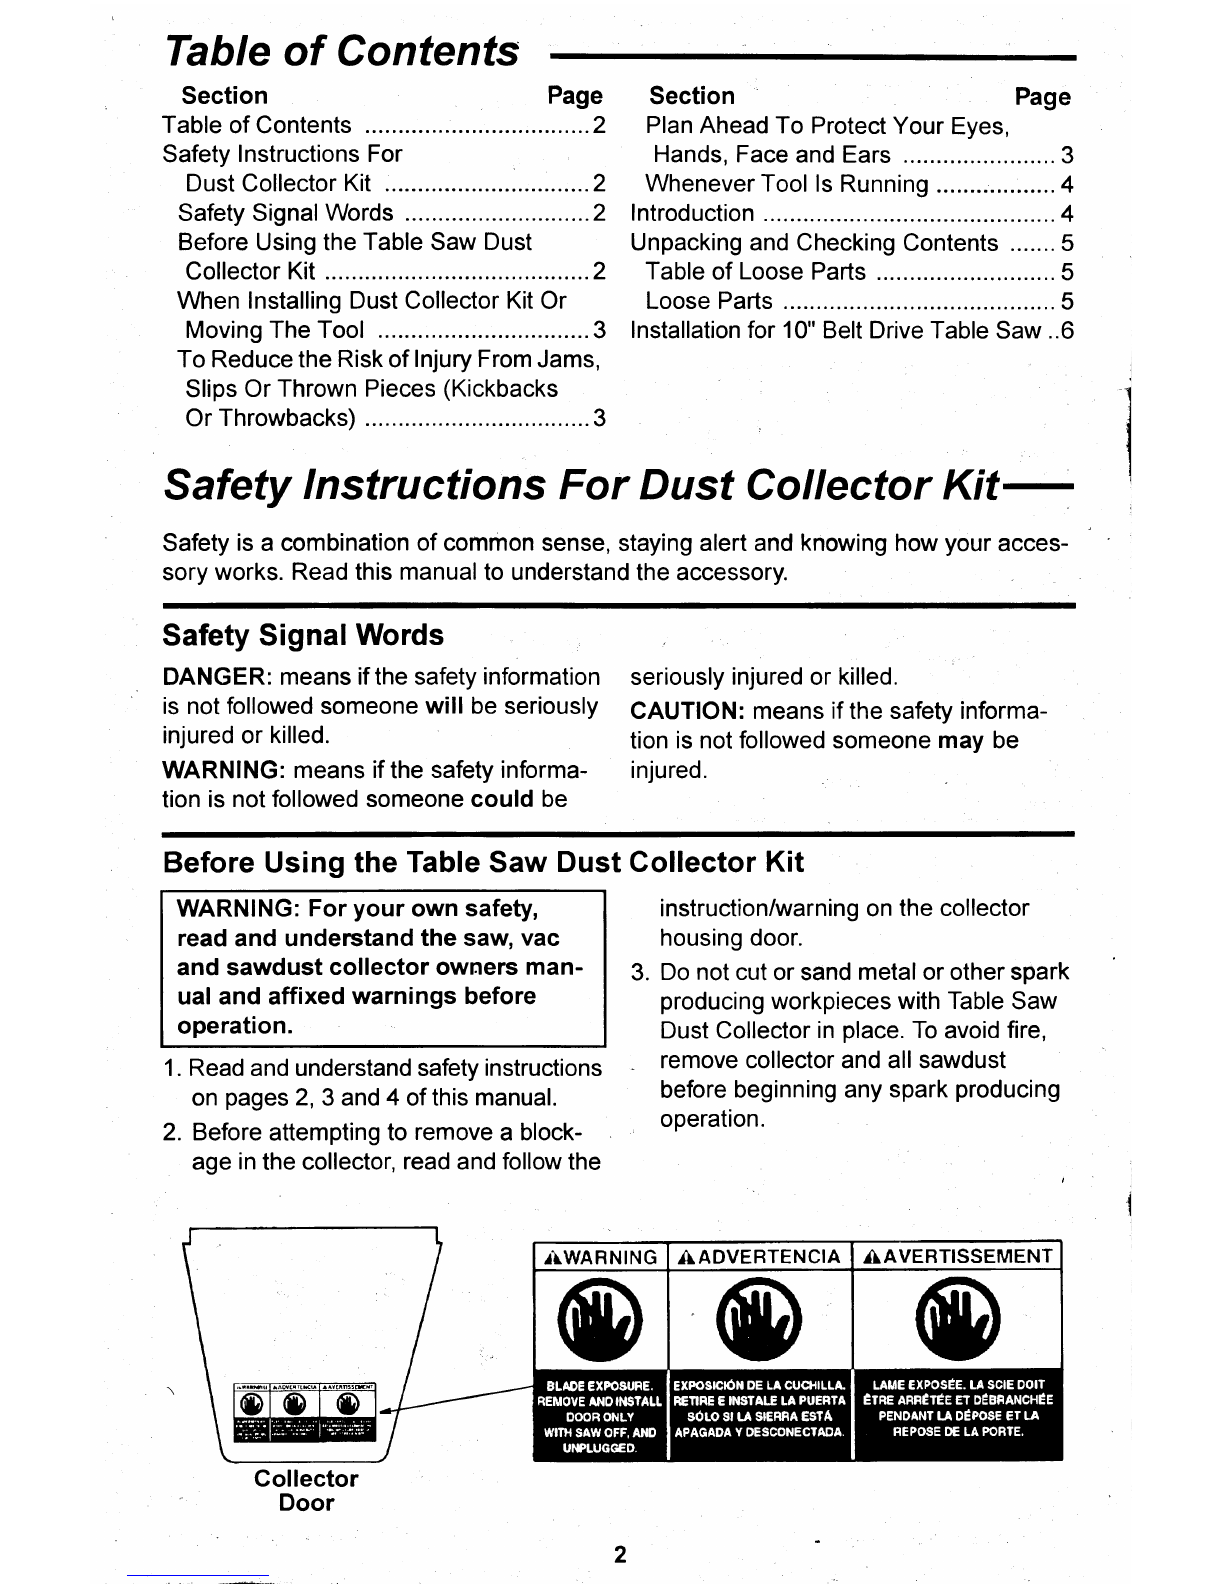
RIDGID AC1098 User manual

AC1098
OWNERS
MANUAL
TABLE
SAW
DUST COLLECTOR
KIT
•
Assembly
•
Operation
QUESTIONS
OR
COMMENTS?
For
Your
Safety:
--
CALL 1
·800·4-RIDGID
Read
all
instructions
carefully
Part
No.
SP6194 Printed
in
Canada

Table
of
Contents
Section
Page
Table
of
Contents ..................................2
Safety lnstructions For
Dust Collector Kit ...................:...........2
Safety Signal Words ............................2
Before Using the Table Saw Dust
Collector Kit ........................................2
When lnstalling Dust Collector Kit Or
Moving The Tool ................................3
To Reduce the Risk
of
lnjury From Jams,
Slips Or Thrown Pieces (Kickbacks
Or Throwbacks) ..................................3
Section Page
Plan Ahead To Protect Your Eyes,
Hands, Face and Ears ....................... 3
Whenever Tool
Is
Running .................. 4
lntroduction ............................................ 4
Unpacking and Checking Contents ....... 5
Table
of
Loose Parts ........................... 5
Loose Parts ......................................... 5
lnstallation for 10" Belt Drive Table Saw
..
6
Safety lnstructions ForDust Collector
Kit~
Safety is a combination
of
common sense, staying alert and knowing how your acces-
sory works. Read this manual to understand the accessory.
Safety Signal Words
DANGER: means
ifthe
safety information
is not followed someone
will
be seriously
injured or killed.
WARNING: means
if
the safety informa-
tion is not followed someone
could
be
seriously injured or killed.
CAUTION: means ifthe safety informa-
tion is not followed someone may be
injured.
Before Using the Table Saw Dust
Collector
Kit
WARNING:
For
your
own
safety,
read
and
understand
the
saw, vac
and
sawdust
collector
owr.iers
man-
ual
and
affixed
warnings
before
operation.
1.
Read and understand safety instructions
on pages
2,
3 and 4 ofthis manual.
2.
Before attempting to remove a block-
age
in
the collector, read and follow the
Collector
Door
2
instruction/warning on the collector
housing door.
3.
Do
not cut or sand metal or otherspark
producing workpieces with Table Saw
Dust Collector
in
place.
To
avoid fire,
remove collector and all sawdust
before beginning any spark producing
operation.

When
lnstalling
Dust
Collector
Kit
Or
MdVing The Tool
To
reduce
the
risk
of
dangerous
envi-
ronment.
• Use the tool in a
dry,
indoor place pro-
tected from rain.
• Keep work area well lighted.
• Put the tool where neither, operators
nor bystanders must stand
in
line with
the sawblade.
• Always
gel
help if you need to lift the
tool.
• When lifting, hold the tool close to
your body. Bend your knees
so
you
can lift with your legs, not your back.
• Never
stand
on
tool.
Serious injury
could occur
if
the tool tips or you acci-
dentally hit the cutting tool. Do not
store any items above
or
nearthe tool
where anyone might stand on the tool
to reach them.
To
reduce
the
risk
of
injury
from
unex-
pected
tool
movement.
• Check to make sure tool does not
move prior to use.
lftool
moves, ,
adjust all four leveler feet down to
support the tool.
• Put the tool
on
a firm level surface
where there
is
plenty
of
room to han-
dle and properly support the work-
piece.
To
Reduce the
Risk
of
lnjury
From Jams,
Slips
Or
Thrown
Pieces
(Kickbacks
Or
Throwbacks)
lnspect
your
work
area.
• Keep work area clean.
• Cluttered areas and benches invite
accidents. Floor must not be slippery
trom wax or sawdust.
·To
reduce the risk
of
burns or other
fire damage, never use the tool near
flammable liquids. vapors or gases.
Plan Ahead
To
ProtectYour Eyes, Hands, Face and Ears
Dress
for
safety
• Plan ahead to protect your eyes,
hands, face, ears.
•Do
not wear loose clothing, gloves,
neckties
or
jewelry (rings, wrist
watches). They can get caught and
draw you into moving parts.
• Wear nonslip footwear.
•Tie
back long hair.
• Roll long sleeves above the elbow.
• Noise levels vary widely.
To
reduce
the risk
of
possible hearing damage,
wear ear plugs
or
muffs when using
tool for hours at a time.
• For dusty operations, wear a dust
mask along with safety goggles.
3
•Any power tool can throw foreign
objects into the eyes, which can result
in
severe eye damage. Always wear
safety goggles, not glasses, comply-
ing with ANSI Z87.1 (or
in
Canada
CSA Z94-3-M88) shown
on
package.
Everyday eyeglasses have only
impact resistant lenses. They are not
safety glasses. Safety Goggles are
available at many local retail stores.
Glasses or goggles not
in
compliance
with ANSI or CSA could seriously hurt
you when they break.

I Safety lnstructioris For Dust Collector Kit
(continued)
Whenever Tool Is Running
Keep
Children
Away
• Keep all visitors a safe distance from
the tool.
• Make sure bystanders are clear
of
the
tool and workpiece.
Before freeing
jammed
material
•Turn
switch "OFF".
• Wait for all moving parts to stop.
• Unplug the tool.
lntroduction
The RIDGID table saw dust collector kit
was designed to collect sawdust created
by RIDGID 10" belt drive table saws
model nos. TS24120 & TS24240. When
used with a RIDGID WeUDry Vac
or
Saw-
dust collection system, the sawdust col-
lector will efficiently collect a majority
of
sawdust created by the table saw.
4
Before leaving
the
saw
•Turn
the tool off.
•Wait for tool to stop.
• Unplug the tool.
• Make workshop child-proof. Loek the
shop. Disconnect master switches.
Remove the yellow switch
key.
Store
it
away trom children and ethers not
qualified to use the tool.
This owners manual covers installation for
belt drive table saws. Please follow the
assembly instructions.

Unpacking
and
Checking Contents
----
Table
of
Loose
Parts
WARNING:
To
reduce
the
risk
of
injury
from
unexpected
starting.
Unplug
the
tool
before
attaching
any
accessories.
NOTE: Before beginning assembly, check
that all parts are included.
lf
you are miss-
ing any part, do not assemble the acces-
sory to the
saw.
Contact 1-800-4-RIDGID
to get the missing part. Sometimes small
parts can get lost
in
packaging material.
Do
notthrow away any packaging until the
accessory is completely assembled.
Check packaging tor missing parts before
contacting RIDGID.
Loose
Parts
The following parts are included:
Item
No.
Description
Qty.
A Chute .............................................1
B
Door"
..............................................1
C Deflector ..........".............................1
D
2-1/2"x7'Hose
................".......
,.,
..
1
E
2-1
/2" Coupling ..........."
."
".....
,"
.....1
F Loose Parts Bag .............................1
G Owners Manual......."............
""."
...1
c
E F
~
5

lnstallation for 10" Belt Drive Table
Saw
--
1.
Make sure the table saw is completely
assembled and mounted to legset.
Turn the switch to the OFF position,
remove switch key and unplug the
saw from its power source.
2.
Look underneath the saw to locate
the flanges on the saw base. The side
flanges
of
the plastic chute wil! be
installed above the metal flanges
of
the saw. The chutes rear flange will
stay below the saws rear flange. This
wil! trap the chute
in
position. The
open side
of
the chute should be to
the front
of
ofthe table
saw.
3.
To
install the chute, the side with the
notched rear corner should be tipped
into position first. The opposite side
can now be bent inward with slight
pressure until it clears the saw base
flange. Lift up slightly and then
release. Check that the chute's rear
flange
is
below the saw base.
4.
Slide the door up and under upper
tabs on the open face of the chute.
(Fig. 2) Push the bottom edge
of
the
door towards the rear
of
the saw to
snap it over lower tab of chute.
6
Rear Corner
Notch
Rear Flange
~
\
Fig. 1
LowerTab
Fig. 2
lnstall This
Side
First
Discharge
Nozzle
Toward Rear

]'.
il
i
1 i
© 1998 Emerson
Electric
Co.
Part
No.
SP6194
QUESTIONS OR COMMENTS?
CALL 1-800-4-RIDGID
I
!!!!
RIDGID Power Tools
~
Emerson
Electric
Co.
-
liM15ASCN®
Form
No.
SP6194 -Printed
in
Canada 9/98
Table of contents
Popular Dust Collector manuals by other brands

pela tools
pela tools FM300S manual

Elektra Beckum
Elektra Beckum Metabo SPA 1701 operating instructions

Donaldson
Donaldson DCE HV500 Series Installation, operation and maintenance manual

Oneida Air Systems
Oneida Air Systems Super Dust Gorilla owner's manual

Raider
Raider RD-KMD02 user manual

Blastrac
Blastrac BDC-44 operating manual