• Toes grip within your boots (claw foot)
• Discomfort such as soreness, tingling or numbness
in toes/ball of foot area
Remedies soreness, tingling, or numbness in toes and ball area.
Helps spread the transverse arch (behind the ball, across the foot
width). Reduces toe overextension by supporting the heads of
the metatarsal bones.
Purpose
Symptom
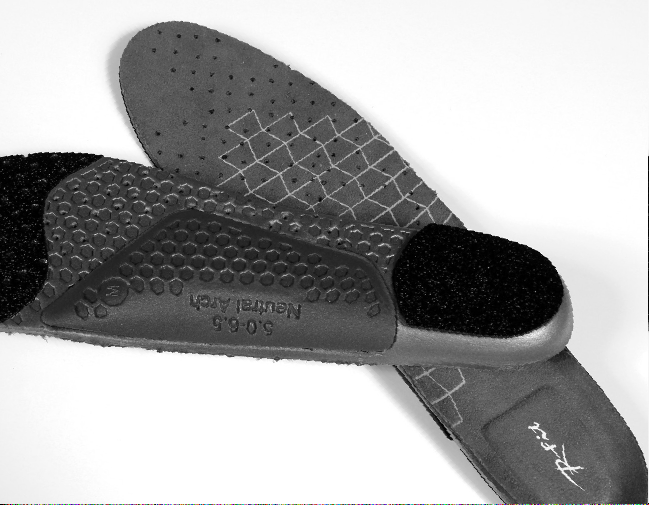
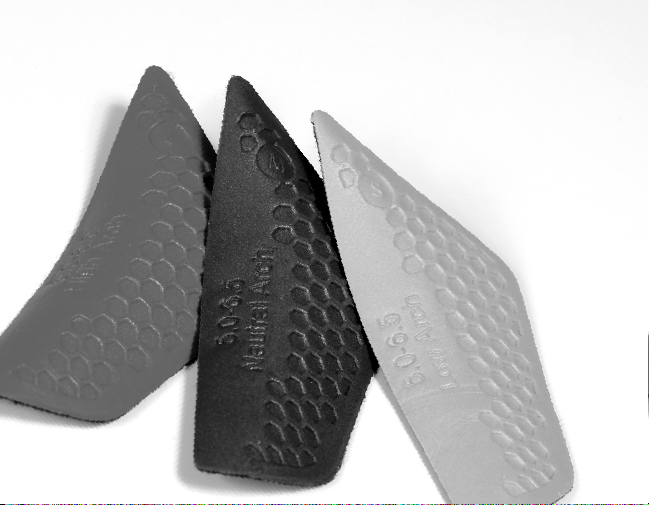
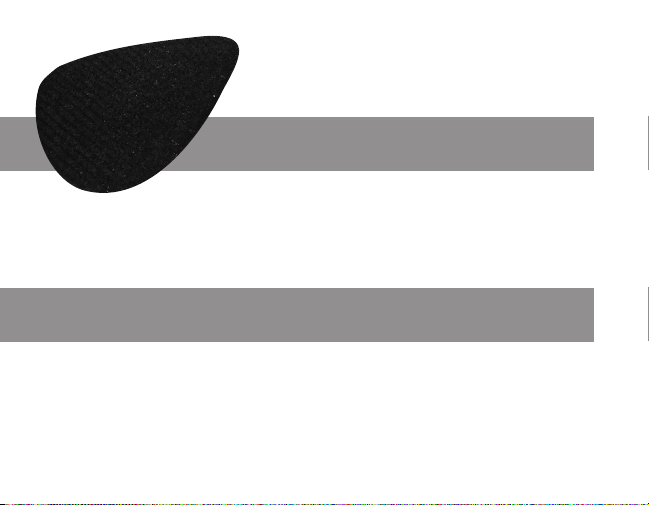
Metatarsal Pad
Using your footbed as a guide, locate the ball of your foot in the
impression. Remove the adhesive and place the metatarsal pad
on the patterned-side of the footbed, right below (not on) the
ball area with the pointed end facing the heel.
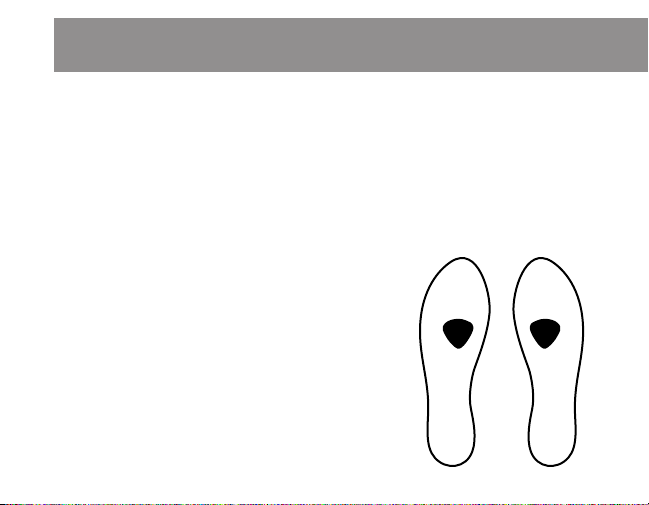
Once footbeds are in boots, the pad will press just behind the
ball area. If this does not feel“good” after
a session skating, slightly adjust the pad’s
location. A sore foot from a metatarsal pad
indicates the pad is too far forward.
If you’re still having trouble, remove pad
and make an appointment with your
podiatrist to assist you with placement.
Fitting Instructions/Proper Placement
8