(Note: This installation
is only for indicating
diagram reference).
45
lConnect the drainage pipe with pressure relief valve, (refer to diagram 4),
connect the other end of the drainage pipe with drainage mouth to avoid the
room becomes dirty. It may exist water drops fall down at the pressure relief
mouth sector when water heater is operating and heating the water, this is
normal because of the water in the tank expanding when heated. In any
conditions, this pressure relief hole must not be blocked. You can drain the
drops to drainage, the drainage pipe connecting with pressure relief valve
should be installed facing down.
lConfirm proper position, fix the shower hand hanger on the wall, connect
the shower hand tube into pipe line.
lTurn on the mix-water valve connected with electric water heater and rotate
to water outlet pipe direction (left), then turn on tap water valve, filling
tank. It indicates the tank is fully filled with water when the water flow out
from water outlet mouth continuously, then close the mix-water valve.
Check whether every connection joint is leaking or not.
lPlug the power source when tank is fully filled with water, there is no
leakage and electricity meet the requirement.
lIf want to distribute the hot water to many outlet, you can refer to diagram 5.
lUsage of mixed water valve:
Connection: Add seal to screw cap of
cold water inlet mouth and hot water
outlet mouth, connect to mixed water
valve's water inlet mouth and hot
water outlet pipe (refer to diagram 2
and 3), confirm fixed and no water
leakage.
Use: After connection according to
diagram 2 and 3, pull the handle up
and down to adjust the water flow,
pull to up, the water flow is bigger,
pull to down is smaller.
Turn left and right to adjust the water
temperature, turn left for higher
temperature and turn right for lower
temperature.
Hot water outlet
Pressure-relief
valve of cold water
inlet
Cold water
Water outlet
(connect to
shower hand)
Temperature
turn to high
Diagram 3
Diagram 4
lInstall the pressure relief valve and other accessories refer to diagram 2.
Use seal to avoid water leakage.
lWe suggest to install extra G1/2” nut in the proper position of water inlet and
outlet pipes in order to install and knock down easily. Confirm the position
where need water, connect the cold water outlet pipe and hot water outlet pipe
respectively.
Note: the pipes of electric water heater should be not too long to reduce heat
losses.
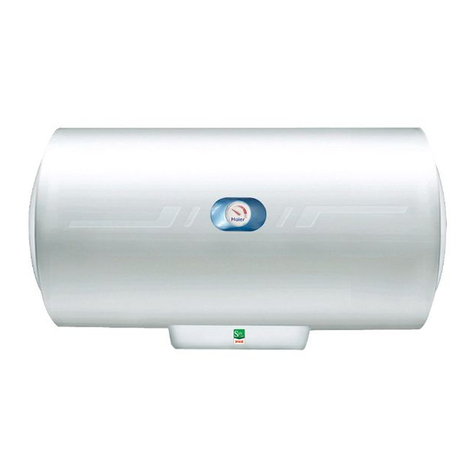
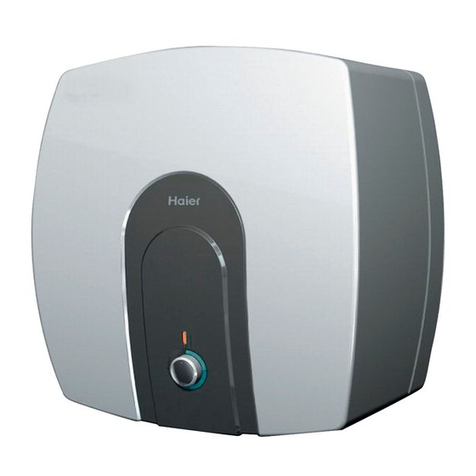
lInstallation refer to diagram 2. This diagram is an installation sketch, the
specification is according to user's circumstance.
lThe electric water heater must be installed by
professional of our after sales service department
or installed by qualified technician.
lInstalling way is hanging on the walls.
lSelect proper height and position, then determine
the installation position at the same level.
lDrill two corresponding holes with distance as
diagram 1, then insert the bolts and firmly fixed,
hang the electrical water heater lastly.
lNote: the direction of hanging bolt must be
installed correctly, perpendicular to ground and
face up, shouldn't slantwise.
lConfirm whether it already fixed firmly or not.
Installation
Firm Cement Wall
Hanging Bolt
Diagram 1
0.7MPa
Water-drainage Position
Water-drainage Spanner
0.7MPa
Fixed screw nail
Pressure-relief mouth
Hot water outlet pipe
Mono-directional
security valve
Cold water inlet pipe
Pressure relief hold
Water entering Mouth’s
copper nut
Mixed water valve’s
regulation handle
Hot water-exiting
mouth’s nut
Power source wire
with electricity
leakage protection
Shower
Diagram 2
230mm
