manuals.online logo
Brands
  1. Home
  2. •
  3. Brands
  4. •
  5. Rinnai
  6. •
  7. Water Heater
  8. •
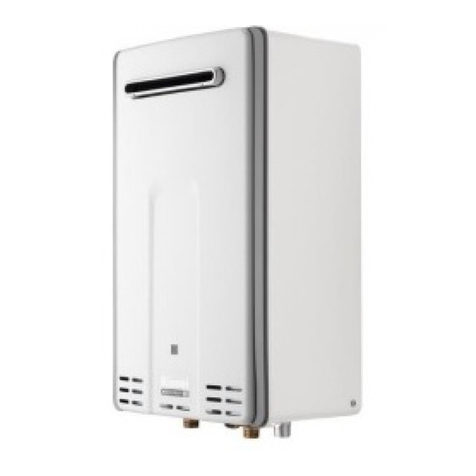
  9. Rinnai Infinity XR16 User manual

Rinnai Infinity XR16 User manual

Other manuals for Infinity XR16

2

This manual suits for next models

10

Other Rinnai Water Heater manuals

Rinnai IHF10 User manual

Rinnai

Rinnai IHF10 User manual

Rinnai REU-VC2837FFU-US User manual

Rinnai

Rinnai REU-VC2837FFU-US User manual

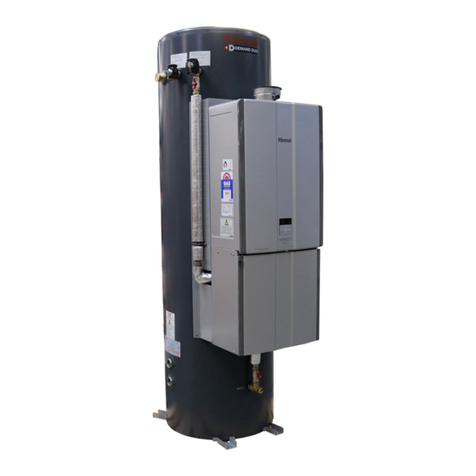
Rinnai Demand Duo R Series User manual

Rinnai

Rinnai Demand Duo R Series User manual

Rinnai INFINITY User manual

Rinnai

Rinnai INFINITY User manual

Rinnai REU-1110FFU-E User manual

Rinnai

Rinnai REU-1110FFU-E User manual

Rinnai RUCS65i series User manual

Rinnai

Rinnai RUCS65i series User manual

Rinnai Infinity 16F User manual

Rinnai

Rinnai Infinity 16F User manual

Rinnai REU-KM2035FFUD-E User manual

Rinnai

Rinnai REU-KM2035FFUD-E User manual

Rinnai INFINITY 32 User manual

Rinnai

Rinnai INFINITY 32 User manual

Rinnai Continuum Series User manual

Rinnai

Rinnai Continuum Series User manual

Rinnai V53De User manual

Rinnai

Rinnai V53De User manual

Rinnai c199i User manual

Rinnai

Rinnai c199i User manual

Rinnai RE199i User manual

Rinnai

Rinnai RE199i User manual

Rinnai GHF4135N User manual

Rinnai

Rinnai GHF4135N User manual

Rinnai HJ Cooper User manual

Rinnai

Rinnai HJ Cooper User manual

Rinnai Infinity 17i User manual

Rinnai

Rinnai Infinity 17i User manual
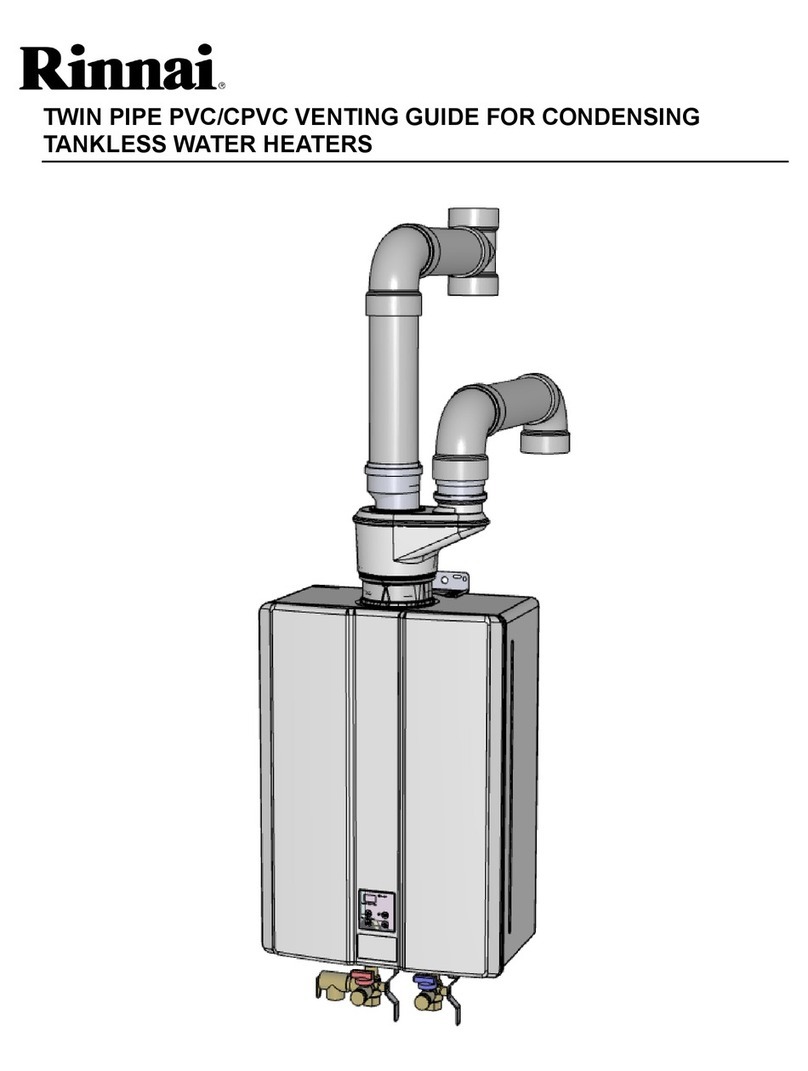
Rinnai Multi-Point 11i Low NOx User manual

Rinnai

Rinnai Multi-Point 11i Low NOx User manual

Rinnai Infinity N32i Specification sheet

Rinnai

Rinnai Infinity N32i Specification sheet

Rinnai HD28E User manual

Rinnai

Rinnai HD28E User manual

Rinnai HOTFLO User manual

Rinnai

Rinnai HOTFLO User manual

Rinnai ANS Z21.10.3 User manual

Rinnai

Rinnai ANS Z21.10.3 User manual

Rinnai Infinity 26 Smartstart User manual

Rinnai

Rinnai Infinity 26 Smartstart User manual

Rinnai Circ-Logic RU80i User manual

Rinnai

Rinnai Circ-Logic RU80i User manual
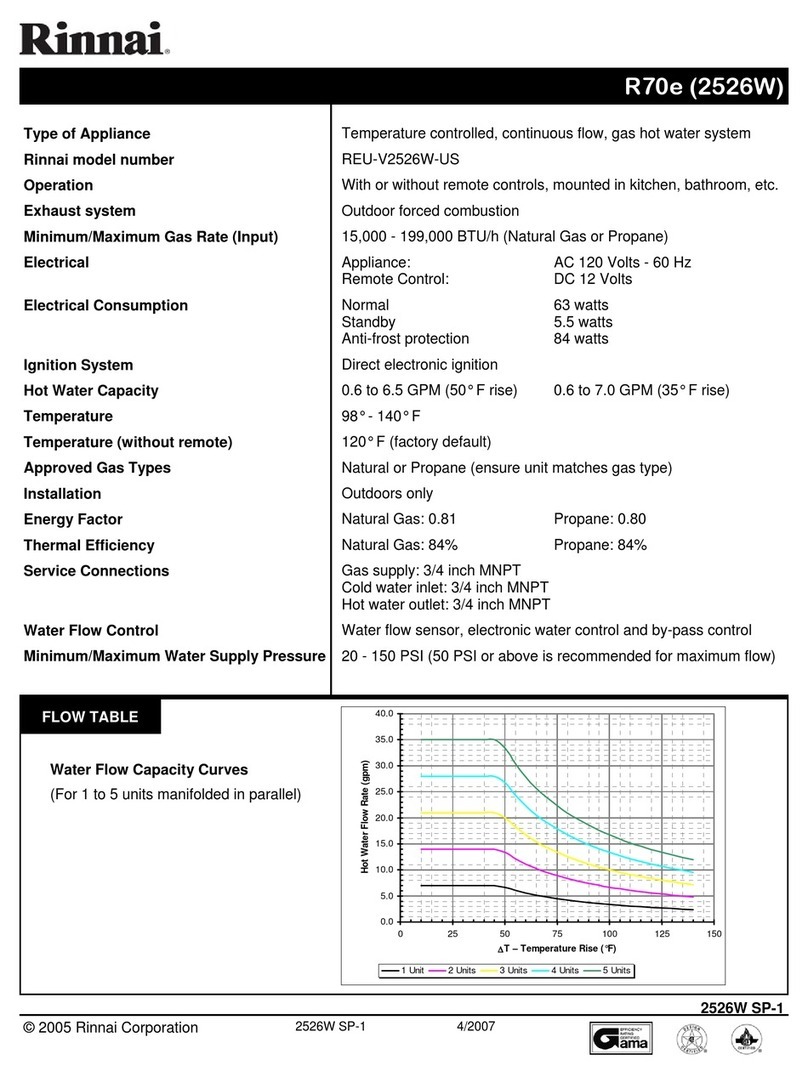
Rinnai Infinity 32e User manual

Rinnai

Rinnai Infinity 32e User manual

Popular Water Heater manuals by other brands

clage German pool CEX13 operating instructions

clage

clage German pool CEX13 operating instructions

Noritz proTough NR98SV installation manual

Noritz

Noritz proTough NR98SV installation manual

DeDietrich KALIKO TWH 200 EV Installation and service manual

DeDietrich

DeDietrich KALIKO TWH 200 EV Installation and service manual

veito FLOW Installation and operating instructions

veito

veito FLOW Installation and operating instructions

ICI Caldaie COSMOGAS AGUATANK 150 Instructions for installation, use and maintenance manual

ICI Caldaie

ICI Caldaie COSMOGAS AGUATANK 150 Instructions for installation, use and maintenance manual

Savio Laser 11 A Instruction manual for installation and use

Savio

Savio Laser 11 A Instruction manual for installation and use

Kenmore 153.582400 Use & care guide

Kenmore

Kenmore 153.582400 Use & care guide

STIEBEL ELTRON Eltronom SHU 5 S Operating and installation instructions

STIEBEL ELTRON

STIEBEL ELTRON Eltronom SHU 5 S Operating and installation instructions

clage E-Mini Series Operating and installation instructions

clage

clage E-Mini Series Operating and installation instructions

Solar SunX 317365-002 instruction manual

Solar

Solar SunX 317365-002 instruction manual

Bradford White EF Series Service manual

Bradford White

Bradford White EF Series Service manual

Dimplex ECSd125-580 Installation and user instructions

Dimplex

Dimplex ECSd125-580 Installation and user instructions

Dux 32FCR6N installation manual

Dux

Dux 32FCR6N installation manual

Noritz N-132M Owner's guide and installation manual

Noritz

Noritz N-132M Owner's guide and installation manual

TESY GCV7/4S 10047 Instructions for use and maintenance

TESY

TESY GCV7/4S 10047 Instructions for use and maintenance

A.O. Smith Gphe 50 instruction manual

A.O. Smith

A.O. Smith Gphe 50 instruction manual

Toyotomi Oil Miser OM-148 (Type D) Operation and maintenance instructions

Toyotomi

Toyotomi Oil Miser OM-148 (Type D) Operation and maintenance instructions

Koryo KWHZF15Y user manual

Koryo

Koryo KWHZF15Y user manual

manuals.online logo
manuals.online logoBrands
  • About & Mission
  • Contact us
  • Privacy Policy
  • Terms and Conditions

Copyright 2025 Manuals.Online. All Rights Reserved.

®

󰼝




The sideways flue diverter is an accessory that can be fitted to an external Rinnai
continuous flow water heater. It is designed to expel combustion products in a sideways
direction. The flue diverter is fitted with screws to the flue terminal.
Important: The flue diverter MUST remain as a permanent fixture as removal could mean
the water heater position no longer complies with AS/NZS 5601.1. All clearances must
conform with AS/NZS 5601.1
Suitability
• Externally mounted Rinnai INFINITY continuous flow water heaters NOT installed into a recess box.
• External SINGLE water heater applications only (can be installed for left and right handed
installations).
• Balconies, patios, or other enclosed areas where products of combustion can be rapidly dispersed
into the open-air.
Code Model
FDS16: VT16 and XR16
FDS20: VT20, XR18, XR20, Solar 20
FDS24: VT24, VT26, XR20+, XR26, XR26+, XR24, Solar 24
Specific applications
Noise reduction, in particular with larger INFINITY models where the unit is positioned close to a
neighbouring property.
Where there may be an obstruction such as a tree, fence, wall or other structure, that even though
an INFINITY is installed with the required clearances, will perform more efficiently if the flue gases are
cleared away from the obstruction.
Where clearance to an openable window or other building structure is tight, the clearance shifts to the
point of discharge (close to the edge of the water heater case).
Openable
window
j
n
Sideways flue
diverter—ensure
1500 mm clearance
j and n relate to minimum clearancs required for
balanced flue terminals from AS/NZS 5601.1
®

󰼝




Location and clearances
Example where
the flue diverter
cannot be
installed
Internal corner
External corner
External corner
Direction of flue discharge
External corner
with return
BB
View BB View AA
AA
CB
Ref. Clearance
A Minimum horizontal clearance between the flue diverter and any obstructions in the
direction of the discharge.
1500 mm
B Horizontal distance between the flue diverter and the external corner of a wall, in
the direction of the discharge. If the distance exceeds 500 mm flue products may
not be adequately dispersed from the enclosed area.
500 mm
C Clearance from a return of an external corner. 20 mm
Important
Gas meters, electricity meters, fuse boxes, drain pipes, soil pipes, flue terminals,
combustion air intakes, openable windows, non-mechanical air inlets or any other
openings are not permitted in the grey shaded area shown above.
®

󰼝




Preparation
1. Unpack the flue diverter assembly.
2. Remove the two retaining screws from the
front panel of the diverter.
3. Separate the mounting bracket from the rear
of the diverter.
Retaining screws
Front panel Mounting bracket
Fitting the mounting bracket to the appliance
Loosen the two adjustment screws located on the
ends of the mounting bracket. This allows the cup
hooks to be positioned inside the lip of the appliance
flue terminal.
Appliance lip
Flue terminal
Adjustment screws
Cup hooks
Securing the mounting bracket to the appliance
Align the cup hooks with the lip so that when
the two adjustment screws are re-tightened
both will engage.
Re-tighten the two adjustment screws until the
cup hooks are firmly secured into the appliance
lip.
Adjustment screws
Appliance lip
Flue terminal Cup hooks
®

󰼝




Attaching the front panel
Re-attach the front panel to the mounting
bracket with the two retaining screws removed
in step 2.
Ensure that the drainage holes and arrow are
pointing downwards.
Retaining screws
Drainage holes Mounting bracket
Left or right handed installations
The diverter is assembled for a right hand
installation, but can be adjusted for a left hand
installation by the following the steps below.
1. To set the direction of discharge remove
the four retaining screws from the top and
bottom of the front panel.
2. Remove the terminal and the blanking plate
and reverse the positions.
3. Re-secure the terminal and blanking plate
in the new position with the four retaining
screws removed in step 1.
J
Terminal
Blanking plate
Terminal
Blanking plate
Sideways diverter installed on the INFINITY
Ensure diverter is securely attached and in the
correct position with the drainage holes (and
arrow) pointing downwards.
Inform the homeowner that this is a permanent
fixture and must not be removed.
140 mm
50 mm
385 mm