Kayak Distribution, Inc. (Distributor of Riot kayaks) Warranty Agreement
The Riot kayak you have purchased has met Kayak Distribution Inc.’s quality standards inspection requirements. However, as every
kayak is subject to wear and tear, should you need any technical assistance or replacement parts, BEFORE returning the kayak we
invite you to communicate with your dealer of origin or to consult www.riotkayaks.com for most of the information you may require.
This warranty applies only in the United States and Canada. In all other countries, the appointed distributor is solely responsible to
administer the warranty according to governing by-laws and corporate policies.
1. The warranty agreement is applicable to the original retail consumer only, it is not transferable, nor does it cover any commercial
use such as: pro-deals, rentals, educational, training, or those kayaks identified as demo, seconds, blems, institutional or K2. The
warranty does not cover kayaks damaged during transport. The determination of exclusion of warranty coverage is at the discretion
of the manufacturer.
2. The warranty agreement requires that the distributor (Kayak Distribution Inc.) receive the Warranty Registration Form within 30
days from the original date of purchase. For a claim to be processed it MUST be accompanied by the original proof-of-purchase
including the model and serial number of the kayak, relevant photos of the problem area, and the completed claim form (available on
the website) describing the issue. Only upon receipt of these completed documents will an authorization number be issued by Kayak
Distribution Inc. Please note: no other number or process will be accepted by the distributor.
3. The warranty agreement excludes products which have been damaged by negligence, misuse or accident, or deterioration due to
owner’s failure to provide reasonable and necessary maintenance. Products which have been modified or repaired by unauthorized
persons, structurally altered in any way (not withstanding sanding, cutting walls and outfit components, drilling holes and altering
original hull shape or modifying seat attachment to the hull) or have been subjected to stress beyond the physical limit of the
material are also excluded from the warranty agreement. The following are not covered at any time by this warranty: scratches and
perforation due to rocks or hard surfaces such as concrete and asphalt; warping (deformation of the hull) caused by extended
exposure to the sun or heat, or by having tied the kayak too tightly or nesting it in an improper position; change in appearance of the
kayak due to wear, over-exposure to sun, heat, or any other environmental condition.
4. The warranty agreement excludes all shipping costs to and from the appointed place of repair/replacement. The distributor will not
accept merchandise without the distributor’s authorization return number clearly identified on the outer packaging and proof of pre-
paid freight in and out of the factory. The distributor reserves the right to return merchandise to its owner, at the owner’s expense
(COD) if the above conditions have not been met. The distributor is not responsible for any damages incurred in transport, storing
fees, or inconvenience or loss of time/money while the claim is being processed and repairs or restoration are being effected.
5. The warranty agreement obliges the distributor only during the period of coverage (begins on the date of the original warranty
activation and expires at the end of the original warranty period specified on the warranty registration form) to repair or replace, at
its discretion, the defective parts at either its distribution warehouse or through a designated, authorized dealer. The distributor
reserves the right to change the product or design without incurring any obligation to incorporate such changes in previously
available products.
The present document is the sole and exclusive warranty recognized by the manufacturer and distributor in connection with the
purchase and use of one Riot’s products. Kayak Distribution Inc., distributor of Riot kayaks, makes no garantees or representations
expressed or implied (including warranties of merchantability and of fitness for a particular purpose) in such connection except as
specifically set forth in this warranty. The company is not liable for any injury or damage to persons or property sustained as a result
of the use of kayaks manufactured by Riot Kayaks. The user of any kayak manufactured by Riot Kayaks acknowledges and assumes
any and all risks associated with the use of kayaks and waives any and all claims against Riot Kayaks, Kayak Distribution Inc., and
any of their agents and/or assignees. By filling out and submitting the warranty registration form, the owner of the product
acknowledges that he has read and understood the Owner’s Manual and warranty agreement, and that he recognizes that due to the
nature of the activity the product is intended for, Riot Kayaks, Kayak Distribution Inc., and their owners, employees, and associates
can not be held liable for any injuries or mishaps sustained in the use of a kayak manufactured by Riot Kayaks. All incidental and/or
consequential damages are excluded from this warranty agreement. Implied warranties are limited to the life of the warranty (as
specified in the warranty registration form). Some states do not allow the exclusion or limitation of incidental or consequential
damages, so the above limitations or exclusions may not apply to you. This warranty gives you specific legal rights which may vary
from state to state.
Approved Personal Flotation Device (PFD)
Whistle attached to your PFD
Signal/Running light
Bilge pump or bailing scoop
Throw bag (15m)
Additional break-apart paddle
Paddle float
Cockpit skirt
For a coastal or seafaring trip ADD
Tent and groundcloth
Sleeping bag
Stove
Small shovel
Shelter tarp
Kayak Repair Kit
Sewing Kit
Water purification method
Small cord 3mm x 20 m
Spare batteries and candles
Dry bags for all the material
Signal mirror
Radar reflector
Check List
EQUIPMENTACCESSORIESCLOTHING
Map of your route in waterproof cover
Sponge
Sunglasses with strap
Sunscreen
Water and food
Topo map in waterproof cover
Insect repellent
Knife
Dry-bag
First Aid Kit
Hat
Watershoes or sandals
Wool socks
Shorts or pants
Polyester T-shirts
Long sleeve synthetic shirt
Water/wind proof shell
A spare set of clothes in the dry bag
For cold weather or cold water
Dry or wet suit
Fleece or woolen shirt
Wool beanie
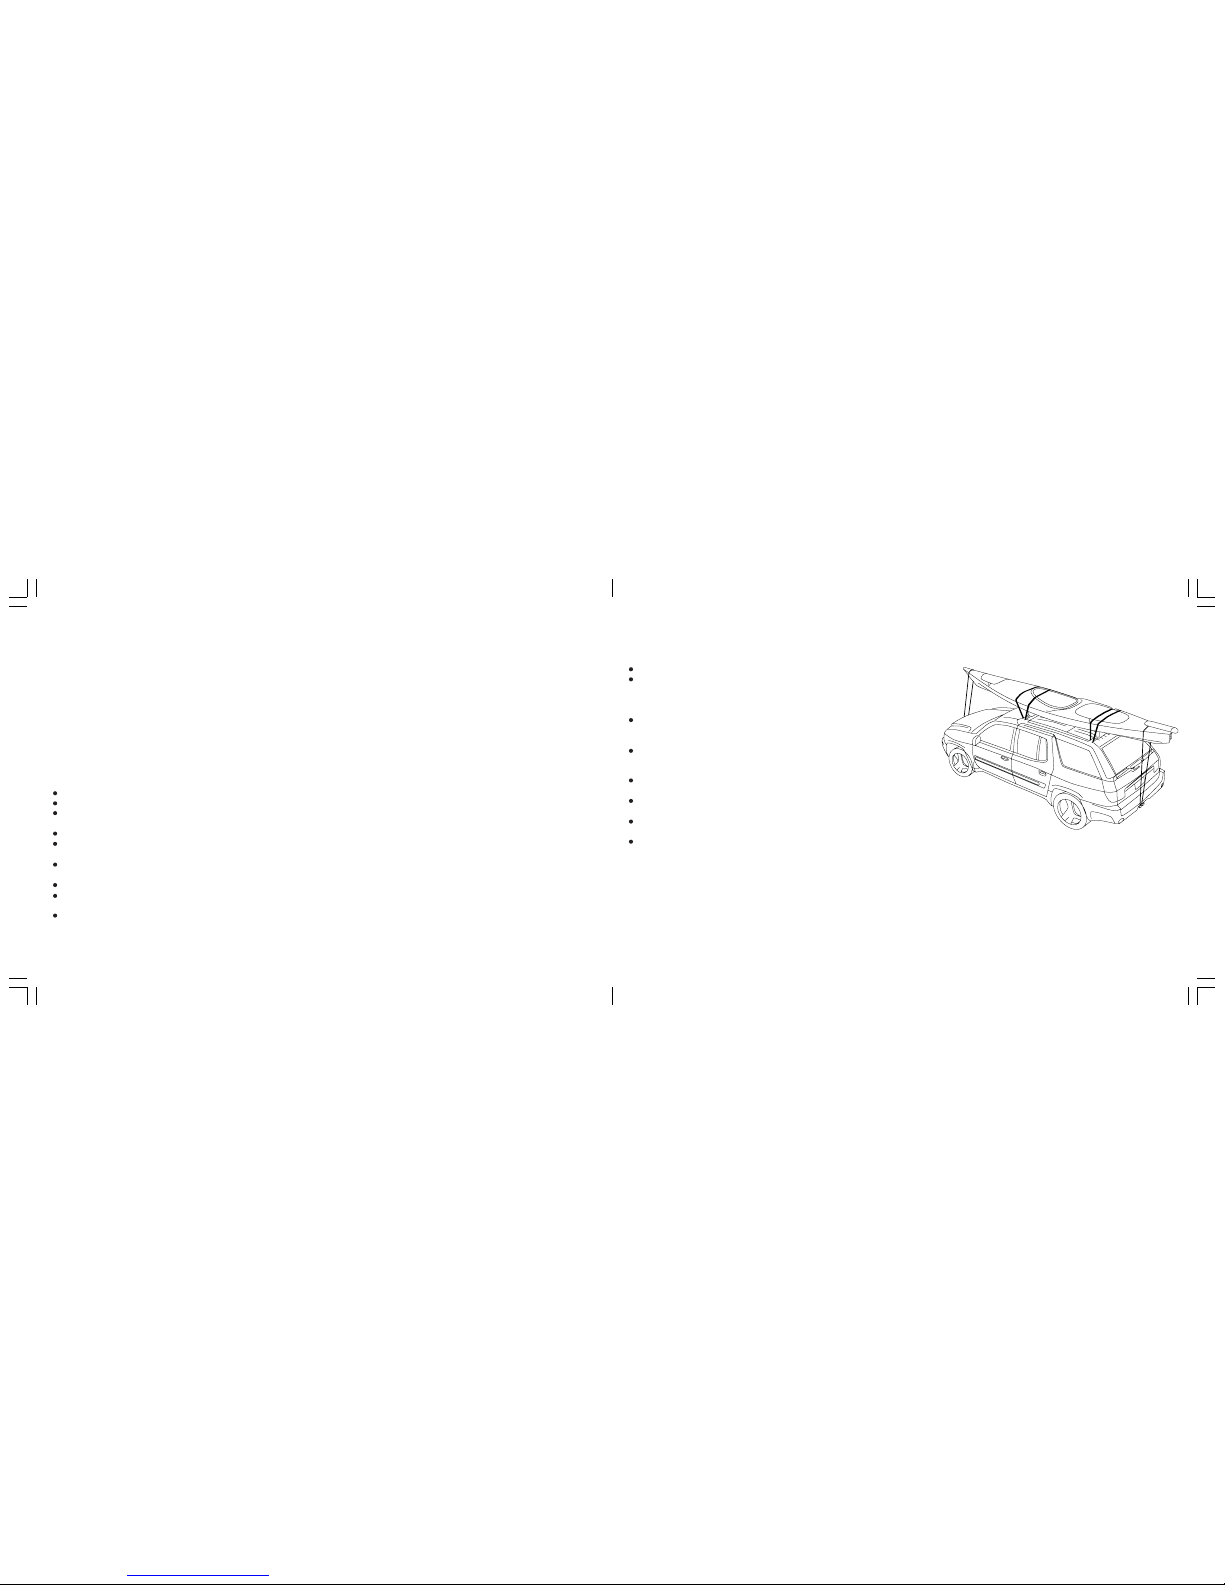
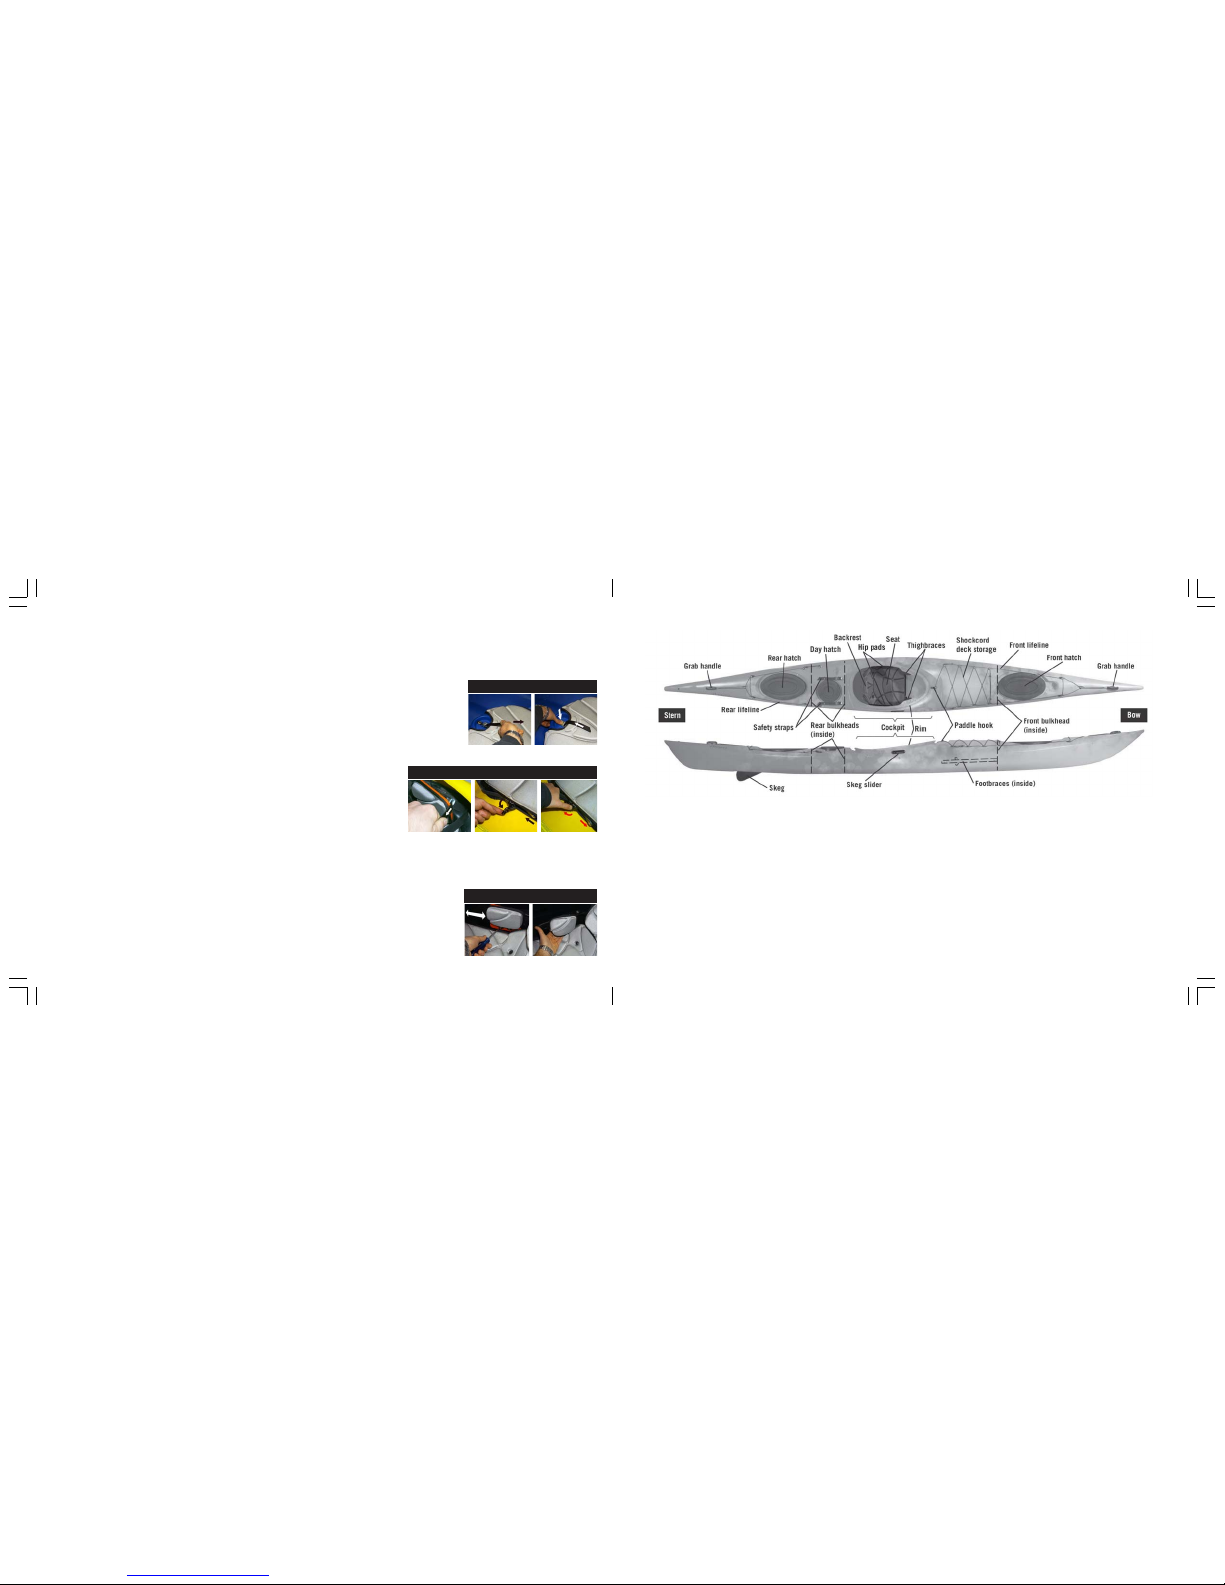
A kayak with a minimum length of 13’ (4m)
Fog horn
VHF or weather radio
Appropriate Distress flares
Compass or GPS
Nautical weather forecast
Survival knife
Marine chart
Tidal table
Binoculars
Flashlight
Duct tape
Energy Bar
Fresh water
The basics listed, plus clothing for cold water
Dry/wet suit
Neoprene gloves and booties
Beanie or head warmer
Keep in mind that even in summer the water is
almost always colder than the air temperature
For an expedition of several days ADD
Personal medications (if any)
Spare glasses or contact lenses
Emergency food
Spare maps
Cookware
Plates, cups and utensils
Appropriate food
Toilet paper
Rigid storage container
Spare Clothing
Synthetic underwear
Warm socks
Pants
T-shirt
Fleece or other synthetic shirt
Extra shoes
Extra beanie
Towel
Waterproof pants
This equipment is mandatory by
law in Canada