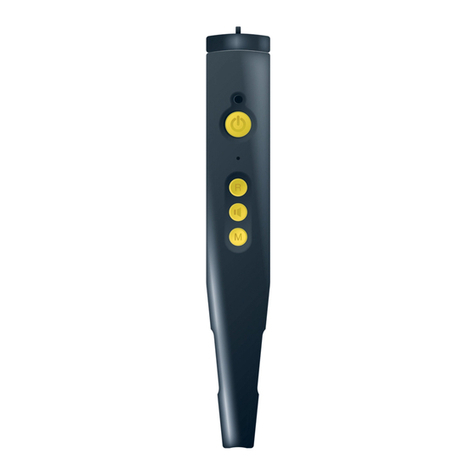
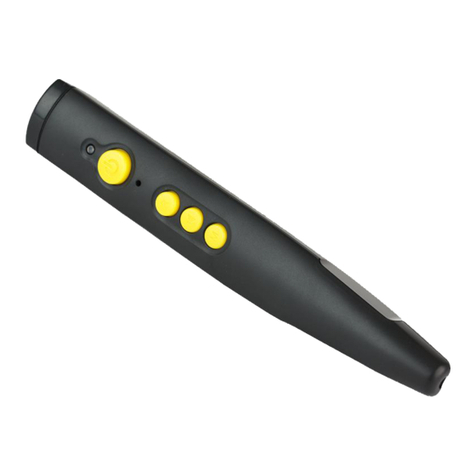
RNIB ONYX HC34 User manual

1
ONYX Deskset HD User Guide
HC34
* HC34P * * HC34P *
Please retain these instructions for future reference. These instructions are also
available in other formats.
General description
The ONYX desk top HD's sleek new design has an integrated high-definition camera
and a portable monitor to let you read what you want, wherever you go. Read objects
from across large rooms and auditoriums, or magnify items such as reading
materials, daily business tasks, classroom assignments, product labels, and craft
projects with the distance view, document view, and self-viewing controls.
Contents
ONYX Deskset HD User Guide...................................................................................1
General description.....................................................................................................1
Overview.....................................................................................................................2
ONYX Deskset HD Components.............................................................................2
Setting up the unit.......................................................................................................2
Powering the Unit Using the Remote Control ..........................................................3
Positioning the Camera for Long Distance or Close-up Work..................................3
Rotating and Tilting the Camera..............................................................................4
Carrying the unit .........................................................................................................4
Using ONYX Deskset HD ...........................................................................................4
Changing Magnification .......................................................................................4
Adjusting Brightness............................................................................................4
Changing Color Modes............................................................................................4
Aiming the Camera at Distant Objects.....................................................................5
Flipping an Image....................................................................................................5
Freezing an Image ..................................................................................................6
Auto Focus Toggle..................................................................................................6
Saving Camera Settings..........................................................................................6
Advanced Features.....................................................................................................7
Shading and Masking..............................................................................................7

2
Reading Lines.........................................................................................................8
Remote Control Functions ..........................................................................................8
Color modes .............................................................................................................10
Adding and Removing Color Modes......................................................................11
Resetting Default Color Modes..............................................................................11
Pairing a remote control with a Camera....................................................................12
Transporting the Unit ................................................................................................12
Troubleshooting........................................................................................................13
Safety and Maintenance...........................................................................................14
Service and Support .................................................................................................15
How to contact RNIB.................................................................................................16
Terms and conditions of sale.................................................................................16
Overview
The ONYX® Deskset HD makes seeing printed type, pictures, handwriting, and small
details easier than ever before. Its integrated carrying handle makes it very easy to
transport.
The unit includes the following features:
Document reading
Distance reading
Self-viewing
Auto Focus creates the clearest view without any need to make adjustments
Increase or decrease brightness
Shading and Masking
Reading Lines
Freeze Frame
Find function to easily target distant objects
Camera arm rotates 330 degrees
Camera tilts 315 degrees and swings 180 degrees
ONYX Deskset HD Components
What’s in the Box
ONYX HD magnifying camera connected to a rotating camera arm
24-inch, 22-inch, or 20-inch flat- panel HD monitor
Remote control with two AAA batteries
Power cord
User documentation
Wheeled carrying case (optional)
Setting up the unit
Use the following procedures to set up and turn on the unit.

3
1. Use the unit’s carrying handle to place it on a sturdy and stable work surface such
as a desk or table.
2. Raise the camera arm until it locks in the upright position.
3. Connect the power cord to the unit and an AC outlet.
4. Flip the main power switch on the back of the unit to power on both the monitor and
the camera. The green Power LED on the bottom of the camera indicates there is
power to the unit.
5. Adjust the monitor tilt by holding the left and right sides of the monitor, and then
gently tilting it forward or backward until it reaches a position that is comfortable.
6. If you are setting up the unit for the first time after removing it from its shipping
container, open the remote control’s battery cover and insert two AAA alkaline
batteries.
Powering the Unit Using the Remote Control
Press the green POWER button (upper right corner of the remote control) to turn the
camera on and off.
When the camera is on, a green LED on the bottom of the camera is on. If an image
does not appear on the screen, try the following:
Flip the main power switch on the back of the unit to the On (I) position
Press the green POWER button on the remote control and make sure that its
LED flashes red
Make sure the power cord is connected to the unit
Make sure the power cord is plugged into a wall outlet
For more solutions, refer to Troubleshooting
Positioning the Camera for Long Distance or Close-up Work
For long distance viewing, keep the close-up lens open.
Keep the close-up lens closed for:
Looking at nearby objects
Self-viewing (camera rotated and pointing at yourself)
For reading items placed under the camera, keep the close-up lens closed and the
camera pointing down.
Any changes made to camera settings (for example, color mode, magnification) are
saved for that camera position: distance, reading, or self-viewing. This allows you to
have a unique configuration for each camera position.
For example, you can use true full color for distance viewing, and then switch to the
reading position and use two contrasting colors for close-up reading. These same
settings are recalled when you move the camera back to that orientation.

4
To permanently save these settings, you must power off the unit using the green
POWER button on the remote control. If you turn off the unit using the main power
switch, your most recent changes are not saved.
Rotating and Tilting the Camera
Camera arm joint swings 180°
Camera arm rotates 330°
Camera tilts 315°
Carrying the unit
The unit has an integrated handle that makes it very easy to transport. When carrying
the unit, always lower the camera arm first.
Important: Never move or carry the unit by the camera arm or camera.
Using ONYX Deskset HD
This section describes how to change magnification and brightness, locate objects,
change color modes, and more using the remote control. For more information about
the remote control and its buttons, refer to Remote Control Functions.
Before you begin, make sure the unit is turned on. If necessary, press the green
POWER button on the remote control to turn on the camera.
Changing Magnification
Press the black PLUS button (center right of the remote control) to zoom-in and
enlarge the object that appears on the screen.
Press the black MINUS button (center right of the remote control) to zoom away
from the object on the screen.
Adjusting Brightness
To make the image lighter, press the top yellow BRIGHTNESS button (center left
of the remote control).
To make the image darker, press the bottom yellow BRIGHTNESS button (center
left of the remote control).
Changing Color Modes
A color mode is a pre-defined color combination (for example, yellow text on a black
background). You can use color modes to reduce glare and provide contrast to make
it easier to read text on the screen. The unit has six default color modes:
True Full Color –always available, cannot be deleted

5
High-Contrast Full Color
Black on White (high-contrast positive)
White on Black (high-contrast negative)
Yellow on Blue
Yellow on Black
You can also activate up to 27 additional color modes. For a complete list, refer to
Color Modes. To add more color modes, refer to Adding and Removing Color
Modes.
There are two ways to move through the list of color modes:
Press the blue COLOR MODE button, located in the upper right of the remote
control, to cycle through and select different color modes.
Press the UP or DOWN ARROW buttons to move to the previous or next color
mode. You can only do this when shading or masking is off.
Aiming the Camera at Distant Objects
If you are currently focused on an object, but you want to move the camera to another
object, use the FIND button to help you aim the camera, locate the center of the new
object using the crosshairs displayed on the screen, and return to your initial
magnification level.
1. Press and hold the red FIND button (upper center section of the remote control).
Crosshairs display on the screen indicating the center of the image on the screen,
and then the camera zooms out.
2. While still holding the button, move the camera and center the crosshairs on the
new object you want to view.
3. Release the red FIND button. The camera zooms in to its previous magnification
level and the crosshairs turn off.
Flipping an Image
With the ONYX HD camera, you can change the screen orientation so that the image
is flipped and mirrored both horizontally and vertically.
This function is useful when the object you are viewing is upside down. For example,
if you receive a heavy package, it may be easier to flip the image around instead of
turning over the package.
Press the light blue FLIP button (upper left of the remote control), to cycle through
the four different picture orientations. The camera will remember this setting the
next time you rotate it back to this position.

6
Freezing an Image
1. Press the red FREEZE FRAME button to freeze the current image that appears on
the screen. The Freeze Frame icon displays on the screen. Freeze Frame is useful
when viewing distant static images such as text on a blackboard.
2. Press the button again to turn off Freeze Frame and return to the camera’s live
view.
Auto Focus Toggle
Focus lock prevents the camera from accidentally focusing on your hand or any other
item that passes in front of the camera. This is useful when working or writing directly
under the camera.
1. Move the camera to the reading position (pointing down).
Next, place your document or other item under the camera, and adjust magnification
using the black PLUS or MINUS buttons.
2. Press the orange FOCUS LOCK button (lower right side of the remote control) to
turn off Auto Focus. The Focus Lock icon displays on the screen. The camera’s focus
setting will not change meaning that an object moved closer to or farther away from
the camera lens will be out of focus.
3. Press the orange FOCUS LOCK button again. Auto Focus turns on, and the
camera returns to normal operation.
Saving Camera Settings
Any changes that you make to camera settings (color mode, magnification, shading,
and so on) are saved for that camera position: distance, reading, or self-viewing. This
allows you to have a unique configuration for each camera position.
For example, for reading, you can use yellow on black as your color mode to provide
a strong contrast between foreground text and a solid background. When you rotate
the camera for self- viewing, you can have a different configuration that switches to
true full color with less magnification.
To save camera settings after creating your preferences,
Press the green POWER button (upper right corner of the remote control) to turn
off the unit. Your most recent changes are saved for that camera position.
Note: If you power off the unit by flipping the main power switch on the back of the
unit instead of using the green POWER button, your most recent changes are not
saved.

7
Advanced Features
Shading, masks, and reading lines are features you can use to help you read text on
the screen. The MASK and READING LINES buttons are located under the button
cover. To access these buttons, slide the button cover down and off.
Shading and Masking
Shades and masks block parts of the screen to show only a horizontal or vertical slice
of the screen. This makes it easier to focus on a specific area of the screen while also
reducing glare from bright backgrounds. Shades display as two translucent bars.
Masks display as two solid bars on the screen.
To display shades or masks, press the black and white MASK button to cycle through
the following options. (The button is located on the lower right side of the remote
control.)
Horizontal Shades: these leave a horizontal clear band of screen with translucent
horizontal areas above and below.
Horizontal Masks: these leave a horizontal clear band of screen with horizontal
solid bars above and below.
Vertical Shades: these leave a vertical clear band of screen with translucent
vertical left and right.
Vertical Masks these leave a vertical clear band of screen with vertical solid bars
left and right.
None: whole screen is clear to view.
Use the white and black arrow buttons to move shades and masks as described in
the following table.
White UP ARROW button
Decrease the distance between shades or masks. This is true for both horizontal and
vertical layout.
White DOWN ARROW button
Increase the distance between shades or masks. This is true for both horizontal and
vertical layout.
Black UP ARROW button
Move horizontal shades or masks up the screen.
Move vertical shades or masks to the left.
Black DOWN ARROW button
Move horizontal shades or masks down the screen.
Move vertical shades or masks to the right.

8
Reading Lines
Reading lines are horizontal or vertical lines that display on the screen to help you
maintain your place while viewing an image or reading text.
To display reading lines, do the following:
1. Press the white and black READING LINES button (lower left side of the remote
control) to display two horizontal lines.
2. Press it again to display two vertical lines.
3. Press it a third time to display none.
Use the white and black arrow buttons to move the reading lines as described in the
following table.
White UP ARROW button
Move the bottom horizontal reading line up the screen.
Move the right vertical reading line to the left.
White DOWN ARROW button
Move the bottom horizontal reading line down the screen.
Move the right vertical reading line to the right.
Black UP ARROW button
Move both horizontal reading lines up the screen.
Move both vertical reading lines to the left.
Black DOWN ARROW button
Move both horizontal reading lines down the screen.
Move both vertical reading lines to the right.
Remote Control Functions
Power/Function LED (Red): The LED flashes red each time you press a button on
the remote control. It is located in the upper left corner of the remote control.
Power (Green): Press the POWER button to turn on the unit. To turn the power off,
press and hold the POWER button. The green LED on the camera indicates that it is
on. The POWER button is located in the upper right corner of the remote control.
Find (Red): Press and hold the FIND button to locate the center of the object that is
currently in view and focus. This is indicated by the crosshairs that appear on screen.
In addition, the camera zooms out to make it easier for you to aim it at another object.
When you release the button the camera zooms in to the previous magnification level,
and the crosshairs disappear. This button is located in the upper center section of the
remote control.

9
Flip (Light Blue): Pressing the FLIP button four times cycles the camera through four
different picture orientations. This button is located in the upper left side of the remote
control.
Color Mode (Blue): Press the COLOR MODE button, which is located in the upper
right side of the remote control, to cycle through color modes. See Color Modes for
more information.
Brightness (Yellow): Press the top BRIGHTNESS button to increase the brightness
level. Press the bottom BRIGHTNESS button to decrease the brightness level. These
buttons are located in the center of the remote control.
Zoom (Black):Press the PLUS button to zoom in and enlarge the image that
appears on the screen. Press the MINUS button to zoom away from the image on the
screen. These buttons are located in the center of the remote control.
Freeze Frame (Red): Press the FREEZE FRAME button once to freeze the current
image that appears on the screen. The Freeze icon displays on the screen. Press it
again to turn off Freeze Frame mode and return to the live camera view. The button is
located on the lower left side of the remote control.
Focus Lock (Orange): Press the FOCUS LOCK button to turn off Auto Focus. When
Auto Focus is off, as indicated by the Focus Lock icon, the camera does not adjust its
focus. Turning Auto Focus off makes it easier to write or work with an object, because
the camera will not automatically focus on your hand. During normal operation, it is
recommended that you leave Auto Focus on. Press the button again to restore Auto
Focus mode. It is located on the lower right side of the remote control.
Reading Lines (White and Black): Press the READING LINES button to display two
horizontal or vertical lines on the screen. Use these lines to help you maintain your
place while reading text or viewing an item. You can then use the UP/DOWN and
WIDTH buttons to adjust the position and the distance between lines on the screen.
Remove the button cover on the front of the remote control to access these buttons.
Shade and Mask (Black and White): Press the MASK button to cover the upper and
lower, or left and right sides of the screen. By doing this, only a horizontal or vertical
slice of the screen shows on the display, which can help you concentrate on specific
items or lines of text. A mask displays two black bars horizontally or vertically on the
screen. The shade displays two translucent bars on the screen. Shading allows you
to see enough of the blocked area so that you can reference your place on the
screen. Use the WIDTH and UP/DOWN buttons to adjust the visible area and position
on the screen. Remove the button cover on the front of the remote control to access
these buttons.

10
Width (White): Use these buttons to move the bottom or right reading line, shade, or
mask on the screen. This action increases and decreases the distance between these
items. Remove the button cover on the front of the remote control to access these
buttons.
Up and Down (Black): Use these buttons to move the reading lines, shades, or
masks up and down, or left and right on the screen. Remove the button cover on the
front of the remote control to access these buttons.
Color modes
There are six factory default color modes and 27 additional color modes that you can
activate and use.
Factory default color modes
True Full Color (always available, cannot be disabled);
High-Contrast Full Color;
Black on White (high-contrast positive);
White on Black (high-contrast negative);
Yellow on Blue;
Yellow on Black.
Additional color modes
Black on White Grayscale;
Blue on Yellow;
Black on Yellow;
Violet on Black;
Black on Violet;
White on Blue;
Blue on White;
Green on Black;
Black on Green;
Red on White;
White on Red;
White on Green;
Green on White;
Black on Blue;
Blue on Black;
Black on Red;
Red on Black;
Violet on White;
White on Violet;
Black on Orange;
Orange on Black;
Green on Yellow;

11
Yellow on Green;
Amber on White;
White on Amber;
Amber on Black;
Black on Amber.
Adding and Removing Color Modes
The unit has six default color modes. You can also activate and choose from a variety
of 27 other color modes. Once a color mode is available, you can easily switch to it by
pressing the blue COLOR MODE button, or the black UP ARROW and DOWN
ARROW buttons. (The UP/DOWN buttons only work if shading, masking, and reading
lines are off.)
Note: Use the tip of a pen or similar item when performing this procedure. The enable
[tick] and disable [X] icons will display on the screen indicating if a color mode is
selected or cleared. Review this procedure before adding or removing color modes.
To add or remove color modes, do the following:
1. Open the battery cover on the back of the remote control.
2. Use a pen tip or similar item to press the MENU button. When holding the remote
control vertically, it is located above and to the left of the batteries.
The Enable check mark [tick] displays on the screen indicating that the current color
mode is active.
3. To disable the current color mode, press the light blue FLIP button. An X displays
and indicates that the color mode is disabled.
Note: True Full Color mode is always available and cannot be disabled.
4. To scroll to the next color mode, press the blue COLOR MODE button.
A check mark [tick] indicates that the color mode is enabled
An X indicates that the color mode is disabled
5. To enable or disable another color mode, press the light blue FLIP button.
6. Repeat steps 4 and 5 to continue adding or removing color modes.
7. When you are finished, use a pen tip to press the MENU button to save your
changes, and then replace the battery cover.
Resetting Default Color Modes
If you have added or removed color modes, you can always restore the unit to its six
default color modes.

12
To do this, do the following:
1. Open the battery cover on the back of the remote control.
2. Use a pen tip or similar item to press the MENU button. When holding the remote
control vertically, it is located above and to the left of the batteries.
3. Press the red FIND button on the front of the remote control.
4. Press the MENU button again, and replace the battery cover.
Pairing a remote control with a Camera
An ONYX HD camera always corresponds with a specific ONYX HD remote control.
To match or pair another remote control with your camera, do the following:
Important: An unfolded paper clip is required for this procedure. Because the
following tasks must be performed within a specified time limit, review and make sure
that you understand this procedure before attempting to pair a camera and remote
control.
1. Use an unfolded paper clip to press and release the recessed PAIRING button on
the bottom of the camera.
2. Open the battery cover on the back of the remote control. Insert and press the
unfolded paper clip into the recessed PAIRING button (the hole above and to the right
of the batteries when holding the remote control vertically).
The remote control’s LED will flash approximately 10 times.
Note: This must be done within 10 seconds after pressing the camera’s PAIRING
button.
3. Press the remote control’s green POWER button.
The green LED on the bottom of the camera turns on. This indicates that the camera
and remote control are correctly paired. Replace the battery cover on the remote
control.
Transporting the Unit
An optional wheeled carrying case is available for all units except the 24-inch model.
Before packing the unit, do the following:
1. Use the remote control to power off the unit, and then flip the main power switch to
the off position.
2. Disconnect the power connector from the wall and the unit.
3. Lower the camera.
4. Place the power cord into the case or its front pocket.
To place the unit into the carrying case, do the following:
1. Lift the unit by its carrying handle.

13
2. With the monitor facing the back of the carrying case, lower the unit.
3. Close the case and either use the case’s handles to carry it, or use the convenient
telescoping handle to wheel the unit.
Troubleshooting
The screen is blank.
Make sure the main power switch is on.
Ensure that the green Power LED for the camera is on. The LED is on the bottom of
the camera.
Make sure the power cable is correctly connected to the unit and the wall outlet.
Reduce the magnification level using the black MINUS button.
Try adjusting brightness using the yellow BRIGHTNESS buttons.
Press the blue COLOR MODE button to switch to a different color mode.
The unit does not turn on.
Make sure that the main power switch is in the on position.
Ensure that the remote control is working. The red LED in the upper left corner of the
remote control flashes when a button is pushed. If this does not happen, replace the
two AAA batteries.
Make sure that you use the remote control that is paired with your camera.
Ensure that the wall outlets have power and are not malfunctioning. If the outlets are
connected to a wall switch, make sure that the switch is on.
The image on the screen is too bright, or there is a glare from the screen that
makes it difficult to see.
Press the bottom yellow BRIGHTNESS button to reduce brightness.
Press the blue VIDEO MODE button to switch to a different color mode.
The image on the screen is too dark.
Press the top yellow BRIGHTNESS button to increase brightness.
Press the blue VIDEO MODE button to switch to a different video mode.
The document I am reading is out of focus.
For close-up reading, make sure the close-up lens is closed while the camera is
pointing down on the document. Refer to Positioning Camera for Long Distance or
Close-up Work for more information.
The image on the screen is blurry or unfocused.
Make sure the close-up lens is in the correct position: closed for reading or self-
viewing, and open for distance viewing.
Ensure that Focus Lock is off. You can press the orange FOCUS LOCK button to turn
Auto Focus on or off.
Make sure the lens is clean.
Check that the object that you are trying to view is centered on the screen. The
camera might be trying to focus on something else.

14
For self-viewing (close-up lens closed), make sure that you are within 18 to 30 inches
away from the camera.
The image is upside down.
Use the light blue FLIP button to invert the image.
There are smudges or blemishes on the screen.
Clean the screen using a damp, soft, lint- free cloth.
Text is too small to read.
Use the black PLUS button to increase the magnification level.
Text is too large.
Use the black MINUS button to decrease the magnification level.
When I move the camera to a new position, I lose the previous position’s
settings.
This is normal operation since camera settings are saved and stored per position. For
example, if you have Reading Lines turned on for distant viewing, and then change to
reading or self-viewing, the Reading Lines will not appear unless you set them for
those camera positions.
Nothing happens while pressing buttons on the remote control.
If you use a remote control that is paired with another camera, refer to Pairing a
Remote Control with a Camera for procedures describing how to match the two
devices.
Verify that the red LED on the remote control flashes when you press a button. If not,
replace the batteries.
Safety and Maintenance
To keep the unit in good condition and to ensure safe usage, observe the following
guidelines:
Read the instructions in this user’s guide before attempting to use the unit.
Do not attempt to repair the unit or open its case. This product contains no user
serviceable parts.
Do not attempt to modify the remote control. Changes or modifications not
expressly approved by the party responsible for compliance could void the user’s
authority to operate the equipment.
Keep the unit away from wet areas, rain, and other sources of liquids or high
humidity. Do not submerge the unit.
Always operate the unit in a place where the temperature is between 10° and 40°
C (50° and 104° F).
Always store the unit in a place where the temperature is between -20° and 65° C
(-4° and 149° F).

15
Always use the unit on a stable, level, hard surface such as a desk or table.
When cleaning the screen, unplug the power cord and apply a small amount of
non-abrasive cleanser, such as the following, to a soft, lint-free cloth and gently
wipe:
Water
Isopropyl alcohol
Petroleum benzene
Vinegar mixed with water at a concentration of no more than 10 percent
vinegar, for example, 1.5 tablespoons of vinegar per cup of water (100 ml
per liter)
Caution: Do not apply excessive pressure to the screen. Do not spray cleanser
directly on the screen. Also, do not use any cleanser that contains the following
agents: acetone, ethyl acetone, ethyl acid, ammonia, or methyl chloride.
When cleaning the rest of the unit, make sure the unit is unplugged. Use a lightly
dampened, soft, clean cloth with water or mild detergent.
Service and Support
You can contact Freedom Scientific Technical Support to receive technical
assistance. Before contacting Technical Support, it is recommended that you refer to
Troubleshooting to try to resolve your problem quickly.
If you cannot resolve your issue, you can visit www.FreedomScientific.com. Choose
the Support link to search the Knowledge Base. The Knowledge Base contains
articles that address many common questions and technical issues concerning
Freedom Scientific products.
Note: This device has no user serviceable components. Any unauthorized attempt to
service or replace internal components will void the product warranty.
To contact Freedom Scientific Technical Support by telephone, customers in the
United States can call (727) 803-8600, Monday through Friday, from 8:30 AM to 7:00
PM (Eastern Time).
Alternatively, you can receive support by e-mail. Send your questions and problems
to Support@FreedomScientific.com.
When you call, have your questions ready and be prepared to provide the following
information:
Product name
What you were doing when the problem occurred
How you tried to solve the problem

16
How to contact RNIB
Phone number: 0303 123 9999
Textphone: 0845 758 5691
Postal address: RNIB, PO Box 173, Peterborough PE2 6WS, U.K.
Web address: www.rnib.org.uk
RNIB Technology Team
Telephone: 0845 90 00 015
Terms and conditions of sale
This product is guaranteed from manufacturing faults for 12 months from the date of
purchase. If you have any issues with the product and you did not purchase directly
from RNIB then please contact your retailer in the first instance.
For all returns and repairs contact RNIB first to get a returns authorisation number to
help us deal efficiently with your product return.
You can request full terms and conditions from RNIB or view them online.
Registered Charity No. 226227
This product is CE marked and fully complies with all applicable EU legislation.
At the end of the product’s life you can return it to the supplier or manufacturer for
free of charge disposal. This is to comply with ‘The Waste Electrical and Electronic
Equipment Directive’ (WEEE).
Date: February 2015
© RNIB
Table of contents
Other RNIB Label Maker manuals
Popular Label Maker manuals by other brands
Epson
Epson LabelWorks LW-1000P installation manual
Zun Dian
Zun Dian MATS-001 user guide
Avery Dennison
Avery Dennison AP3.4 user manual
Sohn
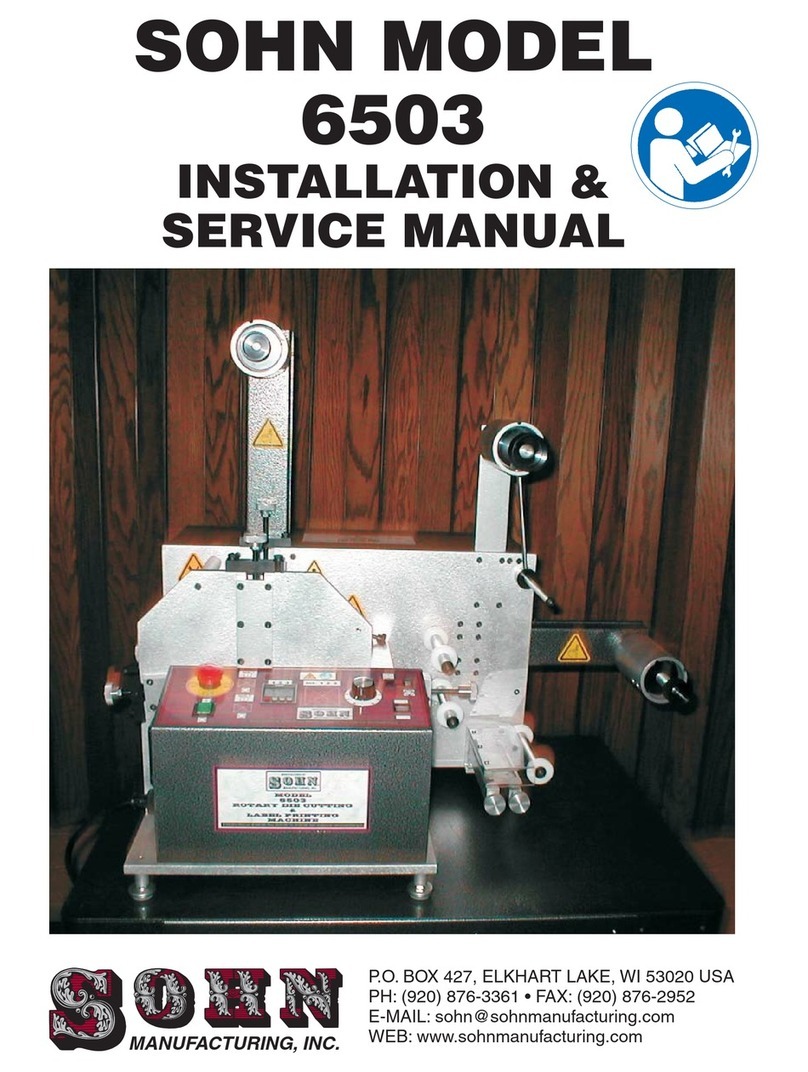
Sohn 6503 Installation & service manual

Loveshaw
Loveshaw Little David LDLA-500 Operation manual

Brother
Brother PT 1900 - P-Touch Electronic Labeling System Mode d'emploi
