ROBERTS RADIO LIMITED
www.robertsradio.com
© 2021 Roberts Radio Limited
Step 2 - Play FM radio
Step 3 - Preset radio stations
Other information
Headphone socket
System reset
Battery operation
Dimmer function
Issue 3a
2021-03-30
A 3.5mm Headphone socket is provided for use with headphones. Inserting
a plug automatically mutes the internal loudspeaker. Please be aware that
the sensitivity of headphones can vary widely. We therefore recommend
setting the volume to a low level before connecting headphones to the radio.
The headphone socket is compatible with stereo and mono headphones
but the audio will always be heard in mono.
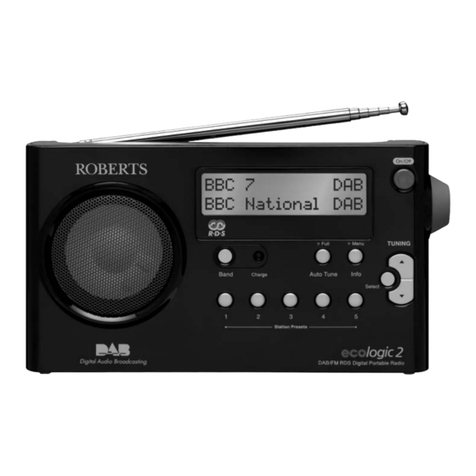
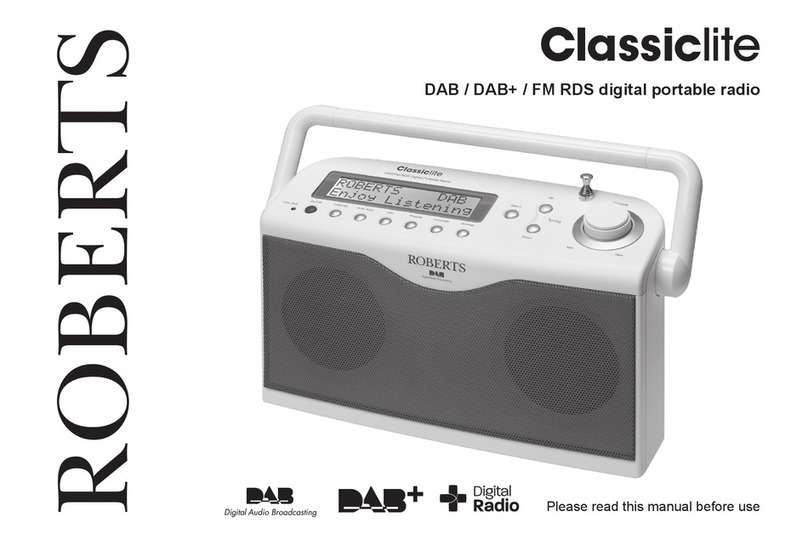
DAB / DAB+ / FM RDS digital portable radio
Please read this guide and the safety/warranty leaet before use
A - Search tuning - FM
B - Manual tuning - FM
C - Scan sensitivity setting - FM
1 Carefully, fully extend the telescopic aerial. Press the On/Off button to switch on the radio.
2 If you are listening in DAB mode, give a long press on the Mode button. 'FM' will show on the display.
3 Rotate the Tuning control clockwise or anti-clockwise and then immediately give a long press on the Tuning
control for several seconds. Your radio will scan in an upwards direction (low frequency to high frequency) or in a
downwards direction (high frequency to low frequency) and stop automatically when it nds a station of sufcient
strength. The display will show the frequency of the signal found. If the signal is strong enough and there is RDS
data present then the radio will display the station name.
4 When the waveband end is reached your radio will recommence tuning from the opposite waveband end.
5 Adjust the Volume. To switch off your radio press the On/Off button.
1 Rotate the Tuning control to tune to a station. The frequency will change in steps of 50kHz.
2 Adjust the Volume.
3 The Radio Data System (RDS) is a system in which inaudible digital information is transmitted
in addition to the normal FM radio programme.
4 Press Tuning as required to cycle through the various display options. The display options are
station name, scrolling text, program type, frequency, time or date.
Your radio will normally scan for FM broadcasts which are strong enough to give good reception. However, you may wish
the Auto-scan function to also be able to nd weaker signals, possibly from more distant radio transmitters.
1 When in FM mode, press Menu.
2 Rotate Tuning until 'SETTING' shows on the display. Press Tuning.
3 Rotate Tuning to switch between 'LOCAL' and 'DISTANT' options. The distant option will allow the radio to nd weaker
signals when scanning.
4 Press Tuning to conrm your selection. The Local or Distant setting is stored in the radio and remains in force until
changed or until a System Reset. Note: The initial setting (out of the box, or after a System Reset) causes the radio
to ignore weaker (or more distant) signals.
To recall a station preset
1 Press the On/Off button to switch on the radio.
2 Select the required waveband.
3 Press the required Preset button. Your radio will tune to the station stored in preset memory.
• The display will show 'EMPTY ' if no station has been stored to that preset.
You may store your preferred DAB and FM radio stations to the preset station memories. There are 6 memory presets in
your radio, 3 for DAB and 3 for FM. Presets are remembered by your radio in the event of a power failure. The procedure
is the same for both FM and DAB modes.
To store a station preset
1 Press the On/Off button to switch on the radio.
2 Select the desired waveband and tune to the required station.
3 Give a long press on the required Preset button until the display shows, for example, 'P1 SAVED'. Repeat this
procedure for the remaining presets as needed.
4 Stations which have been stored in preset memories may be over written by following the above procedure.
Specications
Power requirements
Mains (adaptor) 100 - 240V 50/60Hz
DC input 5V 1A centre pin positive (+)
Batteries 4 x LR6 / AA size (not included)
Battery life Up to 30 hours using alkaline cells depending
upon volume and operating mode.
Circuit features
Headphone socket 3.5mm dia
Aerial system FM / DAB Telescopic aerial
Frequency coverage FM 87.5-108MHz, DAB 174.928 - 239.200MHz
Product markings
This symbol indicates DC voltage, This symbol indicates AC voltage.
Mains adaptor
Manufacturer of AC Adaptor: Dongguan Turnmax Electronic Co., Ltd.
Model: TM-K006VA-00501000PE-02/03
Input voltage: AC100 - 240V
Input AC frequency: 50/60Hz
Output voltage: DC 5.0V
Output current: 1.0A
Output power: 5.0W
Average active efciency:
73.62%
No-load power consumption: < 0.1W
The name plate is located on the back of the unit.
The company reserves the right to amend the specication without notice.
Designed & Engineered in the UK
Made in China
If your radio fails to operate correctly, or
some digits on the display are missing
or incomplete carry out the following
procedure.
1 Press the On/Off button to switch
on the radio.
2 Press the Menu button.
3 Rotate Tuning until 'SYSTEM'
appears on the display. Press
Tuning.
4 Rotate Tuning until 'FACTORY'
appears on the display. Press Tuning. 'RESET' will show on the display.
5 Press Tuning. A full reset will be performed. The station list and presets
will be erased.
The brightness of the display can
be adjusted.
1 Press the Menu button.
2 Rotate Tuning until 'SYSTEM'
appears on the display. Press
Tuning.
3 Rotate Tuning until 'DIMMER'
appears on the display. Press
Tuning.
4 Choose either the Low or High
setting.
5 Press Tuning to set the desired level. The backlight will change at this
time.
Please read the safety leaet provided
before using batteries.
1 Remove the battery cover on the back of
the unit by sliding the cover downwards.
2 Insert four LR6 (AA size) batteries into
the spaces in the compartment. Take care to ensure all batteries are in-
serted with the correct polarity as shown inside the battery compartment.
Replace the battery cover. Reduced power, distortion and a ‘stuttering’
sound are all signs that the batteries may need replacing. If the radio is
not to be used for any extended period of time it is recommended that the
batteries are removed from the radio. We would recommend for economy
that the radio is used via the AC adaptor whenever possible with battery
operation for occasional use only.
Language
Your radio's menus can be congured to a different language.
1 Press the Menu button. Choose 'SYSTEM' then 'LANGUAGE' and
then choose your desired language. The display will change to the
chosen language.
