manuals.online logo
Brands
  1. Home
  2. •
  3. Brands
  4. •
  5. Roberts
  6. •
  7. Portable Radio
  8. •
  9. Roberts RP16 User manual

Roberts RP16 User manual

ROBERTS
Sound for Generations
RP16
3 Band Mains Battery
Preset FM Portable Radio
Please read this manual before use
RP16 Instruction Book.pm6 24/10/99, 14:591
Controls
12 3 4
6
5
1. Headphone socket
2. Volume control
3. Tone control
4. Wa eband switch
5. Telescopic aerial
6. Tuning knob
RP16 Instruction Book.pm6 24/10/99, 14:592
Controls (cont.)
8
10 (on rear) 12 1311
9
(on end)
7
7. Tuning scale
8. Mains indicator
9.Mains input socket
10.Battery co er
11.Preset/Manual indicators
12.Manual tuning button
13.FM preset button
RP16 Instruction Book.pm6 24/10/99, 14:593
Fuse
When replacing the fuse only a 3A ASTA appro ed to BS1362 type should
be used and be sure to re-fit the fuse co er.
IF IN DOUBT - CONSULT A COMPETENT ELECTRICIAN.
Replacement fuse holders are a ailable from Roberts Radio at the
address shown on the rear of this manual.
Batteries
Remo e the battery co er (10) on the rear of the unit by pushing the catch
in the direction of the arrow. Insert four IEC size R14 cells into the spaces
in the compartment. Take care to ensure all cells are inserted with the correct
polarity as shown inside the battery compartment. Replace the battery
co er.
Reduced power, distortion, and a stuttering sound are all signs that the
batteries may need replacing.
If the radio is not to be used for any extended period of time it is recommended
that the batteries are remo ed from the radio.
We would recommend for economy that the RP16 is used on the mains
whenever possible with battery operation for occasional or stand-by
use only.
Automatic Mains/Battery switching
To change from battery to mains operation, simply plug the mains lead into
the mains input socket (9) on the left hand end of the unit. Mains operation
is shown by the mains indicator (8). The batteries will be automatically
disconnected. It does not matter which way round the plug is inserted but
make sure it is fully pushed home. The other end should be plugged into a
domestic supply socket.
Aerials
On FM fully extend the telescopic aerial (5), angle and rotate for best
reception.
On MW and LW stations are recei ed on the built in ferrite rod aerial, rotate
the entire radio to the position gi ing best reception.
The telescopic aerial is inoperati e on MW and LW.
General
Do not allow this unit to be exposed to water, steam or sand. Do not lea e
the unit where excessi e heat could cause damage such as in a parked car
where the heat from the sun can build up e en though the outside tempera-
ture may not seem too high. It is recommended that the FM band be used
were e er possible as better results in terms of quality and freedom from
interference will usually be obtained than on the MW or LW bands.
Mains supply
The RP16 will operate from a supply of 220/240 olts, 50/60Hz only.
DO NOT cut off the mains plug from this equipment. If the plug fitted is
not suitable for the power points in your home or the cable is too short to reach
a power point, then obtain an appropriate safety appro ed extension lead or
adaptor. If in doubt consult your dealer.
If nonetheless the mains plug is cut off, remo e the fuse and dispose of the
plug immediately, to a oid a possible shock hazard by inad ertent connec-
tion to the mains supply.
If this product is not supplied with a mains plug, or one has to be fitted, then
follow the instructions gi en below:
IMPORTANT. DO NOT make any connection to the larger terminal which is
marked with the letter E or by the safety earth symbol or coloured Green
or Green-and-yellow.
The wires in the mains lead are coloured in accordance with the following
codes :-
BLUE - NEUTRAL BROWN - LIVE
As these colours may not correspond with the coloured markings identifying
the terminals in your plug, proceed as follows:
The wire coloured BLUE must be connected to the terminal marked N or
coloured BLACK.
The wire coloured BROWN must be connected to the terminal marked L or
coloured RED.
RP16 Instruction Book.pm6 24/10/99, 14:594
MW/LW Operation
Turn on the recei er by rotating the Volume control (2) clockwise until a click
is heard. Set the wa eband selector (4) to the MW or LW position. Rotate the
olume control until a hissing sound is heard. Rotate the Tuning Knob (6) to
select the desired station. On MW and LW the tuning scale (7) is marked in
kilohertz (kHz). Rotate the recei er to the position gi ing best reception.
Adjust the olume control to the required sound le el. Set the tone control (3)
to the desired position. To turn off the recei er rotate the Volume control (2)
fully anticlockwise until a click is heard.
Note : The telescopic aerial is inoperati e on MW and LW.
FM Manual Operation
Fully extend the Telescopic Aerial (5). Turn on the recei er by rotating the
Volume control (2) clockwise until a click is heard. Set the wa eband selector
(4) to the FM position. Rotate the olume control until a hissing sound is
heard. Rotate the Tuning Knob (6) to select the desired station. On FM the
tuning scale (7) is marked in megahertz (MHz). Angle and rotate the
telescopic aerial to the position gi ing best reception. Adjust the olume
control to the required sound le el. Set the tone control (3) to the desired
position. To turn off the recei er rotate the Volume control (2) fully anticlock-
wise until a click is heard.
Setting the FM Presets
Fully extend the Telescopic Aerial (5). Turn on the recei er by rotating the
Volume control (2) clockwise until a click is heard. Set the wa eband selector
(4) to the FM position. Rotate the olume control until a hissing sound is
heard. Press the FM preset button (13) until the P1 Preset indicator is
illuminated. Rotate the P1 preset tuning knob (14) to select the desired
station. Press the FM preset button (13) until the P2 Preset indicator is
illuminated. Rotate the P2 preset tuning knob (15) to select the desired
station. Press the FM preset button (13) until the P3 Preset indicator is
illuminated. Rotate the P3 preset tuning knob (16) to select the desired
station.
Note: The preset tuning controls used on the RP16 are of a multi-turn type,
enabling precise tuning of preset stations.
FM Preset operation
Fully extend the Telescopic Aerial (5). Turn on the recei er by rotating the
Volume control (2) clockwise until a click is heard. Set the wa eband selector
(4) to the FM position. Rotate the olume control until a hissing sound is
heard. Press the FM preset button (13) to select the required station.
Repeated pressing of the FM preset button (13) will cycle through the presets
in the order P1 - P2 - P3 - P1 - P2 - etc.
1312
FM Presets (on rear)
RP16 Instruction Book.pm6 24/10/99, 14:595
Specifications
Power Requirements
Mains : 220/240 olts, 50/60Hz only
Batteries : 6.0V 4 x IEC R14 (C size) cells
Battery Life
Approx. 50hrs of listening for 4 hours a day at
normal olume, using Alkaline cells.
Note: FM Preset stations will not remain in tune
when the battery falls below 4.0V.
Frequency Coverage
FM 87.5-108MHz
MW 525 - 1605kHz
LW 147 - 284kHz
Circuit Features
3 IC's, 10 Transistors, 21 Diodes, 3 Varicap diodes, 3 Zener diode3, 5 LED's.
Loudspeaker 100mm 4ohms
Output Power 1watt into 4ohms
Headphone socket 3.5mm dia
Aerial System FM Telescopic aerial
MW Built-in Ferrite aerial
LW Built-in Ferrite aerial
The Company reserves the right to amend the specification without notice.
RP16 Instruction Book.pm6 24/10/99, 14:596
Guarantee
This instrument is guaranteed for twel e months from the date of deli ery to the original owner against failure due to faulty workmanship or component
breakdown, subject to the procedure stated below. Should any component or part fail during this guarantee period it will be repaired or replaced free of charge.
The guarantee does not co er:
1. Damage resulting from incorrect use.
2. Consequential damage.
3. Recei ers with remo ed or defaced serial numbers.
N.B. Damaged or broken telescopic aerials will not be replaced under guarantee.
Procedure:
Any claim under this guarantee should be made through the dealer from whom the instrument was purchased It is likely that your Roberts dealer will be able
to attend to any defect quickly and efficiently, but should it be necessary the dealer will return the instrument to the companys ser ice department for attention.
In the e ent that it is not possible to return the instrument to the Roberts dealer from whom it was purchased, please contact Roberts Radio ser ice department
at the address shown on the back page of this manual before taking further action.
These statements do not affect the statutory rights of a consumer.
RP16 Instruction Book.pm6 24/10/99, 14:597
ROBERTS RADIO TECHNICAL SERVICES DEPARTMENT
97-99 Worton Road
Isleworth Middlesex
TW7 6EG
Technical Helpline:-0181 758 0338
Issue 2
RP16 Instruction Book.pm6 24/10/99, 15:008

Other Roberts Portable Radio manuals

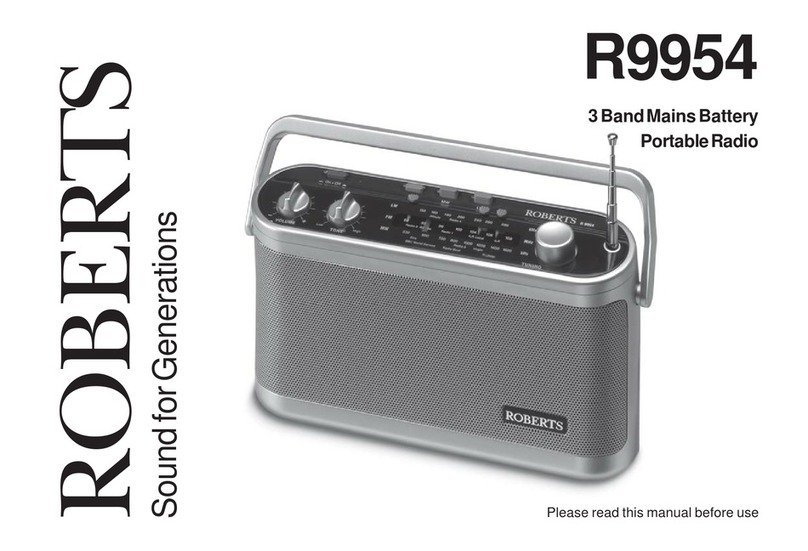
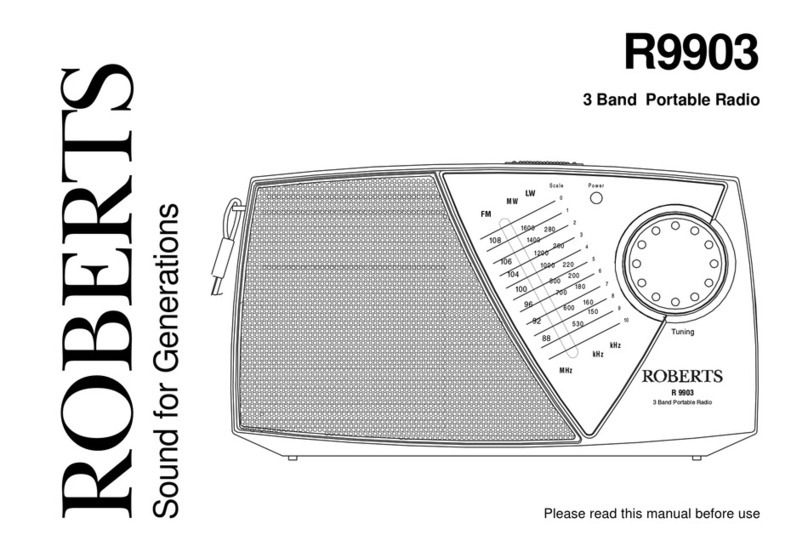
Roberts R9903 User manual

Roberts

Roberts R9903 User manual

Roberts RP3 User manual

Roberts

Roberts RP3 User manual

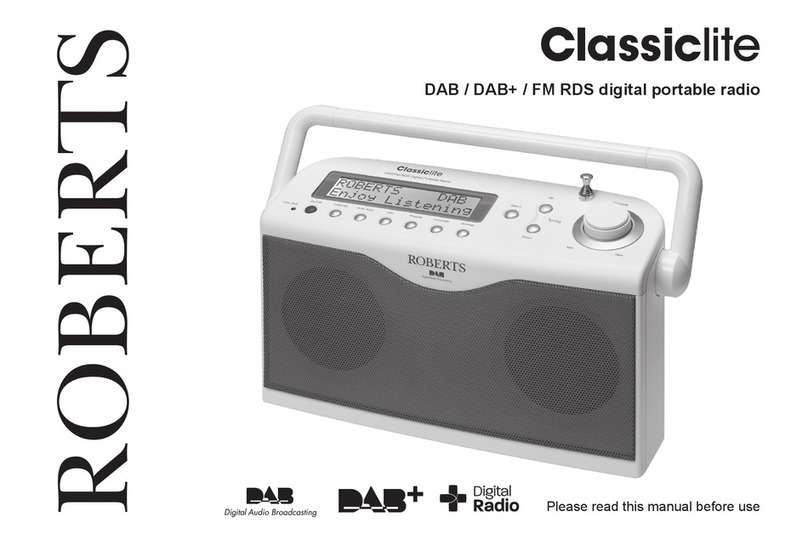
Roberts ClassicLite User manual

Roberts

Roberts ClassicLite User manual

Roberts ClassicLite User manual

Roberts

Roberts ClassicLite User manual

Roberts ecologic 2 User manual

Roberts

Roberts ecologic 2 User manual

Roberts R983 User manual

Roberts

Roberts R983 User manual

Roberts SolarDAB Solar Powered DAB Radio Mounting instructions

Roberts

Roberts SolarDAB Solar Powered DAB Radio Mounting instructions

Roberts R260 User manual

Roberts

Roberts R260 User manual

Roberts R9993 User manual

Roberts

Roberts R9993 User manual

Roberts R9962 User manual

Roberts

Roberts R9962 User manual

Roberts ecologic1 User manual

Roberts

Roberts ecologic1 User manual

Roberts R9954 User manual

Roberts

Roberts R9954 User manual

Roberts Analogue World Radio R9968 User manual

Roberts

Roberts Analogue World Radio R9968 User manual

Roberts Revival UNO User manual

Roberts

Roberts Revival UNO User manual

Roberts RecordR User manual

Roberts

Roberts RecordR User manual

Roberts FM RDS/DAB Digital Radio RD-50 User manual

Roberts

Roberts FM RDS/DAB Digital Radio RD-50 User manual

Roberts R9993 User manual

Roberts

Roberts R9993 User manual

Roberts R862 User manual

Roberts

Roberts R862 User manual

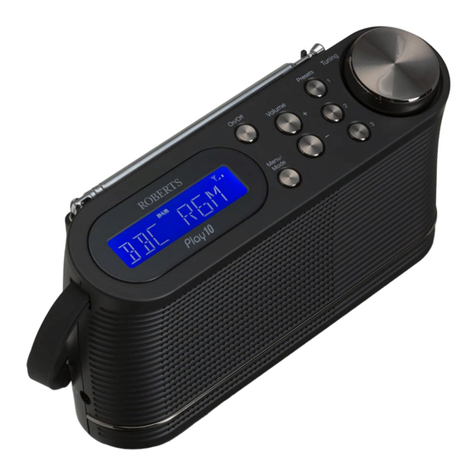
Roberts Play 10 User manual

Roberts

Roberts Play 10 User manual

Roberts RP15 User manual

Roberts

Roberts RP15 User manual

Roberts R9967 User manual

Roberts

Roberts R9967 User manual

Roberts Sports 925 User manual

Roberts

Roberts Sports 925 User manual

Roberts All Weather Radio R9965 User manual

Roberts

Roberts All Weather Radio R9965 User manual

Roberts R309 User manual

Roberts

Roberts R309 User manual

Popular Portable Radio manuals by other brands

Sangean WR-11BT Safety instructions

Sangean

Sangean WR-11BT Safety instructions

Hytera PT580H Plus F4 owner's manual

Hytera

Hytera PT580H Plus F4 owner's manual

Simoco P25 user manual

Simoco

Simoco P25 user manual

Tivoli Audio iPAL owner's manual

Tivoli Audio

Tivoli Audio iPAL owner's manual

Philips AE6790 Specifications

Philips

Philips AE6790 Specifications

LENCO PR2700 user manual

LENCO

LENCO PR2700 user manual

RELM RP6500 user manual

RELM

RELM RP6500 user manual

Hyundai PL 513 instruction manual

Hyundai

Hyundai PL 513 instruction manual

SOUNDMASTER DAB170SW manual

SOUNDMASTER

SOUNDMASTER DAB170SW manual

C. Crane CC RADIO SOLAR instruction manual

C. Crane

C. Crane CC RADIO SOLAR instruction manual

Vertex Standard VX-160V Specifications

Vertex Standard

Vertex Standard VX-160V Specifications

Motorola ASTRO APX 6000 Series Quick reference card

Motorola

Motorola ASTRO APX 6000 Series Quick reference card

Sony Walkman ICF-S10MK2 Specifications

Sony

Sony Walkman ICF-S10MK2 Specifications

TechniSat DigitRadio 200 Brochure & specs

TechniSat

TechniSat DigitRadio 200 Brochure & specs

Sven SRP-555 user manual

Sven

Sven SRP-555 user manual

Motorola APX 2000 Quick reference card

Motorola

Motorola APX 2000 Quick reference card

C. Crane CC Pocket instruction manual

C. Crane

C. Crane CC Pocket instruction manual

Philips AE5020 Short user manual

Philips

Philips AE5020 Short user manual

manuals.online logo
manuals.online logoBrands
  • About & Mission
  • Contact us
  • Privacy Policy
  • Terms and Conditions

Copyright 2025 Manuals.Online. All Rights Reserved.