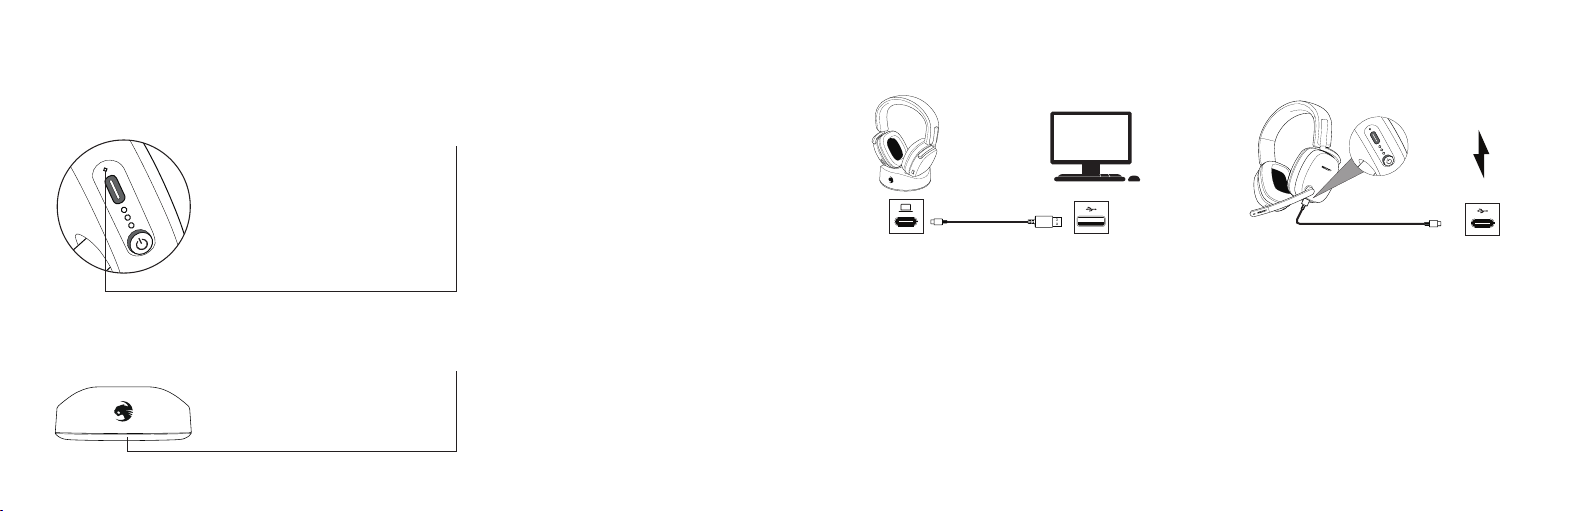
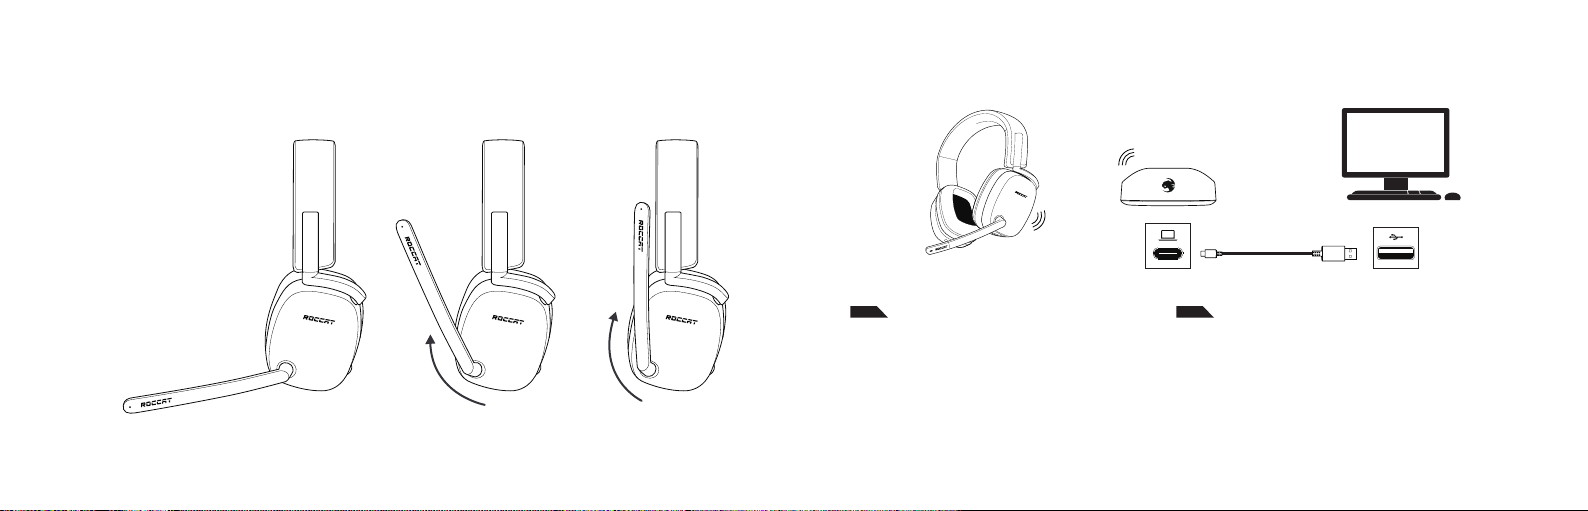
The rapid charge dock is connected to your PC via USB-C cable. It can simultaneously be
connected to an external power source if you would like charging functionality while your
PC is powered o.
Choose the conguration that best suits your setup:
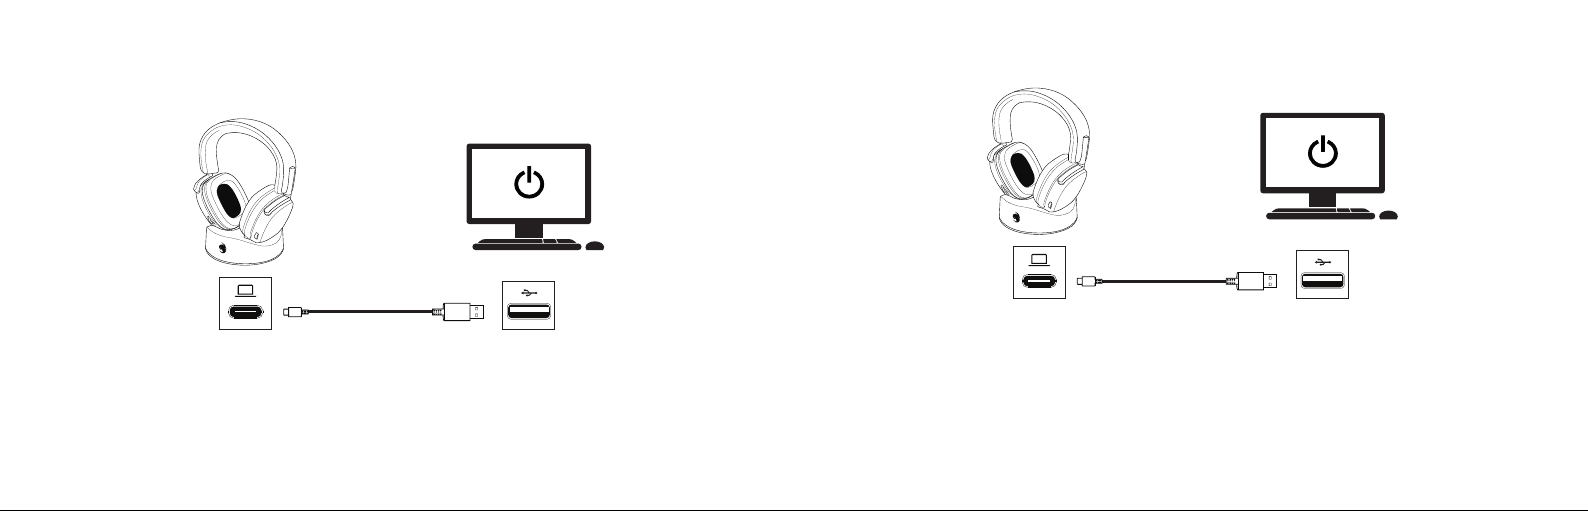
Option A) Connected to PC via USB-C cable
Choose this option if you do not need charging
functionality while your PC is powered o.
Option B) Connected to PC via USB-C cable
Choose this option if your motherboard sup-
plies USB power while your PC is powered o.
Option C) Connected to both PC and external power
source via USB-C cables
Choose this option if you would like charging
functionality while your PC is powered o, but
your motherboard does not support it.
La station d‘accueil à charge rapide est connectée à votre PC via un câble USB-C.
Elle peut simultanément être connectée à une source d‘alimentation externe si vous
souhaitez charger le casque même lorsque votre PC est éteint.
Choisissez la conguration qui convient le mieux à votre installation :
Option A) Connexion au PC via câble USB-C
Choisissez cette option si vous n’avez pas besoin de
charger le casque lorsque votre PC est éteint.
Option B) Connexion au PC via câble USB-C
Choisissez cette option si votre carte mère dispose de
ports USB alimentés même lorsque votre PC est éteint.
Option C) Connexion à la fois au PC et à une source
d’alimentation externe via câbles USB-C
Choisissez cette option si vous souhaitez bénécier de
la fonctionnalité de charge lorsque votre PC est éteint,
mais que votre carte mère ne la prend pas en charge.
+ +
SETUP ON THE NINTENDO SWITCH™
CONFIGURATION SUR LA NINTENDO SWITCH™
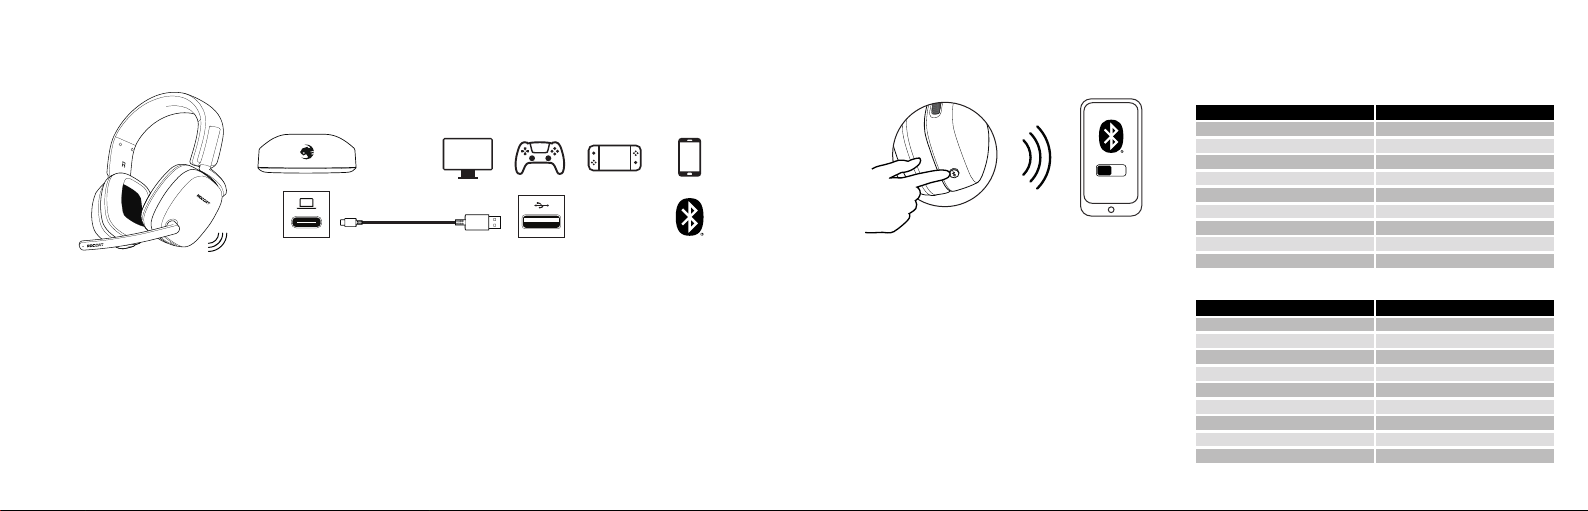
1. Make sure your Syn™ Max Air are not paired to another device.
2. Press and hold the Bluetooth®button on the headset until the
LED starts blinking rapidly.
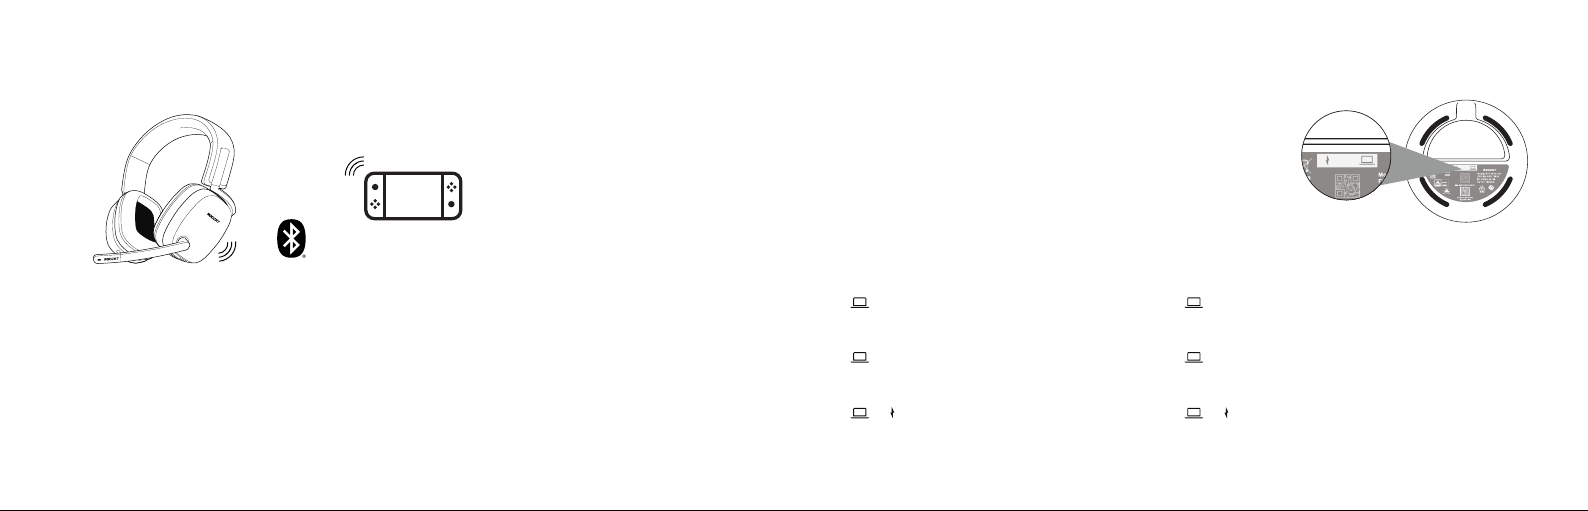
3. In your Nintendo Switch’s home menu.
Go to System Settings > Bluetooth® Audio > Pair Device
4. Select the Syn™ Max Air from the menu to pair.
5. Once the pairing is successful, select “OK” on the prompt.
6. Adjust your Syn™ Max Air volume from the Nintendo Switch’s volume
controls on the top of the console.
If your Syn™ Max Air are not shown on the list of detected devices,
hit “Y” to search again. If no devices were detected, select “OK” on the
prompt, then “Pair Device” again to search again.
1. Assurez-vous que vos écouteurs Syn™ Max Air ne sont pas appairés
à un autre appareil.
2. Appuyez sur le bouton Bluetooth
®
du casque et maintenez-le enfoncé
jusqu’à ce que la LED commence à clignoter rapidement.
3. Dans le menu principal de votre Nintendo Switch™, allez à
Options système > Bluetooth® Audio > Appairer appareil.
4. Sélectionner le Syn™ Max Air dans le menu pour appairer.
5. Une fois l’appairage réussi, sélectionner “OK” sur le message.
6. Ajuster le volume de vos écouteurs Syn™ Max Air depuis le contrôle de
volume sur le dessus de votre Nintendo Switch™.
Si vos écouteurs Syn™ Max Air n’apparaissent pas dans la liste des ap-
pareils détectés, appuyez de nouveau sur “Y” pour relancer la recherche.
Si aucun appareil n’est détecté, sélectionnez “OK” ur le message, puis
“Appairer appareil” pour relancer la recherche.
RAPID CHARGE DOCK | STATION DE CHARGE RAPIDE