manuals.online logo
Brands
  1. Home
  2. •
  3. Brands
  4. •
  5. Rockford Fosgate
  6. •
  7. Amplifier
  8. •
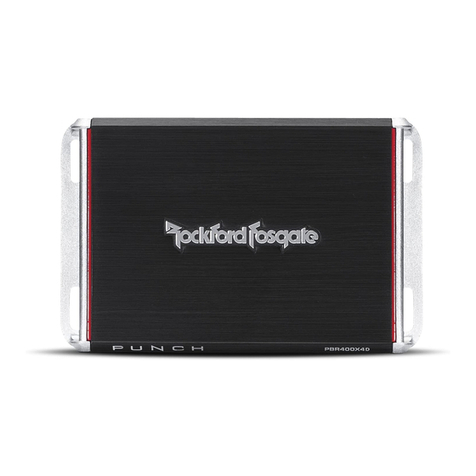
  9. Rockford Fosgate Punch PBR300X1 Specification sheet

Rockford Fosgate Punch PBR300X1 Specification sheet

Other manuals for Punch PBR300X1

3

This manual suits for next models

2

Other Rockford Fosgate Amplifier manuals
Rockford Fosgate Power BD1000.1 User manual

Rockford Fosgate

Rockford Fosgate Power BD1000.1 User manual

Rockford Fosgate Punch P300-1bd Original operating instructions

Rockford Fosgate

Rockford Fosgate Punch P300-1bd Original operating instructions

Rockford Fosgate R400-4D Guide

Rockford Fosgate

Rockford Fosgate R400-4D Guide

Rockford Fosgate Power 360 User manual

Rockford Fosgate

Rockford Fosgate Power 360 User manual

Rockford Fosgate FFX6 Owner's manual

Rockford Fosgate

Rockford Fosgate FFX6 Owner's manual

Rockford Fosgate 300SP Guide

Rockford Fosgate

Rockford Fosgate 300SP Guide

Rockford Fosgate PM400X4 Specification sheet

Rockford Fosgate

Rockford Fosgate PM400X4 Specification sheet

Rockford Fosgate Punch 201S Owner's manual

Rockford Fosgate

Rockford Fosgate Punch 201S Owner's manual

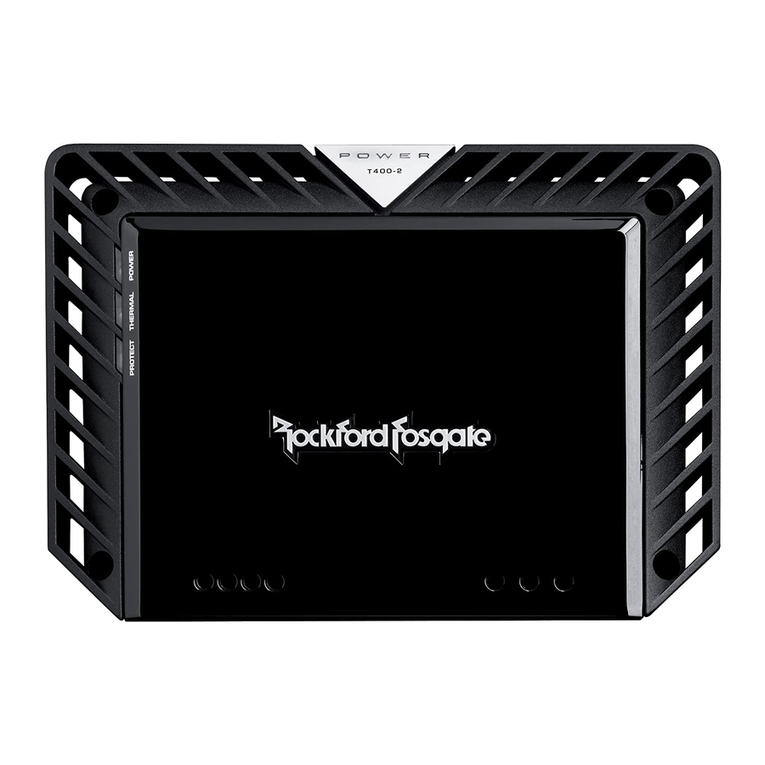
Rockford Fosgate T400-2 Owner's manual

Rockford Fosgate

Rockford Fosgate T400-2 Owner's manual

Rockford Fosgate punch 160X4 User manual

Rockford Fosgate

Rockford Fosgate punch 160X4 User manual

Rockford Fosgate T I000-4ad User manual

Rockford Fosgate

Rockford Fosgate T I000-4ad User manual

Rockford Fosgate Power II User manual

Rockford Fosgate

Rockford Fosgate Power II User manual

Rockford Fosgate T2500-1bd CP Guide

Rockford Fosgate

Rockford Fosgate T2500-1bd CP Guide

Rockford Fosgate Power T500-1bd Guide

Rockford Fosgate

Rockford Fosgate Power T500-1bd Guide

Rockford Fosgate Prime R250-1 Guide

Rockford Fosgate

Rockford Fosgate Prime R250-1 Guide

Rockford Fosgate T400-2 Owner's manual

Rockford Fosgate

Rockford Fosgate T400-2 Owner's manual

Rockford Fosgate ELEMENT READY M2-200X2 User manual

Rockford Fosgate

Rockford Fosgate ELEMENT READY M2-200X2 User manual

Rockford Fosgate Power 100HD User manual

Rockford Fosgate

Rockford Fosgate Power 100HD User manual

Rockford Fosgate Punch 851X Owner's manual

Rockford Fosgate

Rockford Fosgate Punch 851X Owner's manual

Rockford Fosgate 250.1 User manual

Rockford Fosgate

Rockford Fosgate 250.1 User manual

Rockford Fosgate Power 1051S Owner's manual

Rockford Fosgate

Rockford Fosgate Power 1051S Owner's manual

Rockford Fosgate ELEMENT READY M5-800X4 User manual

Rockford Fosgate

Rockford Fosgate ELEMENT READY M5-800X4 User manual

Rockford Fosgate Prime R600-5 Guide

Rockford Fosgate

Rockford Fosgate Prime R600-5 Guide

Rockford Fosgate Power T1500-1bd Guide

Rockford Fosgate

Rockford Fosgate Power T1500-1bd Guide

Popular Amplifier manuals by other brands

Magnat Audio EDITION FOUR Owner's manual/warranty document

Magnat Audio

Magnat Audio EDITION FOUR Owner's manual/warranty document

Inter-m PA-2000A Operation manual

Inter-m

Inter-m PA-2000A Operation manual

Yamaha TX6n owner's manual

Yamaha

Yamaha TX6n owner's manual

Peavey TNT 150 user guide

Peavey

Peavey TNT 150 user guide

Bosch LBB 1903/10 Installation and user instructions

Bosch

Bosch LBB 1903/10 Installation and user instructions

Avocent Emerge DA1200D Installer/user guide

Avocent

Avocent Emerge DA1200D Installer/user guide

Redgum RGi35 operating instructions

Redgum

Redgum RGi35 operating instructions

Cambridge Audio AXA25 user manual

Cambridge Audio

Cambridge Audio AXA25 user manual

Alpine MRP-M200 owner's manual

Alpine

Alpine MRP-M200 owner's manual

Technical Pro H1502UrBT user manual

Technical Pro

Technical Pro H1502UrBT user manual

FMS EMGZ307 operating manual

FMS

FMS EMGZ307 operating manual

Racal Instruments 5601 user manual

Racal Instruments

Racal Instruments 5601 user manual

Valcom V-1094A Technical specifications

Valcom

Valcom V-1094A Technical specifications

Cambridge Audio 851D user manual

Cambridge Audio

Cambridge Audio 851D user manual

QSC 3800 Specifications

QSC

QSC 3800 Specifications

NAD C300 owner's manual

NAD

NAD C300 owner's manual

Rotel RMB-1077 owner's manual

Rotel

Rotel RMB-1077 owner's manual

Peavey Monitor 300 Series operating guide

Peavey

Peavey Monitor 300 Series operating guide

manuals.online logo
manuals.online logoBrands
  • About & Mission
  • Contact us
  • Privacy Policy
  • Terms and Conditions

Copyright 2025 Manuals.Online. All Rights Reserved.

* Specifications subject to change without notice. Images depict typical setup. Refer to manual for additional wiring options.
SPEAKER OUTPUTS
FRONT REAR
INPUT
FRONT REAR
Battery
*Keep grounds as
short as possible
Source Unit
Connect to chassis ground of vehicle
Less than 18”
Fuse
(NOT Required if using high level inputs. Refer to manual for more information.)
Switched 12V to REM
*Keep grounds as short as possible.
For Motorsport and Boat applications, the ground wire should go
directly to the negative battery terminal.
Amplifier Quick Setup
FRONT
LEFT (+) WHITE
LEFT (–) WHITE/BLACK
RIGHT (+) GRAY
RIGHT (–) GRAY/BLACK
REAR
LEFT (+) GREEN
LEFT (–) GREEN/BLACK
RIGHT (+) PURPLE
RIGHT (–) PURPLE/BLACK
WIRE HARNESS COLOR CODE
Input Clip Indicator Setup
Be sure to disconnect all speakers
from the amplifier.
Failure to comply may cause damage
to connected components and/or
amplifier.
Step 1 - Input
Adjust the Bass & Treble levels on the
source unit to flat.
Turn on the source unit with volume set to zero.
Play test tone* or music for setup.
Note: Use the 40Hz @ 0dB tone (Track 5) for
mono amplifiers or the 1kHz @ 0dB tone
(Track 7) for multi-channel amplifiers. Be sure
your x-over is switched to the appropriate
filter setting.
*Test tones available at https://rech.custhelp.com/app/answers/de-
tail/a_id/1126/ Scroll to the bottom of the page and download your
preferred format.
Increase the source unit volume until the
Input Clip Indicator illuminates red.
Decrease the source unit volume slightly until
the light turns completely o. This establishes
your maximum source unit volume for adjusting
the Output Clip Indicator.
Note: Some source units will not clip.
Reconnect all speakers. Be
sure to maintain proper
speaker polarity.
Turn the source unit volume
down.
Step 2 - Input Step 3 - Input
Step 4 - Input
Step 5 - Input Step 6 - Input
Step 8 - Output
Step 9 - Output
Output Clip Indicator Setup
Adjust the Input Level knob until the Output Clip
Indicator illuminates to the appropriate color. Repeat for
all channel levels of input.
Gain Overlap Settings
0dB Sound Quality
+5dB Best Compromise
+10dB SPL
When using test tones, use the above chart to determine
your quality preference.
Step 7 - Output
TEST TONE
*
MUSIC
BLUE
BLUE/RED
RED
*40Hz TONE - SUBWOOFER • 1kHz TONE - FULL RANGE
Volume
Volume
Volume
Volume Volume
Amplifier Clip Indicator Setup
1230-62238-01-B