—4—
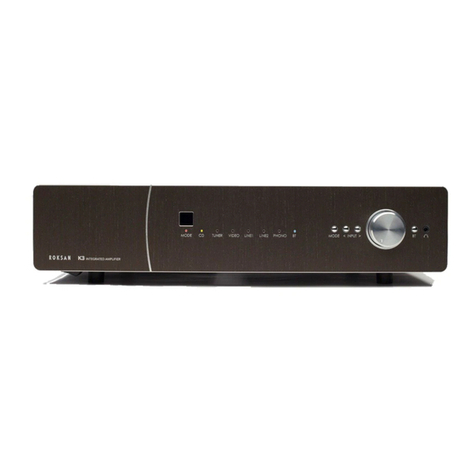
SETUP Kandy K2 BT Integrated Amplier
CONNECTING MAINS POWER
Please refer to the front & rear panel view on Page 3. The moulded IE connector or the supplied mains lead should be
plugged into socket (27) on the rear of the unit rst and then plugged into the mains supply.
The mains power switch (15) is on the front under side of the Integrated Amplier. This switch can be left on; if however
the amplier is likely to be unattended for a long period of time, switch it off and unplug the mains lead from the wall.
SIGNAL CONNECTIONS
There are 6 Inputs (18 -24) on your Kandy Integrated Amplier. Except for PHONO input (19) all other inputs are line
level and will accept virtually all currently available source components. The PHONO input is factory set for Moving
Magnet Cartridges to accomodate record players tted with MM phono cartridges. The AV input (22) is linked to the
BYPASS input (18) and switch to set BYPASS, then the AV input will be deactivated and the BYPASS input will become
activated. In this mode, the BYPASS input can be used to a surround sound processor’s front L & R pre output for home
theatre use. The BYPASS input is directly connected to the power amp section and bypasses the preamp. The volume
is then controlled via the surround sound processor and not the Kandy integrated. You could also use the integrated as
a power amp in this mode.
All the inputs use Gold plated RCA Phono Connectors and should be connected according to the standard convention.
- Right Channel - Red; Left Channel - Black or White
Also in accordance with standard practice, the Upper row of Phono Sockets carries the Left Channel and the Lower row
carries the Right Channel.
The input sockets are labelled with their legends upside down as well as the normal way up to assist you should you be
connecting an input from a position in front of and above the amplier.
MC Input Connection
If you wish to use a Moving Coil Cartridge, an in-line MC step-up transformer should be connected to the Phono Input.
Alternatively a dedicated Phono Stage can be connected to a line level input.
(NOTE: if you wish to connect to the Phono input, it must be set for line level signal. See above). For advice and
demonstration of ROKSAN state of the art turntable reproduction systems contact your authorised retailer.
LOUDSPEAKER CONNECTIONS
The right and left loudspeakers are connected to the amplier via the rear panel binding posts (25) and (26) respectively.
There are two basic types of cable -
• Figure 8 cable has two insulated conductors which lie parellel, either side by side, or spaced by insulation.
• Over all sheathed cable has both conductors insulated and enclosed in an overall plastic heath.
Carefully remove any over all sheath or split the gure 8 cable to a depth of about 75mm (3”). Carefully strip the
insulation on each wire to a depth of about 12 mm (1/2”) exposing the bare core. If the conductor is stranded, twist the
strands together on each conductor.
Unscrew the binding post. There is a cross-hole about 5 mm from the panel end of the binding post. Insert the bared
conductor through the hole and tighten the binding post securely making sure that there are no loose strands or bare
ends protruding through the post. Carefully observe polarity ensuring that the RED(+) speaker terminal is connencted to
the RED(+) amplier terminal and the BLACK(-) speaker terminal to the BLACK(-) amplier terminal. When both left and
right channels are connected to the irrespective speaker’s the amplier is ready for use.
IMPORTANT NOTE: For optimum performance it is recommended to use high quality inter-connect cable such
as ROKSAN HDC-03A High Denition Analogue Cable.
IMPORTANT NOTE: For optimum performance it is recommended to use high
quality cable such as ROKSAN HDC 03S High Denition Loudspeaker Cable. Many
speaker cables such as the ROKSAN HDC-03S are directional. Please observe this
characteristic. DO NOT use a speaker cable with conductor size less than 16 AWG
(1.6mm Diameter). The binding posts accept conductor sizes upto 12 AWG.
